Complete guide
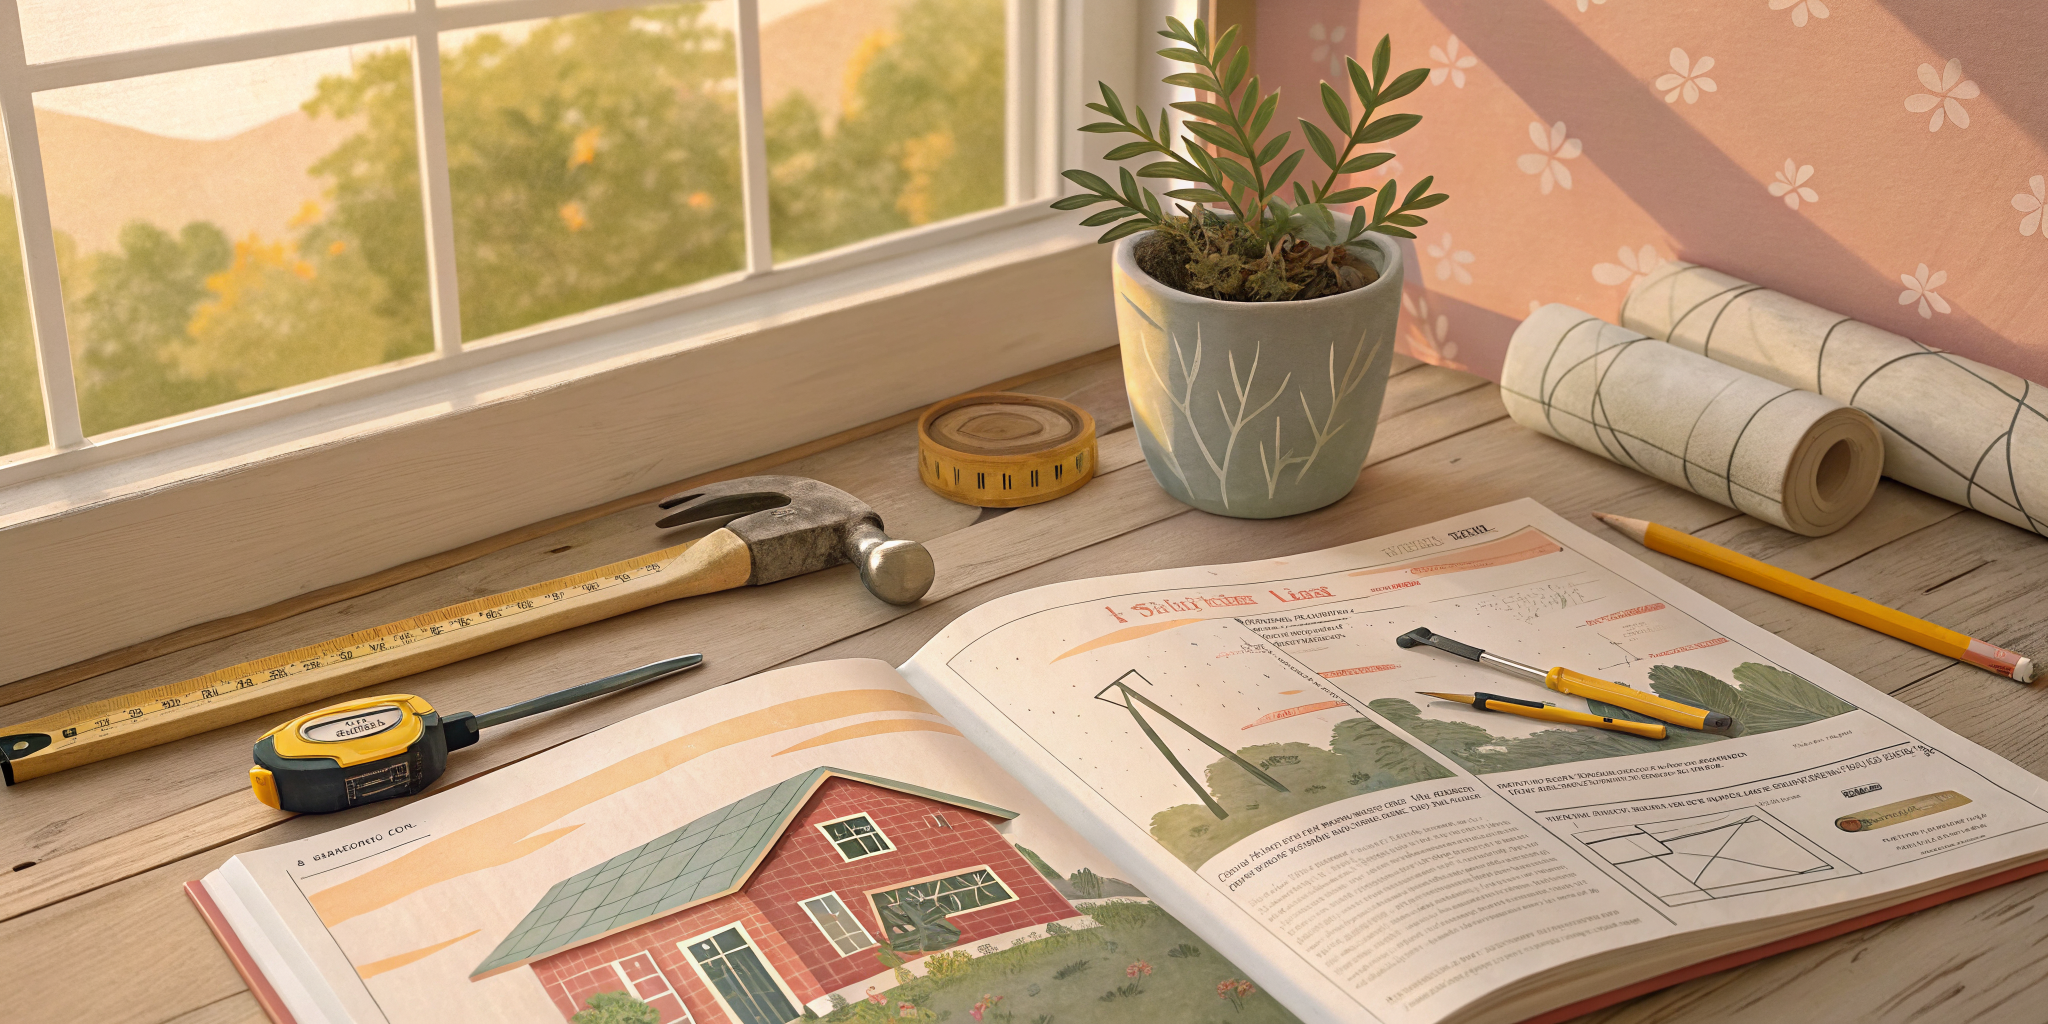
Home Improvement 101: A Beginner's Guide to DIY Projects
Published April 12, 2026
DIY home improvement for beginners is about starting with safe, low-risk projects that build skill and confidence before touching anything structural or electrical. Start with painting a room, patching drywall holes, and swapping out a light switch. Invest in a few quality tools once — a drill, a stud finder, a level, and a multi-tool — and they'll pay for themselves within three projects.
- Paint a room properly — cut in the edges first, then roll in W-shapes for even coverage.
- Patch drywall holes — four methods cover every hole from nail pop to fist-sized.
- Install floating shelves with hidden anchors — clean look, holds real weight, 45-minute project.
- Fix a running toilet or unclog a sink — plumbing fixes save the cost of a call-out every time.
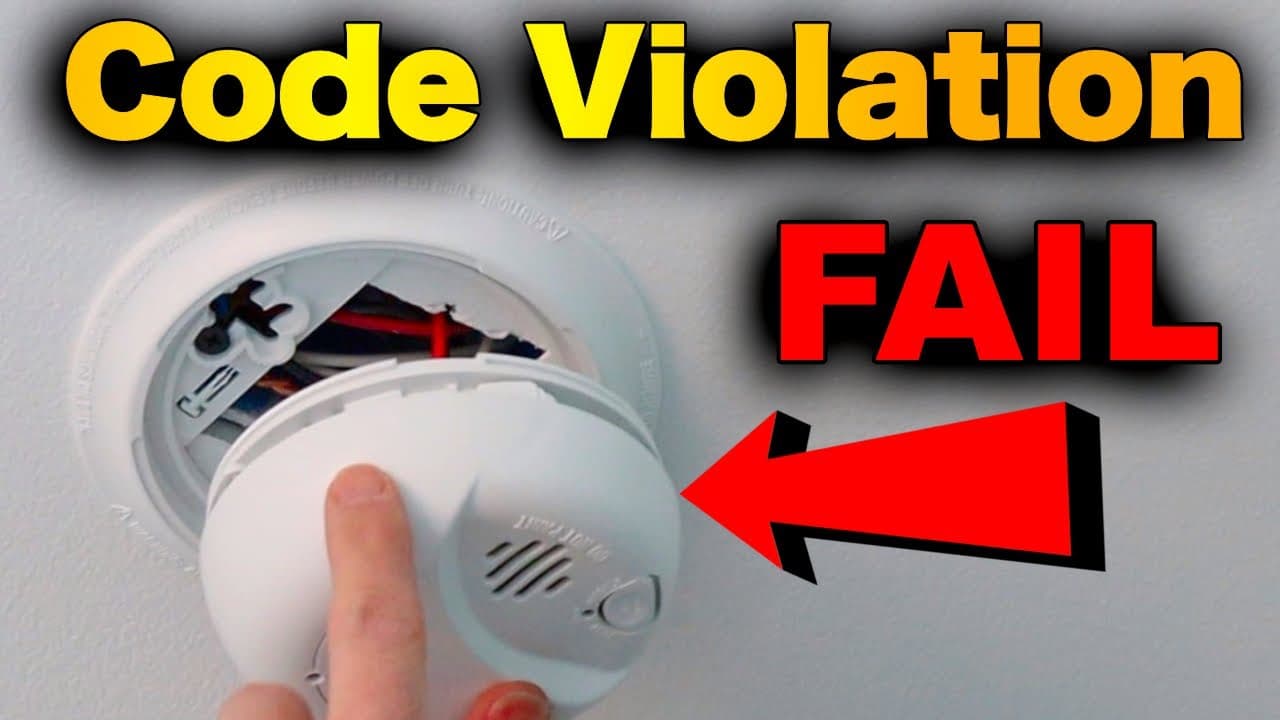
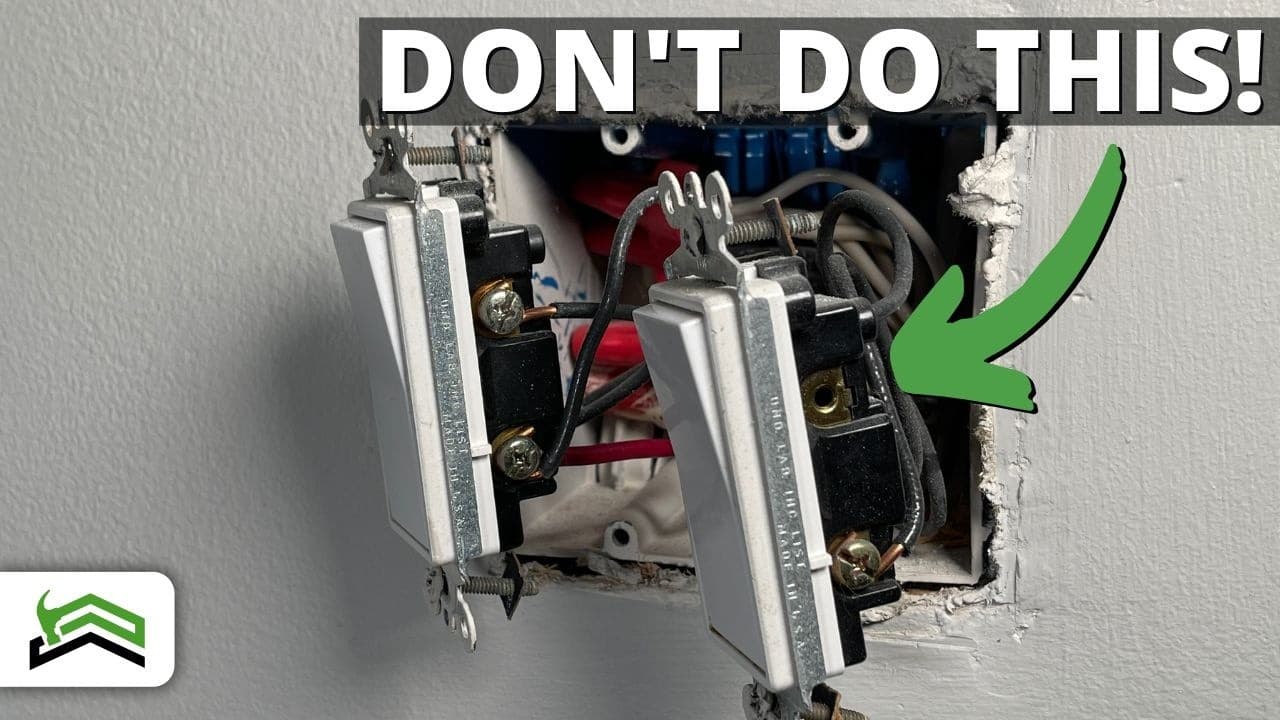
- Replace a light switch or install a ceiling fan — shut off the breaker first; the wiring itself is simpler than it looks.
Getting Started with Home Improvement
Every homeowner reaches a point where something needs fixing, updating, or flat-out replacing. Maybe the bathroom paint is peeling. Maybe the kitchen floor looks like it survived a war. Whatever brought you here, the good news is this: most home improvement projects are completely doable, even if you've never picked up a power tool.
This guide covers six foundational DIY projects that will save you real money and build your confidence for bigger jobs down the road. We're talking painting, flooring, shelving, drywall repair, plumbing fixes, and tile work. Each one is a skill you'll use again and again as a homeowner. And none of them require a contractor's license or a garage full of specialized equipment.
For even more project walkthroughs, check out our full home improvement tutorial library.
Before You Start: Building Your Tool Kit
You don't need to drop $500 at the hardware store before your first project. But having a core set of tools on hand will keep you from making three trips to Home Depot in one afternoon. Here's what every beginner should own:
- A cordless drill/driver. This is the single most useful tool you'll buy. A 20V lithium-ion model from DeWalt, Makita, or Ryobi will handle 95% of household tasks. Spend $80-120 and you'll have it for years.
- A tape measure. Get a 25-footer with a wide blade that stays rigid when extended. Stanley FatMax is the gold standard for a reason.
- A level. A 24-inch torpedo level works for most jobs. If you want to splurge, a laser level makes hanging shelves and pictures absurdly easy.
- A stud finder. The cheap magnetic ones work fine for most situations. Electronic models are more versatile but not strictly necessary starting out.
- Basic hand tools. A hammer, a set of screwdrivers (Phillips and flathead), pliers, an adjustable wrench, and a utility knife. Buy decent quality here. Cheap screwdrivers strip out fast and cheap pliers lose their grip.
- Safety gear. Safety glasses, work gloves, and a dust mask. Non-negotiable. Eye injuries from flying debris are the most common DIY accident, and they're 100% preventable.
One tip that saves a lot of frustration: read the entire tutorial or instruction manual before you start working. Not while you're working. Before. Knowing what comes next prevents the kind of mistakes that force you to undo an hour of progress.
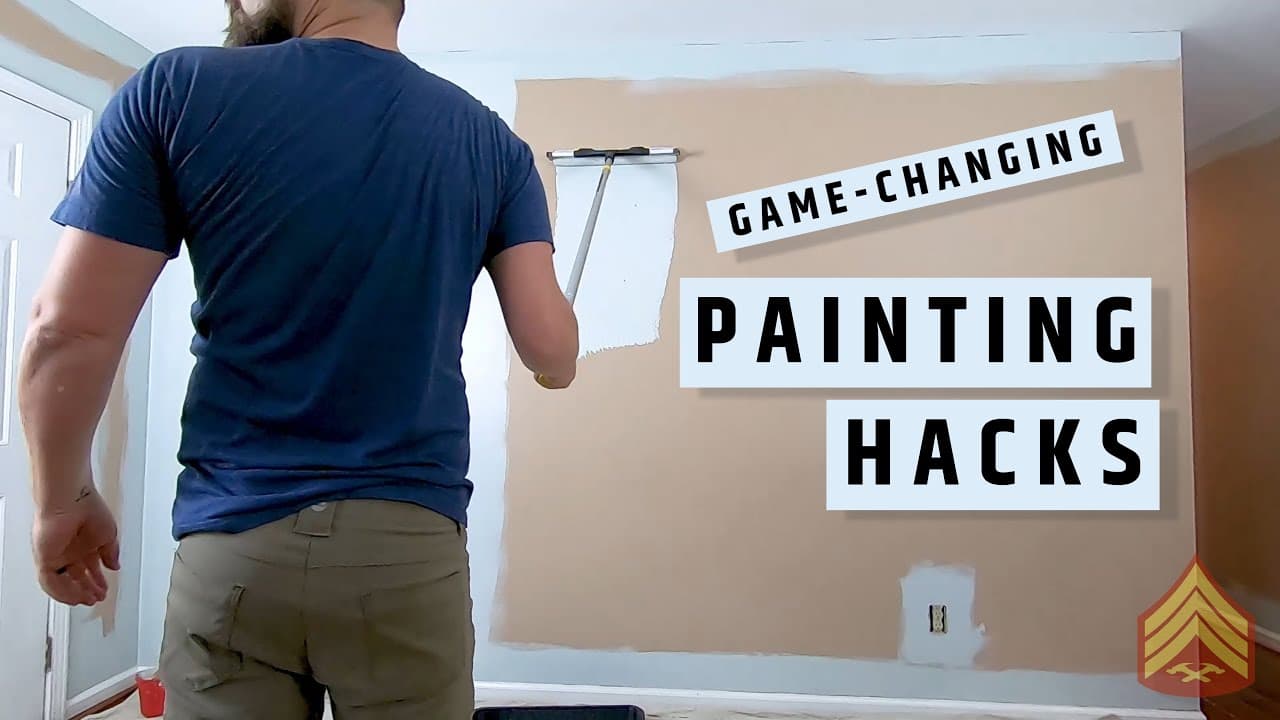
Painting a Room: The Best First Project
If you've never done any home improvement work, start with painting. The barrier to entry is low, the results are dramatic, and the worst-case scenario is that you paint over it and try again. A fresh coat of paint can make a tired room feel completely new, and it costs $30-60 in materials for an average bedroom.
The secret to a professional-looking paint job is preparation. Taping, priming, and cutting in clean edges account for about 80% of the final result. The actual rolling is the easy part. Most beginners rush the prep because they're excited to see color on the walls. Resist that urge.
Our step-by-step guide on how to paint a room like a pro walks you through the full process, from selecting the right sheen (flat for ceilings, eggshell or satin for walls, semi-gloss for trim) to loading your roller properly so you don't get drip marks.
Common Painting Mistakes to Avoid
- Skipping primer. If you're covering a dark color, going over stains, or painting new drywall, primer isn't optional. It saves you from needing three or four coats of finish paint.
- Using cheap rollers. A $7 roller cover lays down paint more evenly and sheds fewer fibers than a $2 one. This is not the place to save money.
- Removing tape too late. Pull your painter's tape while the final coat is still slightly tacky. Waiting until it's fully dry means you'll peel dried paint off with it, leaving ragged edges.
- Not maintaining a wet edge. If you let one section dry before blending into the next, you'll see lap marks. Work in sections and keep moving.
Flooring: A Weekend Project That Transforms a Room
Replacing flooring sounds intimidating, but modern laminate and luxury vinyl plank (LVP) products are specifically designed for DIY installation. Most use a click-lock system that snaps together without glue or nails. If you can use a tape measure and a saw, you can install a floor.
Laminate flooring is one of the best bang-for-your-buck upgrades you can make. Materials run $1-3 per square foot for decent quality, and a 12x12 room takes most beginners a full day. The key challenges are getting your first row perfectly straight (this sets the alignment for the entire room), making accurate cuts around door frames and obstacles, and leaving the right expansion gap along the walls.
Our tutorial on how to install laminate flooring for beginners covers all of this in detail, including how to undercut door jambs so the planks slide cleanly underneath instead of leaving ugly gaps.
Should You DIY Your Flooring?
Laminate and LVP in a standard rectangular room? Absolutely DIY it. Hardwood that needs to be nailed or glued down? That's doable but significantly harder and more expensive to fix if something goes wrong. Tile flooring in a bathroom with a shower? Call a professional. The waterproofing and slope requirements around drains are unforgiving, and water damage from a bad tile job can cost thousands.
A good rule of thumb: if a mistake means cosmetic damage, DIY it. If a mistake means structural or water damage, at least get a professional consultation before you commit.
Walls and Shelves: Repairs and Upgrades
Drywall damage is one of those things that looks worse than it actually is to fix. Doorknob holes, anchor holes from old picture frames, cracks along seams, dents from moving furniture. All of these are straightforward repairs once you know the right technique for the size of damage you're dealing with.
Small nail holes just need spackle and a putty knife. Medium holes (up to about 4 inches) use a self-adhesive mesh patch. Larger holes require cutting out a section and fitting in a new piece of drywall. Our guide to fixing holes in drywall using 4 easy methods breaks down exactly which approach to use based on the damage size, so you're not over-engineering a simple repair or under-building a patch that won't hold.
The trick with drywall repair is patience during the mudding and sanding stages. You'll need at least two coats of joint compound, and each one has to dry completely before you sand and apply the next. Rushing this step is how you end up with a visible patch that looks worse than the original hole.
Hanging Floating Shelves the Right Way
Once your walls are in good shape, floating shelves are a practical upgrade that adds storage and visual interest. They look clean and modern because the mounting hardware is hidden inside the shelf itself. But that hidden hardware also means the installation has to be precise. A shelf that's even slightly off-level is obvious, and one that's not anchored into studs properly will eventually pull out of the wall, especially if you load it with books.
Our walkthrough on how to install floating shelves with hidden anchors shows you how to locate studs, mark your bracket positions, and get everything level on the first try. The biggest mistake people make is relying on drywall anchors alone for heavy shelves. If you can hit at least one stud, do it. Your shelves will support three to four times more weight.
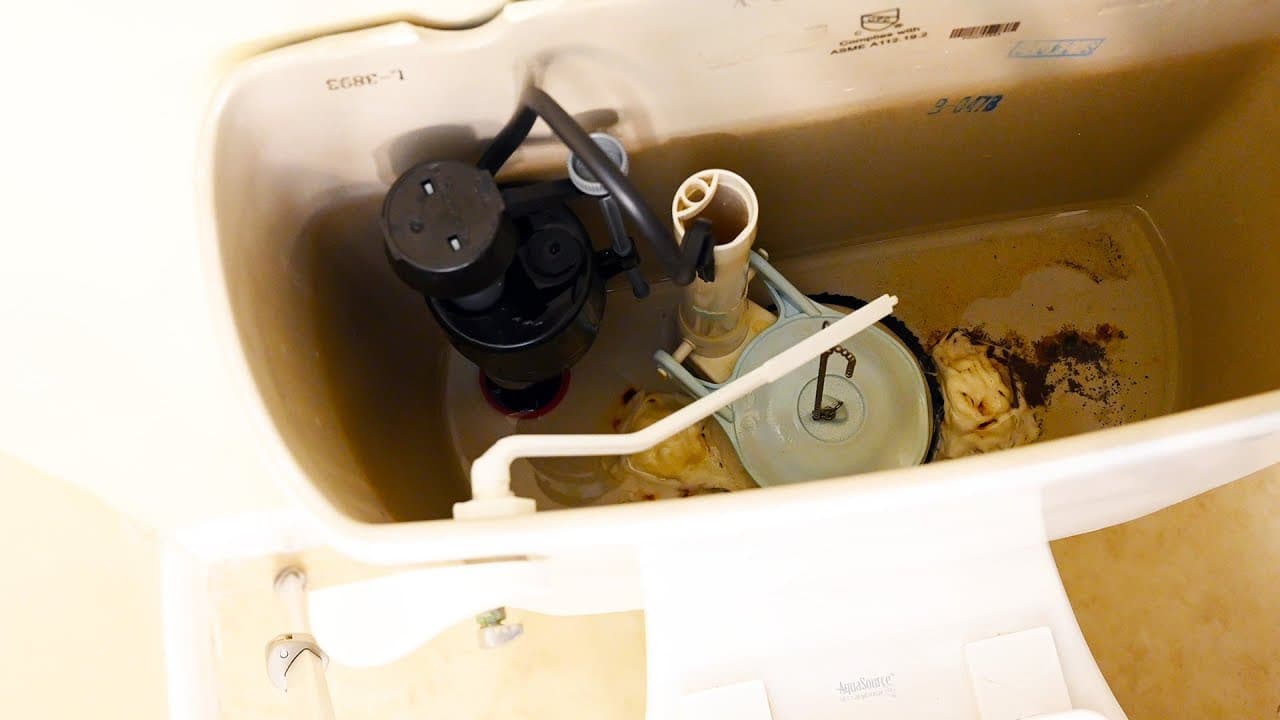
Plumbing: Fixing What's Broken
Plumbing scares people more than almost any other category of home repair. And for good reason: water damage is expensive, and a bad plumbing job can cause serious problems. But there's a huge difference between replacing a section of copper pipe in your walls (hire a plumber) and fixing common toilet and faucet issues (you can handle this).
A running toilet is one of the most common household plumbing problems. It wastes up to 200 gallons of water a day, and the fix usually takes less than 30 minutes with parts that cost under $20. In most cases, you're replacing the flapper valve, adjusting the fill valve, or replacing the flush valve seal. None of this requires soldering, special tools, or shutting off your main water supply.
Our tutorial on how to fix a running toilet walks through diagnosing which component is causing the problem and replacing it step by step. Most people are surprised at how simple toilet internals actually are once the tank lid comes off.
When to Call a Plumber
DIY these with confidence:
- Replacing a toilet flapper or fill valve
- Swapping out a showerhead
- Fixing a dripping faucet (usually a worn cartridge or washer)
- Unclogging a drain with a snake or plunger
- Replacing supply lines under sinks
Call a professional for these:
- Anything involving your main water line or sewer line
- Moving or adding new water supply or drain lines
- Water heater installation or repair
- Frozen pipes (the risk of a burst pipe is too high to experiment)
- Any job that requires a permit in your municipality
Tile Backsplash: High Impact, Lower Risk
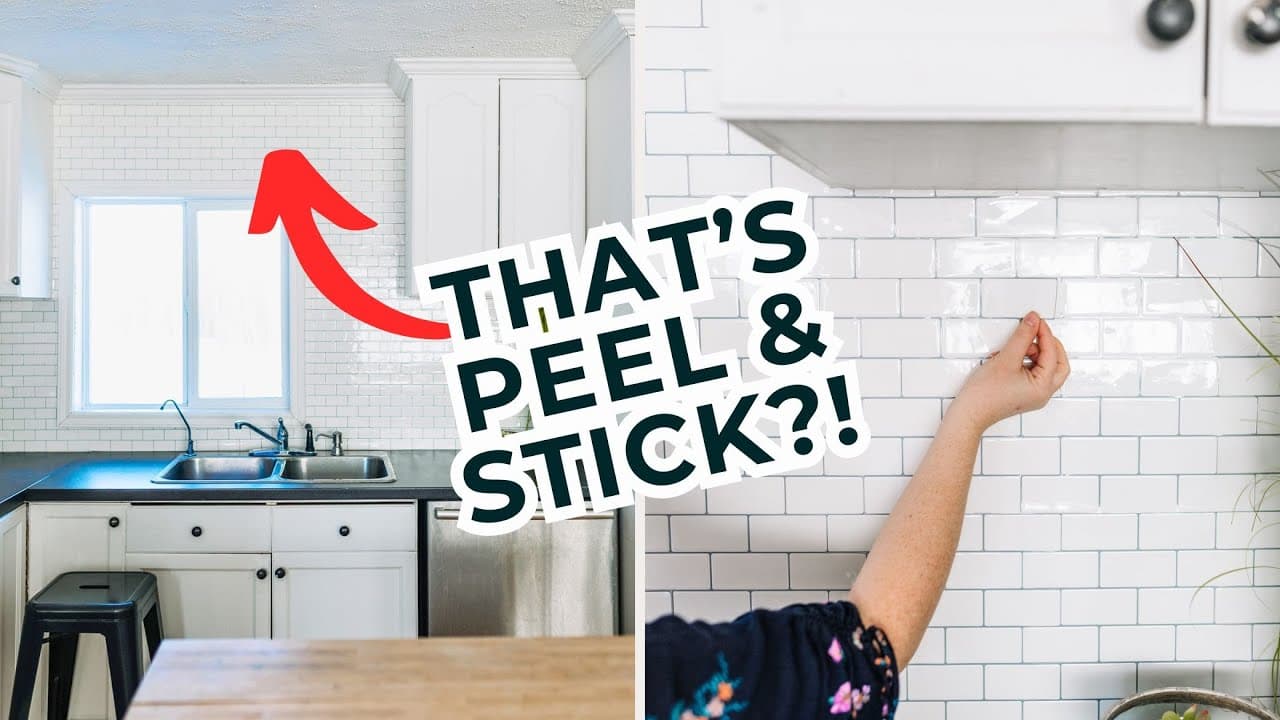
A tile backsplash is one of those projects that looks like it belongs on a renovation show but is actually well within beginner territory. Peel and stick tiles have made this even more accessible. You skip the mortar, the troweling, the grout, and the lengthy curing times. You measure, cut, peel the backing, and press the tile to the wall.
The result looks remarkably close to traditional tile, especially with the newer vinyl and gel-based products. And because the adhesive is pressure-sensitive rather than permanent, you can reposition tiles during installation and remove them later without destroying the wall underneath. That makes peel and stick an especially good option for renters or anyone who changes their mind about design choices every few years.
Our guide on how to install peel and stick tile backsplash covers surface preparation (this is critical for adhesion), layout planning so you don't end up with awkward thin slivers at the edges, and cutting tiles cleanly around outlets and corners.
Tips for a Clean Tile Installation
- Plan your layout on paper first. Measure your wall, sketch the tile pattern, and figure out where cuts will fall. Centering your layout so the cut pieces on each end are roughly equal makes a big visual difference.
- Clean the wall thoroughly. Grease, dust, and old paint residue will prevent adhesion. Wipe down with TSP or a degreaser, let it dry completely, and lightly sand glossy surfaces.
- Use a straight edge or laser level for your first row. Countertops aren't always level. If you just stack tiles up from the counter, your rows will follow that unevenness. Snap a level line and start from that instead.
- Buy 10-15% extra material. Cuts, mistakes, and future repairs all eat into your supply. Running out mid-project and finding the store no longer stocks your exact tile is a nightmare you can avoid with one extra box.
What to Tackle Next
Once you've knocked out a few of these foundational projects, you'll have the skills and confidence to take on bigger jobs. A natural progression from here might include:
- Replacing interior doors and hardware. Pre-hung doors simplify the process significantly, and new hardware updates the look of every room for minimal cost.
- Installing a ceiling fan. If there's already an electrical box in the ceiling, this is a straightforward swap. If there isn't, you'll need an electrician to run the wiring.
- Building a simple deck or patio. A ground-level deck is a manageable weekend project for someone comfortable with a circular saw and a drill.
- Upgrading light fixtures and switches. Swapping a builder-grade fixture for something with more character takes about 20 minutes per fixture. Smart switches and dimmers add convenience and can reduce your electric bill.
The most important thing is to keep building on what you've learned. Every project teaches you something about how your house is put together, and that knowledge compounds. The person who has painted a room, patched drywall, and fixed a toilet understands their home in a way that someone who just calls a handyman for everything never will.
Browse our full collection of home improvement tutorials to find your next project. Each one includes detailed step-by-step instructions, tool lists, and material estimates so you know exactly what you're getting into before you start.
Frequently Asked Questions
What home repairs should every homeowner know?
The five repairs that pay for themselves in the first year of ownership are: fixing a running toilet, replacing a light switch, patching drywall, resetting a tripped breaker, and unclogging a sink. Each one is under 30 minutes and costs less than a single service call.
What's the easiest DIY home improvement to start with?
Painting a room is the lowest-stakes upgrade for new DIYers. The mistakes are reversible (paint over them), the tools cost under $50, and one weekend transforms how a room feels. After paint, move to peel-and-stick projects (tile backsplash) before tackling anything wet, electrical, or structural.
What tools does a beginner need for home repairs?
The starter kit is a cordless drill, tape measure, level, stud finder, screwdriver set, utility knife, adjustable wrench, and a small hammer. Add a multimeter and a basic wire stripper before any electrical work. A 5-gallon bucket and a shop vac save more time than people expect — buy them with the drill.
How do I know if a project is a DIY or a "call a pro"?
Three rules: any project that breaks the building envelope (roof, exterior walls, foundation), any project that involves gas lines, and any project requiring a permit you don't want to pull yourself. Within those bounds, most homeowners can do far more than they think — the real DIY skill is research, patience, and turning off the right circuit before unscrewing anything.
How long does a basic home repair actually take a beginner?
Plan for 2-3× the time an experienced person would take. A pro replaces a light switch in 5 minutes; your first one will take 30. The middle of the project is when surprises appear — a wire that's not coded right, a stripped screw, the wrong-size box. Build buffer into your weekend plans and you'll finish smiling instead of frustrated.
What's the most common DIY mistake?
Skipping prep. Painters skip taping; tilers skip leveling; carpenters skip measuring twice. Prep takes 60% of the time on every project but pros don't shortcut it because it's what makes the result look professional. The second-most-common mistake is buying the cheapest tool — a $40 drill that fails in six months costs more than a $90 drill that lasts a decade.
Tutorials in This Guide
147 step-by-step tutorials

How to Turn Off iPhone (4 Ways)

How to Use FaceTime: iPhone Beginner's Guide in 7 Steps
How to Restart Your Router

When to Harvest Onions

How to Factory Reset a Mac in 7 Steps
How to Test a Carbon Monoxide Detector (Real-CO Method)

How to Install a Rain Barrel

How to Transfer Photos from iPhone to Computer

How to Update Your iPhone in 6 Steps

How to Install a Deadbolt Lock (DIY Door Security in 1 Hour)

How to Make Stepping Stones with a Pebble Mosaic

How to Harvest Sage

How to Harvest Lettuce
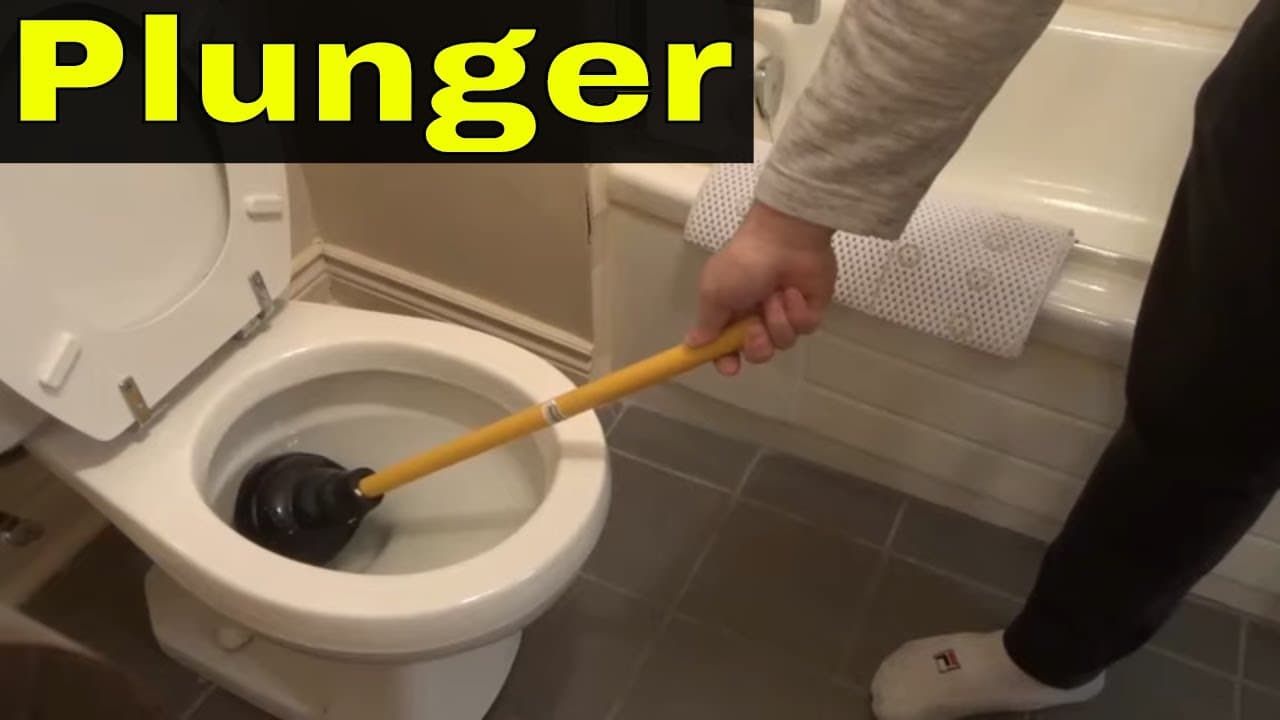
How to Plunge a Toilet
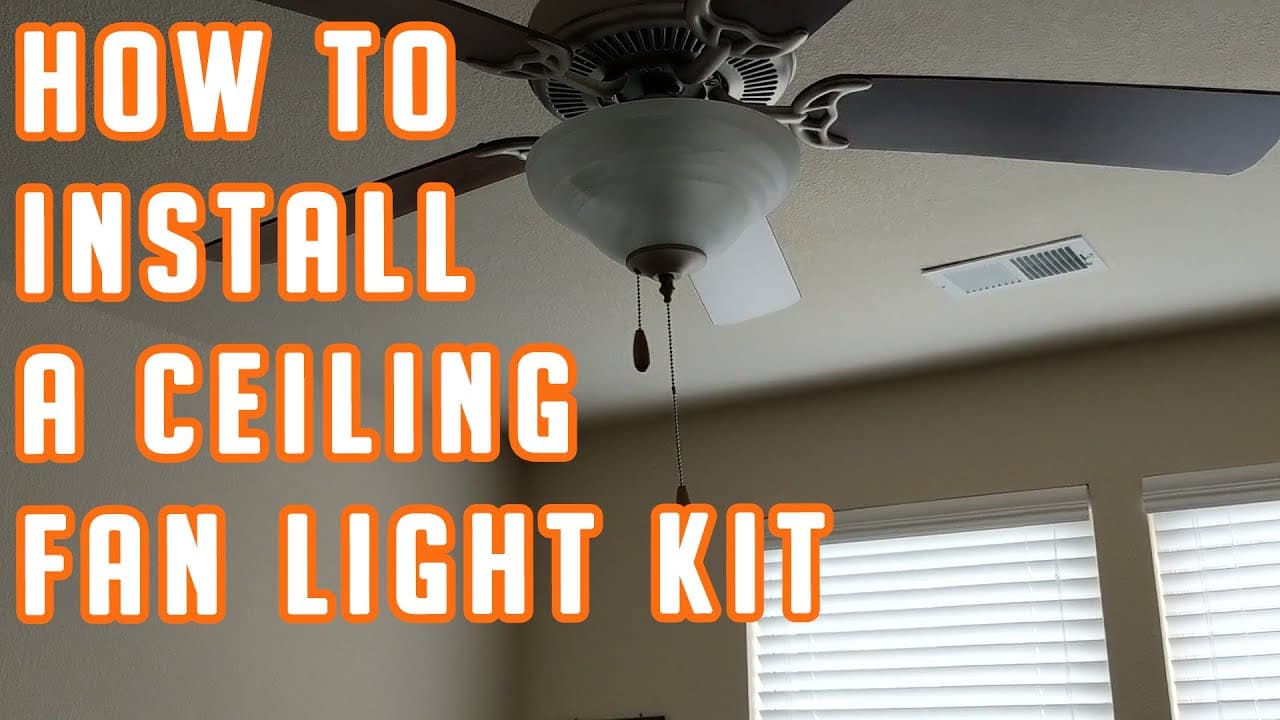
How to Install a Ceiling Fan with Light Kit
How to Dry Basil at Home
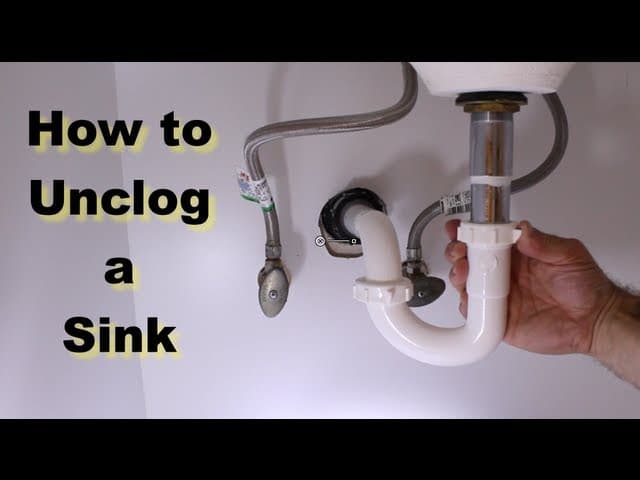
How to Unclog a Sink the Right Way
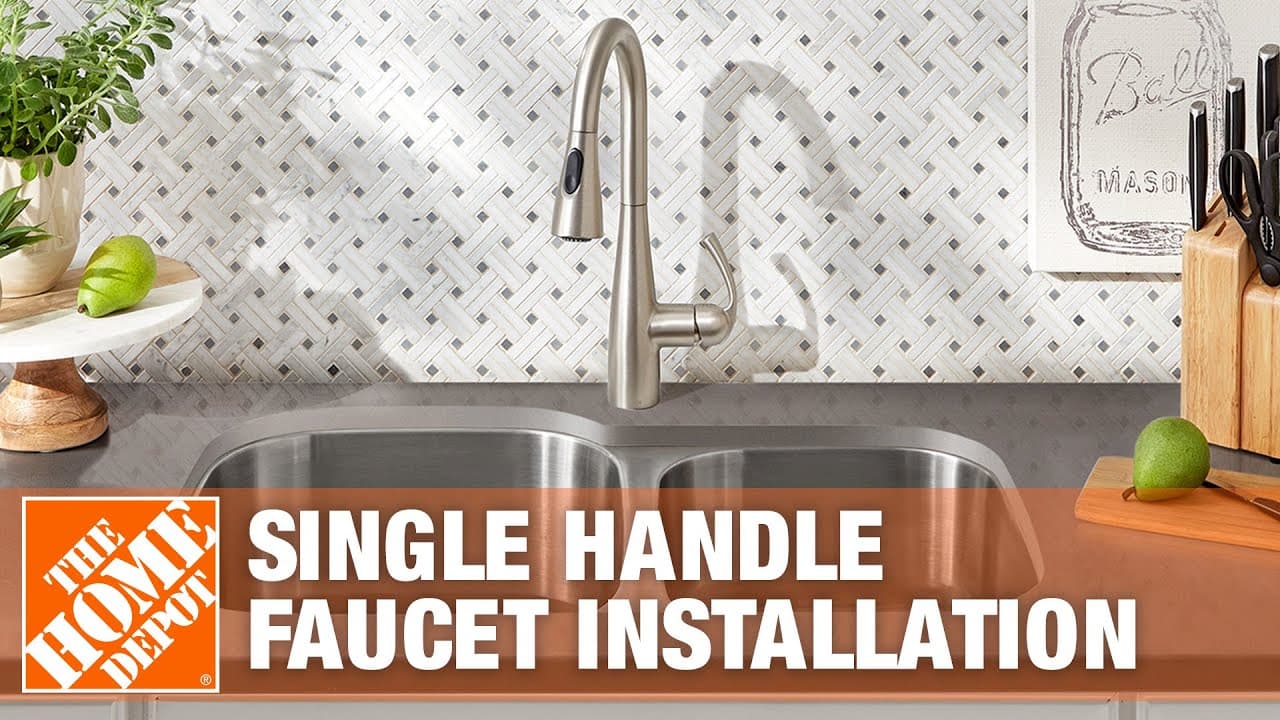
How to Install a Kitchen Faucet in 7 Steps

How to Change Your WiFi Password in 8 Steps

How to Install a Sump Pump
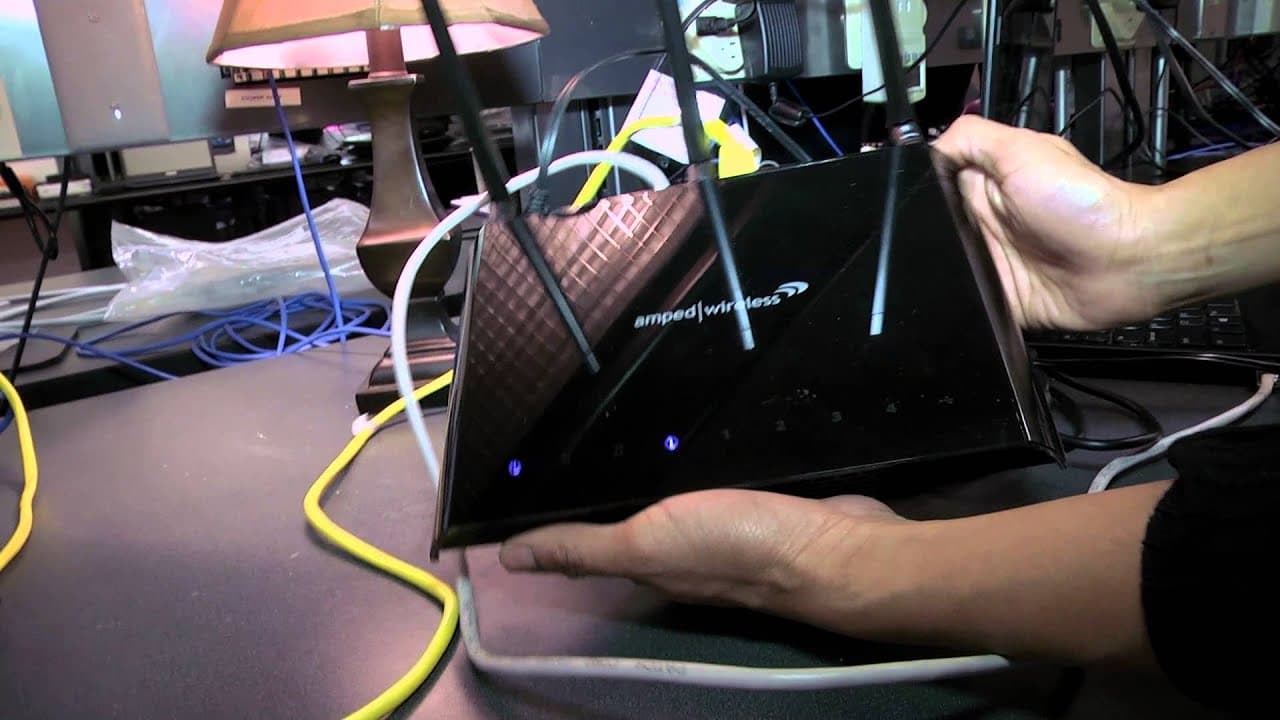
How to Set Up a Wireless Router (Beginner's Step-by-Step)

How to Reset AirPods, AirPods Pro, and AirPods Max

How to Clear Cache in Chrome

How to Install Kitchen Cabinets

How to Screen Record on iPhone or iPad

How to Plant Onion Sets the Right Way
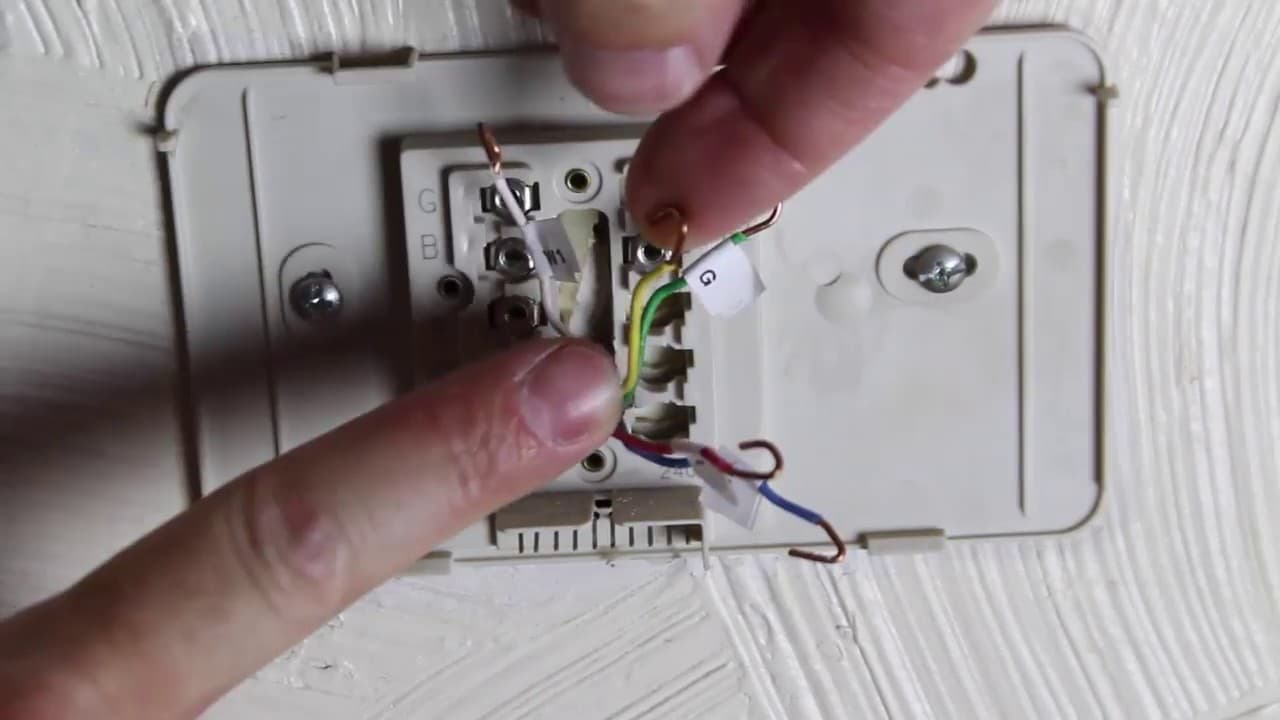
How to Install a Thermostat in 7 Steps

How to Mirror Your iPhone (Step by Step Screen Mirroring)
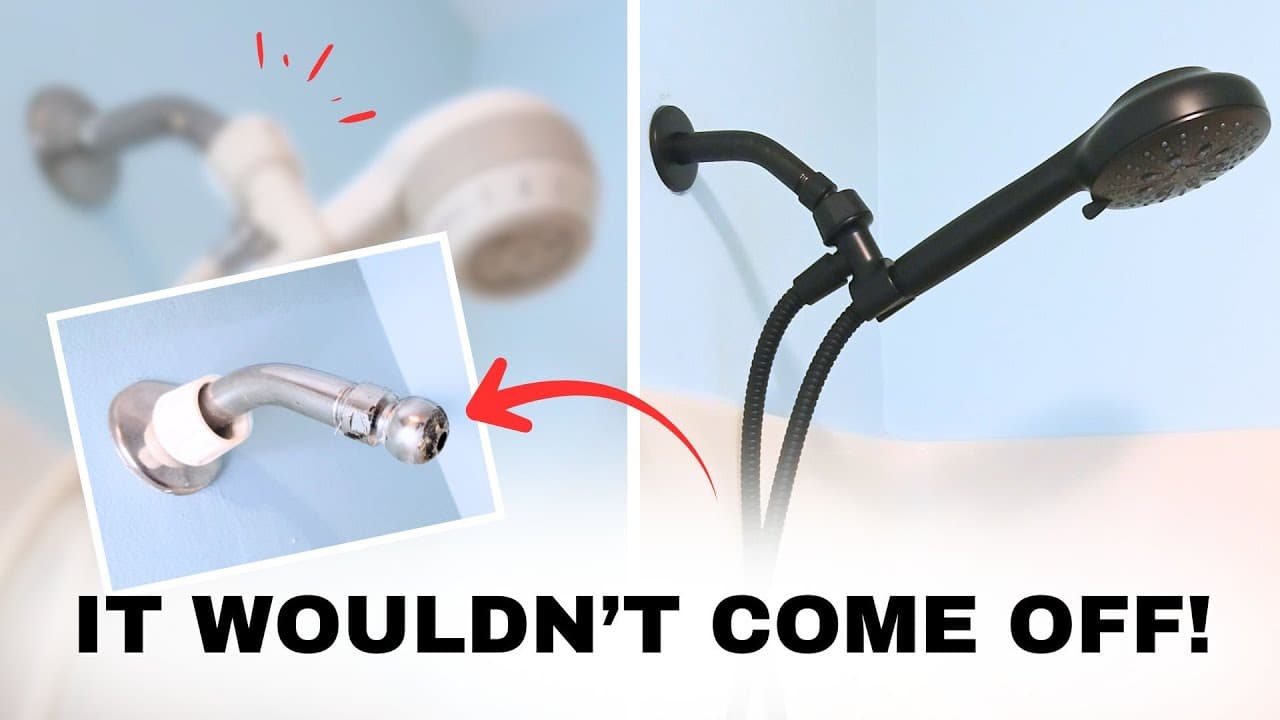
How to Replace a Shower Head in 7 Steps

How to Use Google Slides - Beginner's Guide

How to Pressure Wash a Driveway
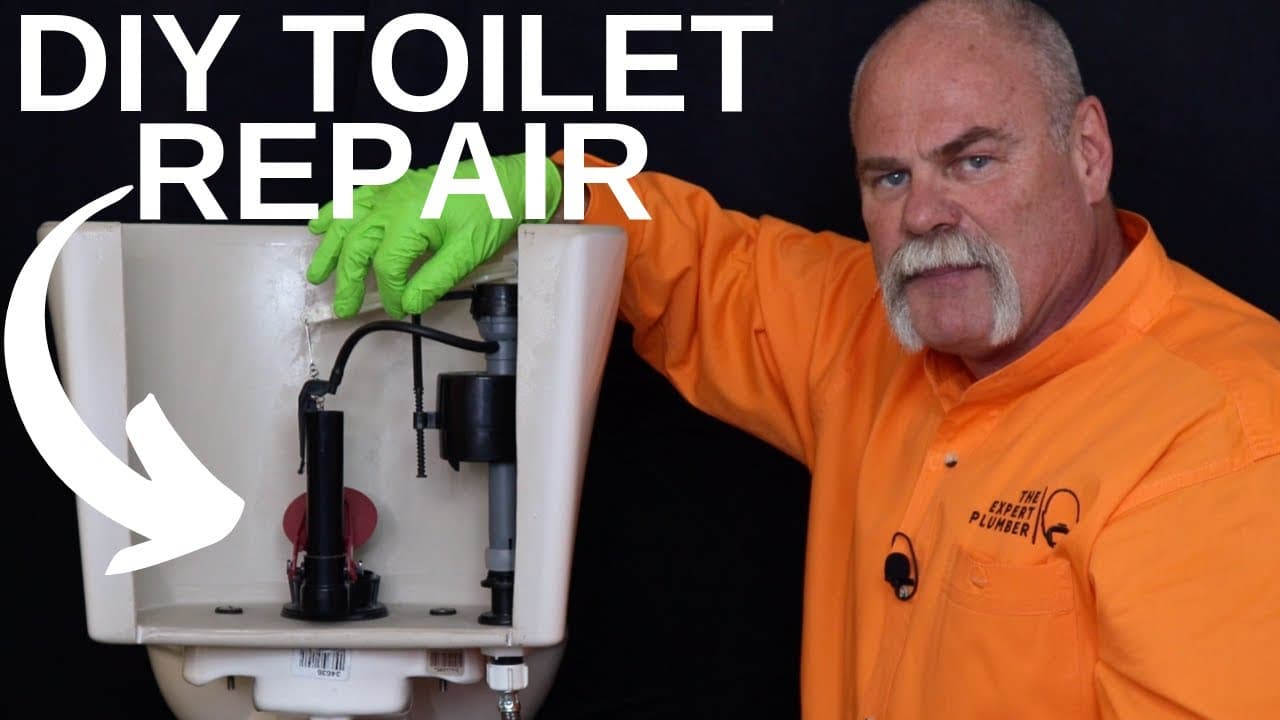
How to Fix a Running Toilet

How to Use Google Sheets - Beginner's Guide

How to Grow Cucumbers Vertically
How to Install a Smoke Detector (Step by Step)

How to Install a Smart Lock
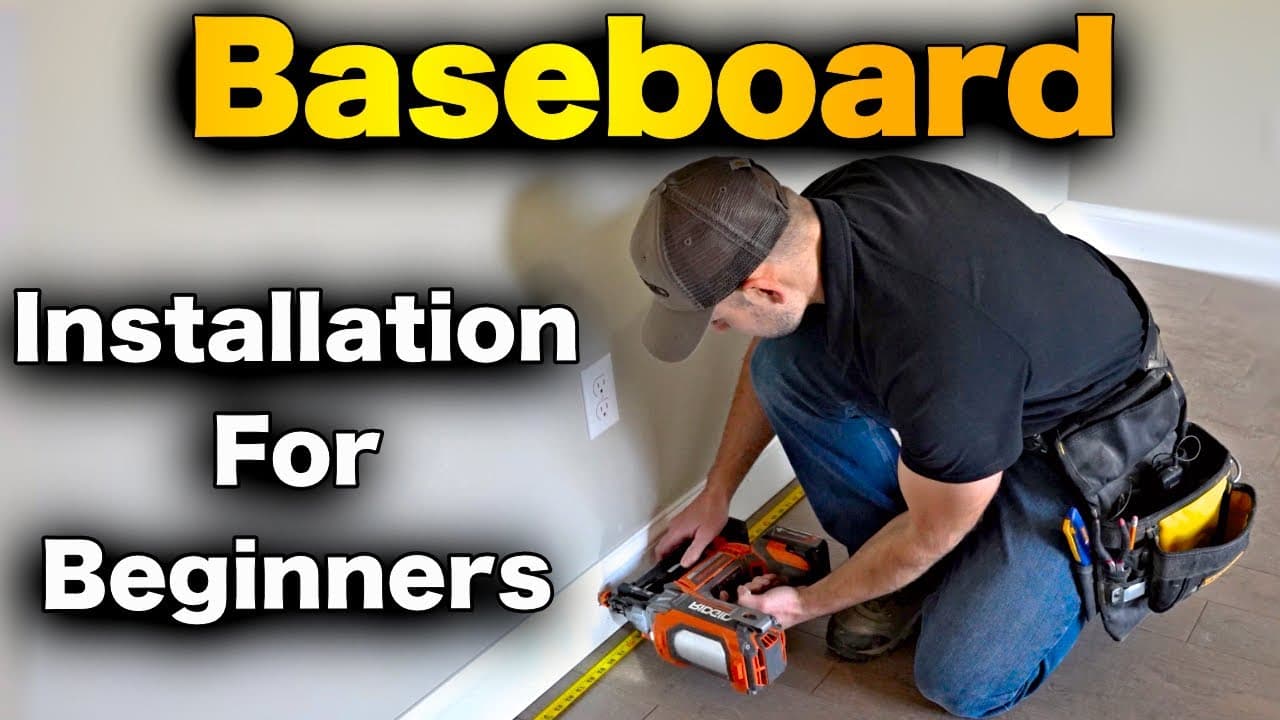
How to Install Baseboards (Step by Step)

How to Clear Cache on iPhone

How to Factory Reset an iPad

How to Prune Roses - 7 Common Rules Explained

How to Epoxy a Garage Floor

How to Take a Screenshot on iPhone

How to Prune Tomato Plants for Maximum Yield (8-Step Guide)

When to Harvest Garlic (5 Signs Your Crop Is Ready)

How to AirDrop in 7 Steps

How to Use Google Docs - Beginner's Guide

How to Prune Hydrangeas (All Varieties, Step-by-Step)

How to Harvest Rosemary (Without Killing the Plant)

How to Harvest Mint to Keep It Bushy
How to Replace a Light Switch

How to Fix a Leaky Faucet

How to Deadhead Geraniums (The Right Way for More Blooms)

How to Propagate Pothos: 2 Easy Water-Rooting Methods
How to Harvest, Dry, and Store Oregano

How to Harvest Tomatoes (When and How to Pick for Best Flavor)

How to Set Up and Use Apple Pay

How to Set Up a New iPhone

How to Install a Sliding Barn Door

How to Install a Bathroom Faucet

How to Make a Bird Feeder
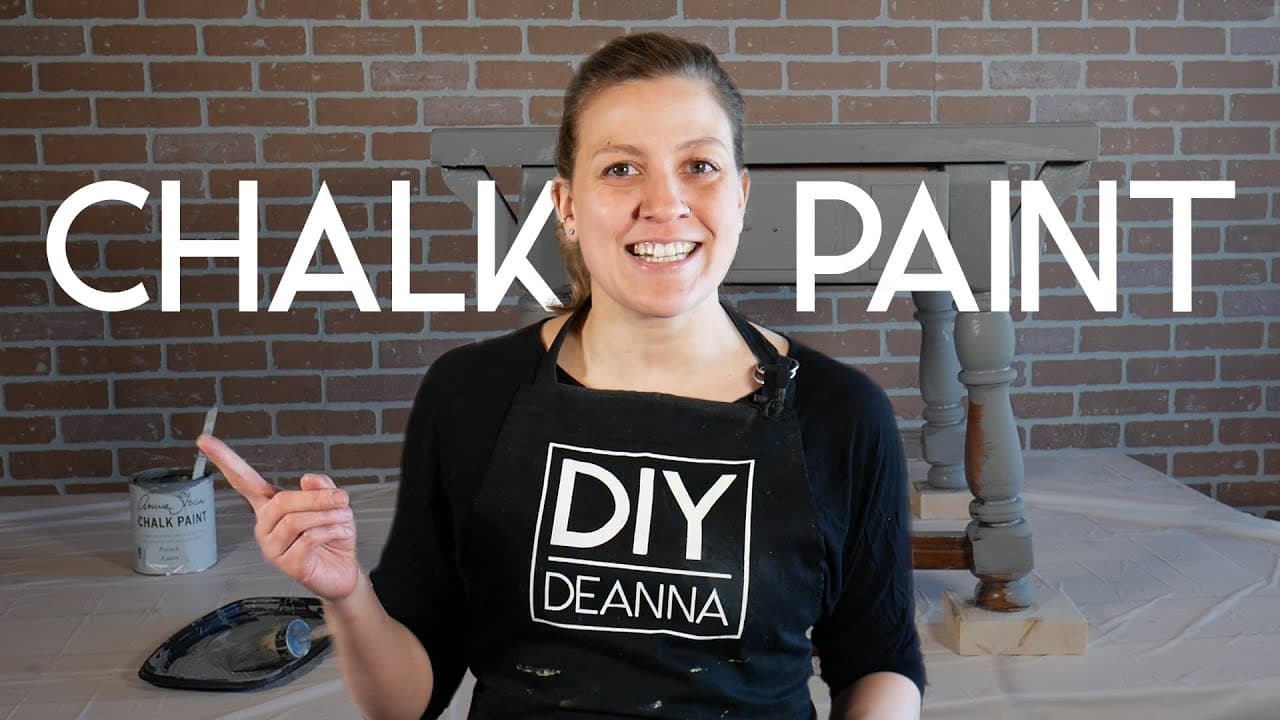
How to Flip Furniture - 7-Step Chalk Paint Guide for Beginners

How to Build a Cedar Birdhouse
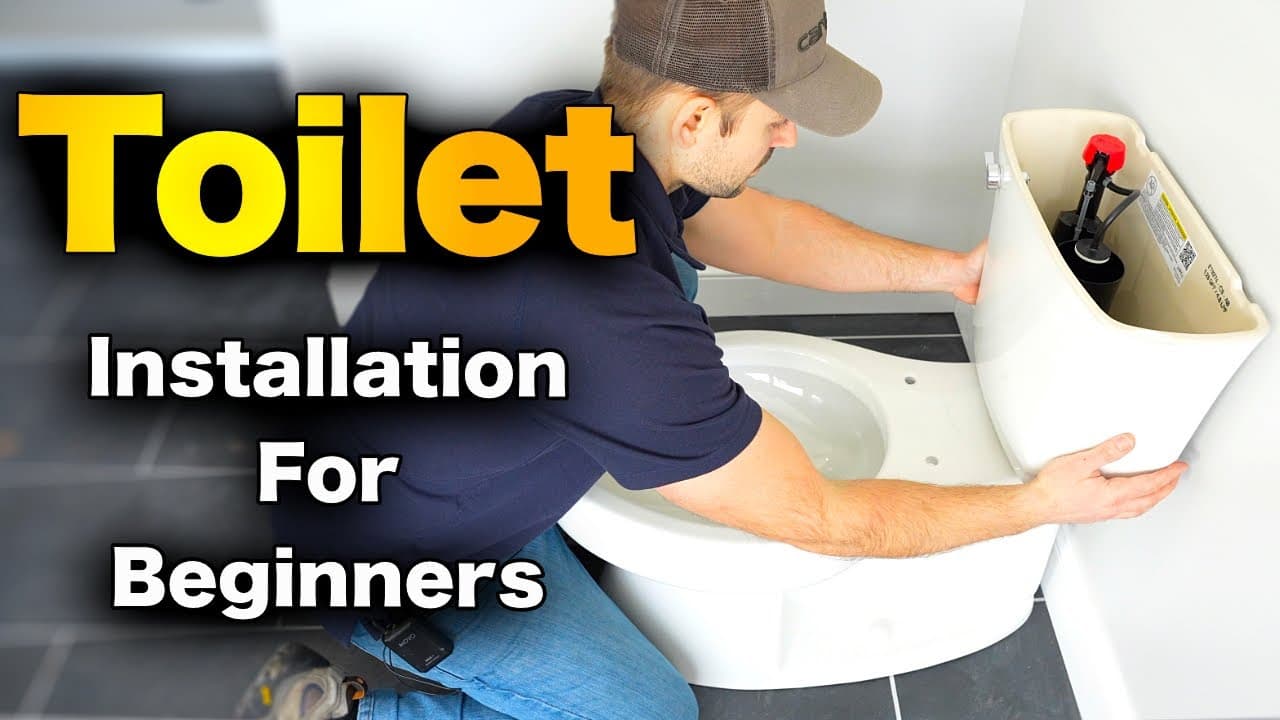
How to Install a Toilet in 7 Steps

How to Use Excel VLOOKUP for Beginners

How to Install Peel and Stick Wallpaper
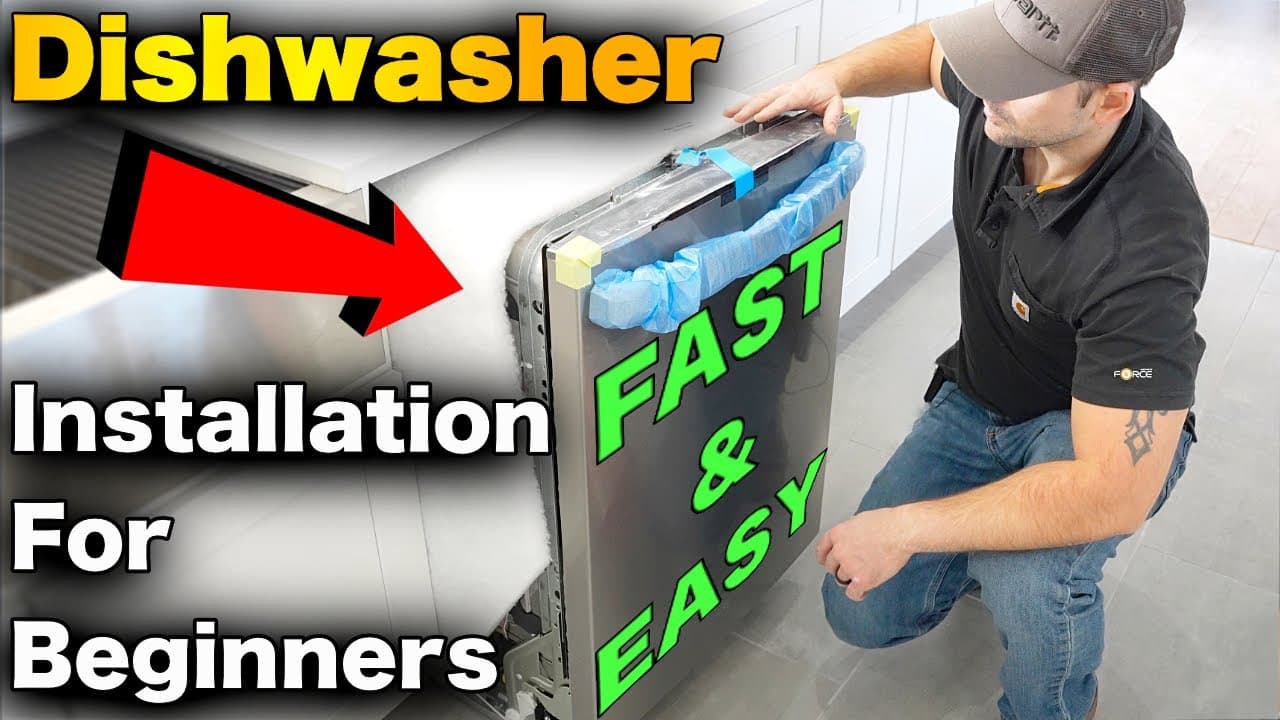
How to Install a Dishwasher in 7 Steps
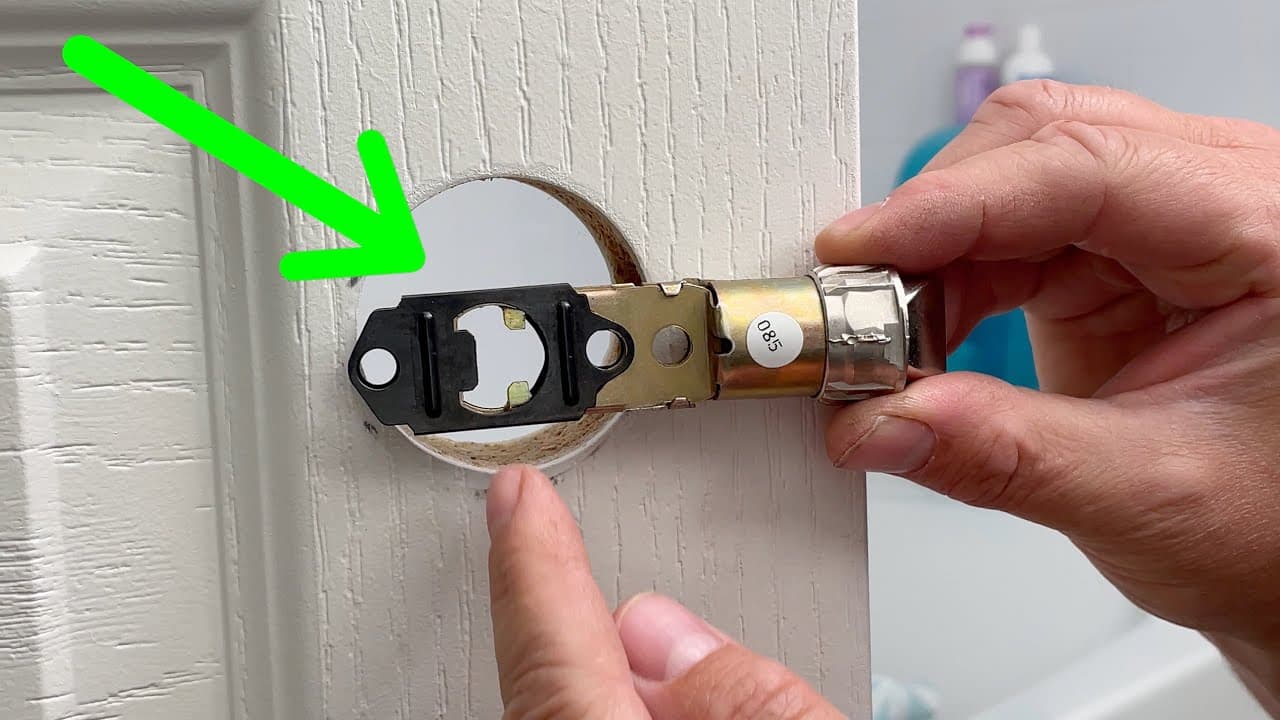
How to Install a Doorknob in 7 Steps
How to Install Peel and Stick Tile Backsplash

How to Install a Ring Video Doorbell

How to Build a Fire Pit
How to Factory Reset Windows 11 (7 Easy Steps)

How to Harvest Dill So It Keeps Growing
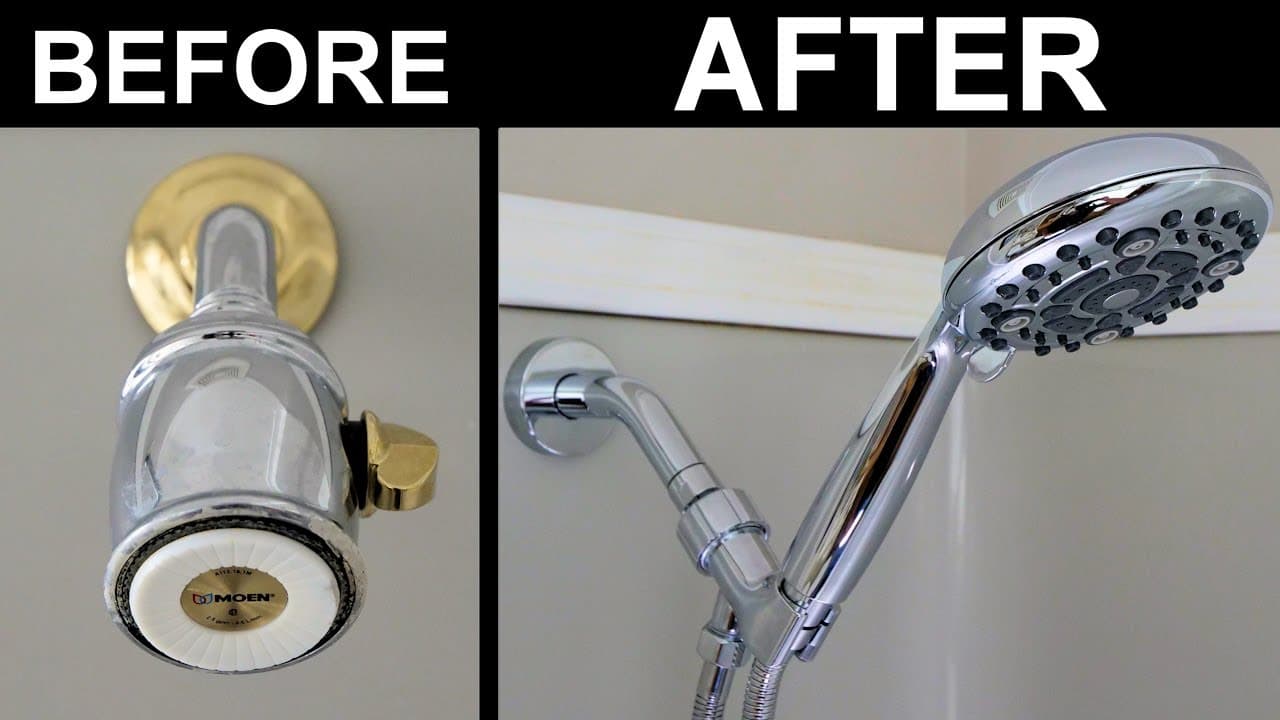
How to Replace a Showerhead
How to Take a Screenshot on Dell (5 Easy Methods)
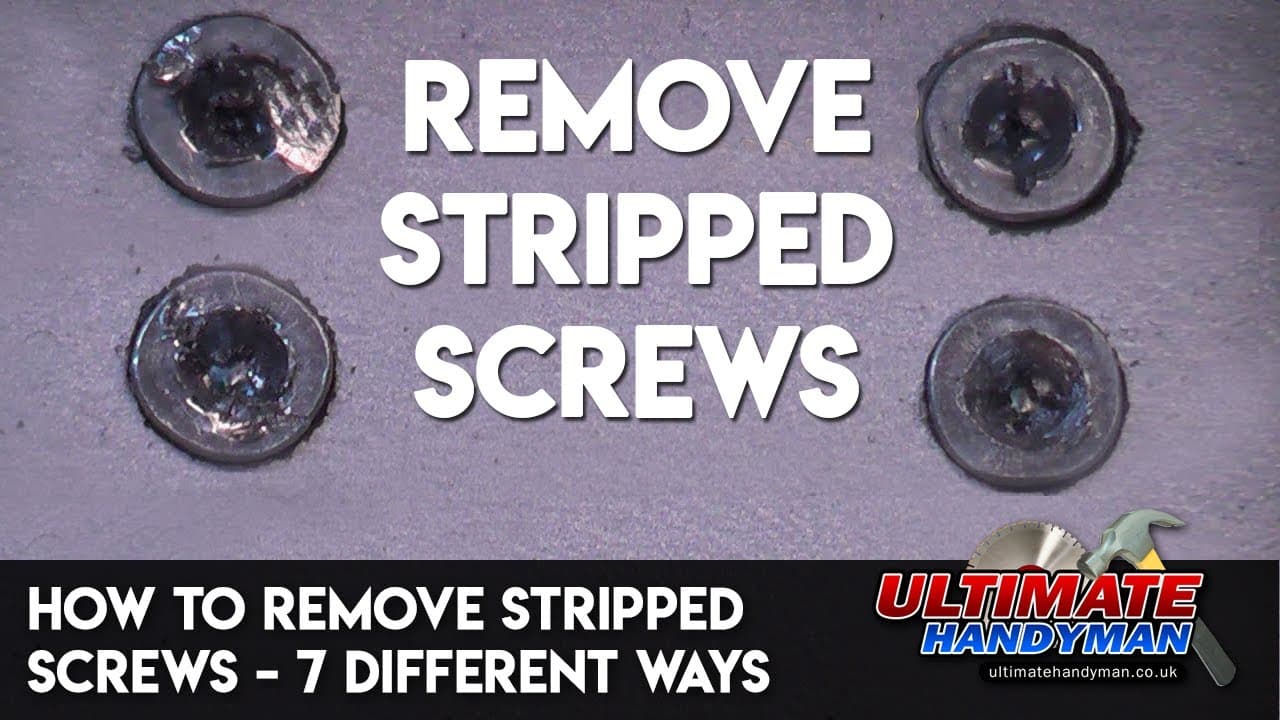
How to Remove a Stripped Screw

How to Propagate a Spider Plant (Water and Soil Methods)
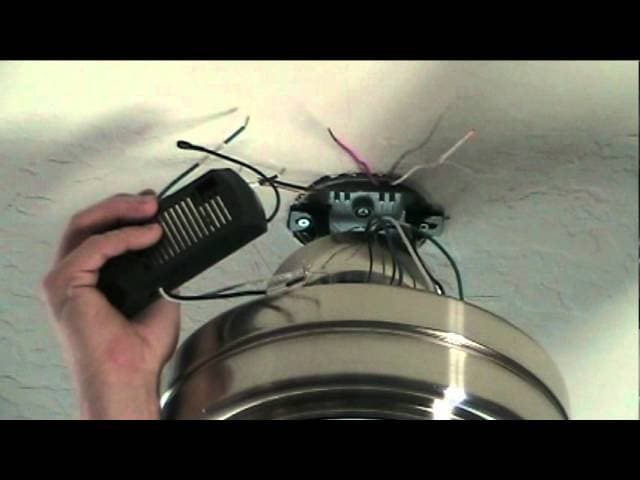
How to Install a Ceiling Fan
How to Paint a Room Like a Pro
How to Install an Interior Door

How to Install a Screen Door

When to Harvest Potatoes (5 Signs They're Ready)
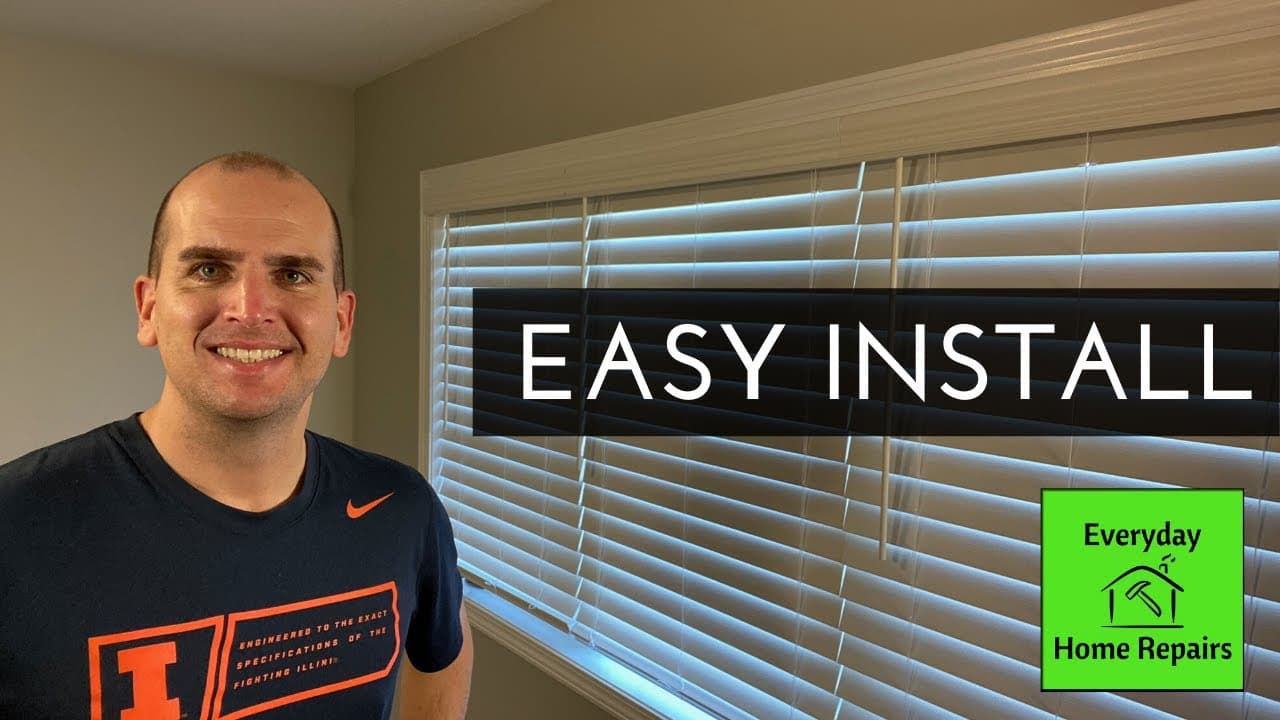
How to Install Window Blinds (Inside Mount)
How to Mulch a Flower Bed
How to Replace a Toilet Flapper

How to Install Laminate Flooring for Beginners

How to Build a Garage Workbench
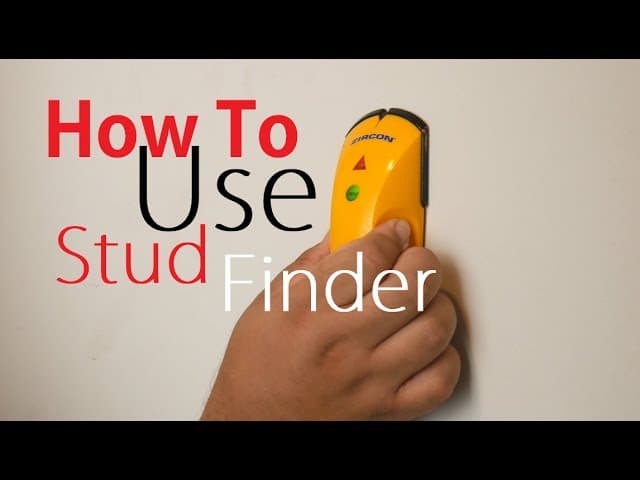
How to Use a Stud Finder

How to Install a Garage Door Opener

How to Take a Screenshot on Android
How to Take a Screenshot on a Chromebook (Full, Partial, and Window)

How to Plant Tomatoes: 8-Step Beginner Guide

How to Dry Chives (Plus Freezing for Long-Term Storage)

How to Take a Long Screenshot on iPhone
How to Deadhead Roses
How to Install Floating Shelves with Hidden Anchors

How to Dry Sage (Step by Step Guide for Storage)

How to Grow Zucchini Vertically - Save Space and Get More Harvests

How to Factory Reset a Chromebook (Powerwash, Even on a Managed Device)

How to Make a Succulent Terrarium

How to Dry Rosemary - 4 Methods That Actually Work

How to Plant Garlic

How to Build Raised Garden Beds: 7 Step DIY Guide With Corrugated Metal

How to Install a Ceiling Light

How to Start Seeds Indoors (Beginner's Complete Guide)

How to Grow Tomatoes From Seed: 7 Step Beginner Guide

How to Harvest Cilantro (Without It Bolting)

How to Mount a TV on the Wall

How to Dry Lavender at Home
How to Back Up an iPhone (iCloud, Mac, or Windows)

How to Deadhead Petunias (Step by Step)

How to Use Apple Pay: Pay at Stores, in Apps, and Online
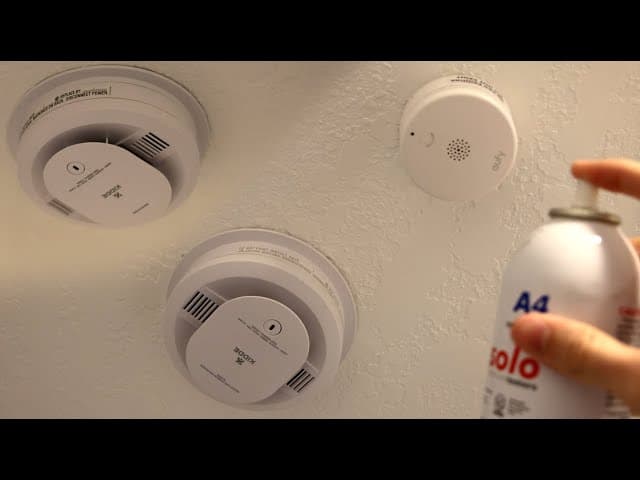
How to Test a Smoke Detector (Monthly + Yearly Safety Check)

How to Deadhead Marigolds (For Continuous Summer Blooms)
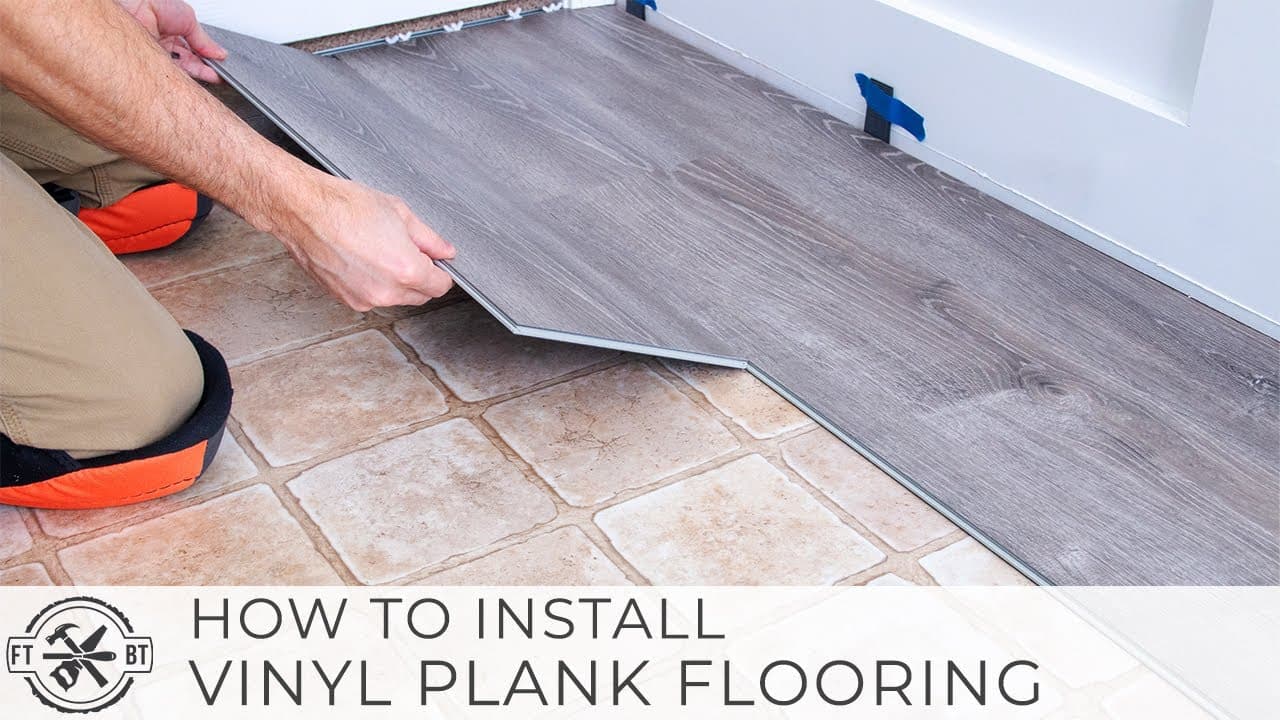
How to Install Vinyl Plank Flooring in 7 Steps

How to Grow Onions from Seed (Beginner Start to Finish)

How to Factory Reset HP Laptop: Restore Windows 11 to Factory Settings
How to Factory Reset Any Android Phone in 7 Steps

How to Install a Tankless Water Heater

How to Grow Herbs Indoors

How to Grow Microgreens Indoors
How to Share Your Location on iPhone Using Find My

How to Take a Screenshot on Mac

How to Take a Screenshot on Windows
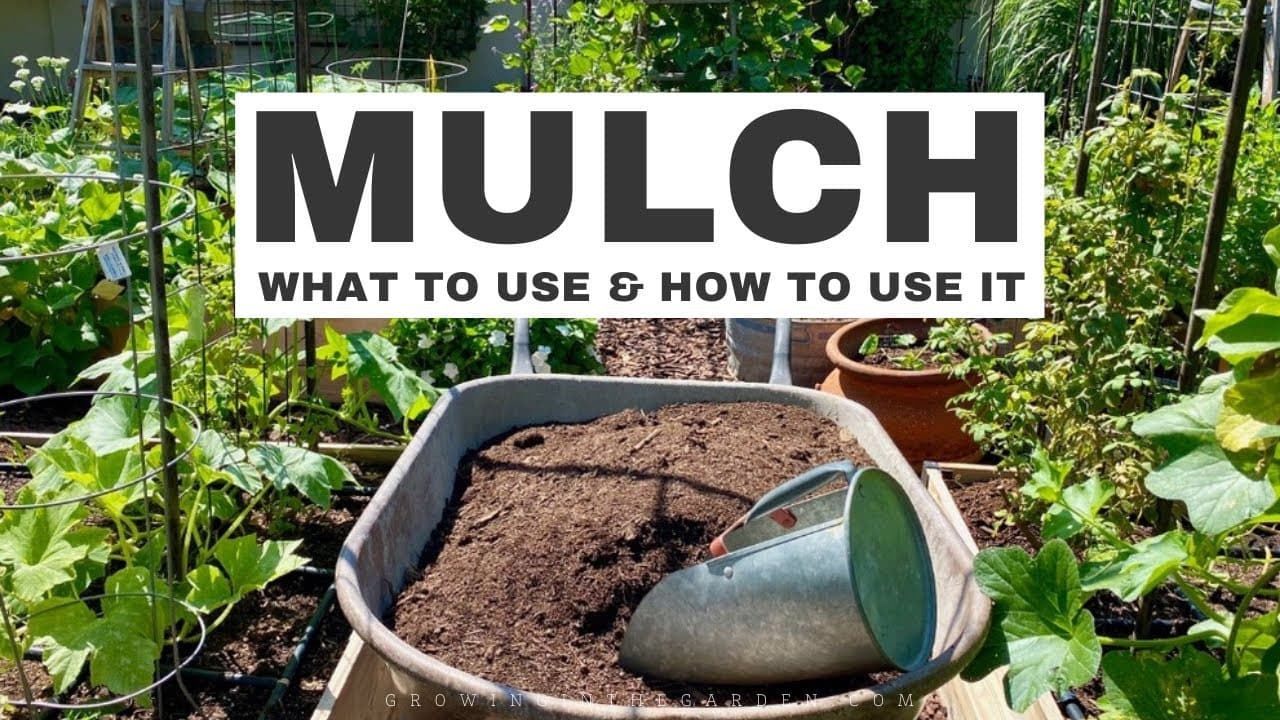
How to Mulch a Garden Bed (5 Mulch Types Compared)

How to Propagate Succulents (Dry Propagation Method)

How to Harvest Basil (Without Killing Your Plant)

How to Harvest Parsley So It Keeps Growing
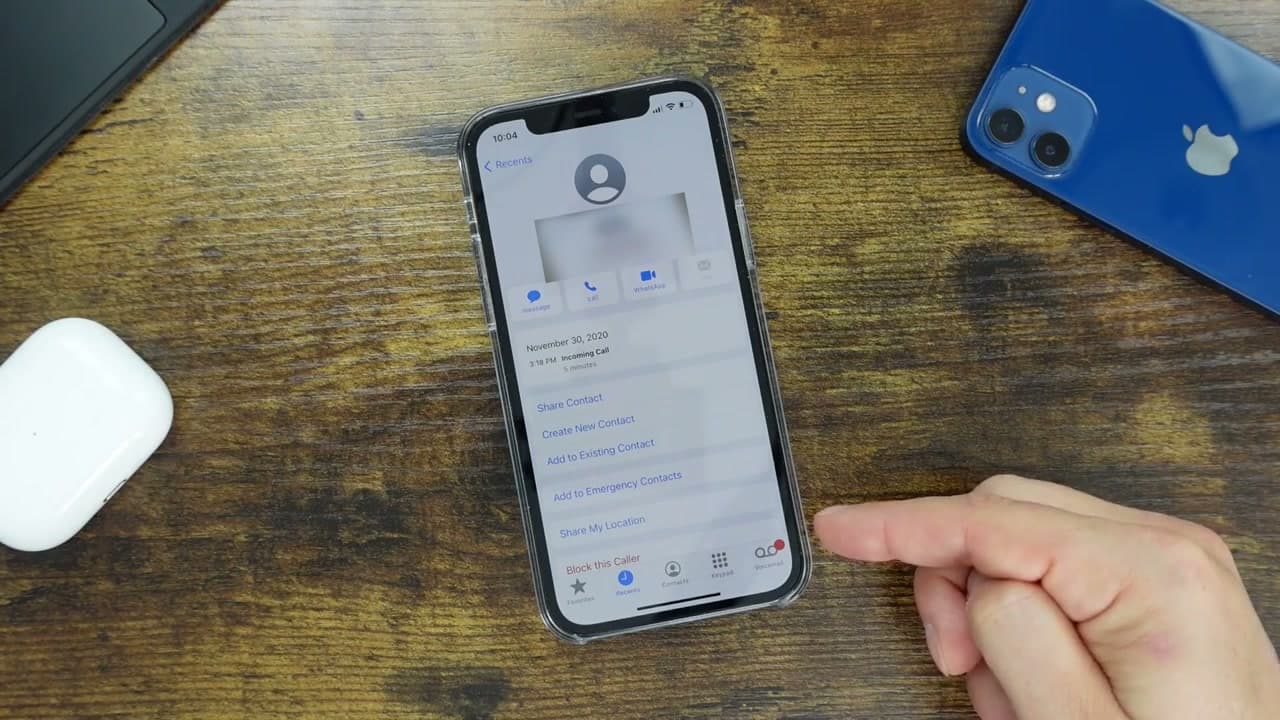
How to Block a Number on iPhone (and Unblock It Later)

How to Install an Electric Water Heater

How to Turn Off an iPhone (Any Model, Step by Step)
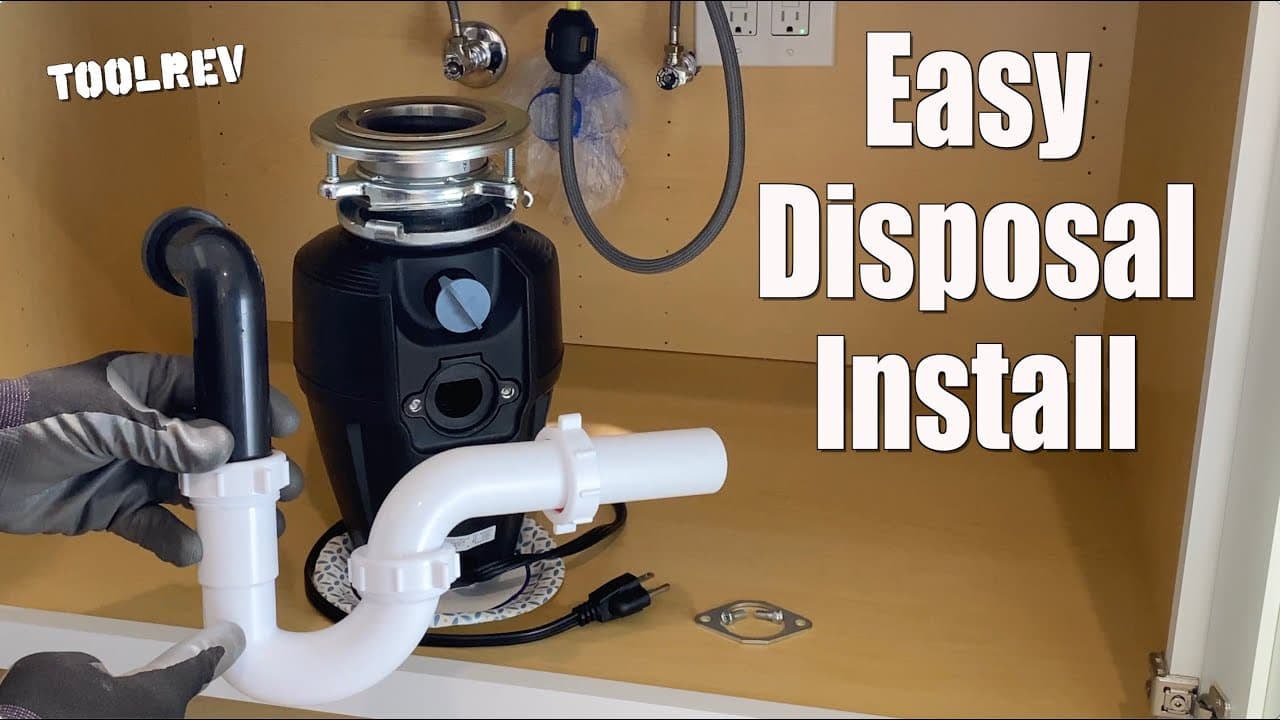
How to Install a Garbage Disposal - 7-Step Sink Plumbing Guide
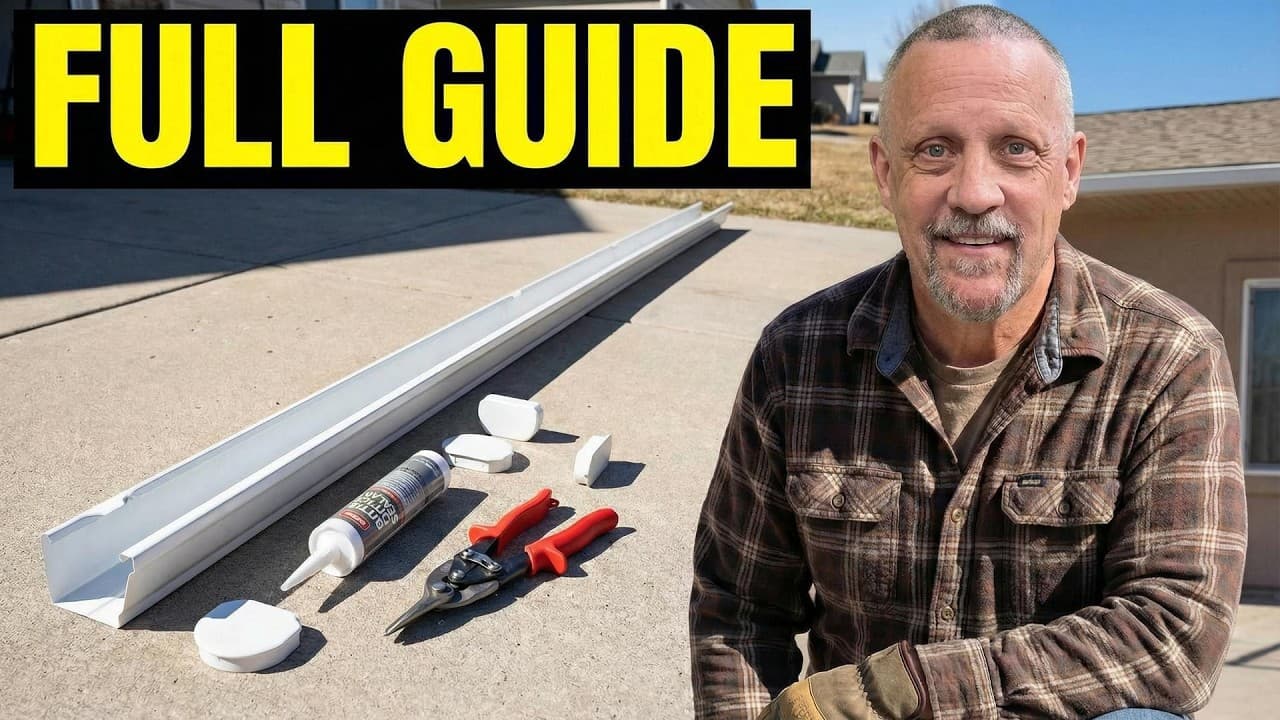
How to Install Gutters in 7 Steps
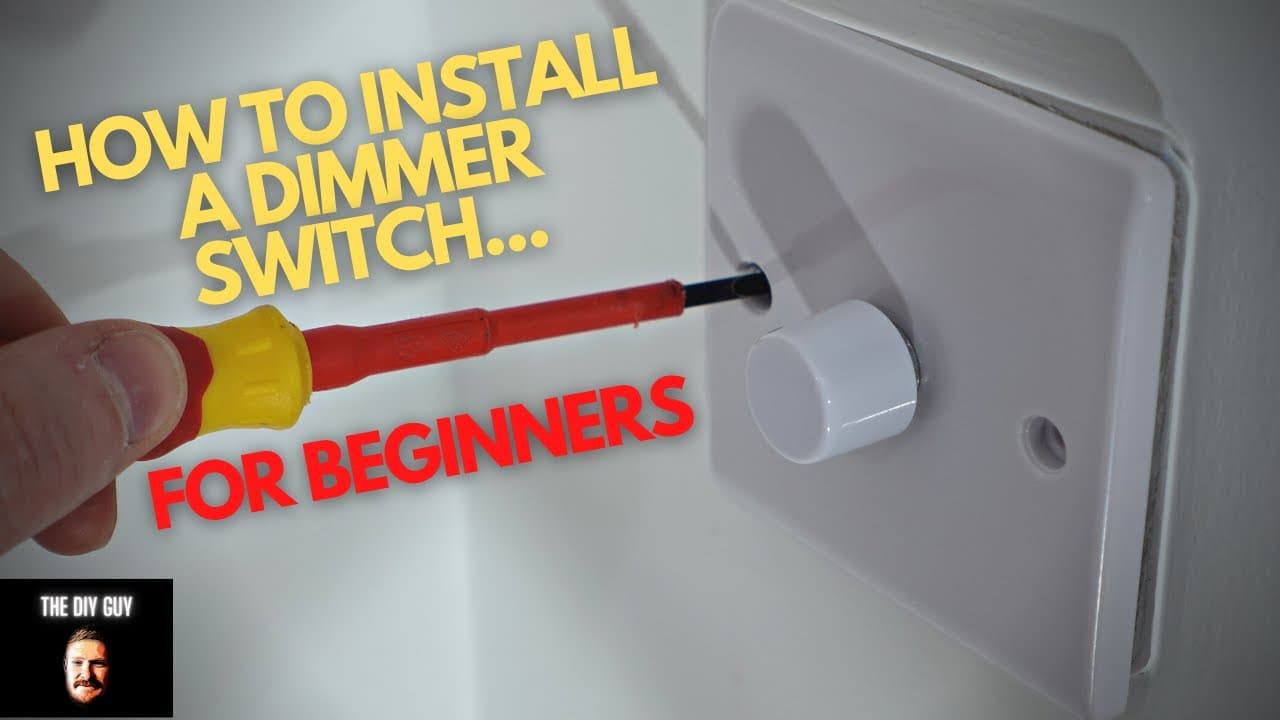
How to Install a Dimmer Switch

How to Set Up a Budget YouTube Studio

How to Restart an iPhone (Force Restart Any Model)

How to Install a Range Hood

How to Unclog a Kitchen Sink

How to Pair AirPods and Set Them Up Like a Pro
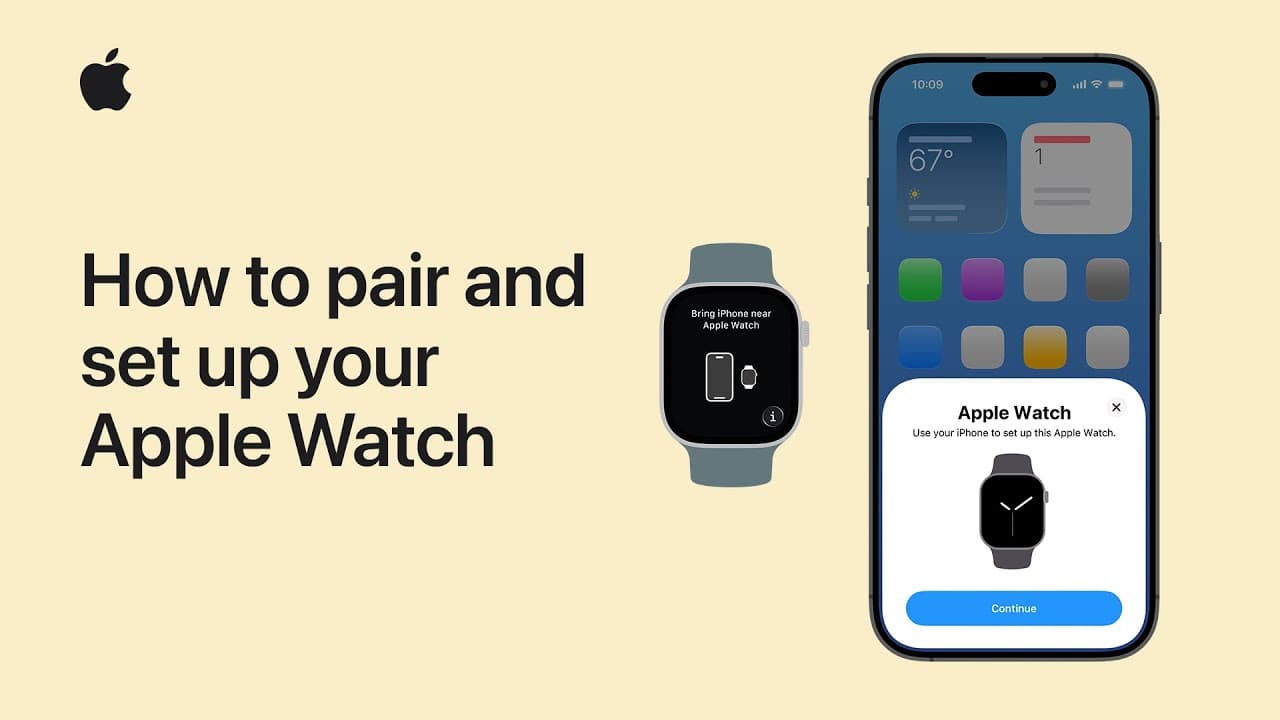
How to Set Up an Apple Watch: Pairing & First Setup

How to Install a Storm Door

How to Install a Drip Irrigation System

How to Install a Bathroom Vanity and Sink

How to Update Windows (Install Updates and Upgrade to Windows 11)
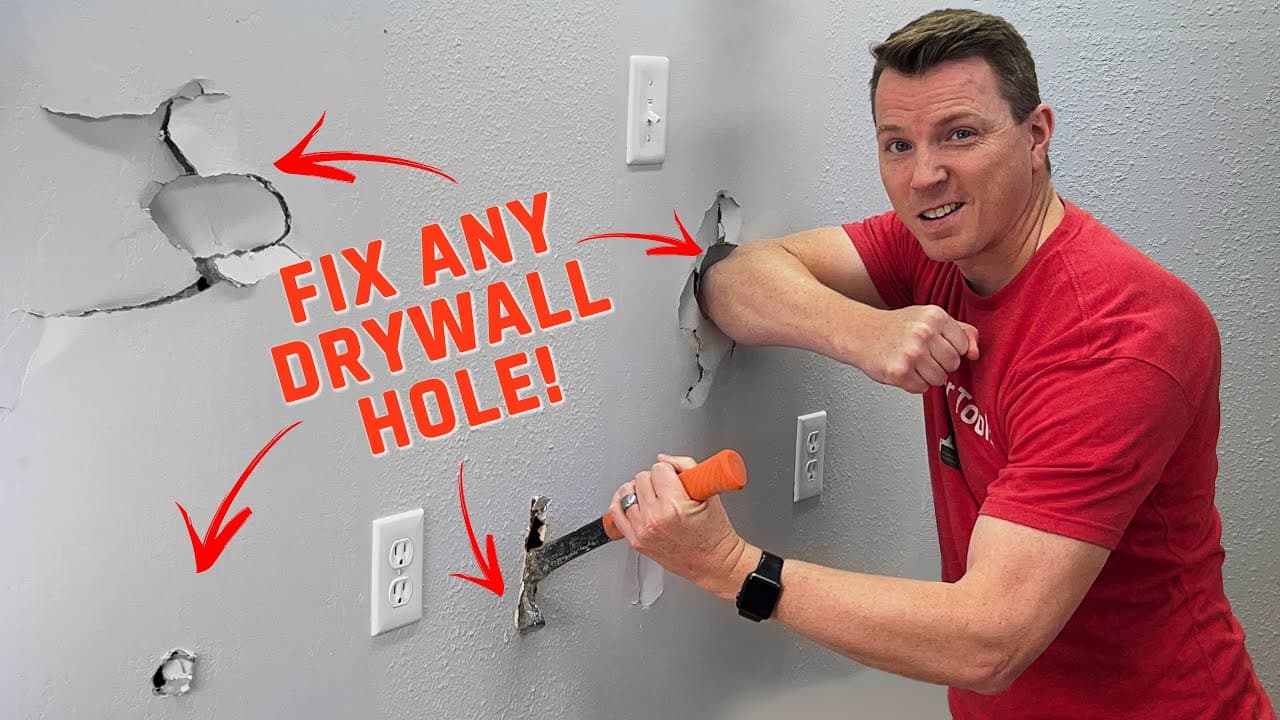
How to Fix Holes in Drywall - 4 Easy Methods

How to Compost at Home for Beginners

How to Repot a Plant - 7 Steps for Healthy Roots
