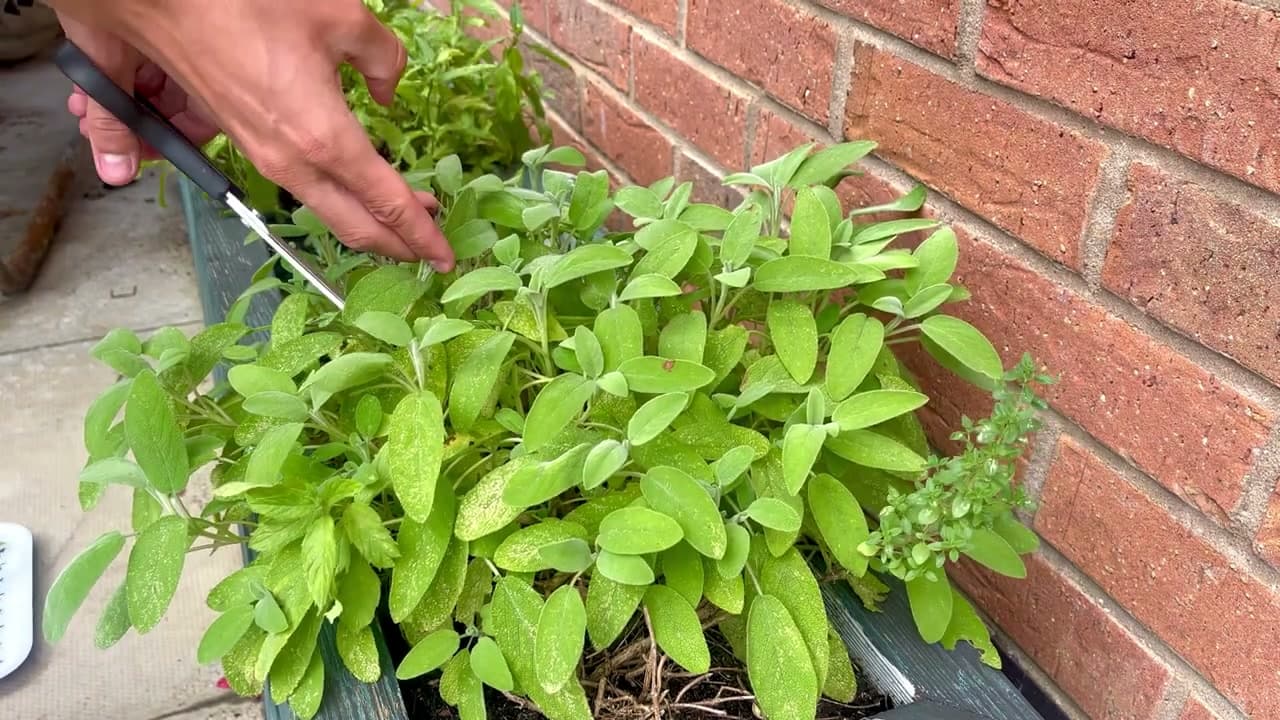
Step 1: Gather Your Tools
0:28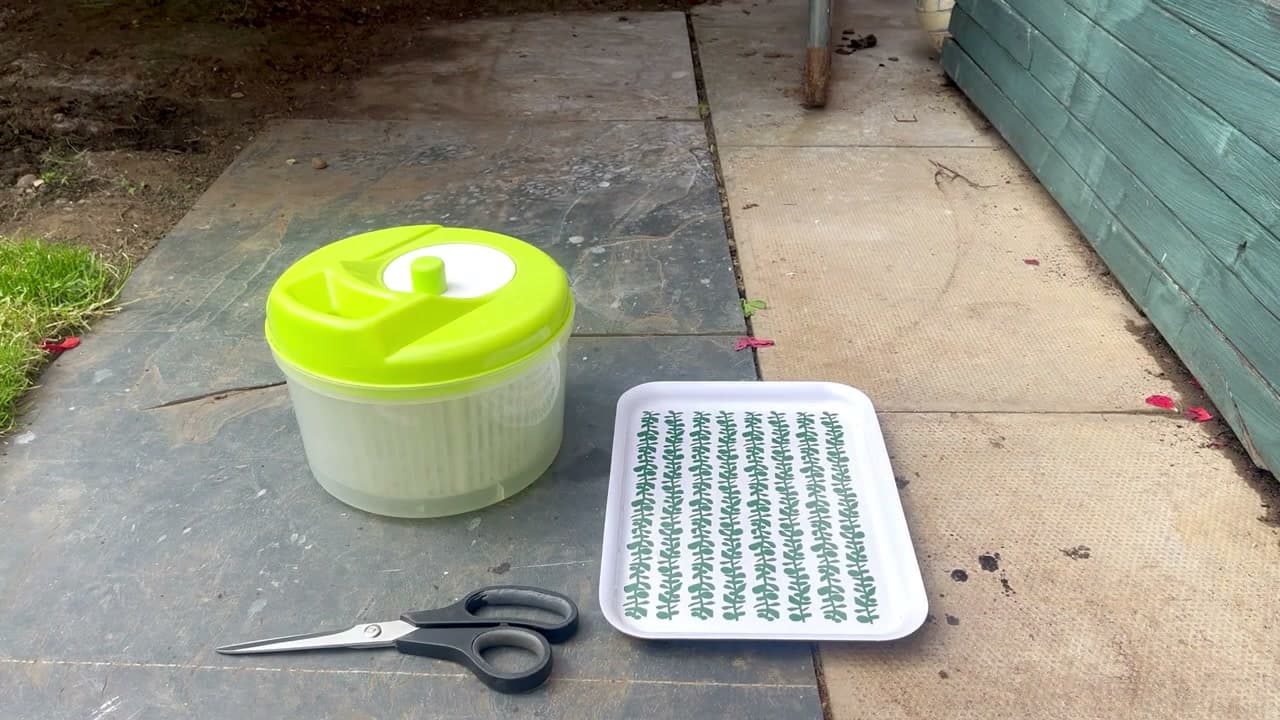
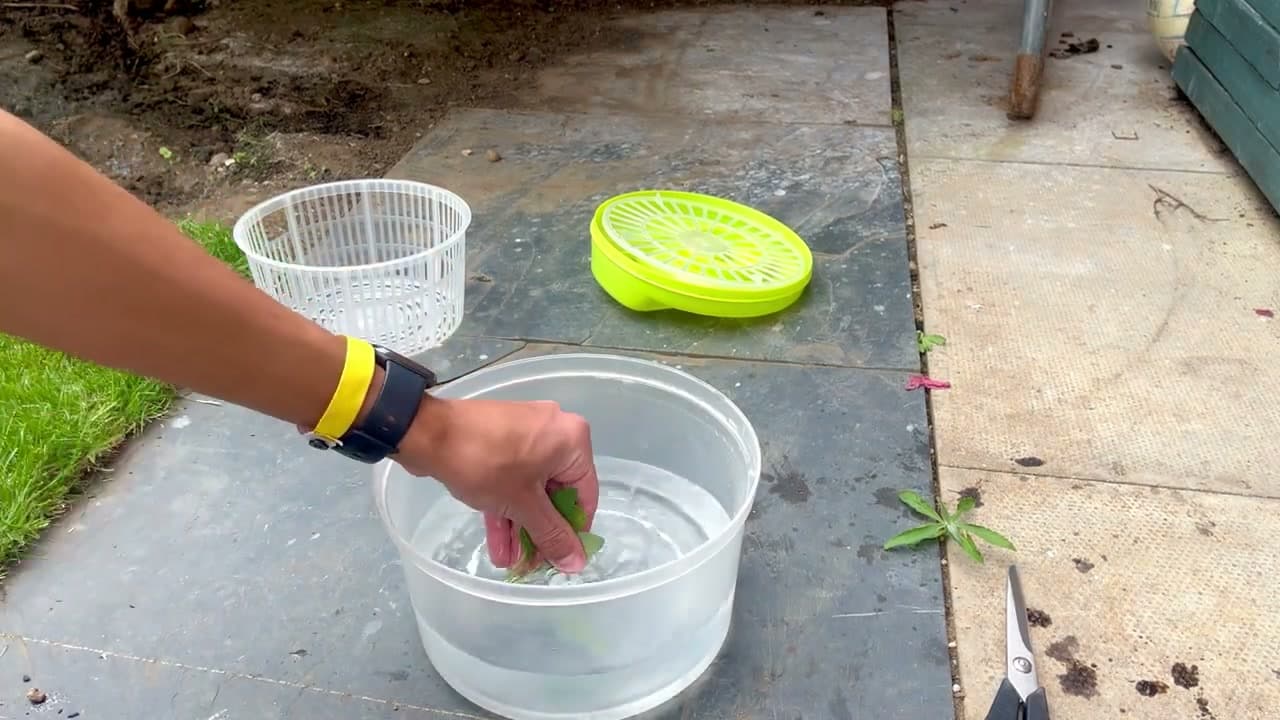
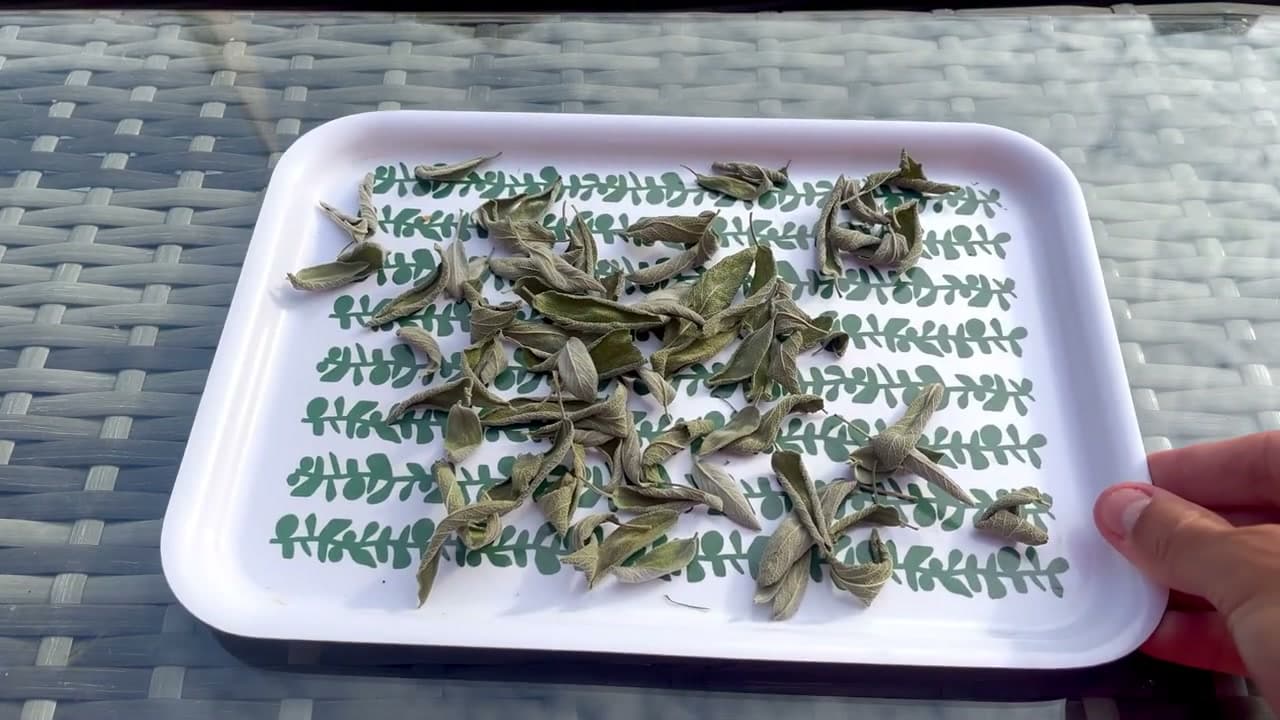
Lay everything out before you start cutting. You want a tray to catch loose leaves, a pair of sharp scissors, and a salad spinner for after the rinse. A clean mason jar with a tight lid is where the dried sage ends up, and a marker lets you date it - useful six months from now when you can't remember which jar is which.
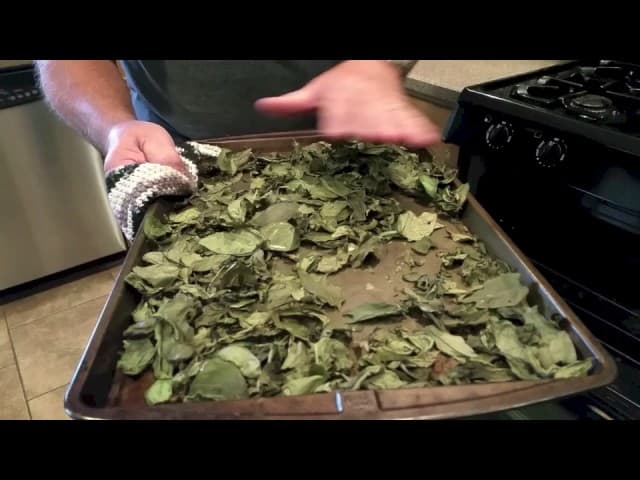
Other methods: the walkthrough below uses passive air drying because it's the most hands-off approach and the flavor result is excellent. If you're in a hurry or you live somewhere humid, sage also dries well at low temperature in the oven (around 170-180F for 2-4 hours with the door cracked) or in a food dehydrator (around 95-115F for 2-4 hours). Same prep through Step 4 - just swap the windowsill for one of those heat sources.
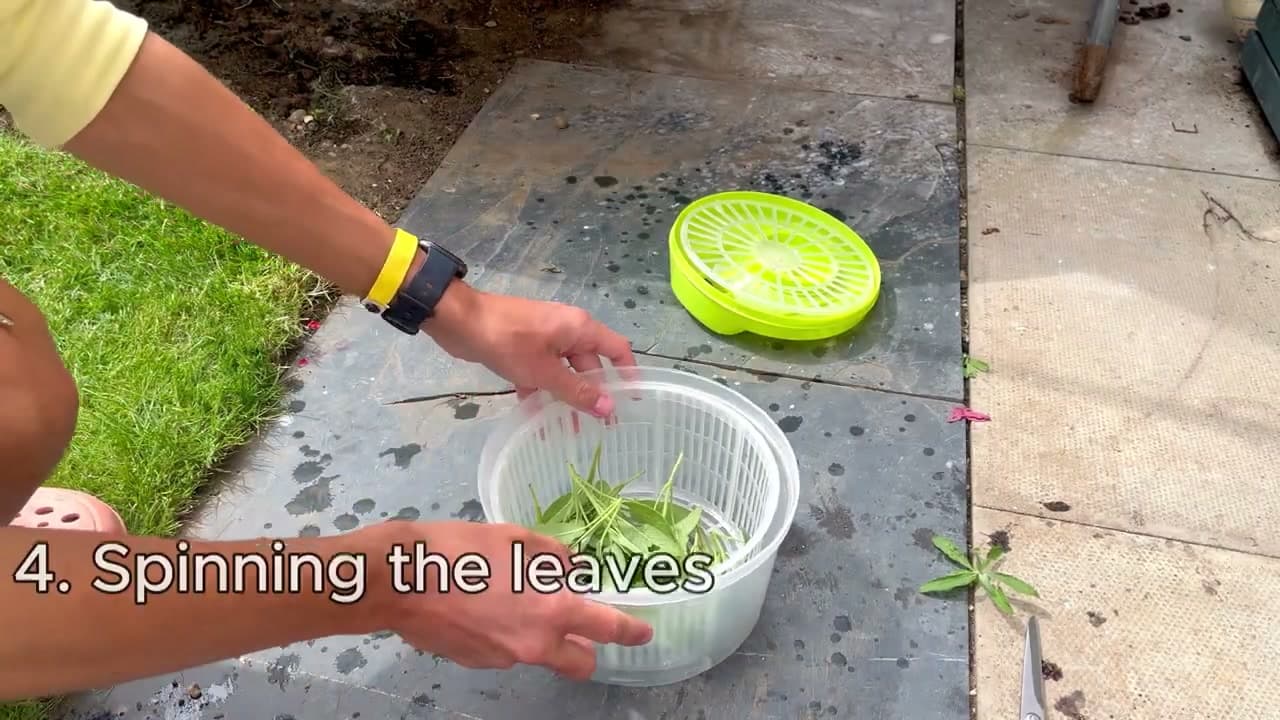
If you don't have a salad spinner, a clean tea towel works for patting the leaves dry. The principle is the same: pull as much surface water off as you can before drying.
For more on preserving garden herbs, see our guides on drying rosemary, drying basil, and drying lavender.
Tip
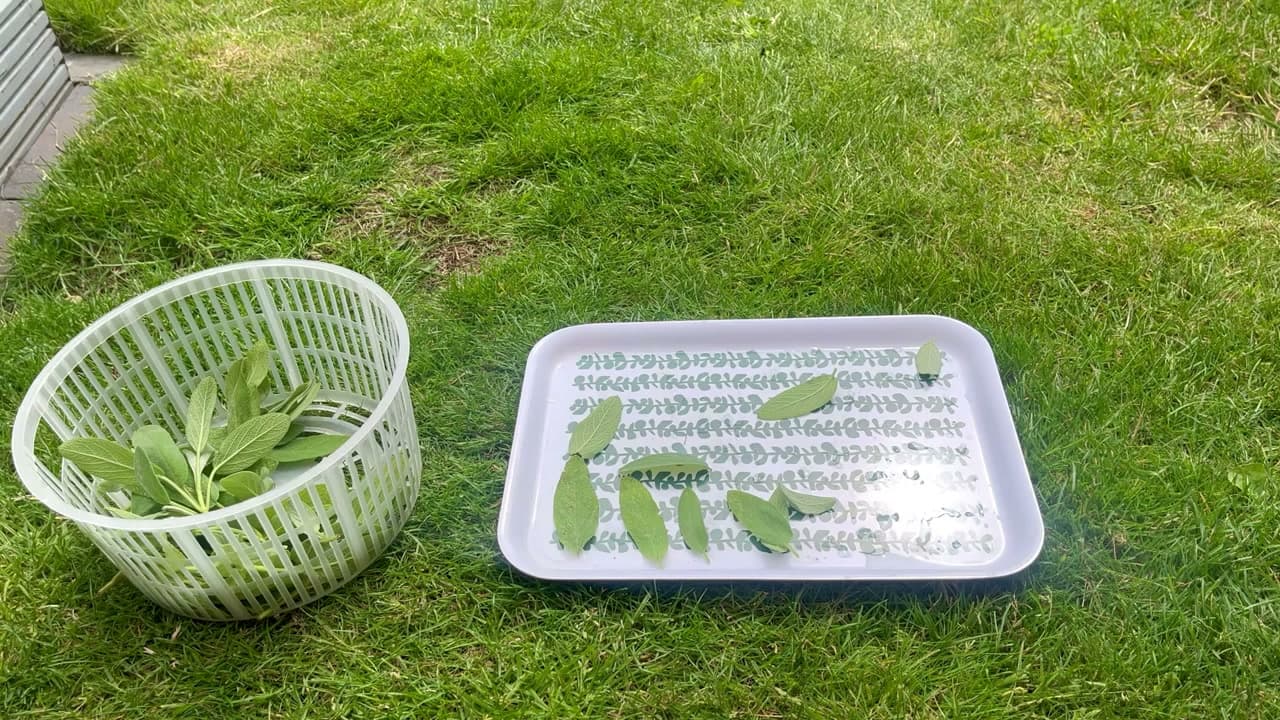
Sage is forgiving - you don't need fancy gear. A clean kitchen and a windowsill that gets some sun are the only real requirements.