How to Dry Lavender at Home

By ShowMeStepByStepPublished Updated

Based on a video by Lovely Greens.

Step-by-Step Guide

1

Step 1: Harvest at the Bud Stage

0:25
Step 1: Step 1: Harvest at the Bud Stage

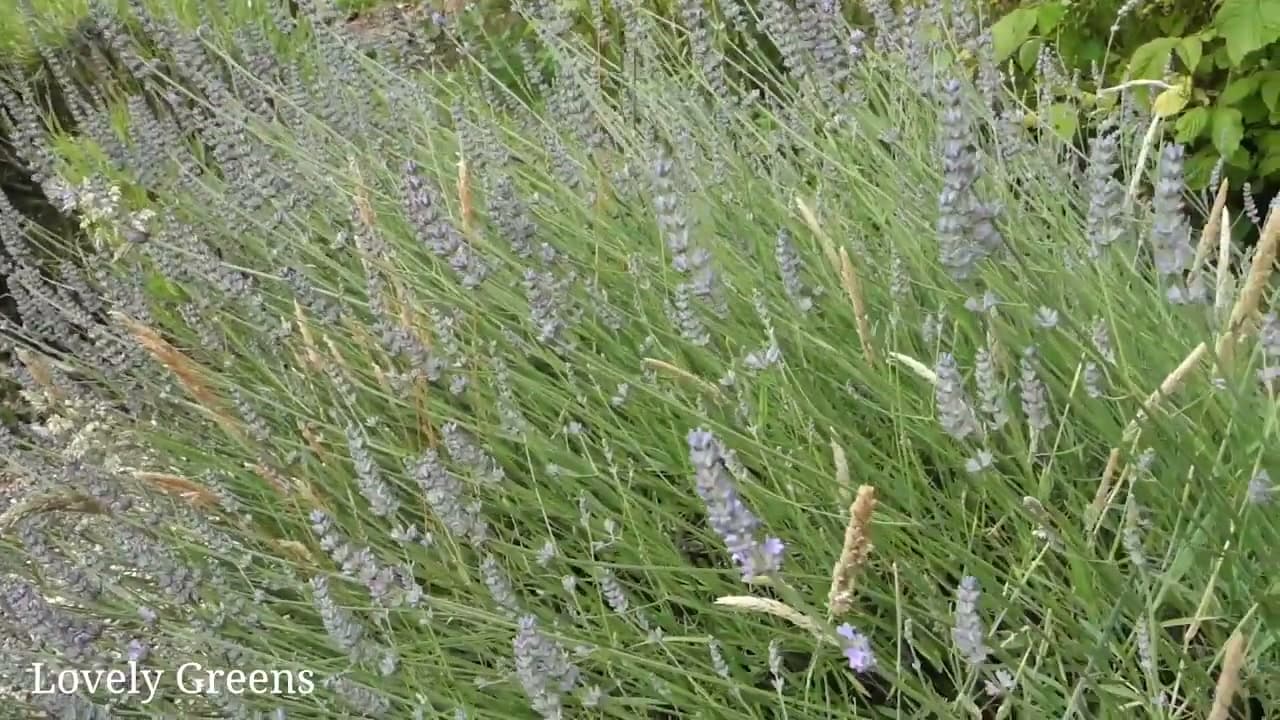
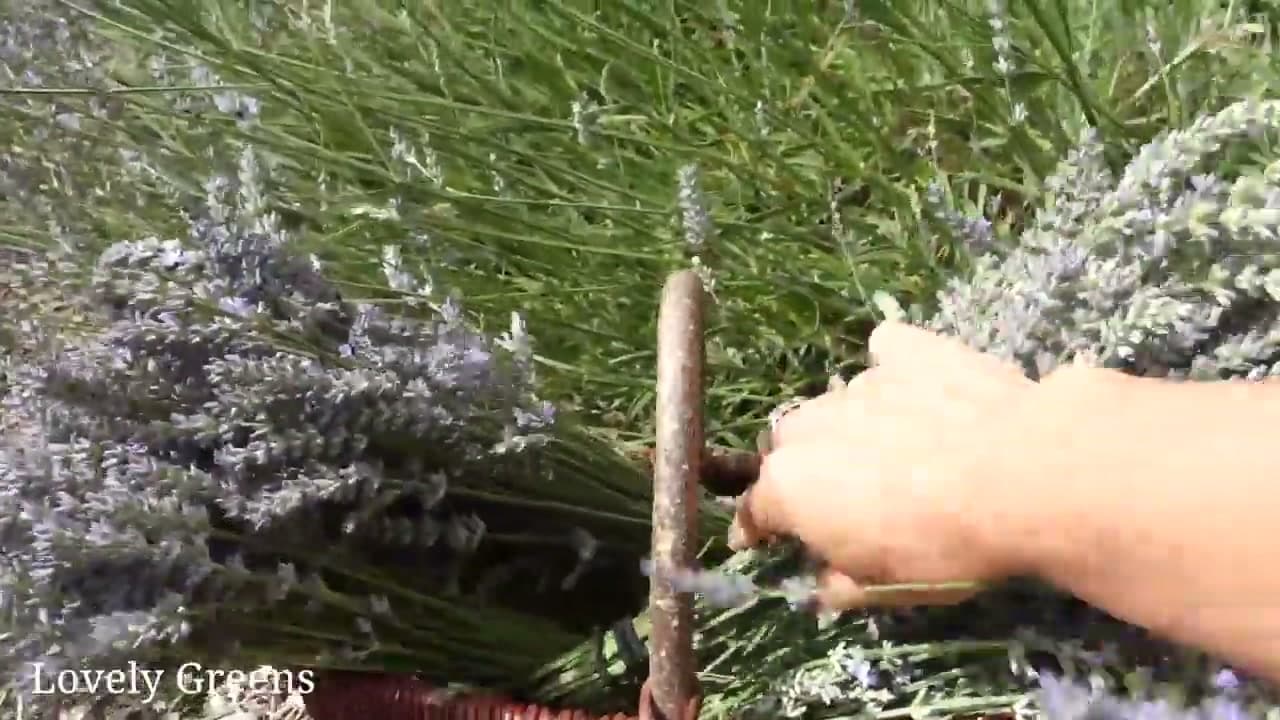
Cut lavender when the buds are mostly closed and have just barely started to show color. Once the flowers open up they release their fragrance to draw in pollinators - and that scent, those oils, are exactly what you want to keep in the jar.

If you can see bees working the plant heavily, you've waited a hair too long. Cut anyway; the buds will just be a bit less potent than peak harvest.

For more on preserving garden herbs, see our guides on drying basil and drying rosemary.

Tip

English lavender varieties like Munstead and Hidcote dry the best and hold their color longest. Grosso is the variety to grow if you ever want to try essential oil distillation.
2

Step 2: Cut in Late Morning

8:30
Step 2: Step 2: Cut in Late Morning

The best time to cut lavender is late morning, after the dew has dried but before the midday sun has had a chance to evaporate the volatile oils. Heat is the enemy of lavender scent.

Use sharp pruning shears and take long stems, cutting down to just above the first set of green leaves. Never cut into the bare woody stem - lavender doesn't regrow well from old wood and you'll kill the plant.

3

Step 3: Gather Into Small Bunches

1:15
Step 3: Step 3: Gather Into Small Bunches

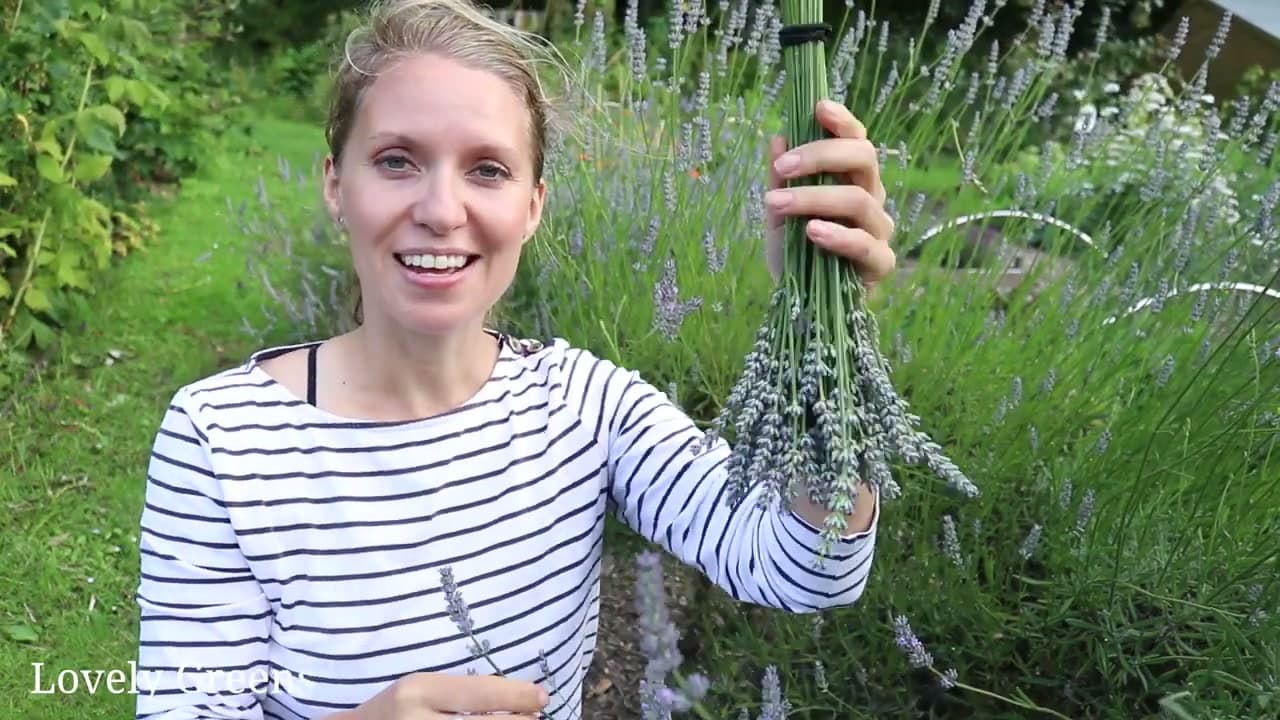
Grab a handful of stems and gather them so the cut ends line up. The bunch should be about three-quarters of an inch to an inch thick at the base - any thicker and the centers stay damp and can mold during drying.

Don't be tempted to make giant bouquet-sized bunches. Two small bunches dry faster and more evenly than one big one.

4

Step 4: Bind With a Rubber Band, Not String

1:35
Step 4: Step 4: Bind With a Rubber Band, Not String

Bind the cut ends tightly with a rubber band a couple of inches up from the base. Use a rubber band - not string, not twine.

As lavender dries, the stems shrink in diameter. A rubber band keeps contracting and holds everything in place. String or twine, on the other hand, goes slack as the stems shrink, and you'll find your bunch on the floor in two days. A small detail that makes the difference between a tidy drying setup and a mess.

Tip

Standard office rubber bands work fine. The thinner the band, the easier it is to slip more stems in if you decide to bulk up the bunch later.

5

Step 5: Hang Upside Down, Out of Direct Sun

2:15
Step 5: Step 5: Hang Upside Down, Out of Direct Sun

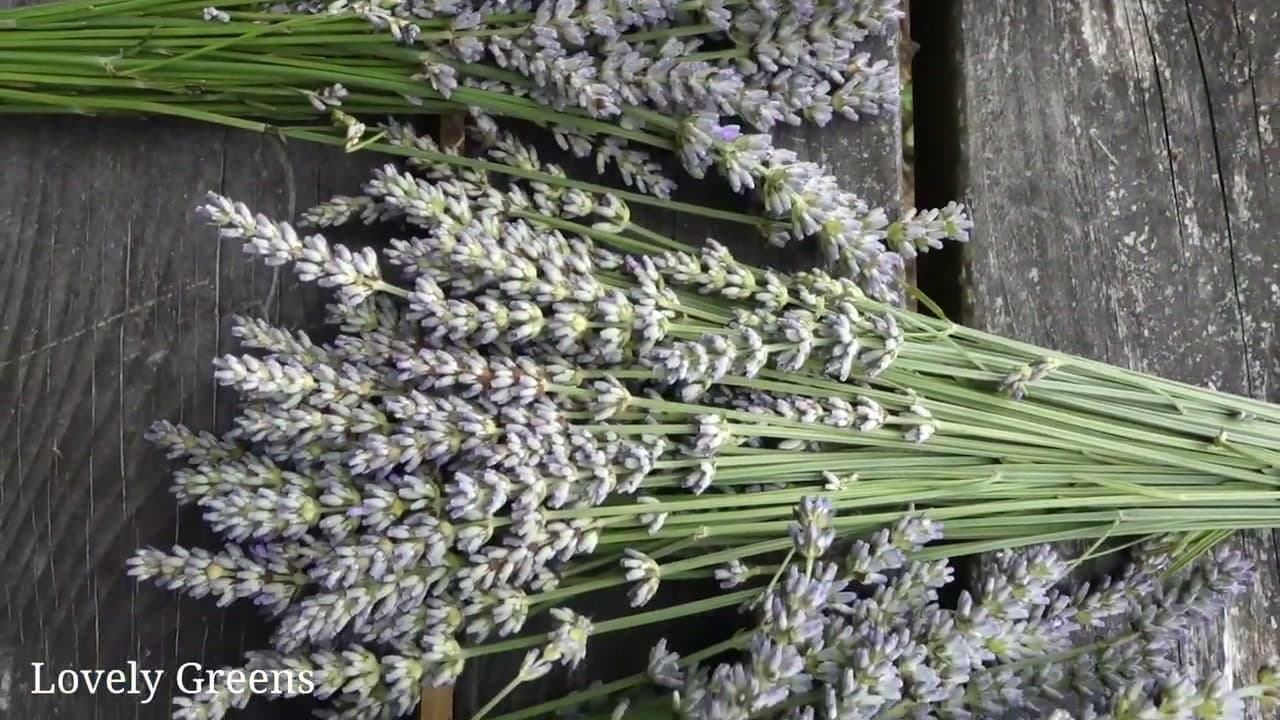
Hang the bunches upside down somewhere dry, airy, and out of direct sunlight. A garage rafter, a closet rod, a hook on the back of a spare-room door, or a dedicated drying rack all work.

Two reasons for upside-down: the stems stay straight as they dry, and any remaining moisture in the stems drains down toward the cut ends rather than pooling in the flower heads.

Skip direct sunlight - it bleaches the purple color out and degrades the essential oils. Air circulation matters more than warmth.

6

Step 6: Wait One to Two Weeks

2:25
Step 6: Step 6: Wait One to Two Weeks

Give the bunches one to two weeks to fully dry. In a humid climate or a closed-up room, give it three weeks before you start checking.

You'll know they're done when the stems snap cleanly and individual buds drop off when you run your fingers down the bunch. If a stem still bends instead of snapping, the bunch needs more time.

To catch falling buds during drying, slip a paper bag over each bunch with the stems poking out the top and the rubber band holding the bag closed. The bag catches anything that falls and keeps dust off the flowers.

Tip

In warm summer weather, the bunches can dry in as little as 5-7 days. Resist the urge to check too often - opening the bag or moving the bunch around loses some of the scent each time.

7

Step 7: Strip the Buds and Store in Jars

2:45
Step 7: Step 7: Strip the Buds and Store in Jars

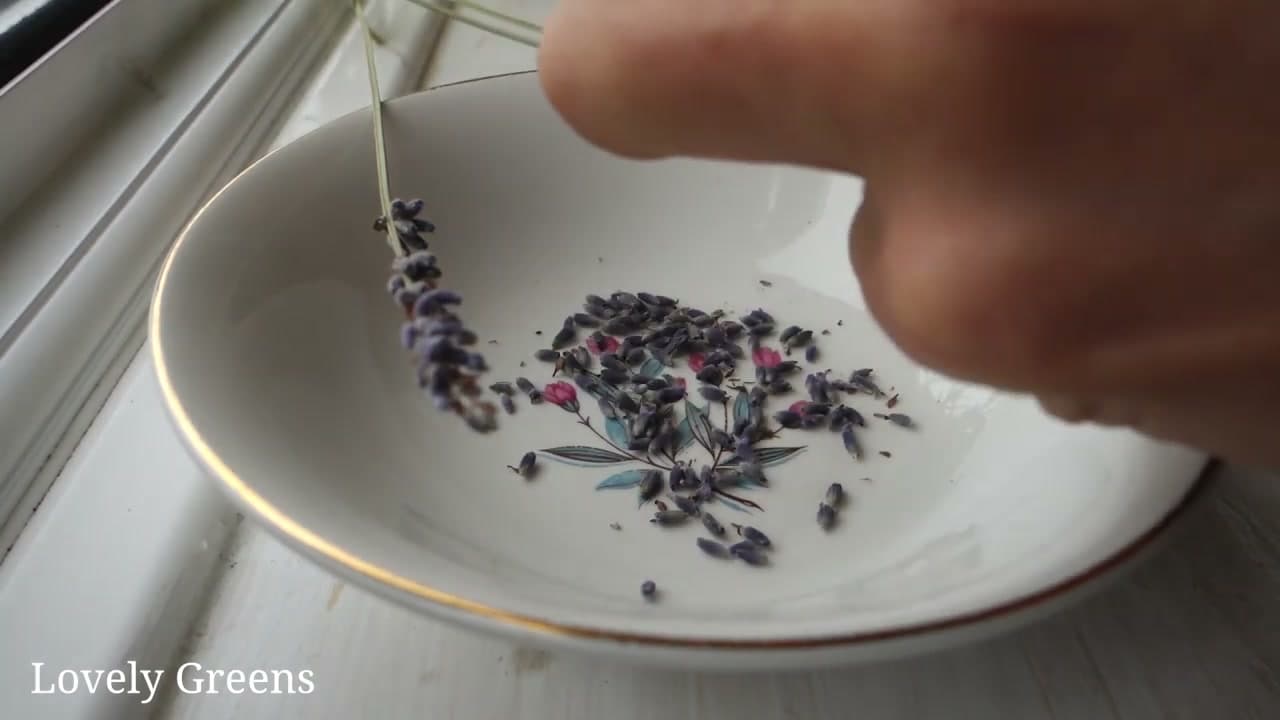
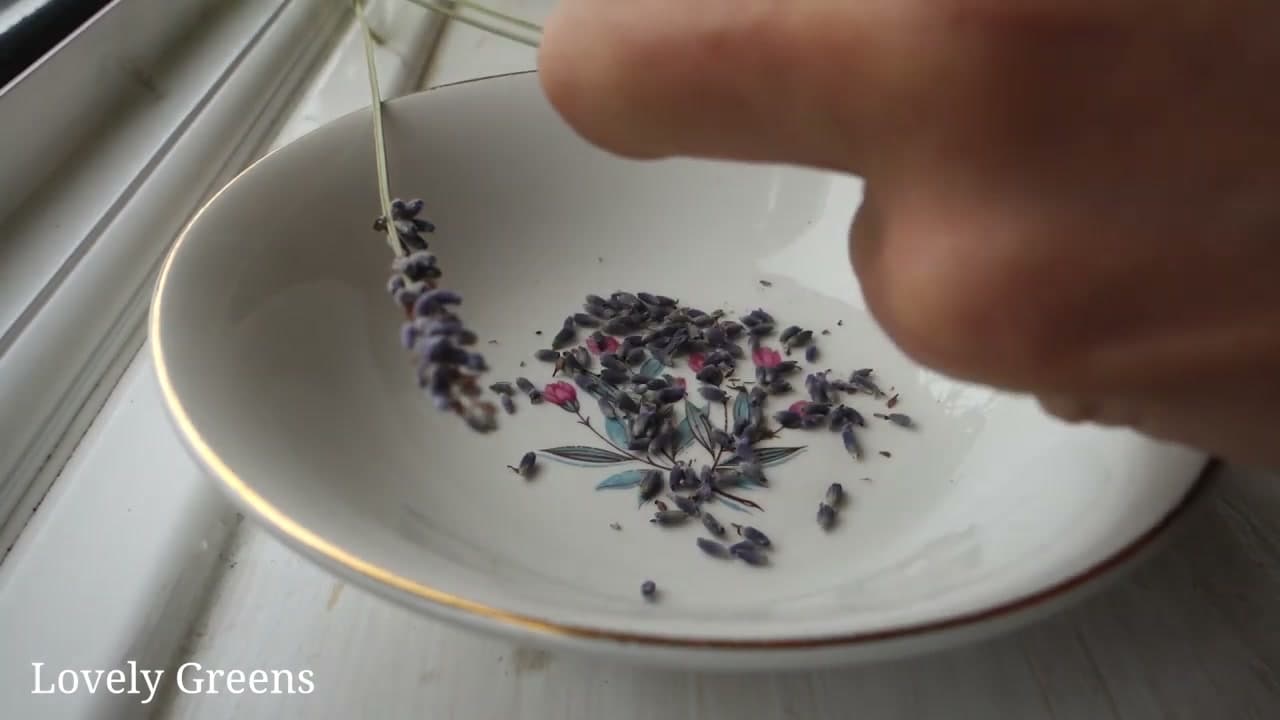
When the bunches are fully dried, hold one over a clean shallow bowl. Run your fingers down the stems from top to bottom and the buds will strip right off. The bare stems are great in a fire pit if you want a fragrant little extra; otherwise compost them.

Funnel the loose buds into airtight glass jars. Stored away from heat and light, dried lavender holds its scent for at least a year - longer if you don't open the jar constantly.

From here the buds are ready for sachets, soap, lavender shortbread, sleep pillows, bath salts, or just a pretty jar on the shelf.

Tip

Save a small jar for craft projects and tip the rest into a larger jar for cooking and tea. Keeping them separate stops you from accidentally crushing the prettier whole buds before you need them.

Products Used

☐ The Checklist

How to Dry Lavender at Home

Tools
3
Materials
4
Steps
7
Video
9 min

Your Guide

Lovely Greens

As an Amazon Associate we earn from qualifying purchases. Links on this page may be affiliate links - clicking them and buying doesn't change your price, but helps support ShowMeStepByStep.

Tags

What's next

Related collections

Curated theme pages that include this tutorial.

Weekly Digest

Liked this gardening tutorial?

Pick the categories you want to hear about. Weekly digest of new step-by-step tutorials. No spam, easy unsubscribe.

Send me tutorials about

We only email about new tutorials. Easy unsubscribe anytime.