How to Harvest Mint to Keep It Bushy

GardeningEasy12:096 steps5-question quiz at endBrowse more →
Also in:Adulting

By ShowMeStepByStepPublished Updated

Based on a video by CaliKim Garden & Home.

Step 4 of 5 inHerb Garden Basics

Mint is one of the easiest herbs to grow and one of the hardest to kill. The catch is that it grows like crazy and flops over the sides of the pot if you let it. The fix is regular harvesting. Every time you cut it back, the plant pushes out fresh growth and stays bushy instead of leggy.

CaliKim grows mint in containers right outside her kitchen and harvests it all summer long. In this one she walks through where to cut, why you want to harvest before the plant flowers, and how to chop a woody plant right down to the soil for a clean restart. If you like this, the same cut-it-often logic works on basil too.

By the end you'll have a basket full of mint, a plant that bounces back in about a week, and a setup that keeps producing into winter. Keep mint in a pot, by the way, because in the ground it spreads everywhere.

Step-by-Step Guide

1

Step 1: Look Over the Plant Before You Cut

0:28

Step 1: Step 1: Look Over the Plant Before You Cut

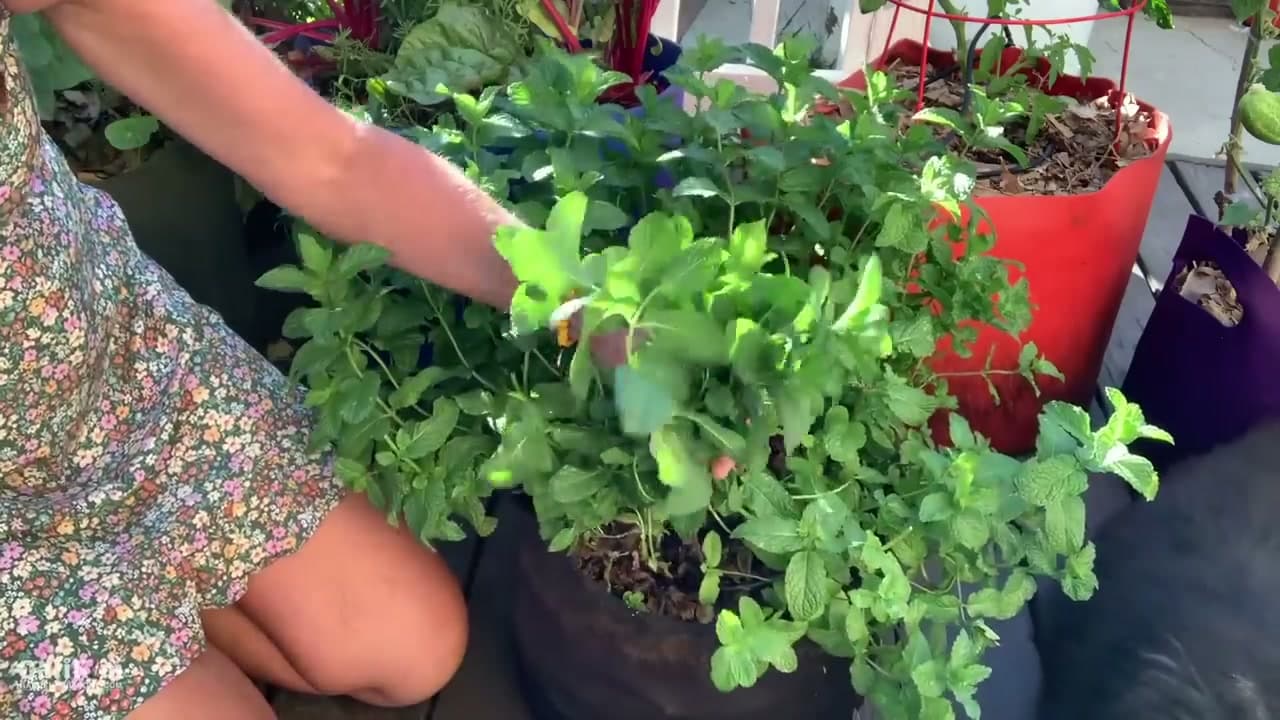
Walk up to the pot and just look at it for a second. Mint grows tall and floppy, and the stems start leaning over the edge of the container when it needs a trim. You can usually see where you cut last time because that side sits shorter than the rest.

The taller outer stems are what you want to take first. Harvesting the outside keeps the middle of the plant open and full instead of letting the whole thing get long and stringy.

Tip

Watch this step - keep mint in a container, never in the ground. The roots spread fast and it will take over a garden bed.

Products used in this step

2

Step 2: Harvest Before It Flowers

3:06
Step 2: Step 2: Harvest Before It Flowers

Timing matters more than people think. Once mint flowers and sets seed, the seeds spread everywhere and the leaves lose some of their punch. Get to it while the plant is full and green and you keep the flavor and the tidy shape.

Look over the whole plant and pick the stems that are flopping over the sides. Those are the ones ready to come off. If you see buds forming at the tips, that is your signal to harvest now rather than wait.

Tip

Watch this step - you can leave a few flowers for the bees if you want, but expect volunteer mint popping up nearby afterward.

Products used in this step

3

Step 3: Grab a Handful and Snip

3:53
Step 3: Step 3: Grab a Handful and Snip

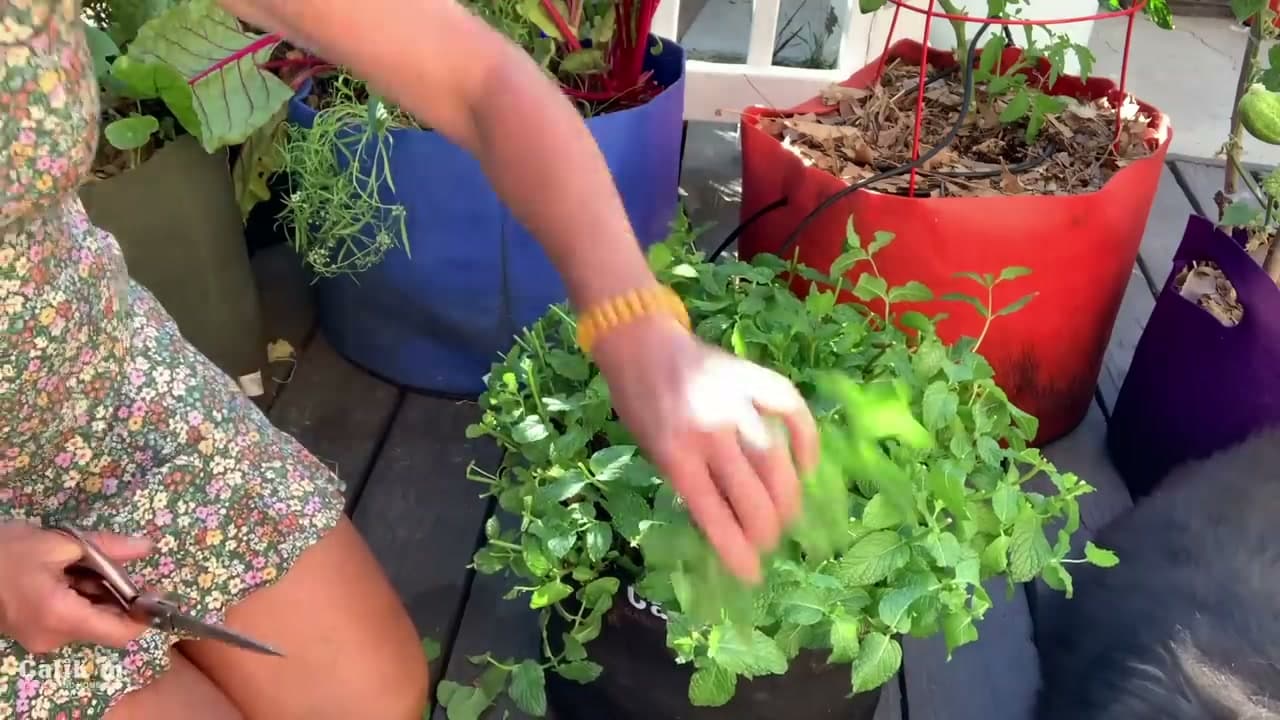
Here is the easy part. Reach in, gather a handful of the stems leaning over the edge, and snip them off with your scissors. You don't need to be precise. A clean cut partway down the stem is all it takes.

Work your way around the pot grabbing bunches as you go. The plant will look bare when you finish, and that is completely fine. Mint comes back so fast you'll have another crop ready before you know it.

Tip

Watch this step - drop the cut stems straight into a harvest basket. Mint smells amazing and the basket looks pretty enough to set on the table.

4

Step 4: Trim the Floppy Branches Down

5:30
Step 4: Step 4: Trim the Floppy Branches Down

Keep working through the plant, cutting the branches that have flopped over the sides. This is the part that keeps mint neat. If you skip it, the plant outgrows the container and gets messy fast.

Have a smaller plant? You can take it all the way down. Snip a small mint plant close to the bottom and it grows right back within a week or so. Mint genuinely doesn't mind a hard cut.

Tip

Watch this step - a container with good airflow, like a fabric pot, keeps the roots from getting bound even when the plant is packed in tight.

Products used in this step

5

Step 5: Chop a Woody Plant Back to the Base

8:30
Step 5: Step 5: Chop a Woody Plant Back to the Base

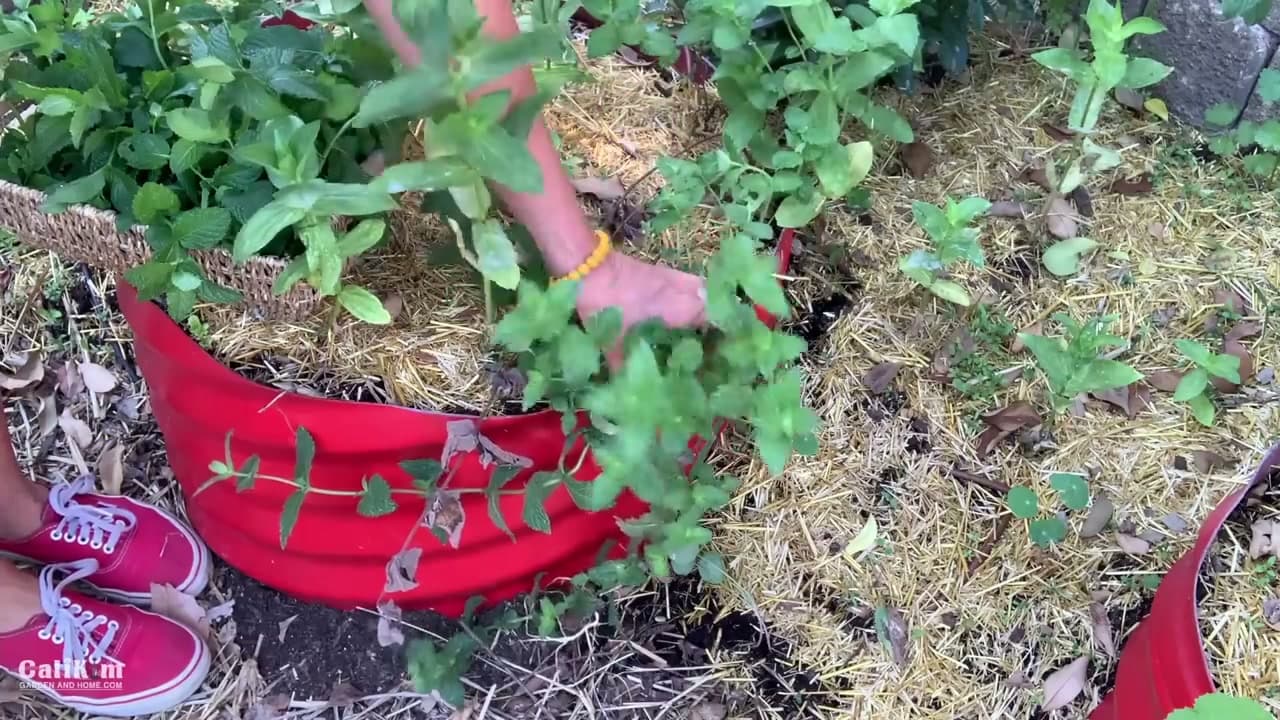
An old mint plant gets woody and ragged over time. The cure looks drastic but it works. Chop the whole thing right down at the base, near the soil line, and leave a tiny stub behind.

That stub will push out fresh, healthy leaves and the plant comes back better than before. CaliKim does this with mint that has been growing for years. Once a season, a hard cut like this resets the plant and gives you tender new growth instead of tough old stems.

Tip

Watch this step - if mint has crept outside its container, cutting at the base alone won't stop it. Pull the stray roots too or it keeps coming back.

Products used in this step

6

Step 6: Fill the Basket and Let It Regrow

5:12
Step 6: Step 6: Fill the Basket and Let It Regrow

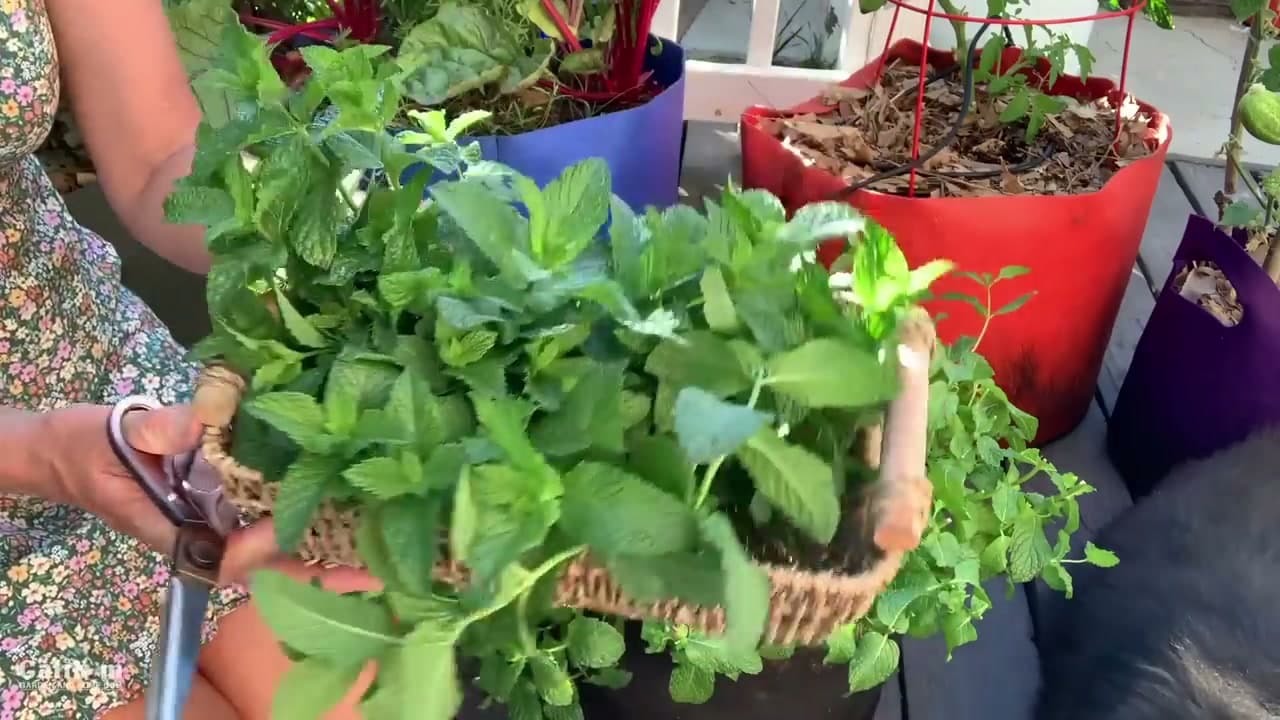
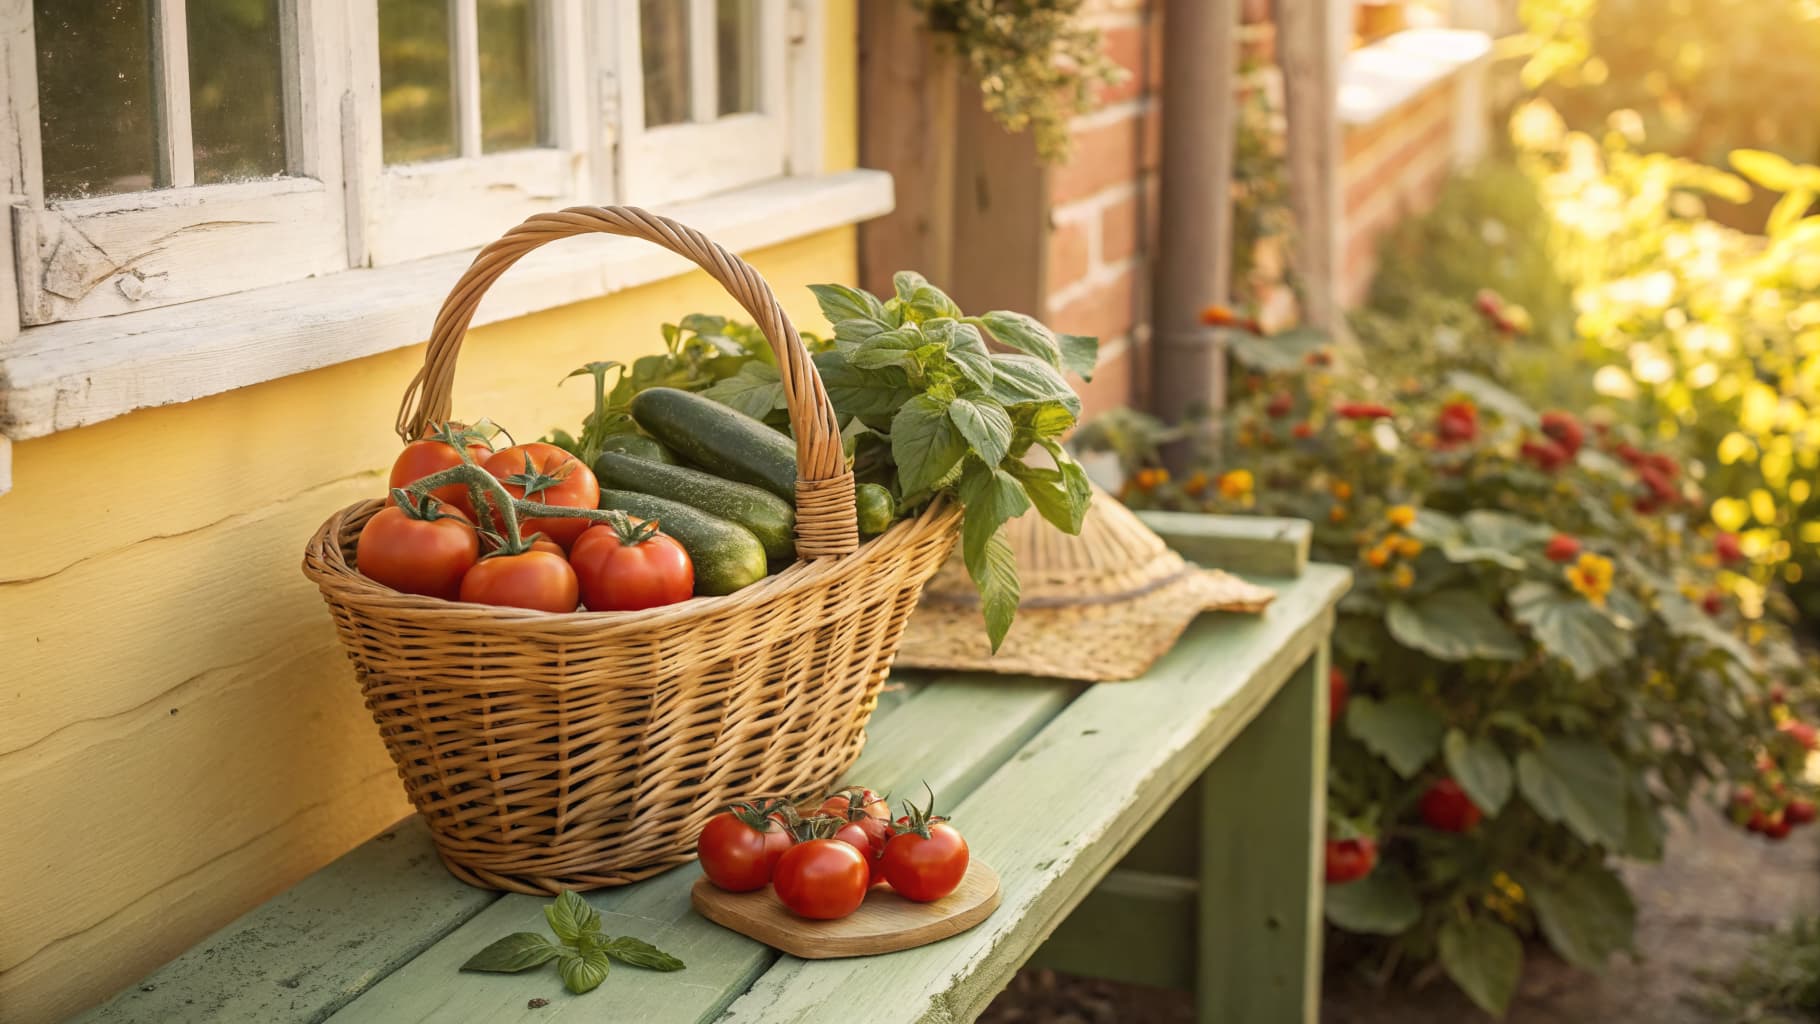
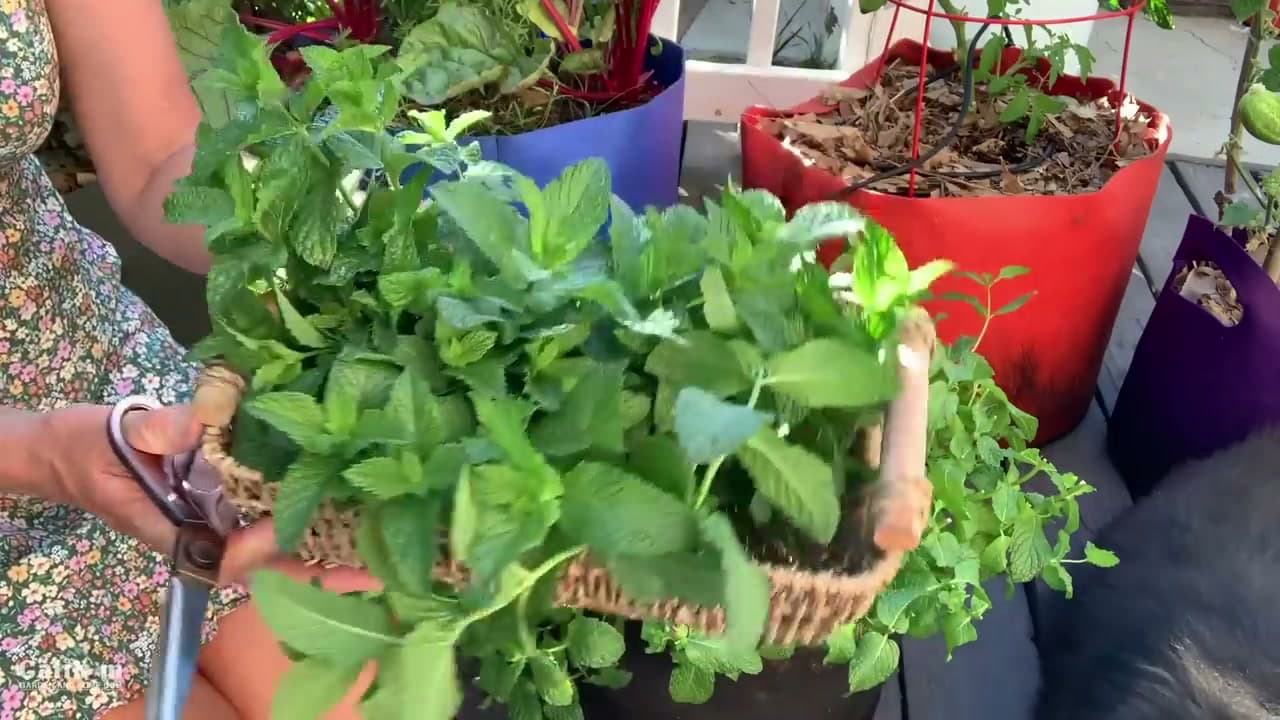
Step back and look at your haul. One harvest session fills a whole basket, and that one container will keep you stocked all summer if you keep cutting it. The leaves are fresh, fragrant, and ready for mint water, drinks, or a cucumber salad.

Now the plant does the rest. Give it consistent water and a little fertilizer and it bounces back in about a week. The more often you harvest, the bushier and more productive it stays. Let it sit untouched and it gets leggy, so keep after it.

Tip

Watch this step - store cut mint stems in a jar of water on the counter. It lasts longer and looks great. Wash the leaves only when you're ready to use them.

Products Used

☐ The Checklist

How to Harvest Mint to Keep It Bushy

Tools
2
Materials
1
Steps
6
Video
12 min

Your Guide

CaliKim Garden & Home

As an Amazon Associate we earn from qualifying purchases. Links on this page may be affiliate links - clicking them and buying doesn't change your price, but helps support ShowMeStepByStep.

Tags

Test your knowledge

Did the lesson stick? Find out in 2 minutes.

5 quick questions covering what you just read. No signup, no score saved — just a gut check.

Quick reference

Key takeaways from How to Harvest Mint to Keep It Bushy

5 questions, answers, and one-line explanations. Tap to expand.

  1. 1.When is the best time to harvest mint for the best flavor?

    Answer: Before it flowers

    Mint leaves taste best before the plant flowers, since flowering turns the flavor bitter.

  2. 2.Cutting mint the right way keeps the plant how?

    Answer: Low, full, and bushy

    Snipping the stems back encourages branching so the plant stays compact and productive.

  3. 3.How do you harvest a handful of mint quickly?

    Answer: Grab a bunch and snip the stems

    Gathering a handful and cutting the stems is faster and lets you trim to the right height at once.

  4. 4.What do you do with the tall, floppy branches?

    Answer: Trim them down

    Cutting the floppy stems back keeps the plant low and pushes out tighter new growth.

  5. 5.An old plant has gone woody and stiff. What is the fix?

    Answer: Chop it back hard to the base

    A hard cut to the base forces a woody mint plant to send up tender new shoots.

Did this work for you?

What's next

Related collections

Curated theme pages that include this tutorial.

Weekly Digest

Liked this gardening tutorial?

Pick the categories you want to hear about. Weekly digest of new step-by-step tutorials. No spam, easy unsubscribe.

Send me tutorials about

We only email about new tutorials. Easy unsubscribe anytime.