1
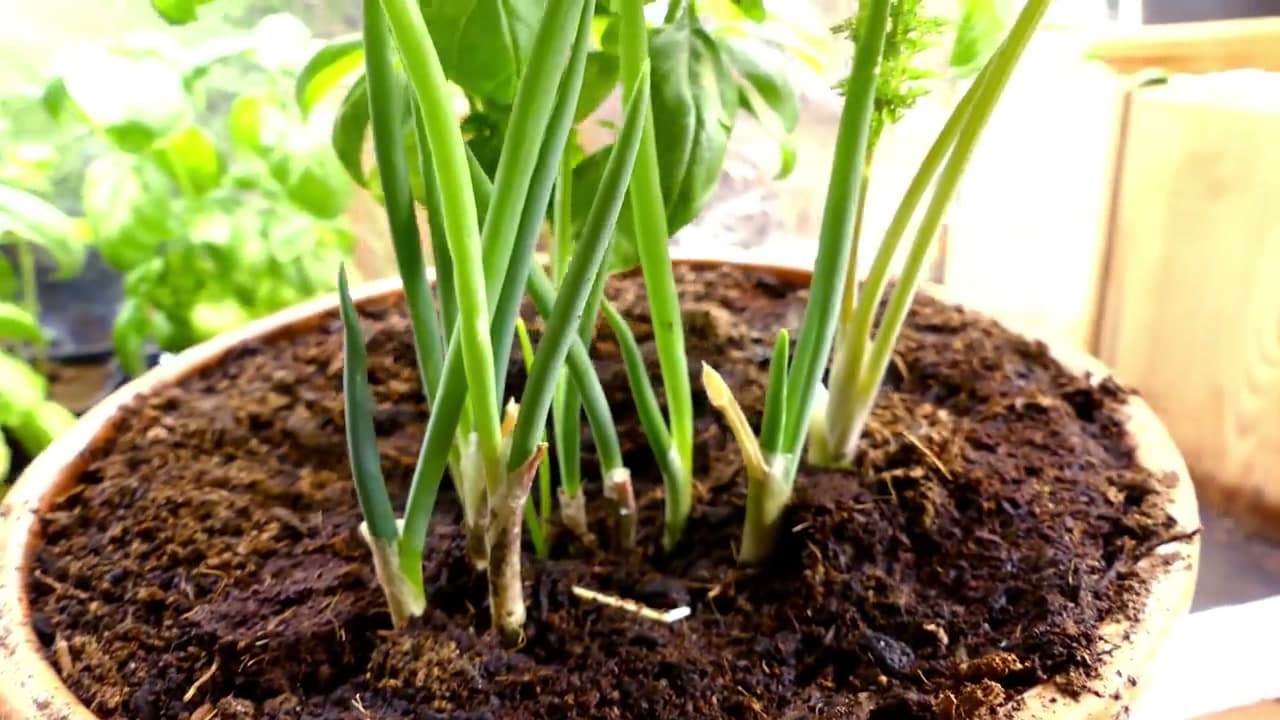
Step 1: Choose the Right Potting Mix
2:23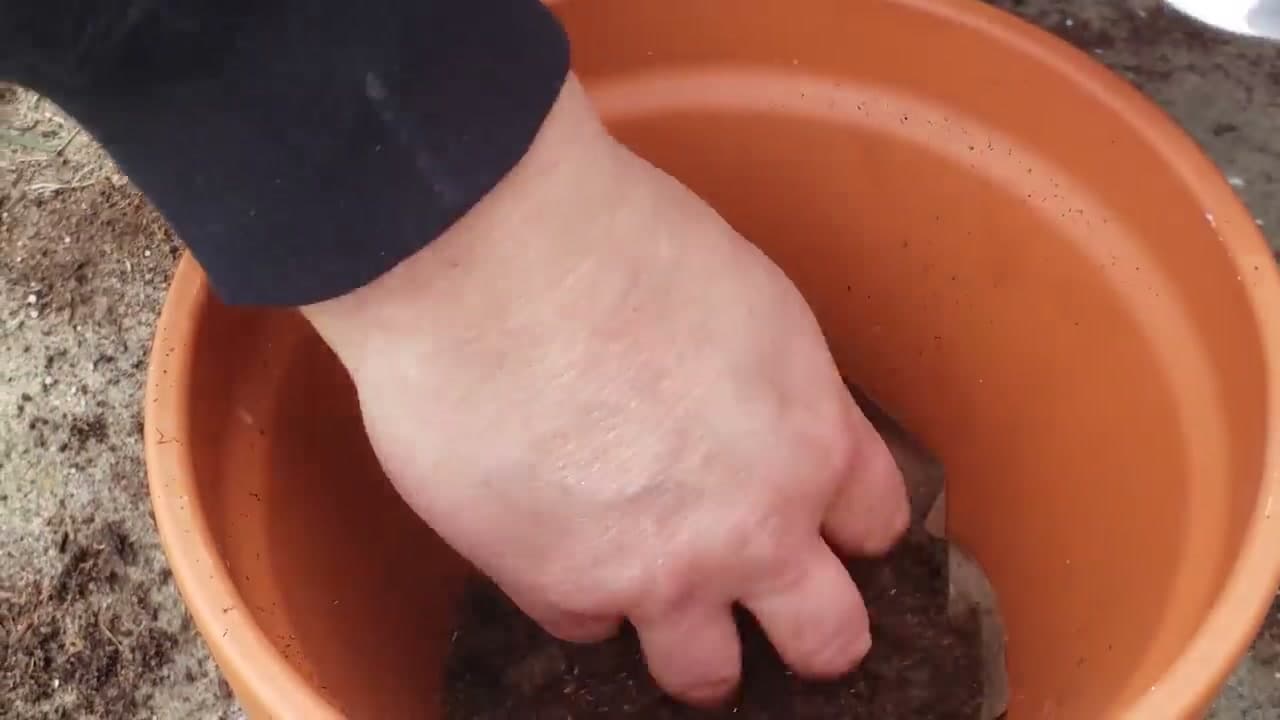
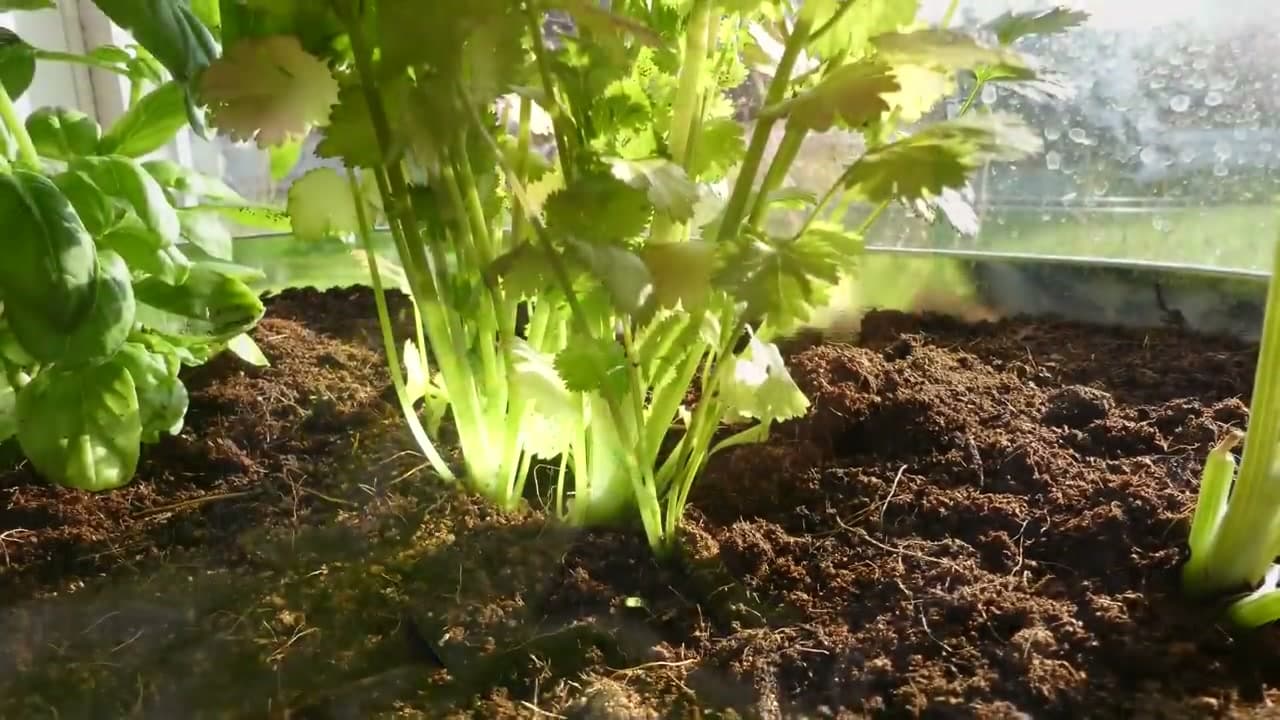
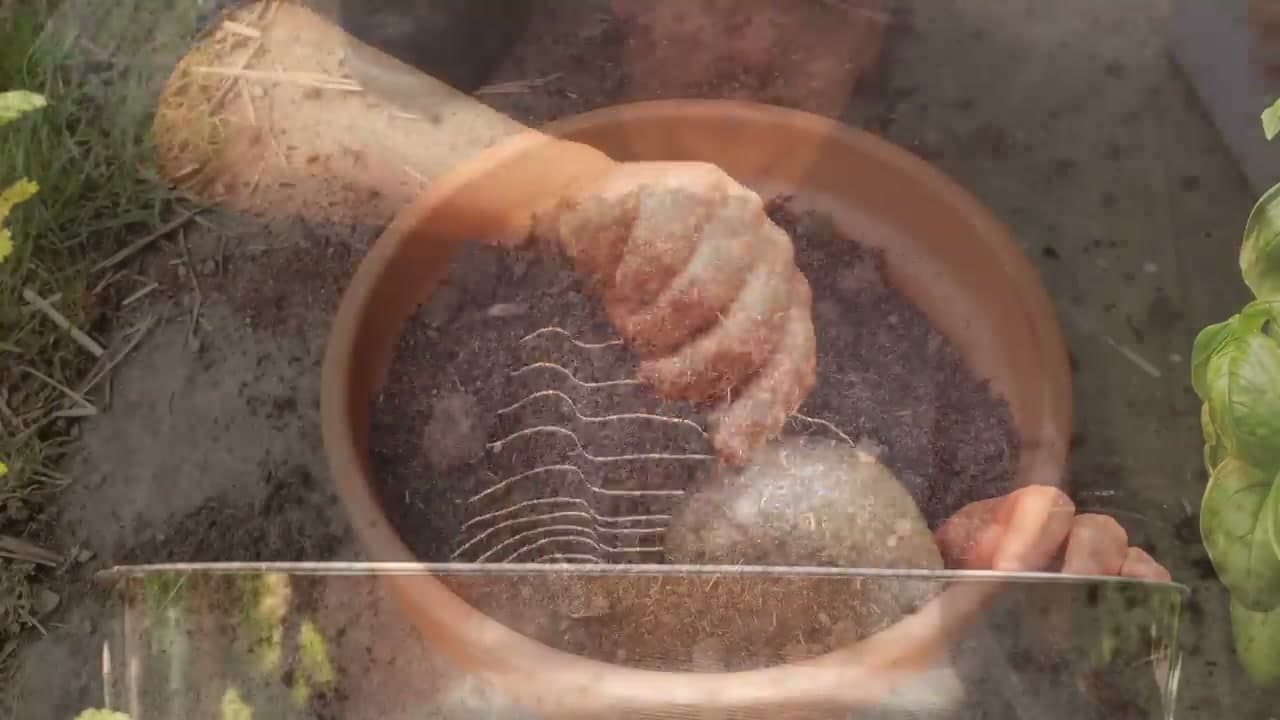
Grab a quality potting mix designed for indoor container gardening - not garden soil or compost from outside. You want something loose and airy that drains well but still holds some moisture. Bringing outdoor soil inside is a bad idea because it can carry aphids, fungus gnats, or spider mites that have no natural predators indoors and can quickly become a real problem. A good commercial mix is inexpensive and gives you a clean, pest-free starting point.
Tip
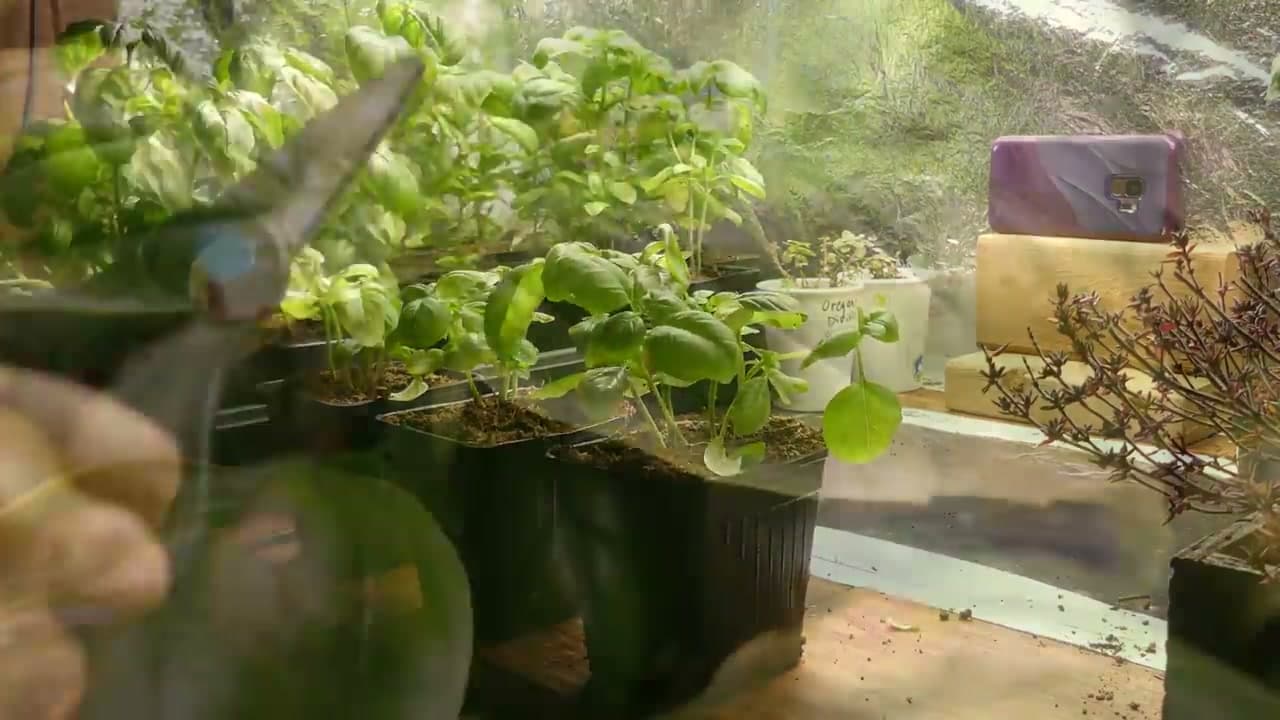
Look for mixes labeled for containers or indoor plants. They drain better than outdoor garden blends and tend to be sterile, which protects against soil-borne pests.