How to Grow Basil from Cuttings

GardeningEasy5:457 stepsBrowse more →

By ShowMeStepByStepPublished

Based on a video by CaliKim Garden & Home.

Here's a trick from CaliKim Garden & Home that turns one basil plant into a windowsill full of them. Instead of buying seedlings or a new grocery-store bunch every week, you snip a stem, root it in a glass of water, and pot it up. It costs nothing and it works with the basil you already have.

Water propagation is about as beginner-friendly as gardening gets. There's no rooting hormone, no special equipment, and you get to watch the roots grow through the glass. The main job is patience and clean water. Do that, and a single cutting becomes a full plant in a few weeks.

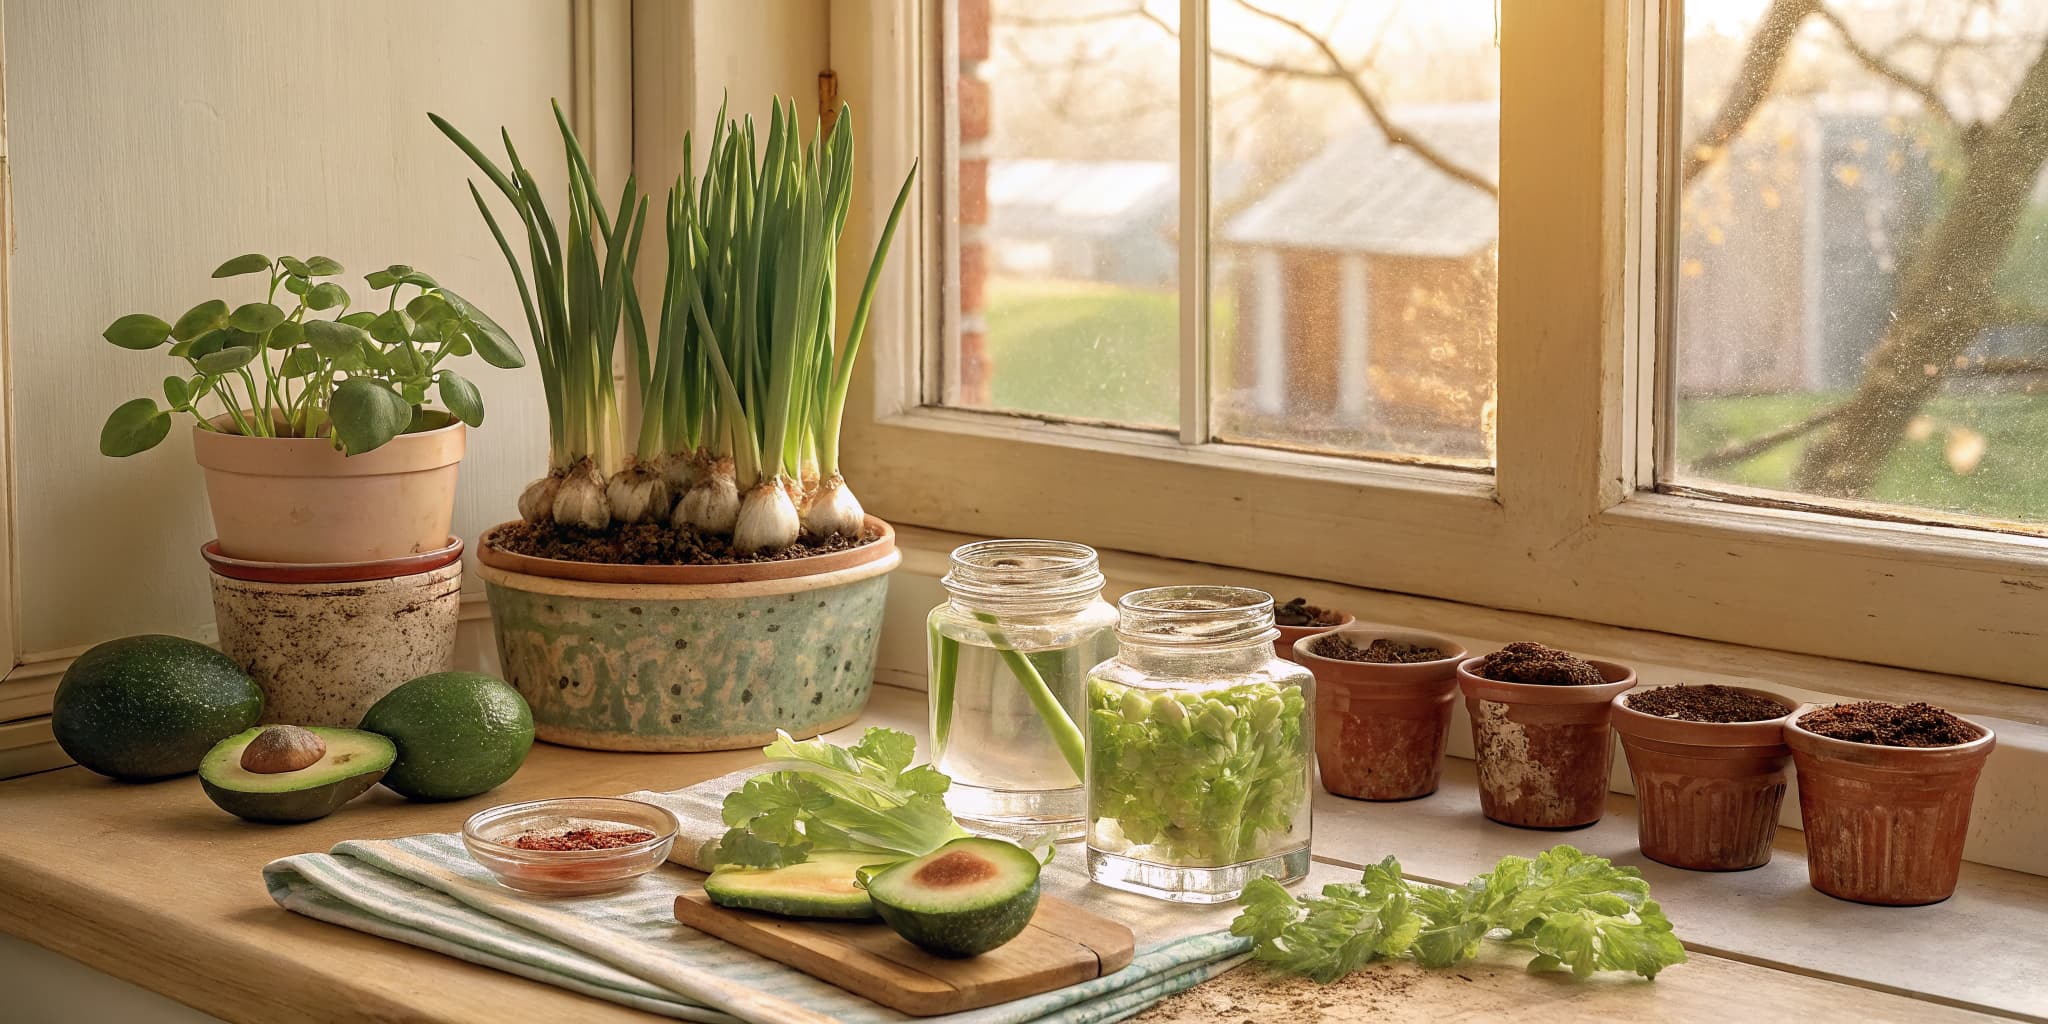
This is a different job from drying or harvesting the basil you already grow. If your plants are going strong, learn how to harvest basil so they keep producing, and how to dry basil to save the extra. The same water-rooting method works for kitchen scraps too, like how to grow green onions.

Step-by-Step Guide

7 steps · about 6 minutes.Check off each step as you go and your progress saves automatically.

1

Step 1: Snip a Healthy Basil Stem

1:30
Step 1: Step 1: Snip a Healthy Basil Stem

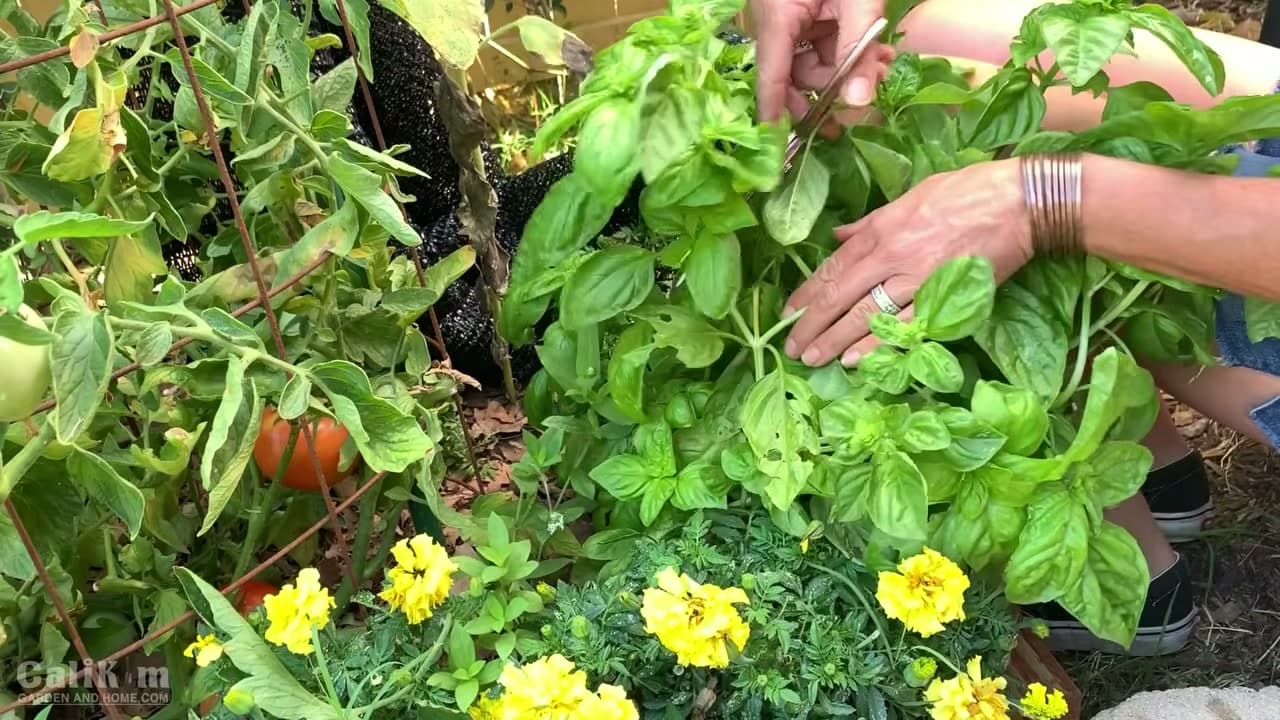
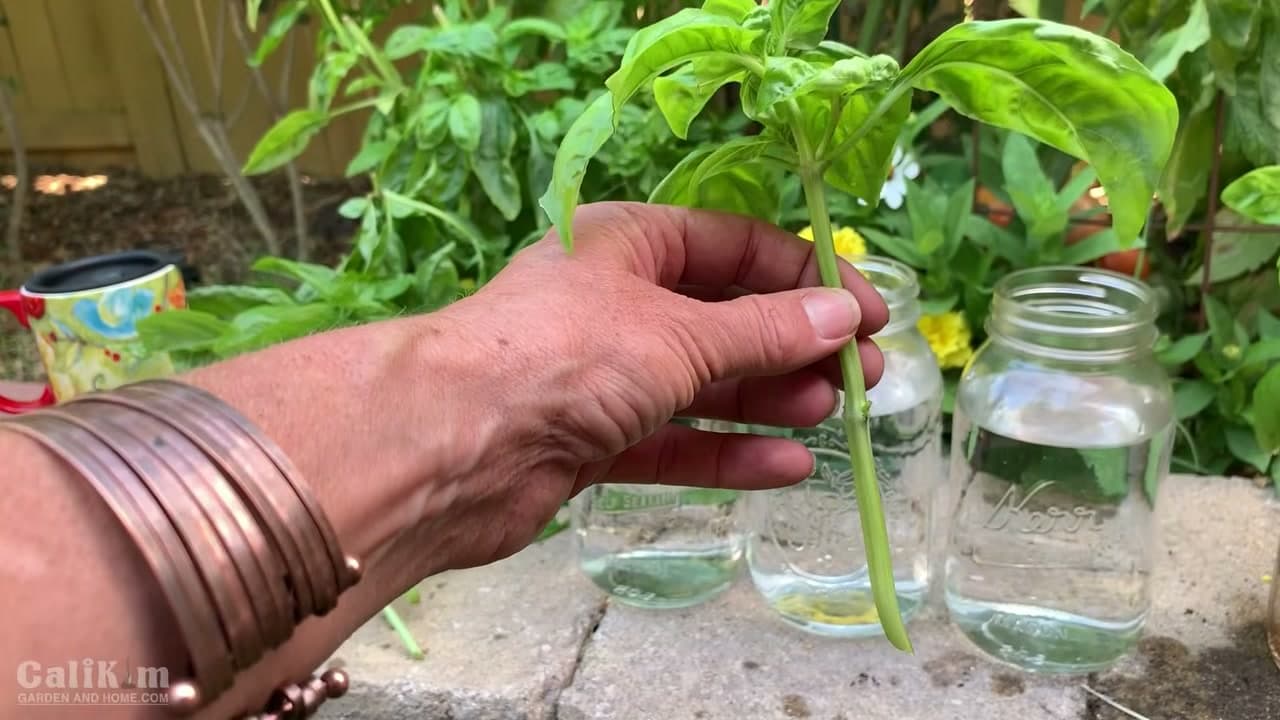
Look over your basil plant and find a stem that's strong and green, about four to six inches long. Pass on anything flowering or woody. A young, leafy tip roots the fastest.

Cut the stem just below a leaf node, that little bump where a pair of leaves meets the stem. Roots grow out of those nodes, so you want at least one of them on the piece you take. A clean cut with sharp snips beats tearing the stem by hand.

Tip

Watch this step Cut in the morning when the plant is full of water. The cutting stays firm instead of wilting while you get your jars ready.
2

Step 2: Strip the Lower Leaves

2:28
Step 2: Step 2: Strip the Lower Leaves

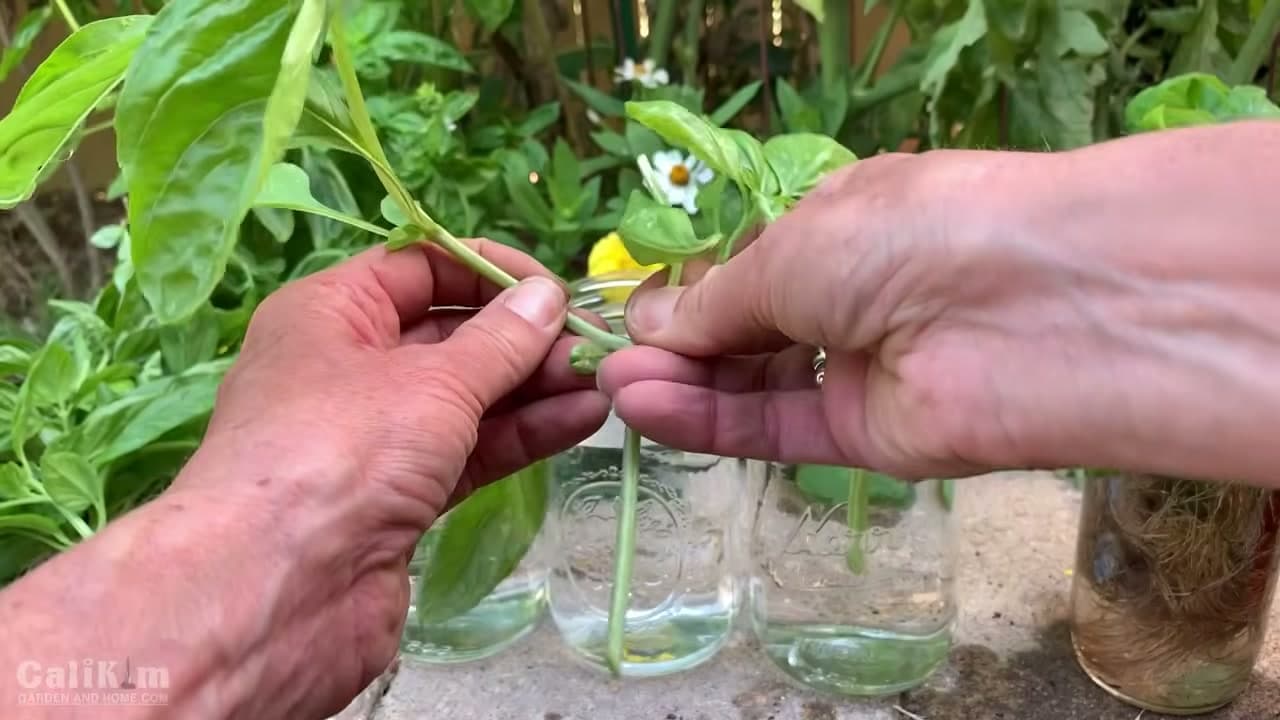
Pinch off all the leaves on the bottom half of the stem. Any leaf sitting under the water line will rot and turn the water cloudy, so clear that lower section down to bare stem.

Leave a few leaves at the top so the cutting can keep feeding itself. If the top leaves are huge, tear each one in half. Smaller leaves lose less water while the stem has no roots yet, which keeps the cutting from wilting.

Tip

Watch this step Make sure at least one bare leaf node ends up below the water line. That's where the new roots push out.

3

Step 3: Put the Cutting in Water

2:38
Step 3: Step 3: Put the Cutting in Water

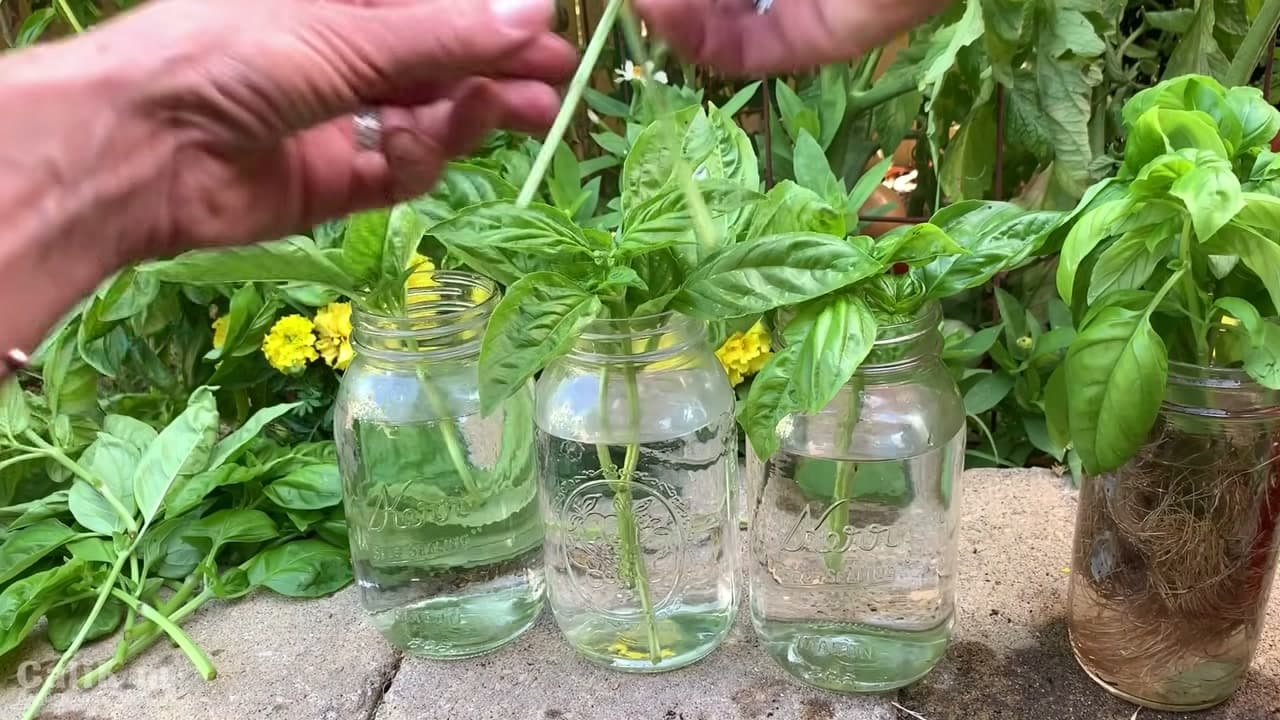
Drop the bare end of the stem into a clean glass jar or drinking glass filled with room-temperature water. A clear jar lets you watch the roots form, and it stands up fine on its own on a windowsill.

You can stand several cuttings in one jar. They lean on each other and stay upright, and one jar of cuttings can restock your kitchen for months. Just keep those top leaves above the water.

Tip

Watch this step Skip tap water that's heavily chlorinated if you can. Filtered water or tap left out overnight is gentler on tender new roots.

4

Step 4: Set It in Bright Light and Change the Water

2:55
Step 4: Step 4: Set It in Bright Light and Change the Water

Put the jar on a bright windowsill that gets plenty of light but not scorching midday sun through the glass. An east or south window is a good bet. Warmth and light are what nudge the stem to root.

Change the water every two or three days. Fresh water carries oxygen and keeps rot away, and stale, murky water is the main reason cuttings fail. Rinse the jar when you refill it.

Tip

Watch this step If the water looks cloudy or smells off before your next change, swap it right then. Clean water is the whole game here.

5

Step 5: Wait for Roots to Grow

3:18
Step 5: Step 5: Wait for Roots to Grow

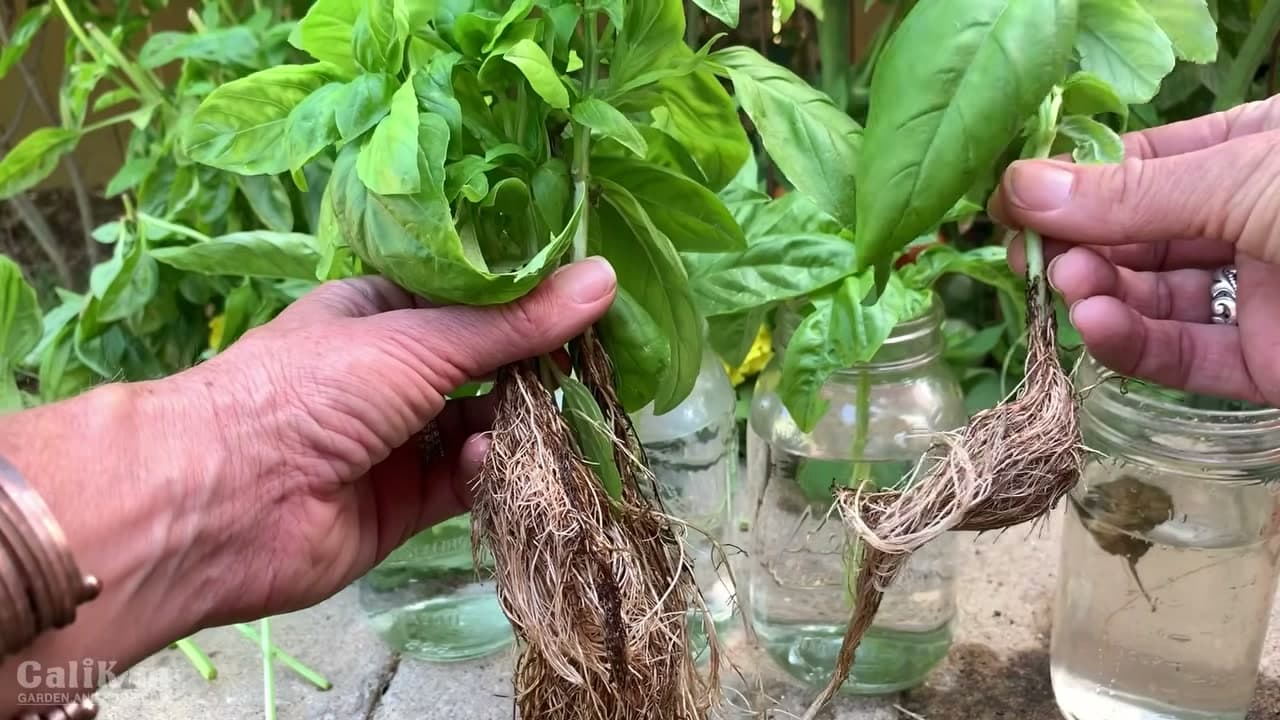
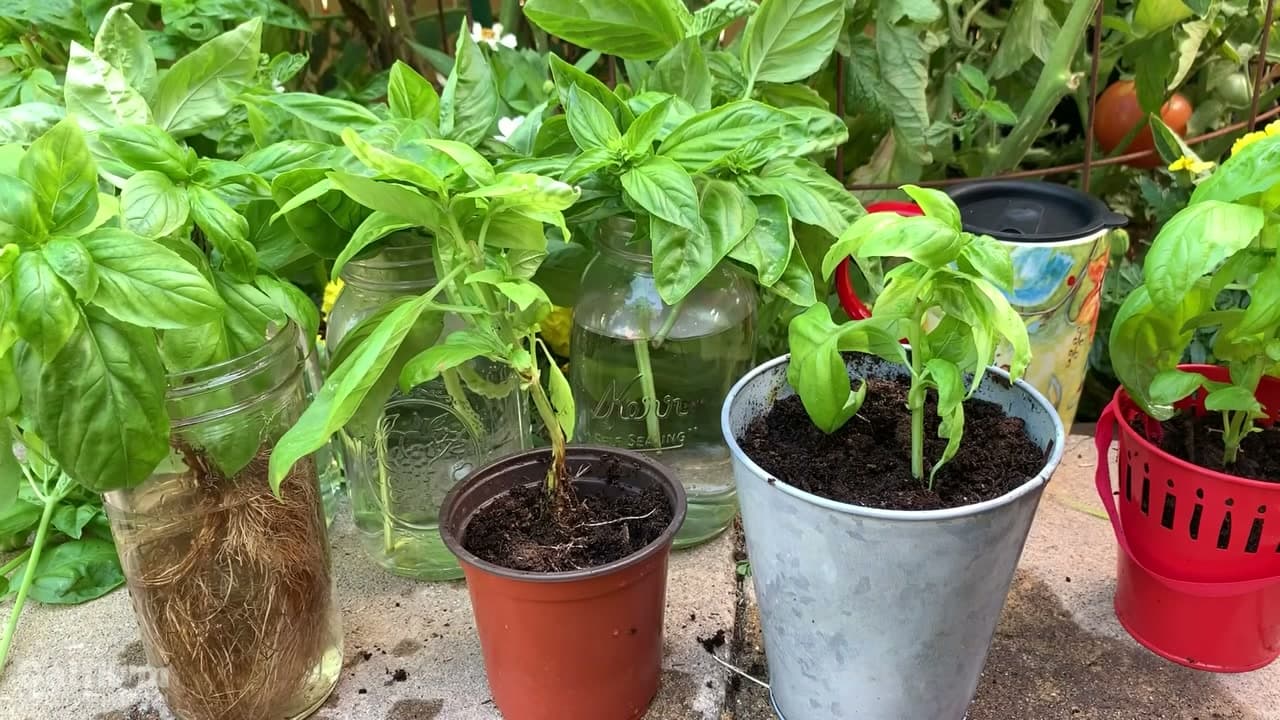
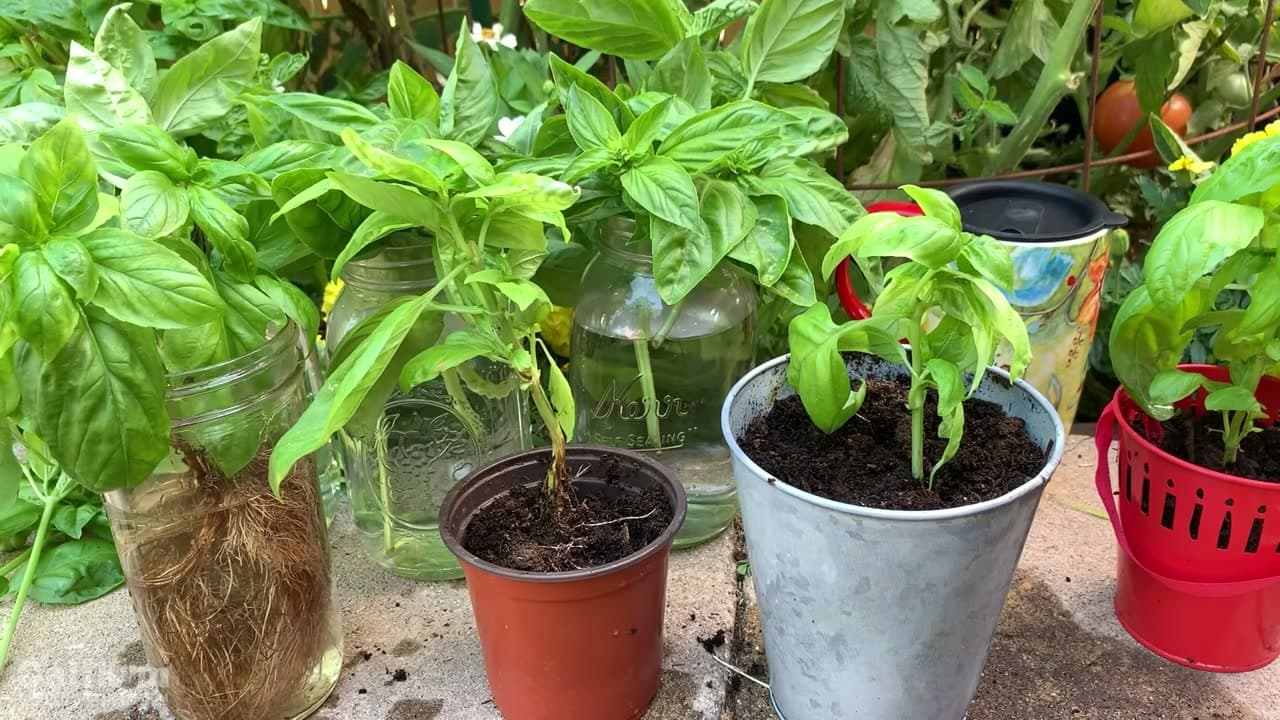
Now you wait. Little white roots usually start showing at the nodes within one to two weeks, and they thicken into a full mass over the next couple of weeks. Warm rooms root faster than cold ones.

Keep changing the water while you wait. Once you see a bushy tangle of roots an inch or two long, like the cutting here, the plant is ready for soil. Roots this size transplant without much of a setback.

Tip

Watch this step Don't rush to pot up thin, single roots. Let the mass fill out so the plant has enough root to feed itself in soil.

6

Step 6: Pot Up the Rooted Cutting

4:40
Step 6: Step 6: Pot Up the Rooted Cutting

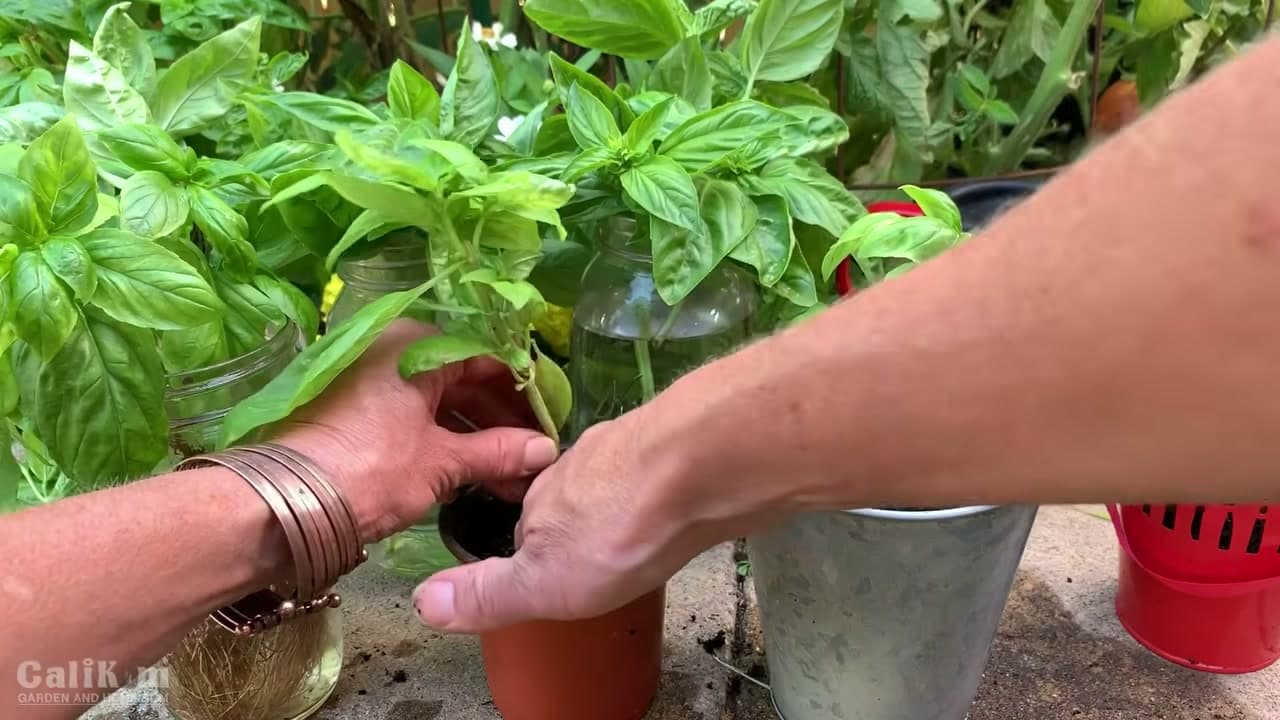
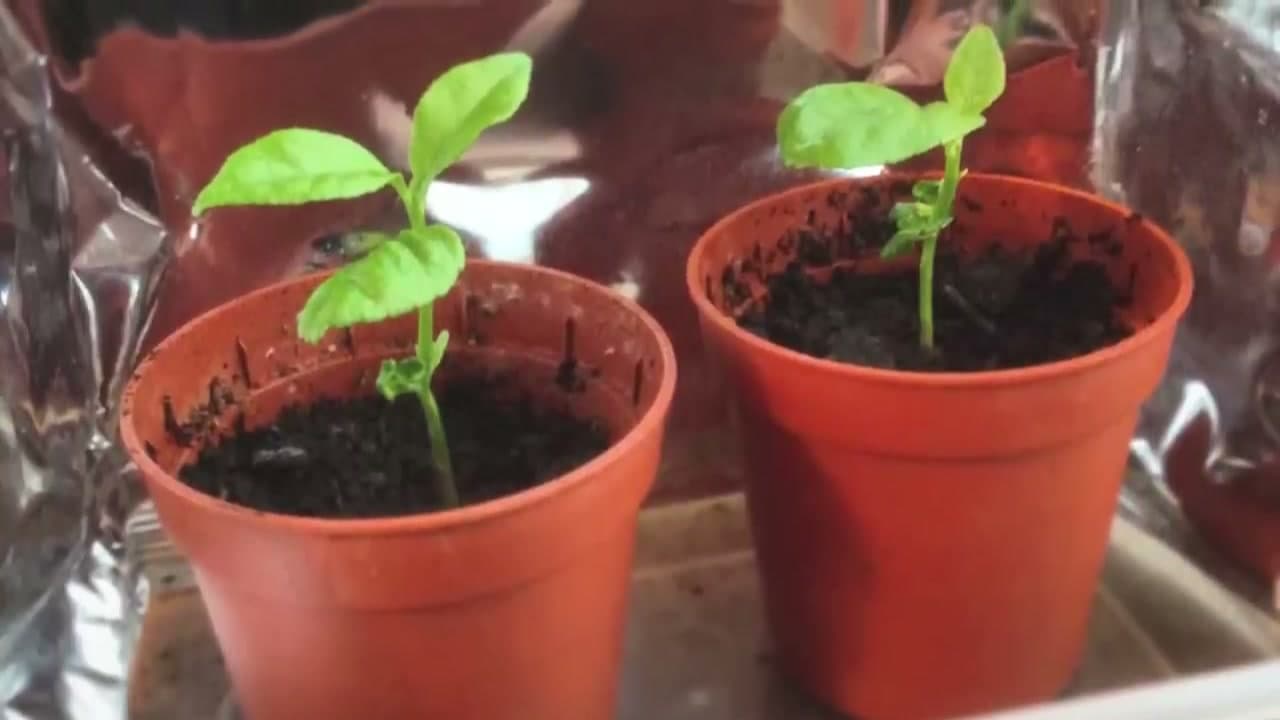
Fill a small pot that has drainage holes with moist potting soil. Poke a hole in the center, lower the roots in, and gently firm the soil around the stem so the cutting stands on its own.

Water it in right away to settle the soil against the roots. The plant may sulk for a few days as it switches from water to soil, so keep it out of harsh sun at first and keep the soil evenly damp.

Tip

Watch this step Keep the newly potted basil a little shadier and moister than usual for the first week. That helps the water-grown roots adjust to soil.

7

Step 7: Grow Your Free Basil on the Windowsill

4:48
Step 7: Step 7: Grow Your Free Basil on the Windowsill

That's it. Your cuttings are now potted basil plants, ready to grow on a sunny sill or back out in the garden. Give them at least six hours of light a day and water when the top of the soil feels dry.

Pinch the growing tips as the plants fill out. That keeps them bushy and, better yet, every tip you pinch is another cutting you can root. One grocery-store stem can turn into an endless supply of free basil.

Tip

Watch this step Once these plants get big, start over: snip a tip, root it in water, and you never have to buy basil again.

Products Used

☐ The Checklist

How to Grow Basil from Cuttings

Tools
3
Materials
3
Steps
7
Video
6 min

Tools we recommend

Your Guide

CaliKim Garden & Home

As an Amazon Associate we earn from qualifying purchases. Links on this page may be affiliate links - clicking them and buying doesn't change your price, but helps support ShowMeStepByStep.

Tags

Sunday How-To

New gardening tutorials, every Sunday

One short email with the week's best step-by-step guides. Free, no spam, unsubscribe anytime.

Did this work for you?

What's next

Related collections

Curated theme pages that include this tutorial.

Weekly Digest

Liked this gardening tutorial?

Pick the categories you want to hear about. Weekly digest of new step-by-step tutorials. No spam, easy unsubscribe.

Send me tutorials about

We only email about new tutorials. Easy unsubscribe anytime.