How to Grow Green Onions from Kitchen Scraps

GardeningEasy11:057 stepsBrowse more →
Also in:Adulting

By ShowMeStepByStepPublished

Based on a video by The Ripe Tomato Farms.

Green onions are about the easiest thing you can grow, and you don't need a garden or a green thumb to do it. This method comes from Craig at The Ripe Tomato Farms, who keeps a whole windowsill of them going from grocery-store scraps. You cut off the white root ends, sit them in a little water, and within days they start pushing out fresh green shoots. Harvest, and they grow right back.

The water stage is the fun part, but it isn't the finish line. After a few weeks in a jar the roots go soft and the flavor fades, so the trick to an endless supply is moving your rooted cuttings into a pot of soil. Once they're planted they keep producing for months, even coming back year after year in colder climates.

It's a great first project if you're new to growing food or doing it with kids. When you're ready for something a little bigger, try growing tomatoes from seed next.

Step-by-Step Guide

7 steps · about 11 minutes.Check off each step as you go and your progress saves automatically.

1

Step 1: Cut the Root Ends Off Your Green Onions

2:17
Step 1: Step 1: Cut the Root Ends Off Your Green Onions

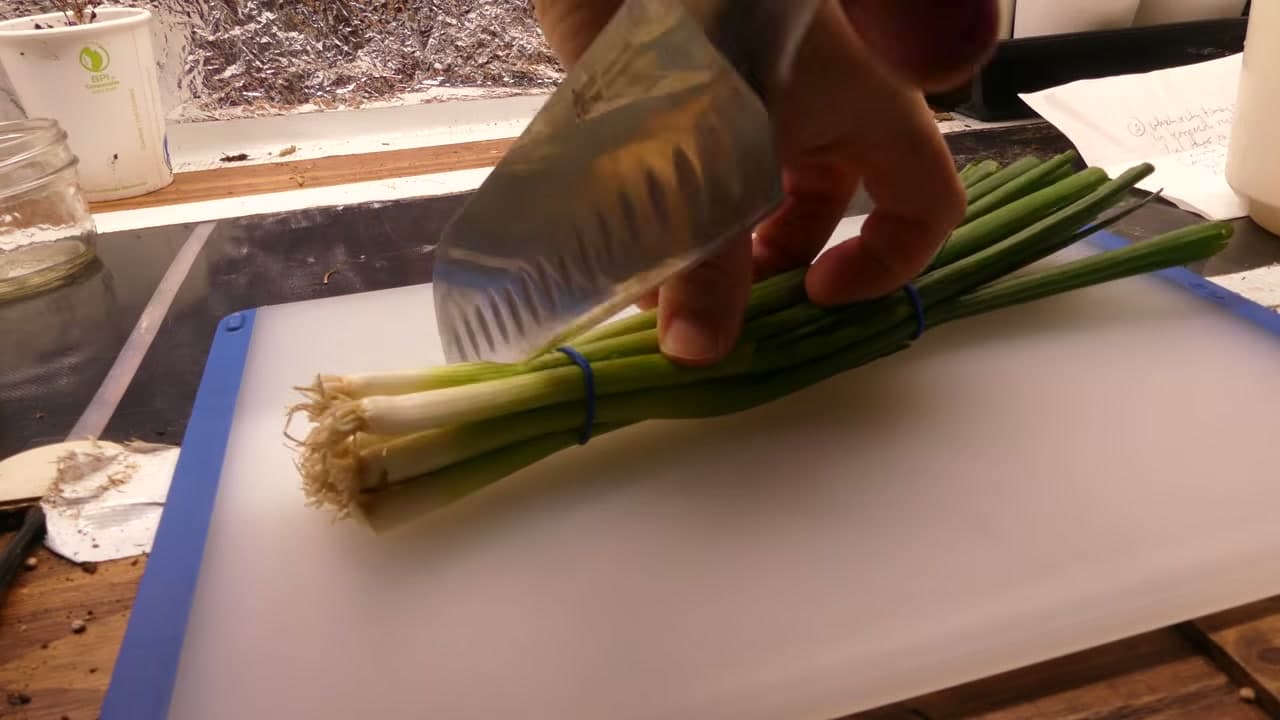
Grab a bunch of store-bought green onions and cut the stems off with a clean knife or scissors. Leave at least an inch of the wide white base, the part that still has those little root tips on it. That base is the piece that regrows.

The more of the white end you leave on, the faster and more reliably it comes back. The catch is that the crunchy white part is the tastiest bit to eat, so it's a bit of a trade-off. If you want a head start, err on the side of leaving a little extra.

Tip

Watch this step Use a sharp knife and cut in one clean pass so you don't crush the base. A bruised cut end is more likely to rot than to root.
2

Step 2: Stand the Root Ends in a Jar of Water

2:55
Step 2: Step 2: Stand the Root Ends in a Jar of Water

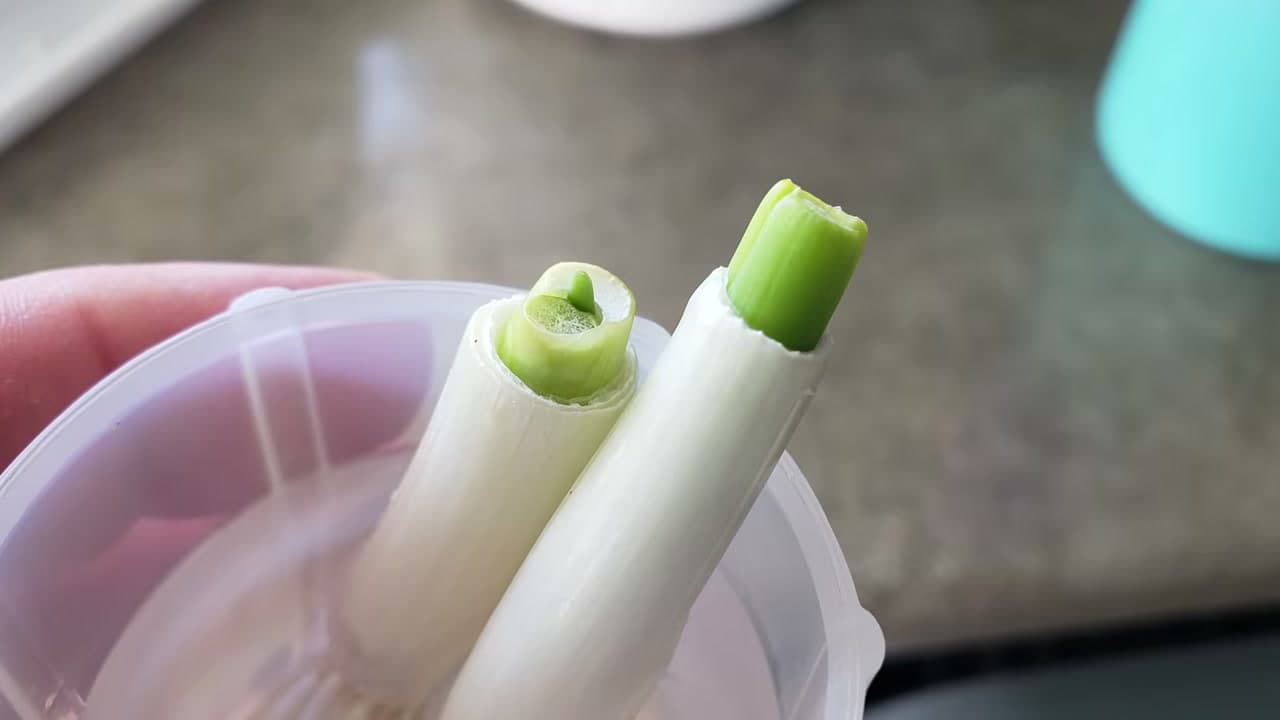
Fill a container with regular tap water and stand the cut root ends upright inside. The one rule that matters here is keeping the green tops above the water. If the tops sit submerged for any length of time they'll rot, since green onions are still land plants at heart.

A skinny jar or glass makes this easy. Add only about half an inch of water, just enough to cover the roots, and let the tips lean against the rim to stay upright. Set the jar somewhere with light and leave it be.

Tip

Watch this step A narrow shot glass or a small jelly jar keeps a single onion standing straight up without any propping. Wide bowls let them topple and go under.

3

Step 3: Watch the Green Shoots Start Regrowing

3:25
Step 3: Step 3: Watch the Green Shoots Start Regrowing

Within a day you'll see the inner rings of the onion start to elongate and push up out of the cut top. That's the plant waking up and it's exactly what you want to see. It happens fast at room temperature.

Over the next few days those inner shoots turn into new green leaves growing right out of the middle. Change the water every couple of days to keep it fresh, because onions sitting in still water can get a little funky. Clean water keeps the whole thing healthy while it roots.

Tip

Watch this step Warmth speeds this up. A sunny windowsill or a spot near the kitchen gets shoots going noticeably faster than a cool, dim corner.

4

Step 4: Look for New White Roots

4:06
Step 4: Step 4: Look for New White Roots

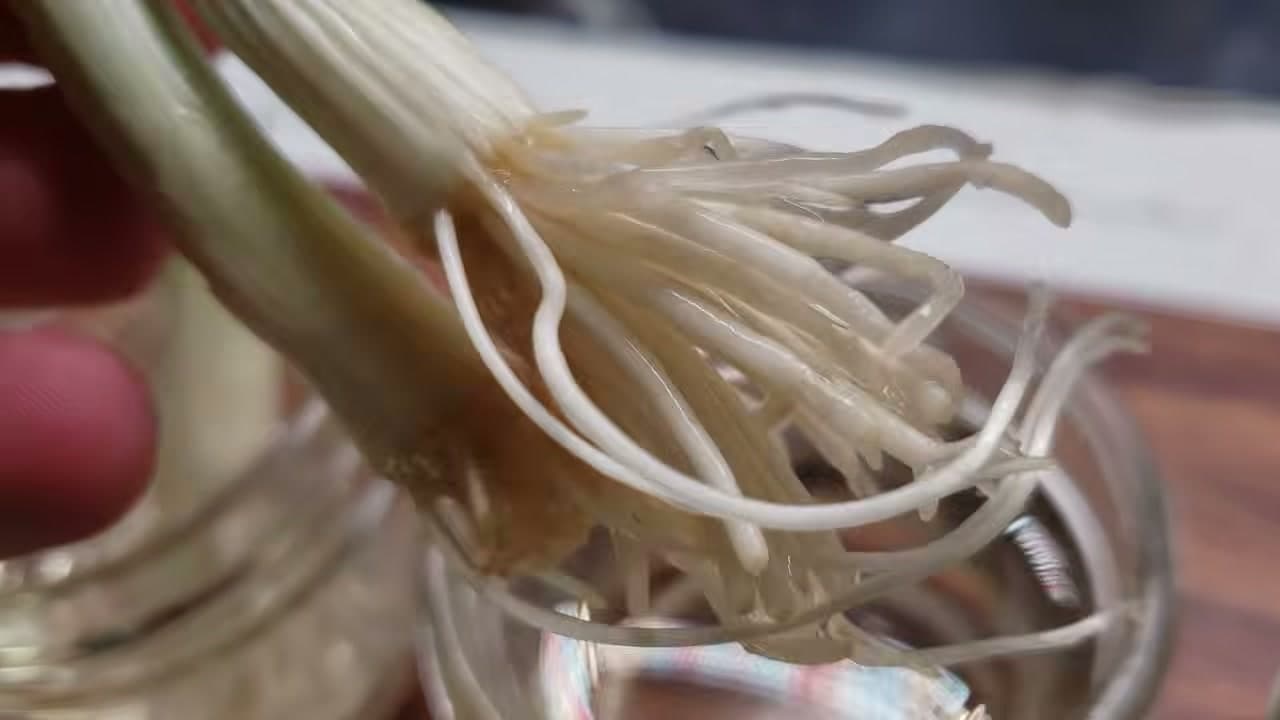
Within about a week you'll spot fresh white roots forming at the base. New white roots are the sign of success with any cutting, and green onions are no different. Some bunches keep the little root nubs from the store and get a head start, but even if yours don't, new roots form on their own.

Once those roots appear the shoots really take off, growing as much as a third to half an inch a day. You can even snip the greens now and they'll keep regrowing right in the water for a couple more harvests. They're that eager.

Tip

Watch this step Plan to pot them up within about three weeks. Left in water much longer, the roots turn soft and mushy and struggle to adjust to soil later.

5

Step 5: Fill a Pot with Potting Mix

7:03
Step 5: Step 5: Fill a Pot with Potting Mix

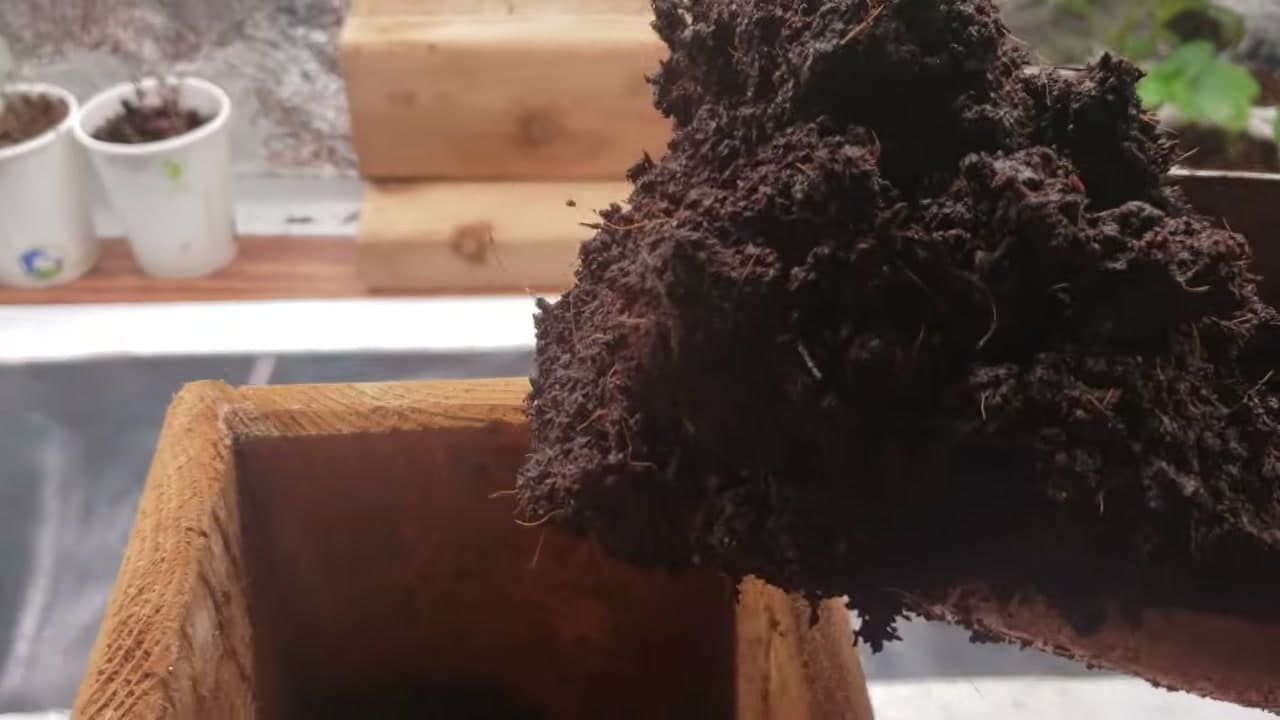
Water alone will only take you so far. To keep the onions going long term they need soil, so grab a pot and any decent commercial potting mix. You want it light and airy, high in organic matter, and able to hold moisture while still draining freely.

Fill the pot all the way to the top and pack it in snug. Almost any size works, since spacing isn't fussy with green onions, but pick something at least four inches deep with drainage holes. Poke shallow holes for the shoots once it's filled.

Tip

Watch this step A drainage hole is not optional. Green onions in a pot with no way to drain will sit in soggy soil and the roots rot out.

6

Step 6: Plant the Rooted Shoots

7:31
Step 6: Step 6: Plant the Rooted Shoots

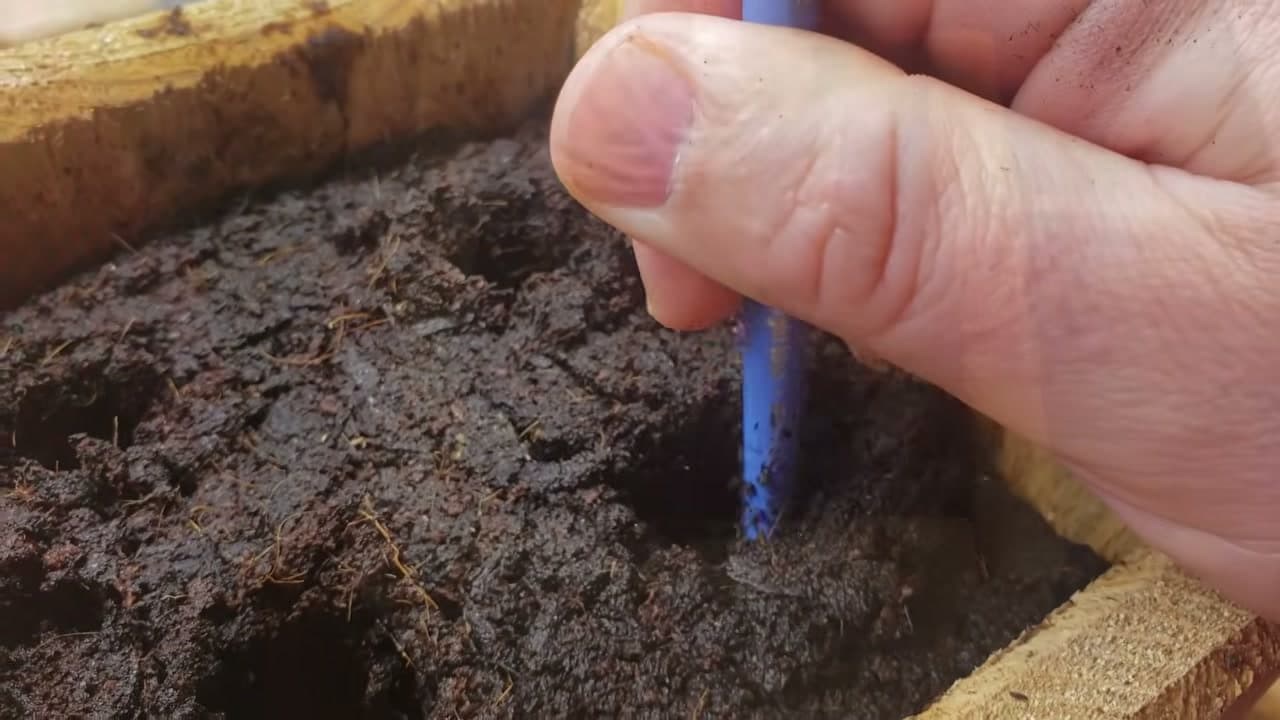
Set each rooted shoot into a hole in the soil, then pack the mix around it so it stands on its own. Keep it shallow. The spot where the roots meet the stem, the root collar, is quite low on a green onion, and that's roughly where your soil line should sit.

Don't bury the shoots deep to hold them up. Instead plant them at the natural depth and firm the soil around the base for support. It's straightforward planting, and the roots you grew in the water will do the rest of the anchoring.

Tip

Watch this step A pencil or a chopstick makes a clean planting hole without smearing the soil. Drop the shoot in, then pinch the mix closed around it.

7

Step 7: Water from Below and Keep Them Growing

8:46
Step 7: Step 7: Water from Below and Keep Them Growing

Right after planting, don't pour water on top or you'll wash the loose soil and the new shoots around. Water from below instead. Set the pot in a couple inches of water and let it soak overnight. The soil wicks up exactly what it needs and nothing more.

After that first soak they're easy. Water the soil about once a week, give them full sun, and harvest the greens whenever you want. Planted in soil this way, your regrown onions keep producing for months, so you may never buy a bunch again.

Tip

Watch this step Harvest by snipping the green leaves an inch or two above the soil rather than pulling the whole plant. Cut and come again, all season long.

Products Used

☐ The Checklist

How to Grow Green Onions from Kitchen Scraps

Tools
5
Materials
3
Steps
7
Video
11 min

Tools we recommend

Your Guide

The Ripe Tomato Farms

As an Amazon Associate we earn from qualifying purchases. Links on this page may be affiliate links - clicking them and buying doesn't change your price, but helps support ShowMeStepByStep.

Tags

Sunday How-To

New gardening tutorials, every Sunday

One short email with the week's best step-by-step guides. Free, no spam, unsubscribe anytime.

Did this work for you?

What's next

Related collections

Curated theme pages that include this tutorial.

Weekly Digest

Liked this gardening tutorial?

Pick the categories you want to hear about. Weekly digest of new step-by-step tutorials. No spam, easy unsubscribe.

Send me tutorials about

We only email about new tutorials. Easy unsubscribe anytime.