How to Regrow Carrot Tops

GardeningEasy6:408 stepsBrowse more →

By ShowMeStepByStepPublished

Based on a video by Gardening at 58 North.

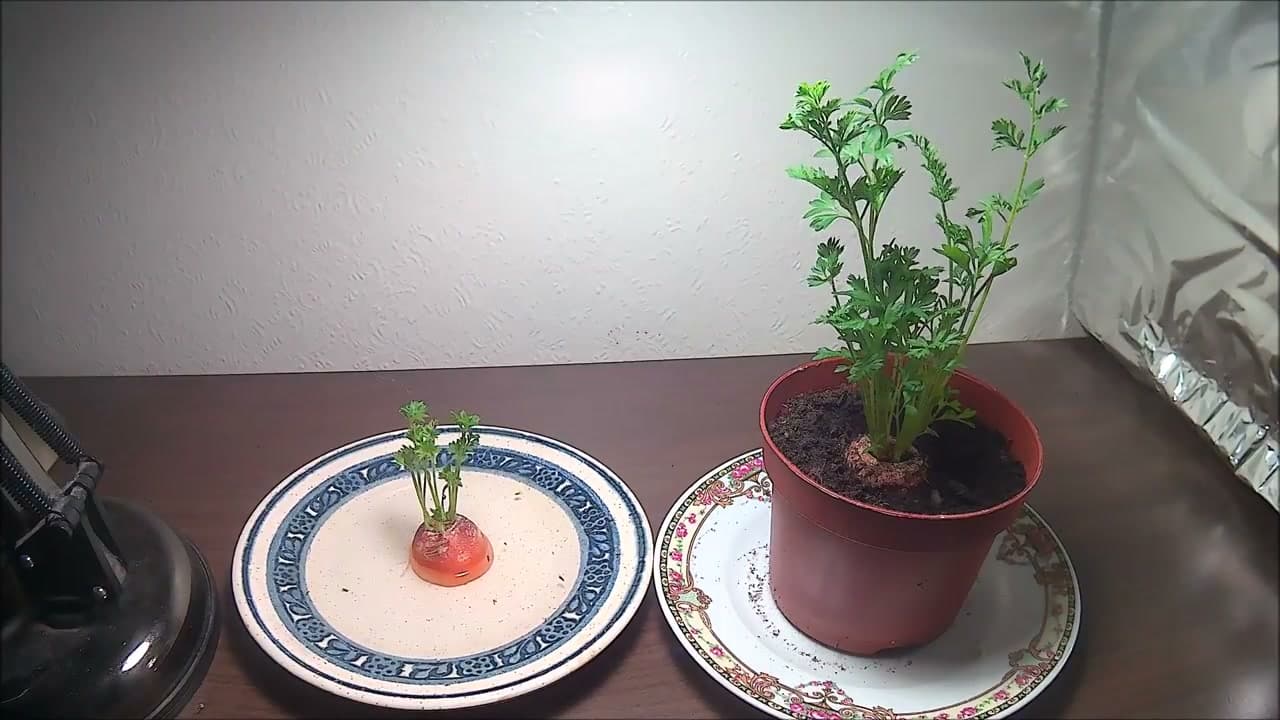
You do not need to throw the top of a carrot in the bin. That little stub will push out a fresh flush of feathery green leaves if you give it water and light. This walkthrough follows a clear time-lapse demo from Gardening at 58 North, who plants a top in both water and soil so you can watch the roots and the greens develop.

One thing to be honest about up front: a carrot top regrows the leafy greens, not a new carrot. You will not dig up a fresh orange root at the end. What you get is a pot of carrot greens, which are great snipped into salads, stirred through a pesto, or blitzed into a herby sauce. Leave the plant long enough and it will send up flowers and set seed.

It is a slow, satisfying project that costs nothing and fits on a windowsill. If you enjoy this one, try the same trick with celery or lettuce, or grow a steady supply of green onions from scraps.

Step-by-Step Guide

8 steps · about 7 minutes.Check off each step as you go and your progress saves automatically.

1

Step 1: Gather What You Need

0:15
Step 1: Step 1: Gather What You Need

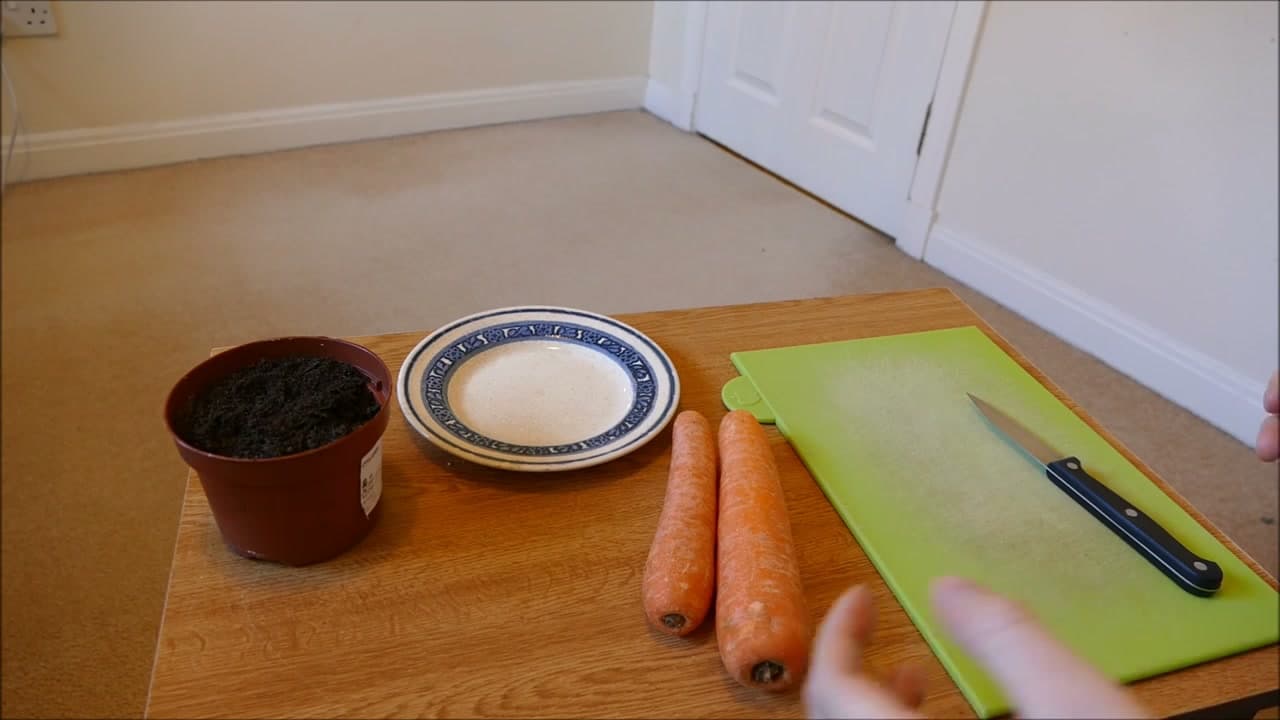
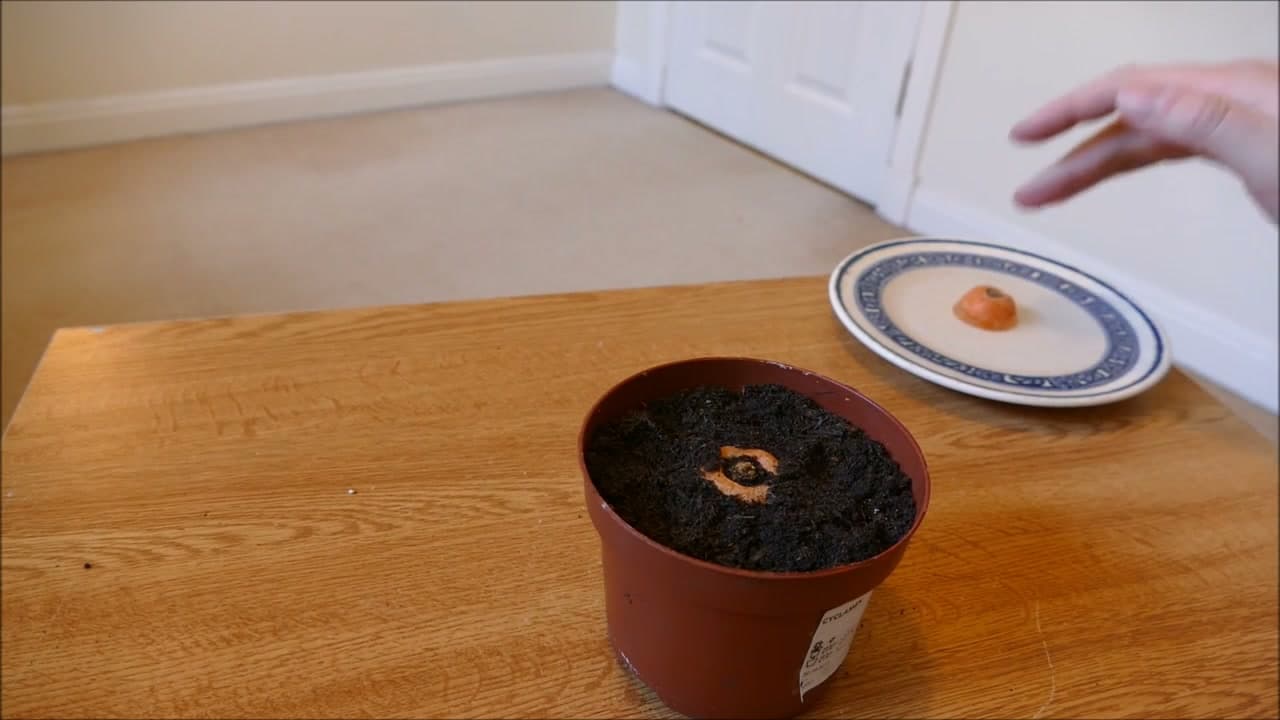
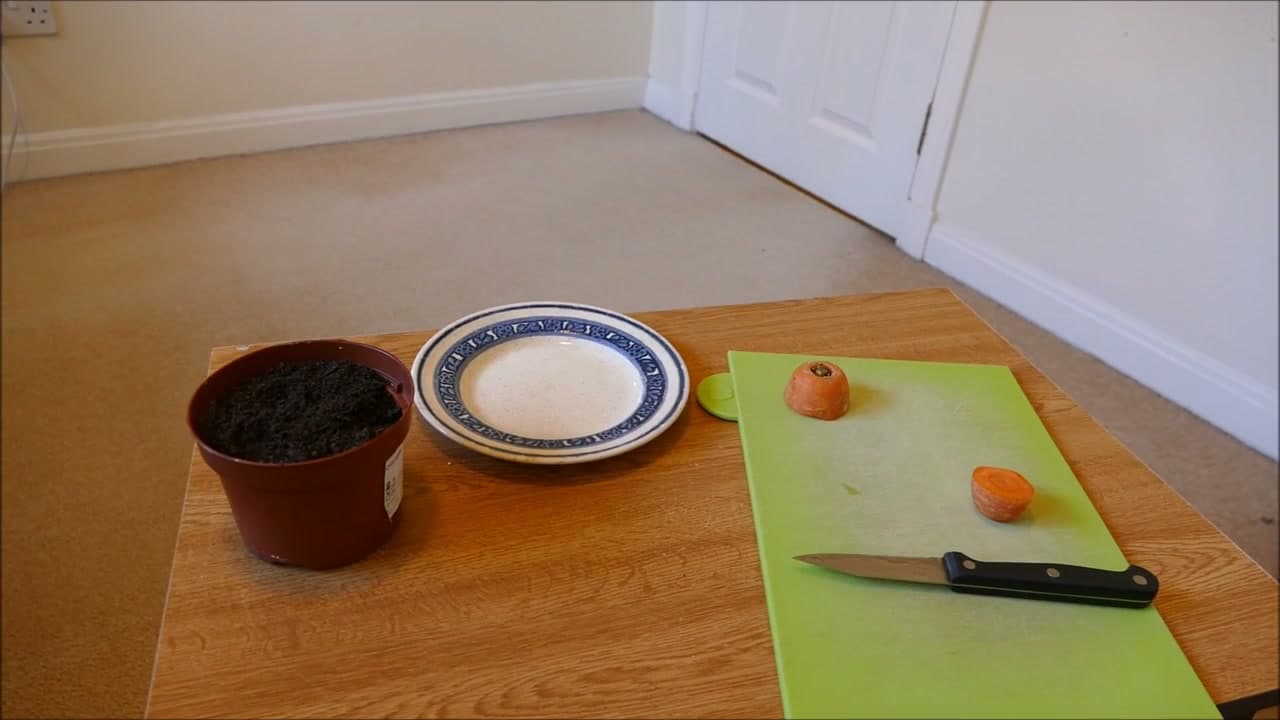
Grab a carrot that still has some of the shoulder end intact, a knife, and a cutting board. Set out a shallow saucer for the water method and a small pot of soil for the soil method. You can do both, like the video does, or pick one. Any carrot works, even a bendy one from the back of the fridge. Give it a rinse so you can see the crown at the wide end where the leaves once grew.

Tip

Watch this step. Organic carrots regrow just as well as any other, so there is no need to buy anything special for this.
2

Step 2: Cut Off the Top

1:35
Step 2: Step 2: Cut Off the Top

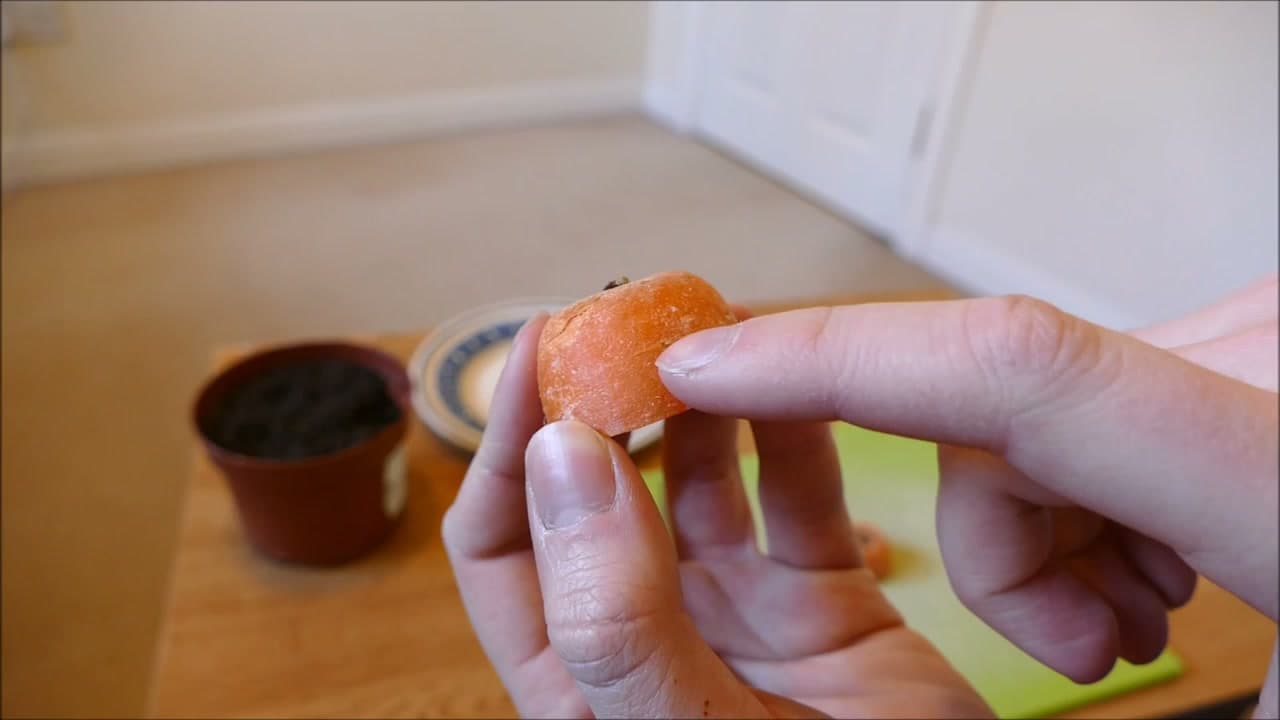
Slice about an inch off the wide top end of the carrot. That is the part you want. The rest of the carrot is yours to cook with, so nothing is wasted. Keep the cut clean and flat so the piece sits steady later. If you are doing more than one, cut a couple of tops now. The little green nub on top, or the flat crown if the leaves were already trimmed, is where new growth comes from.

Tip

Watch this step. A slightly thicker top, closer to an inch and a half, has more stored energy and tends to sprout faster.

3

Step 3: Look at the Crown

2:00
Step 3: Step 3: Look at the Crown

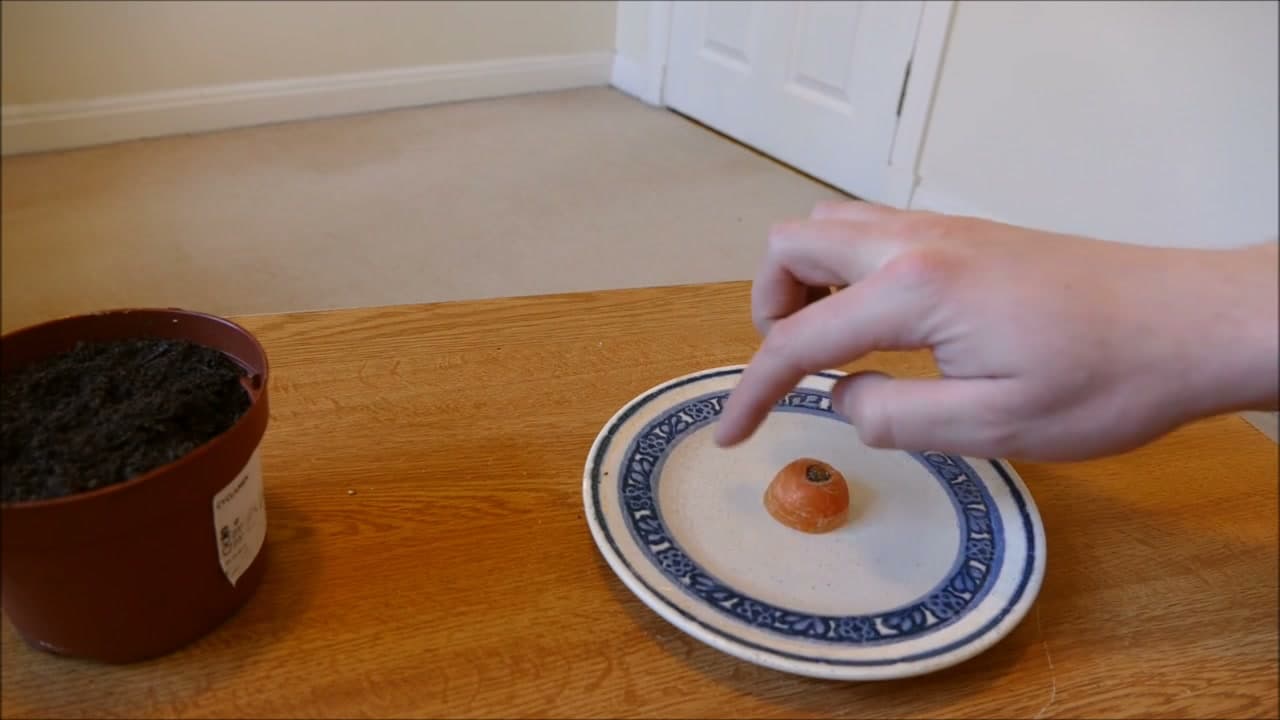
Hold the cut top and look at the flat face and the crown. See that ring in the center? That is where the new shoots come from. As long as a bit of that crown is there, you are in good shape. If your carrot came with a stubby green stem still attached, even better. You do not need roots or anything else. This small piece has everything it needs to wake up.

Tip

Watch this step. If the top is soft or moldy, toss it and cut a fresh one. A firm piece has the best odds.

Products used in this step

4

Step 4: Set the Top in Water

2:50
Step 4: Step 4: Set the Top in Water

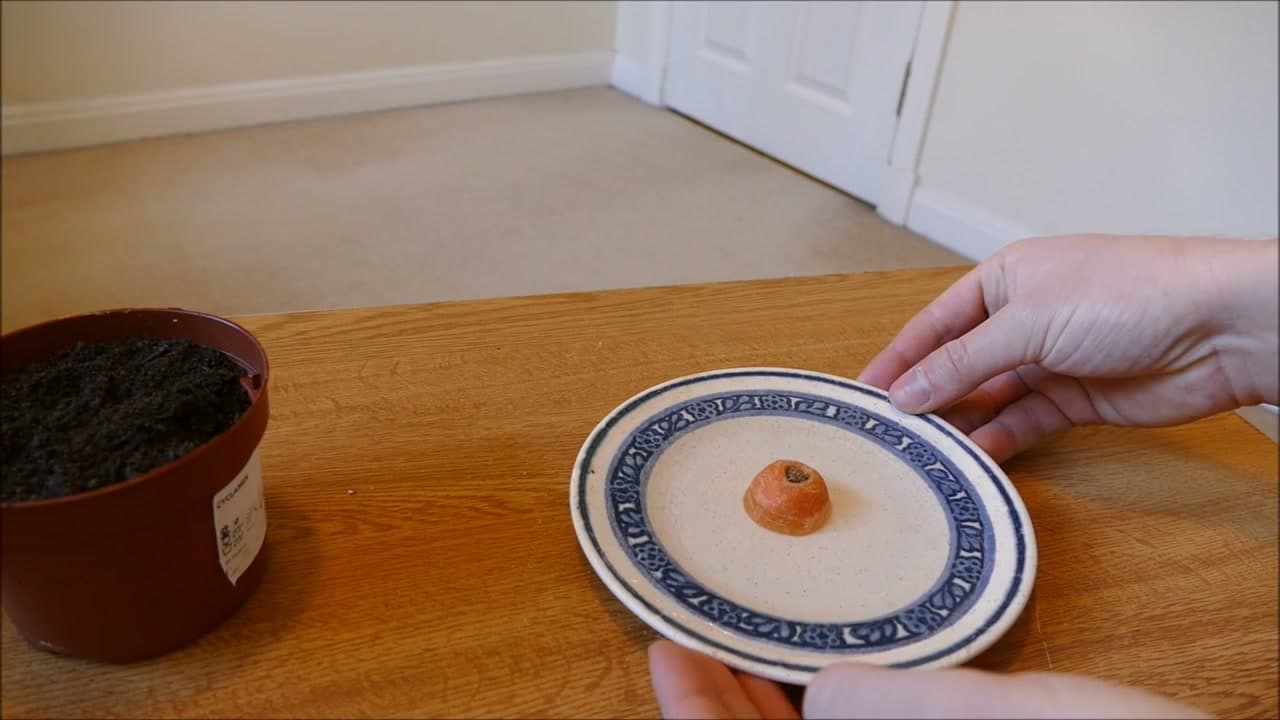
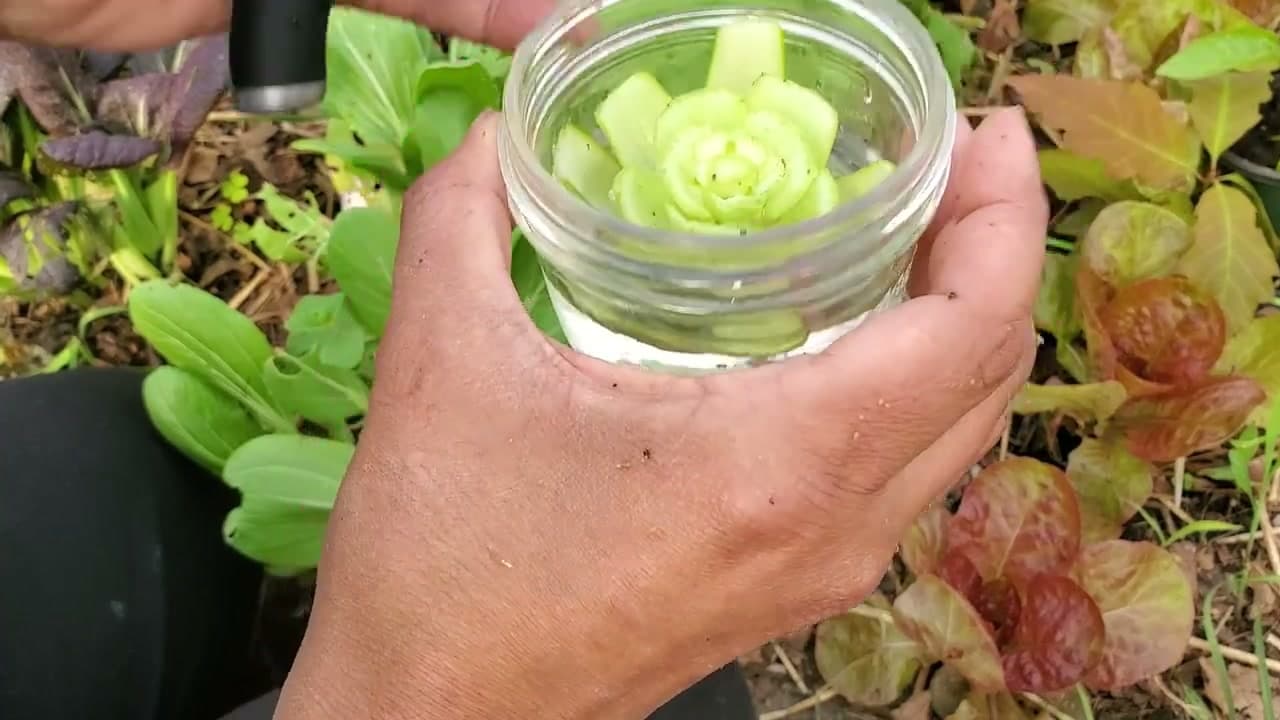
Put the carrot top cut-side down on a shallow saucer, then add a little water. You want the bottom sitting in water while the crown stays exposed to the air. A saucer is perfect because it is shallow and easy to top up. This water method is the fun one for beginners since you get to watch tiny roots creep out and green shoots push up over the next few days.

Tip

Watch this step. Do not drown it. A thin film of water, just enough to touch the base, is all the crown wants.

5

Step 5: Give It Light and Fresh Water

3:50
Step 5: Step 5: Give It Light and Fresh Water

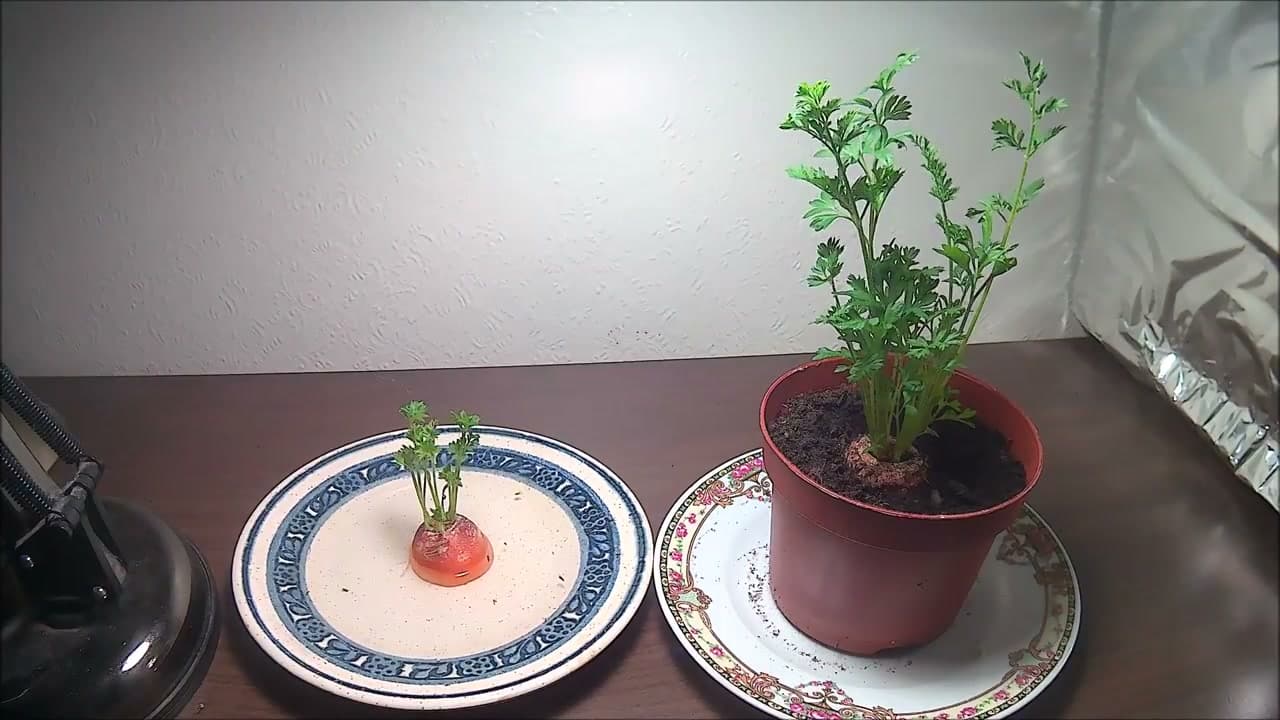
Move the saucer to a bright windowsill. Carrot tops want plenty of light to green up and grow. The one job you have from here is changing the water every day or two. Old water goes cloudy and can turn the top slimy, so a quick rinse of the dish keeps things sweet. Within a few days you should see fresh feathery leaves unfurling from the middle of the crown.

Tip

Watch this step. A south-facing sill gives the strongest growth. Turn the dish now and then so the shoots grow straight.

Products used in this step

6

Step 6: Move It to a Pot of Soil

4:50
Step 6: Step 6: Move It to a Pot of Soil

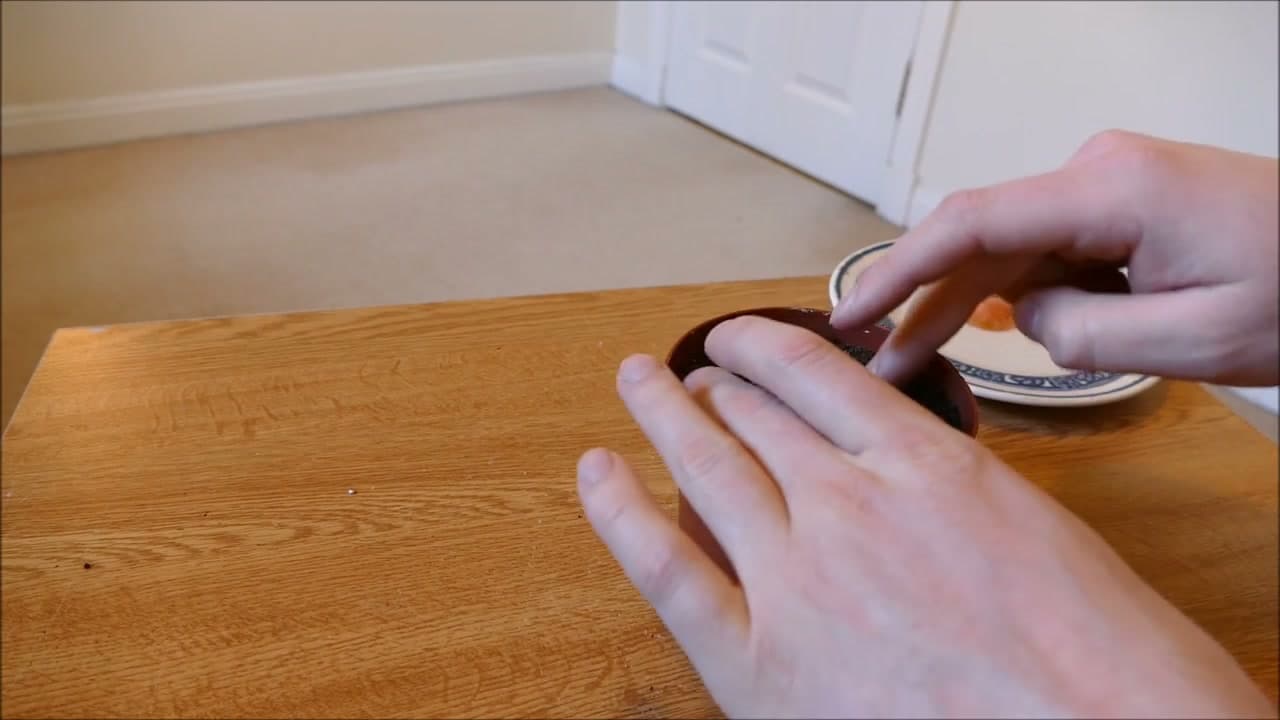
Once the crown has sprouted, or if you want to skip the water stage entirely, nestle a carrot top into a small pot of potting soil. Press it gently so the cut base sits in the soil with the crown just at or above the surface. Soil gives the plant more to feed on than water alone, so it grows on stronger and lasts longer. Water it in and firm the soil around the base.

Tip

Watch this step. Use a pot with a drainage hole so the base does not sit soggy and rot.

7

Step 7: Set Both in a Sunny Spot

5:05
Step 7: Step 7: Set Both in a Sunny Spot

Stand the pot, and the water saucer if you kept one going, in the brightest spot you have. A windowsill that catches sun for a good chunk of the day is ideal. Keep the soil lightly moist, not wet, and keep refreshing the water in the dish. Now it is a waiting game. Over the coming days and weeks the tops fill out with more and more of those lacy green leaves.

Tip

Watch this step. Growth slows in low winter light. A spot near a bright window still works, it just takes a little longer.

8

Step 8: Harvest the Fresh Greens

6:39
Step 8: Step 8: Harvest the Fresh Greens

Here is the payoff. The potted top has grown into a bushy clump of feathery carrot greens, and even the little top on the saucer has thrown up its own shoots. Snip the leaves as you need them for salads, pesto, or a herby chimichurri-style sauce. They taste bright and a little like parsley. Leave the plant to keep growing and it will eventually flower and set seed. Remember, this is a greens crop, not a new carrot.

Tip

Watch this step. Snip the outer leaves and leave the center to regrow, so one pot keeps giving you greens for weeks.

Products Used

☐ The Checklist

How to Regrow Carrot Tops

Tools
4
Materials
3
Steps
8
Video
7 min

Tools we recommend

Your Guide

Gardening at 58 North

As an Amazon Associate we earn from qualifying purchases. Links on this page may be affiliate links - clicking them and buying doesn't change your price, but helps support ShowMeStepByStep.

Tags

Sunday How-To

New gardening tutorials, every Sunday

One short email with the week's best step-by-step guides. Free, no spam, unsubscribe anytime.

Did this work for you?

What's next

Related collections

Curated theme pages that include this tutorial.

Weekly Digest

Liked this gardening tutorial?

Pick the categories you want to hear about. Weekly digest of new step-by-step tutorials. No spam, easy unsubscribe.

Send me tutorials about

We only email about new tutorials. Easy unsubscribe anytime.