How to Regrow Bok Choy from the Base

GardeningEasy4:508 stepsBrowse more →

By ShowMeStepByStepPublished

Based on a video by The Adhd Gardener.

You already buy bok choy. The bottom inch or two you normally toss is the part that grows back. Cut your leaves off for dinner, keep the base, and set it in a little water. Within a few days a fresh green rosette pushes up from the center.

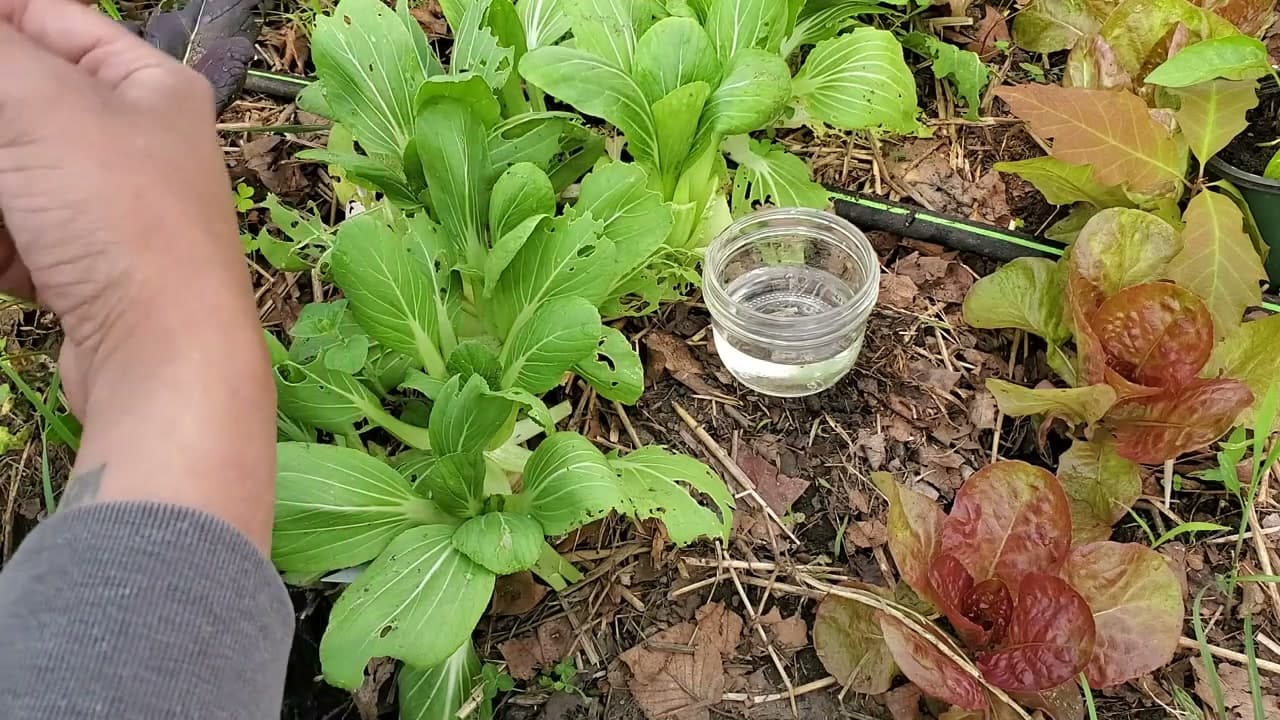
This walkthrough follows The Adhd Gardener, who shows both ways to do it - start in water, then move the base into soil so it keeps producing. It works on a windowsill just as well as in a garden bed, so you do not need any special setup.

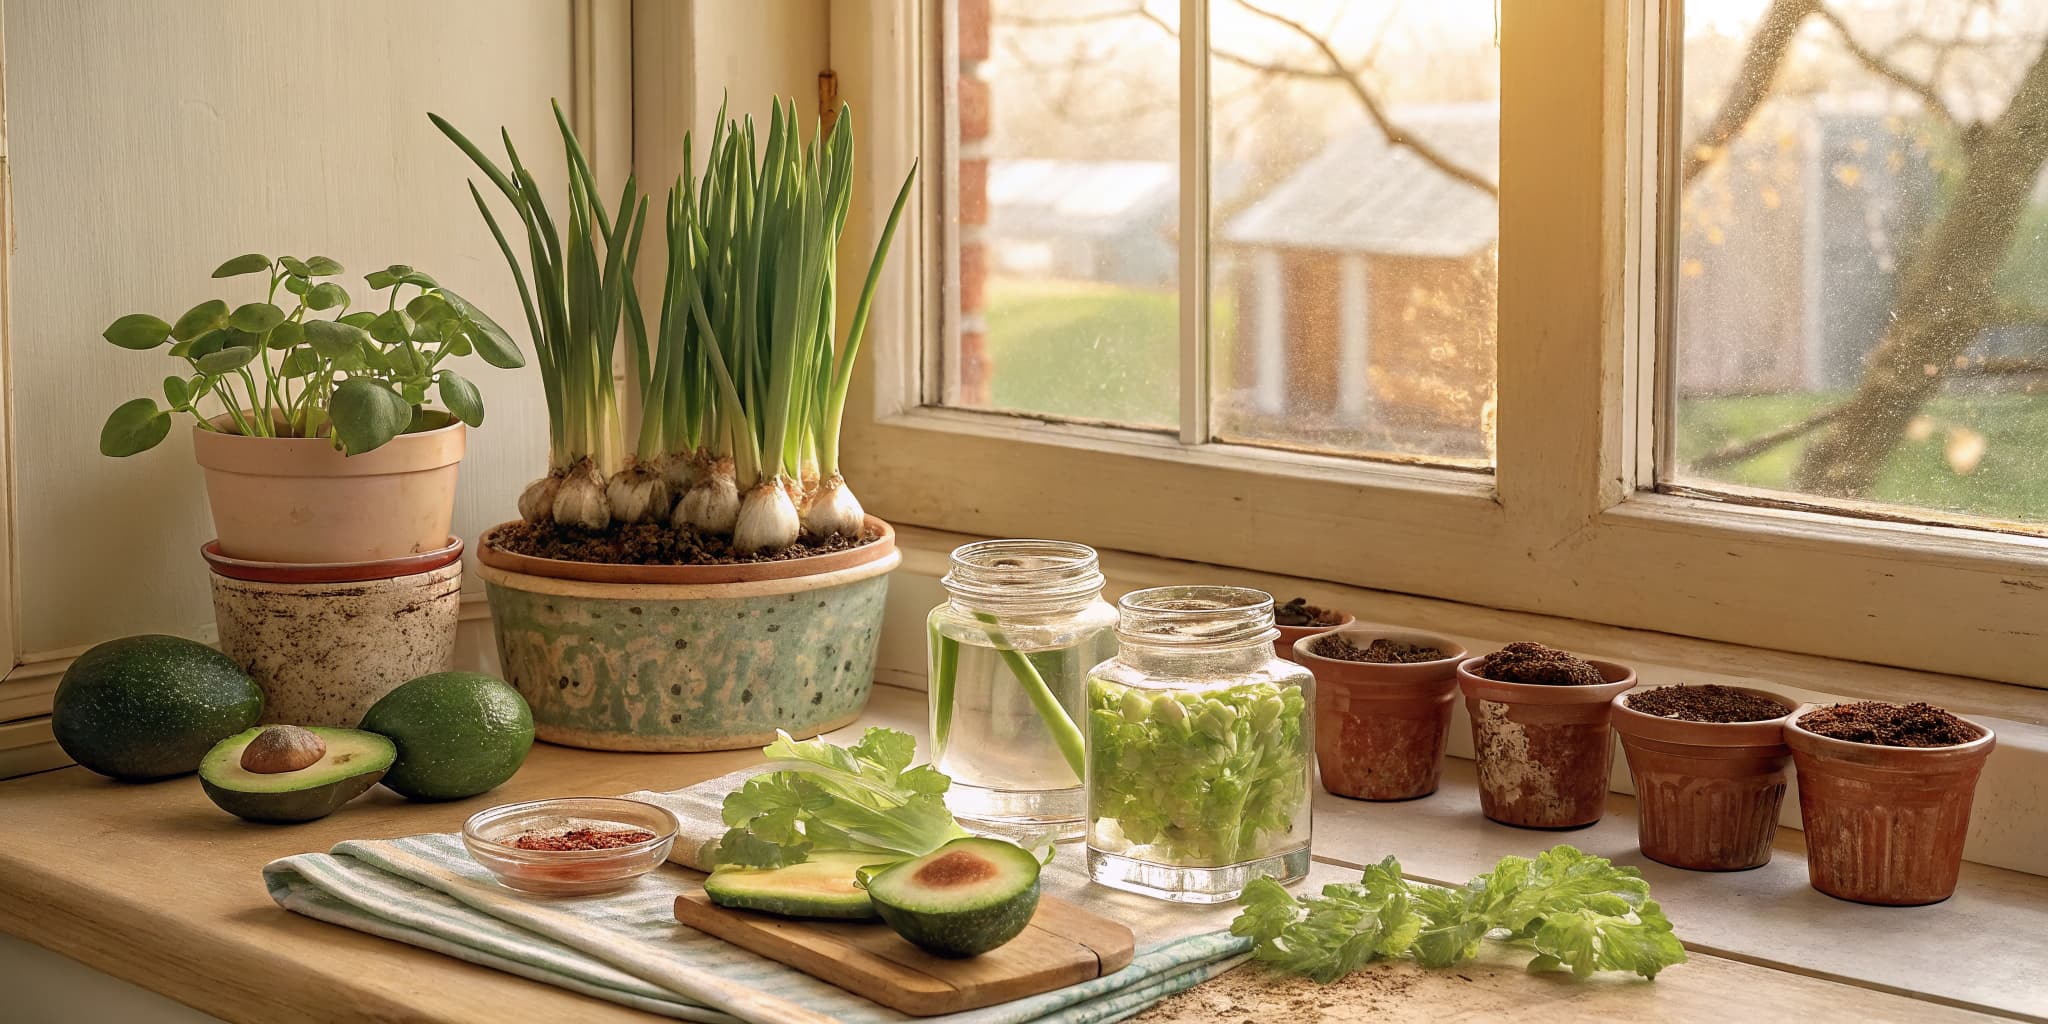
Bok choy is one of the easiest vegetables to regrow, which makes it a good first try if you have never done this. Once you get the hang of it, the same trick works on celery and lettuce. Keep going with how to regrow celery and how to regrow lettuce, or try how to grow green onions from a bunch you already have.

Step-by-Step Guide

8 steps · about 5 minutes.Check off each step as you go and your progress saves automatically.

1

Step 1: Pick a Healthy Bok Choy

0:25
Step 1: Step 1: Pick a Healthy Bok Choy

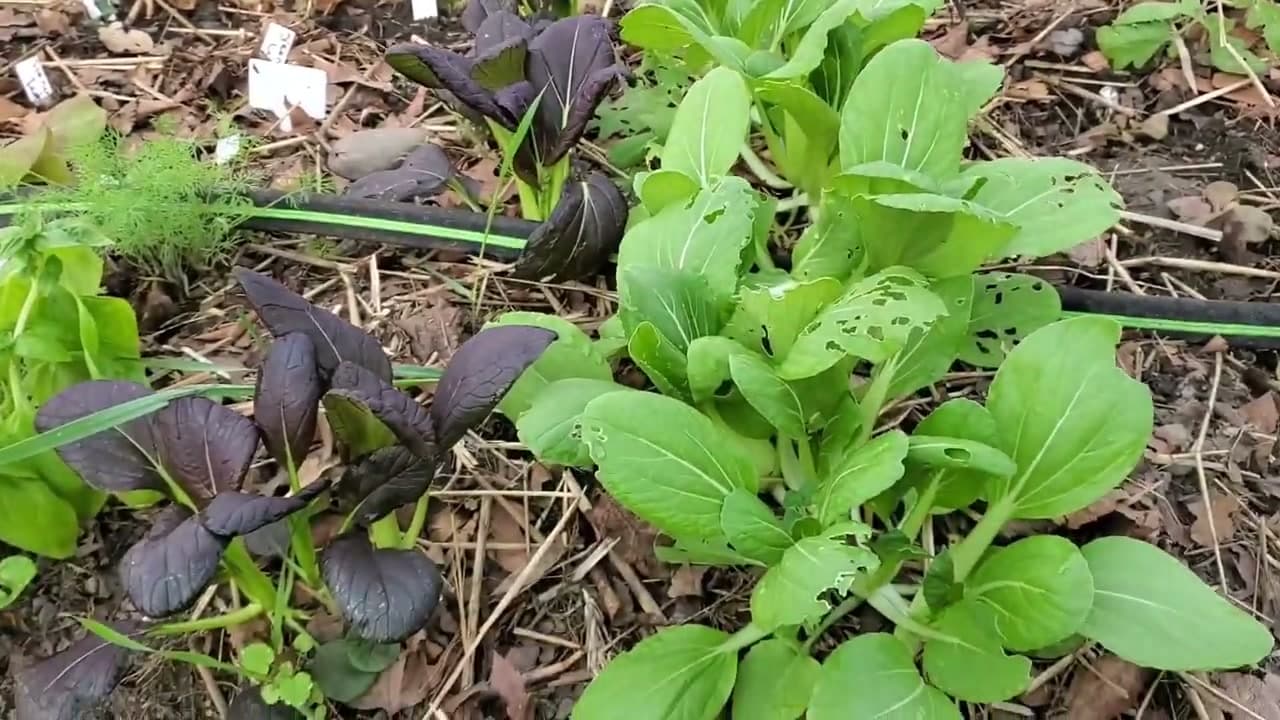
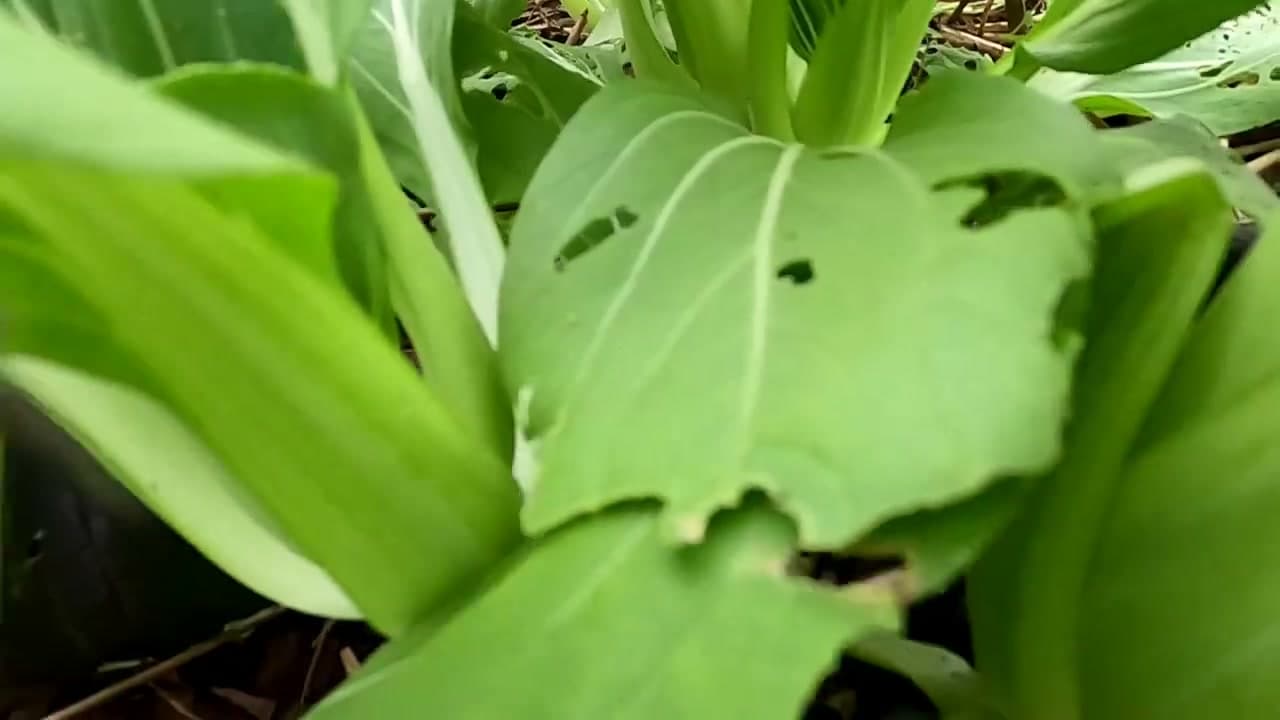
Start with a firm, healthy plant. Green and purple varieties both regrow the same way, so use whatever you have. If you are buying from the store, look for a head with a solid, undamaged bottom. That base is what does the work later, so you want it in good shape. A tired or mushy bottom will rot in water instead of sprouting, so pass on anything soft at the root end.

Tip

Watch this step. Store-bought bok choy works fine. You are not looking for anything fancy, just a base that is firm and not slimy.

Products used in this step

2

Step 2: Look Over the Whole Head

1:00
Step 2: Step 2: Look Over the Whole Head

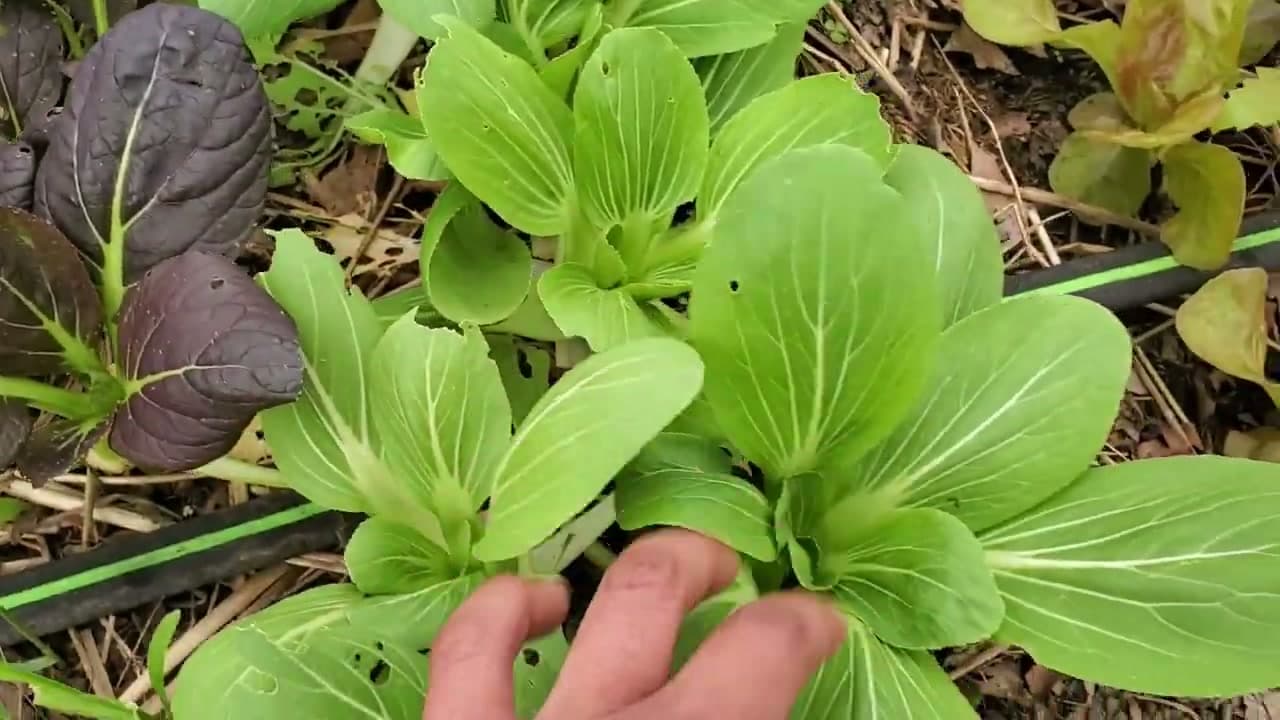
Get to know the plant before you cut. The leaves and stalks up top are what you eat. The tight cluster at the very bottom, where all the stalks meet, is the crown. That crown holds the growing point, and it is the reason a chopped-off base can push out brand new leaves. Once you can see where the leaves end and the base begins, the rest is quick.

Tip

Watch this step. The crown is that pale knot at the base. Everything grows back from there, so try not to damage it.

Products used in this step

3

Step 3: Cut the Leaves Off

3:44
Step 3: Step 3: Cut the Leaves Off

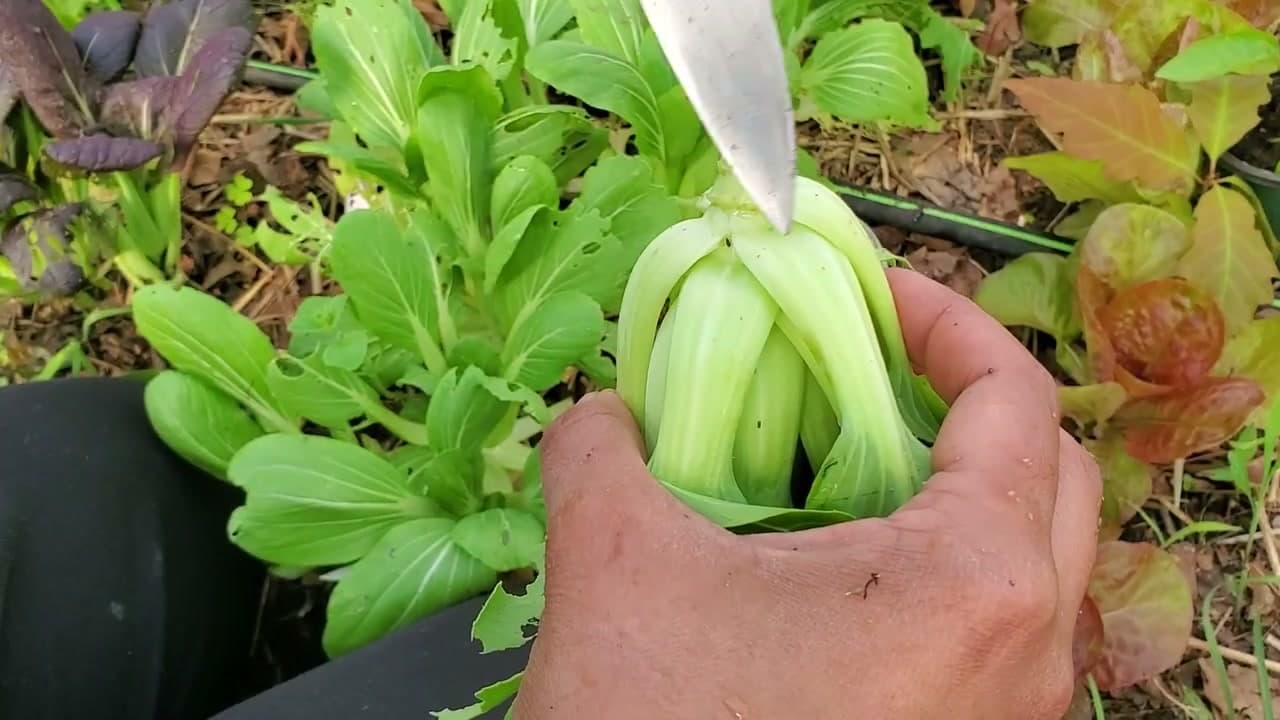
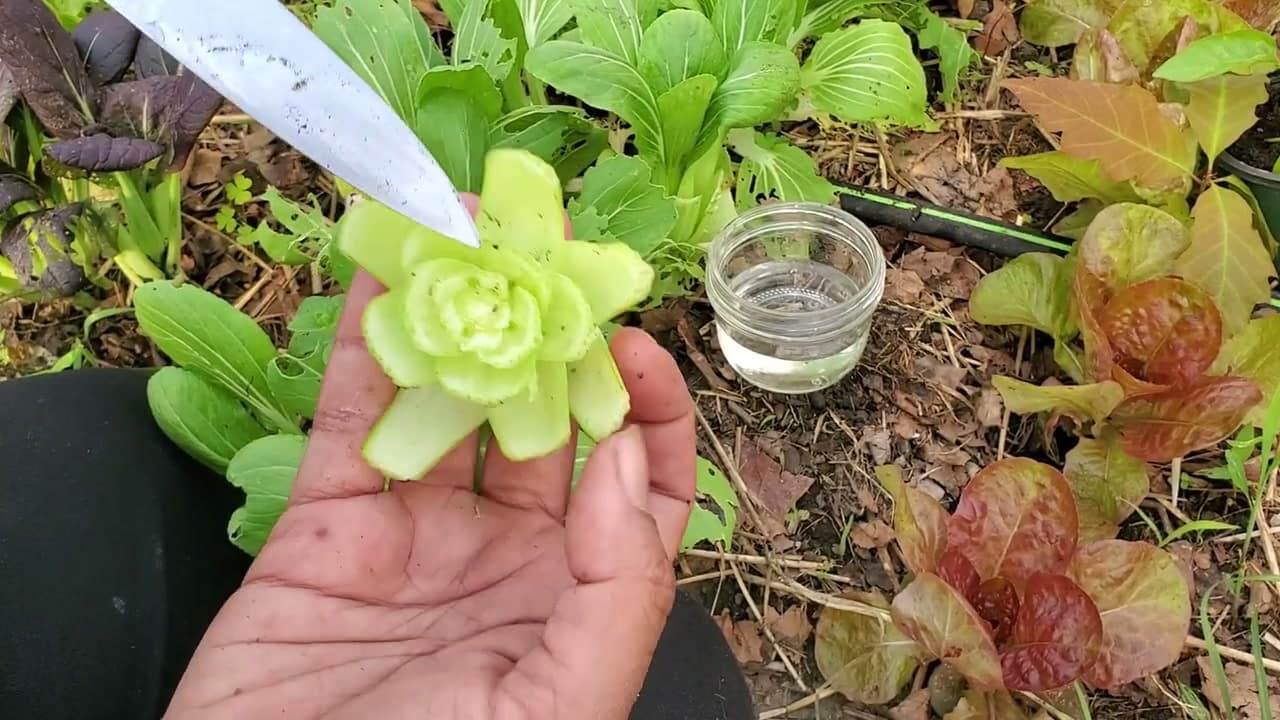
Hold the head steady and slice straight across, taking the leaves for the kitchen. A sharp knife makes a clean cut and does less damage to the crown than sawing at it. Aim your cut a couple of inches up from the very bottom. You want to keep enough of the base intact that the growing point stays under the blade, not sliced through. The leaves go in your fridge. The base is what you are keeping.

Tip

Watch this step. Cut on a board, not in your hand. A sharp knife is safer here than a dull one.

4

Step 4: Keep the Two-Inch Base

3:56
Step 4: Step 4: Keep the Two-Inch Base

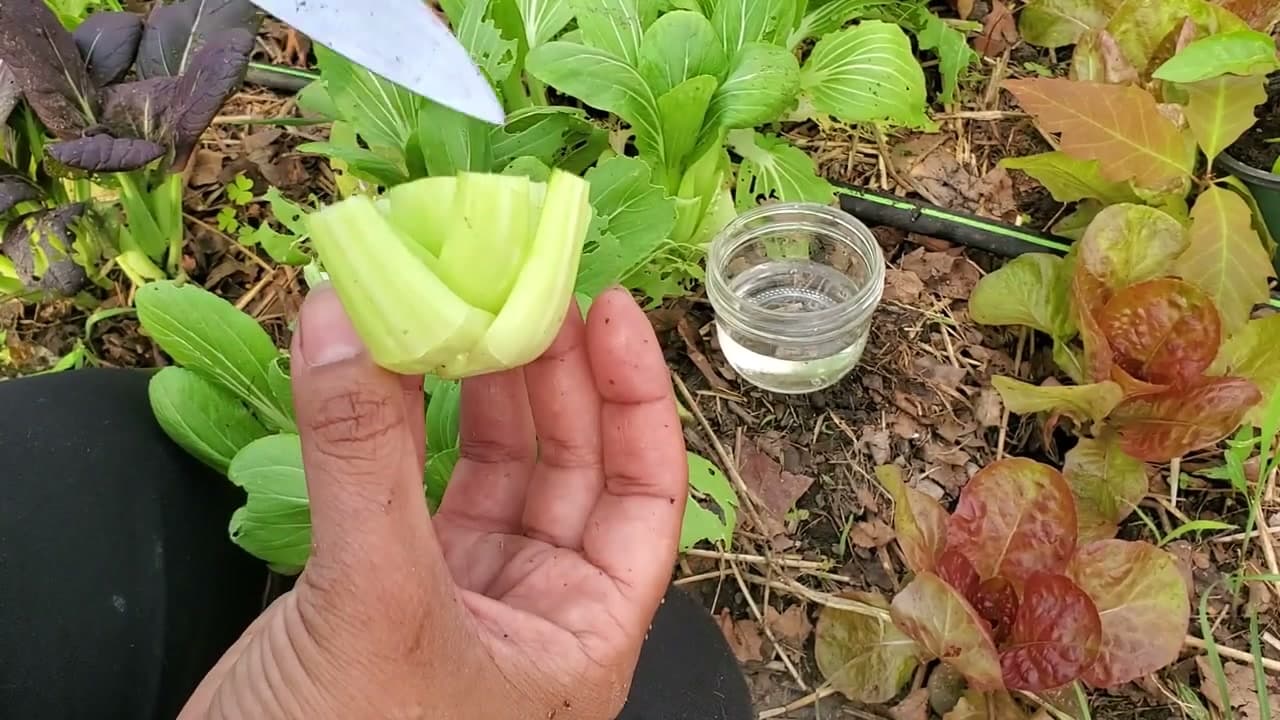
What is left in your hand is the piece that regrows. It is a short, cupped base about two inches tall with the cut ends of the stalks fanning out and the crown tucked in the middle. Look at the center and you can already see the tiny pale leaves waiting to grow. Do not trim it down any further. That little stub has everything it needs to send up fresh leaves once it gets water.

Tip

Watch this step. Two inches is plenty. Keeping more of the base gives the new leaves a stronger start.

5

Step 5: Set Up a Dish of Water

3:25
Step 5: Step 5: Set Up a Dish of Water

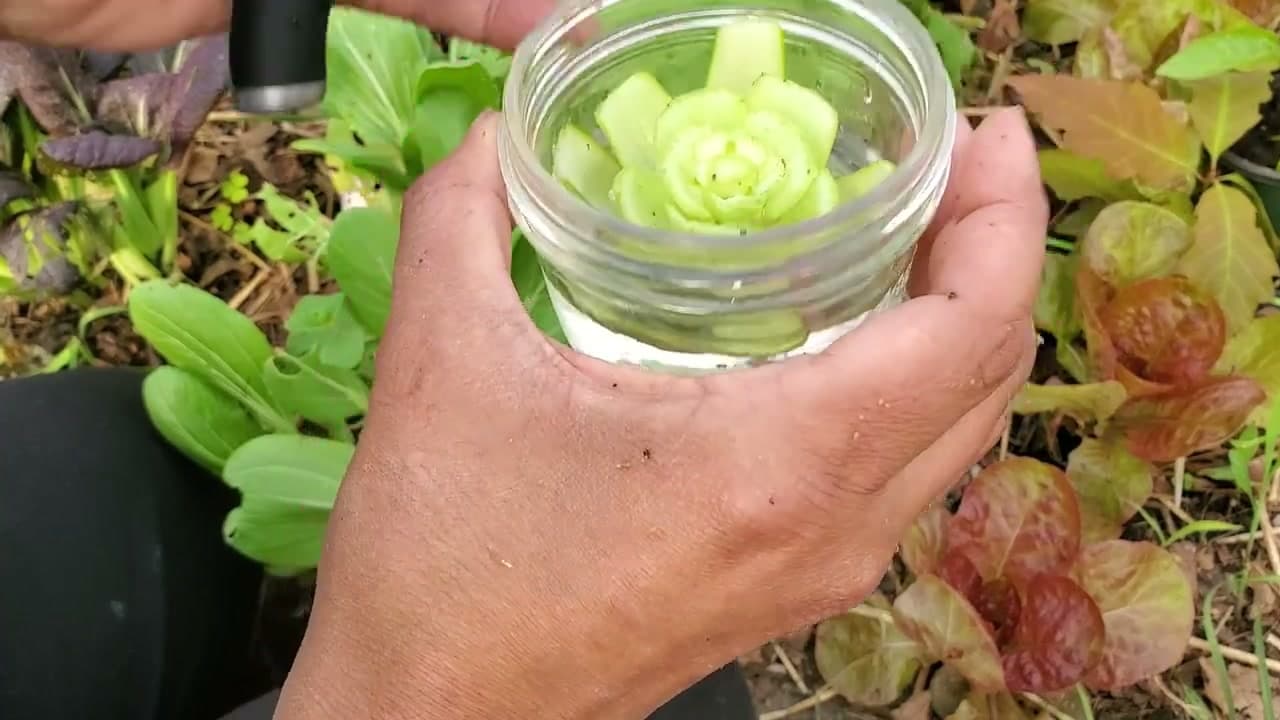
Grab a shallow dish, a small jar, or a bowl. Fill it with about half an inch to an inch of water. You want the cut base to sit in water without the whole thing being submerged. If the crown drowns, it rots. If the base is bone dry, nothing happens. A little water at the bottom, refreshed as it drops, is the sweet spot. Any container from the kitchen works.

Tip

Watch this step. A clear jar lets you see the water level and any roots forming. Change the water every couple of days so it stays fresh.

6

Step 6: Place the Base in the Water

3:59
Step 6: Step 6: Place the Base in the Water

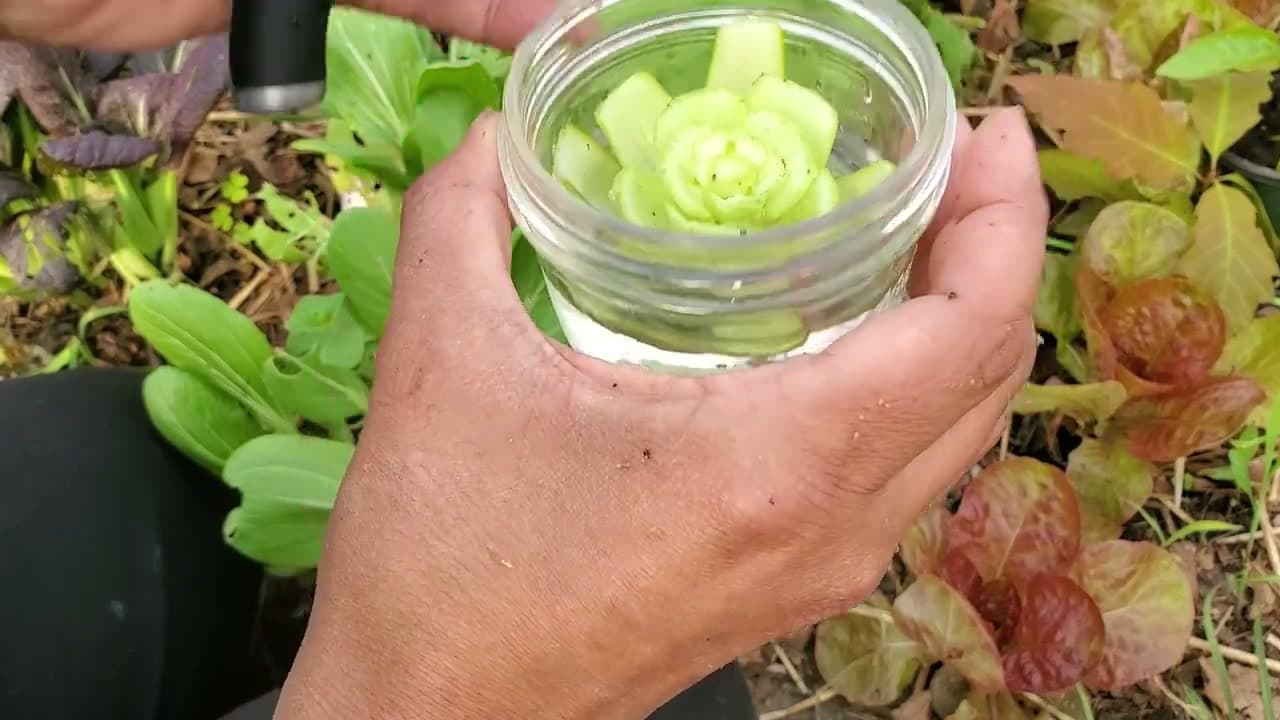
Set the base into the dish cut-side up, so the crown faces the light and the bottom sits in the water. Put the dish somewhere bright, like a sunny windowsill. Within a few days you will see new green leaves pushing up from the center. Roots will start feeling their way down into the water. Top up the water when it drops and swap it out every couple of days to keep it clean.

Tip

Watch this step. Bright light speeds up the regrowth. Cloudy water means it is time for a change.

7

Step 7: Transplant to Soil to Grow On

2:40
Step 7: Step 7: Transplant to Soil to Grow On

Water gets you fresh leaves for a while, but the base runs out of stored energy. To keep it going, move it to soil once it has roots and a bit of new growth. Fill a small pot with drainage using organic potting soil, nestle the base in so the crown sits just above the surface, and water it in. From there it can grow into a full plant. In a garden bed, tuck it in the same way and let it size up.

Tip

Watch this step. Move to soil once you see roots. Keep the crown at soil level so it does not rot.

8

Step 8: Watch the Fresh Leaves Regrow

4:08
Step 8: Step 8: Watch the Fresh Leaves Regrow

Here is the payoff. A few days in water and the center of the base fills in with a bright green rosette of new leaves. That is fresh bok choy coming back from a piece you were about to throw away. Snip what you need for cooking and let it keep producing, or plant it out and grow a full head. One store-bought plant just turned into an ongoing supply, and you can do the same with the next one.

Tip

Watch this step. Harvest the young leaves small and often. The plant keeps sending up more.

Products Used

☐ The Checklist

How to Regrow Bok Choy from the Base

Tools
3
Materials
3
Steps
8
Video
5 min

Tools we recommend

Your Guide

The Adhd Gardener

As an Amazon Associate we earn from qualifying purchases. Links on this page may be affiliate links - clicking them and buying doesn't change your price, but helps support ShowMeStepByStep.

Tags

Sunday How-To

New gardening tutorials, every Sunday

One short email with the week's best step-by-step guides. Free, no spam, unsubscribe anytime.

Did this work for you?

What's next

Related collections

Curated theme pages that include this tutorial.

Weekly Digest

Liked this gardening tutorial?

Pick the categories you want to hear about. Weekly digest of new step-by-step tutorials. No spam, easy unsubscribe.

Send me tutorials about

We only email about new tutorials. Easy unsubscribe anytime.