How to Propagate a Rubber Plant from Stem Cuttings

GardeningEasy11:487 stepsBrowse more →

By ShowMeStepByStepPublished

Based on a video by The Green Earth.

A rubber plant that has grown tall and bare on the bottom is the perfect candidate for propagation. Instead of tossing the long stems, you can turn each one into a brand new plant. This walkthrough follows The Green Earth, who rooted Ficus elastica stem cuttings side by side in plain water and in damp perlite so you can see which works, then potted the rooted cutting into soil.

The whole thing is slow but hands-off. You take a cutting, wait for the milky sap to stop, stand it in your rooting medium, and then leave it alone for about six weeks. The video is a time-lapse from Day 1 to Day 40, so you get to watch the red roots push out and a fresh crimson leaf unfurl without waiting a month yourself.

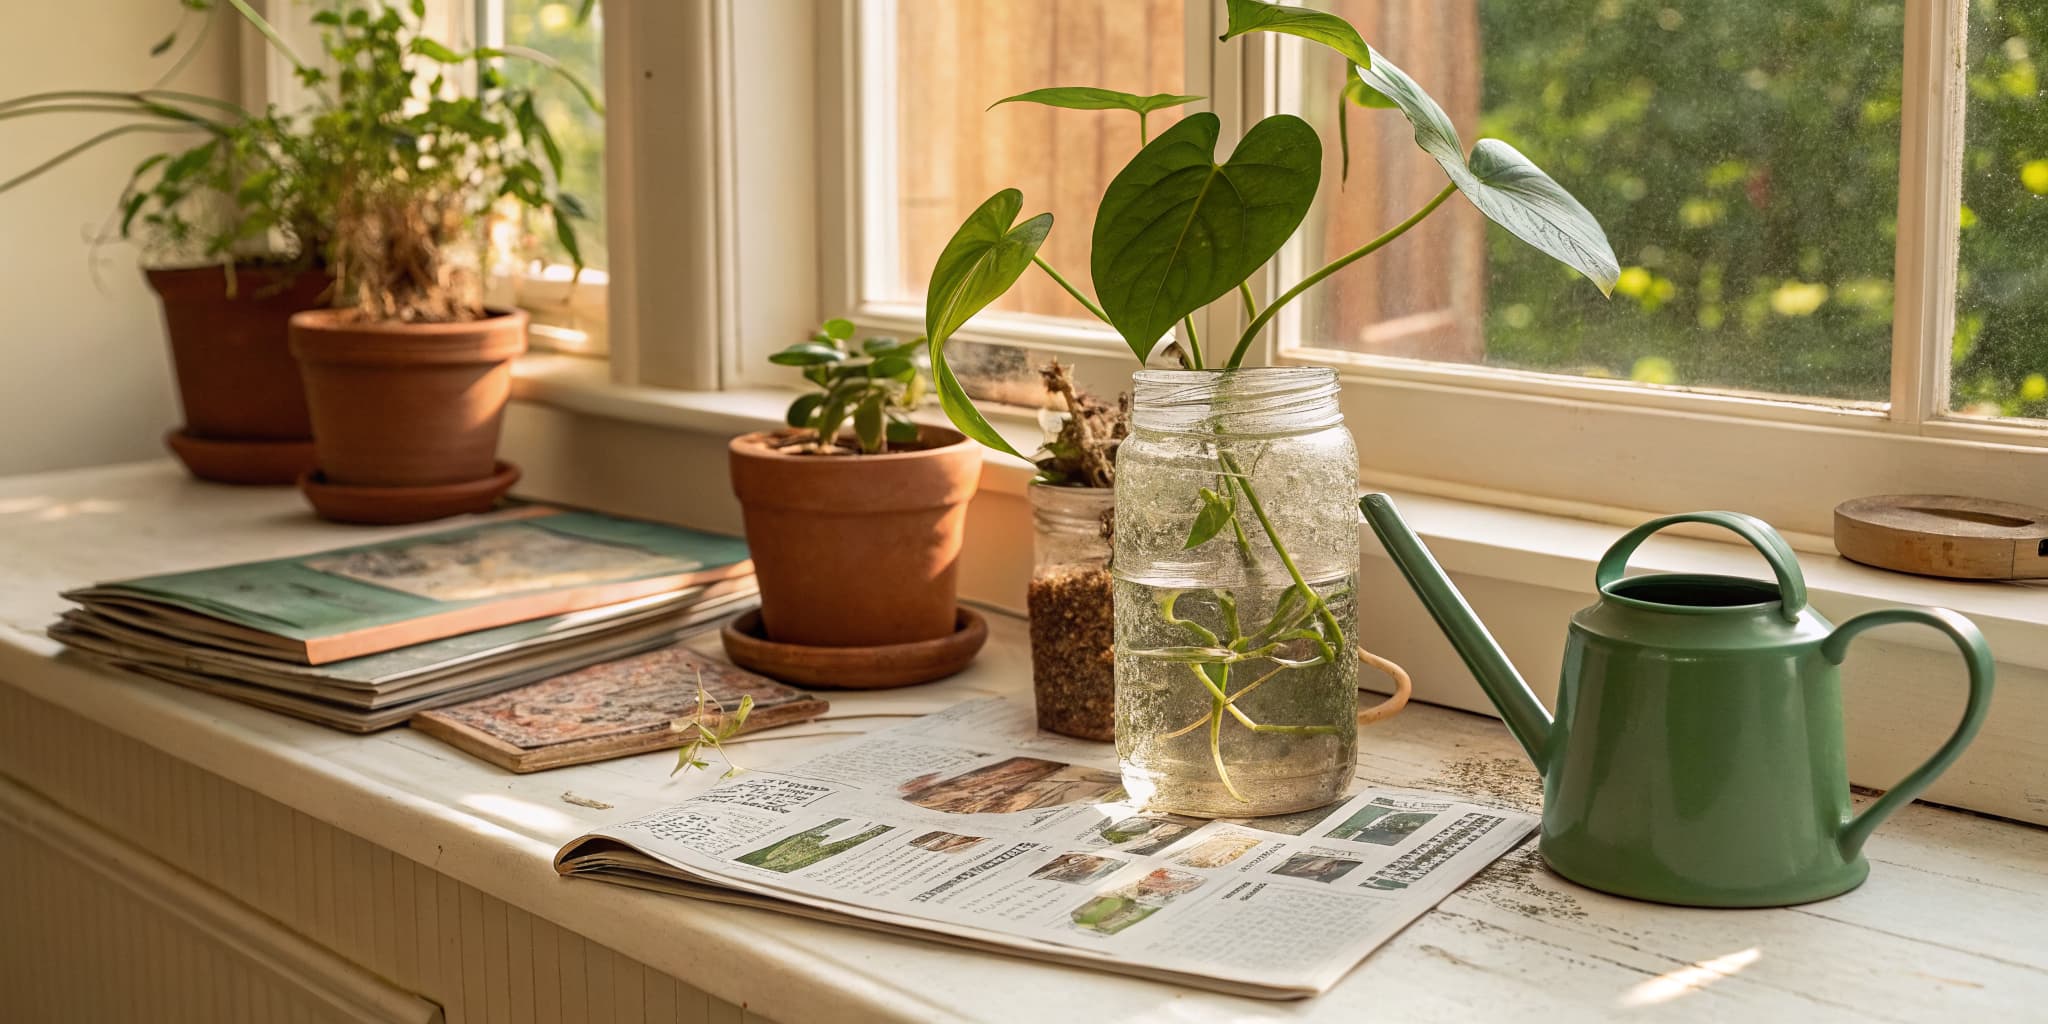
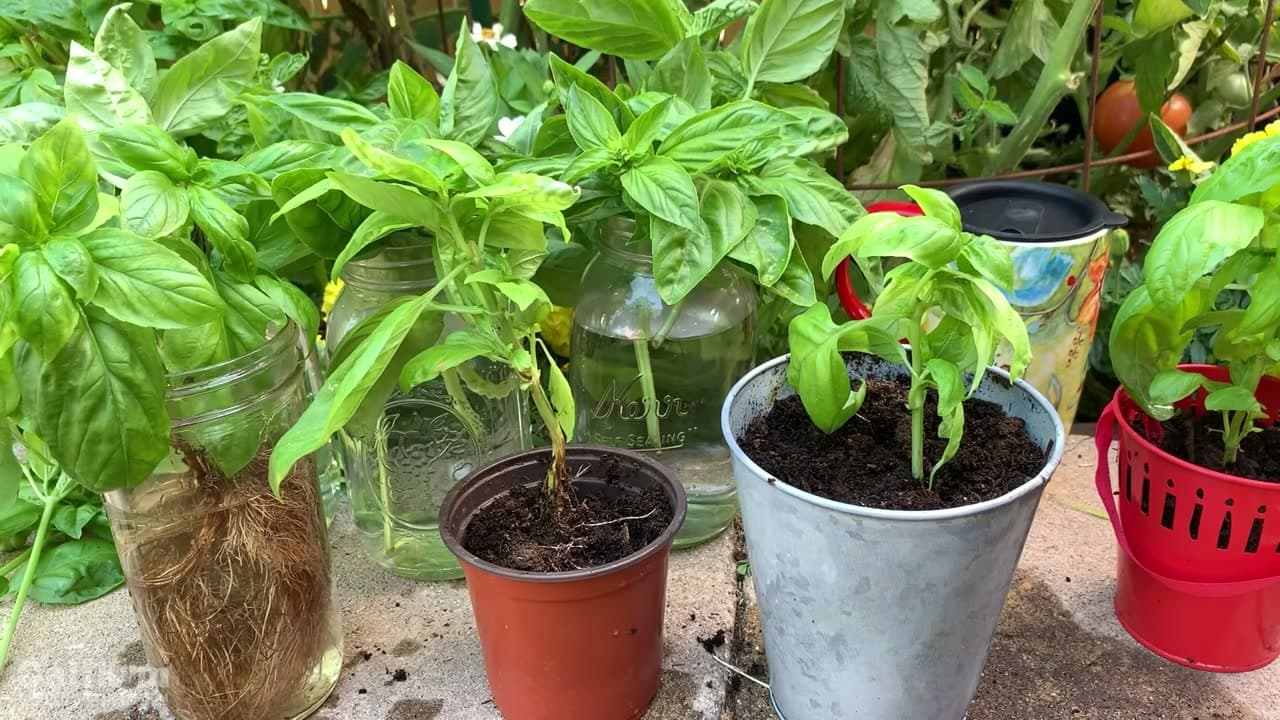
Rubber plants root the same way most tropical houseplants do, so once you get the hang of it you can use the trick on all sorts of plants. If you want an even more foolproof plant to start with, try propagating pothos first, then come back to this one.

Step-by-Step Guide

7 steps · about 12 minutes.Check off each step as you go and your progress saves automatically.

1

Step 1: Cut a Long Stem Below a Node

0:55
Step 1: Step 1: Cut a Long Stem Below a Node

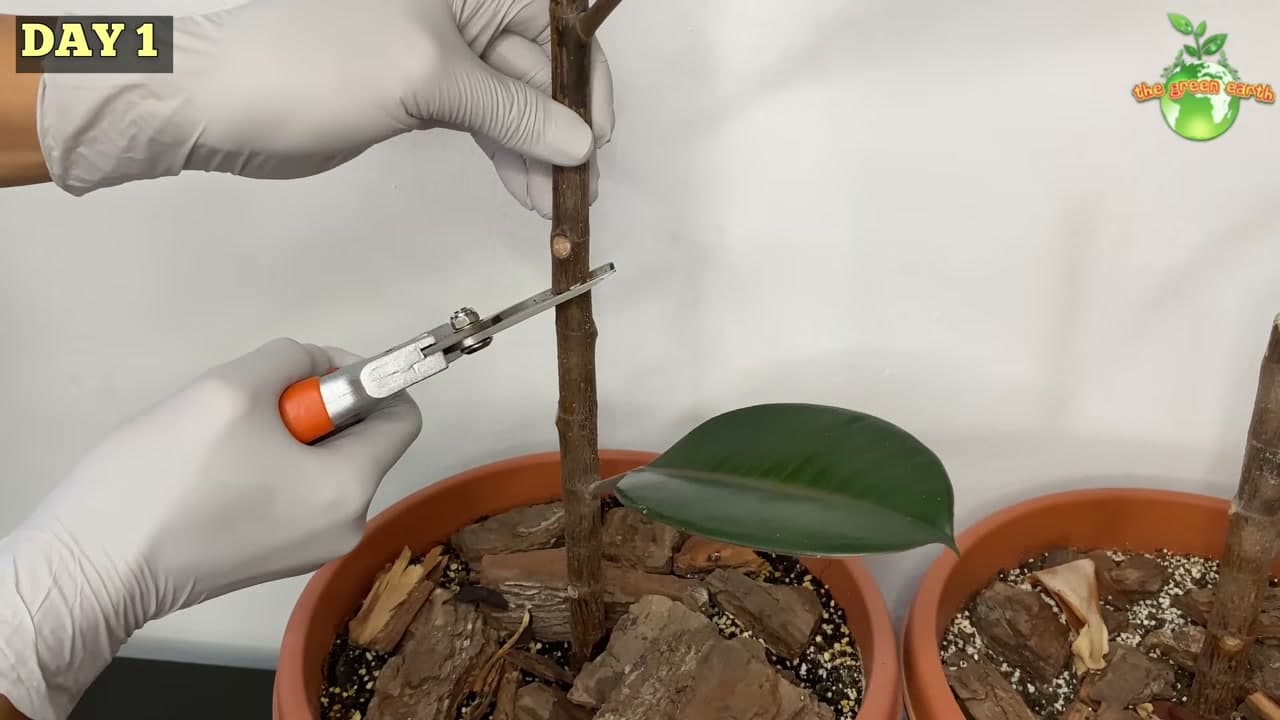
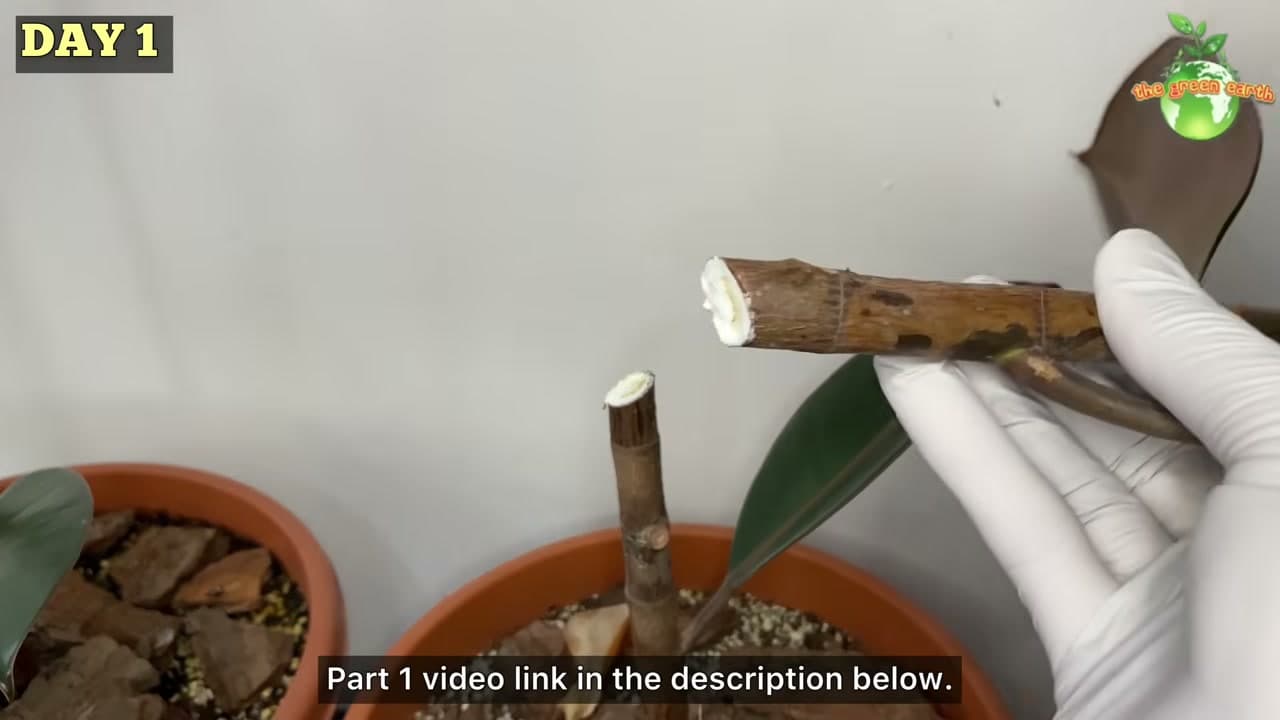
Pick a healthy stem on your rubber plant and cut a section 6 to 8 inches long with clean pruning shears. The important part is where you cut. Make the cut just below a node, the little bump where a leaf or growth point meets the stem. That node is where new roots will come from, so every cutting needs at least one near the bottom.

Wipe your shears with rubbing alcohol first if you have it. A clean cut on a clean tool heals faster and gives fungus one less way in.

Tip

Watch this step Take your cutting from a stem with a few leaves near the top. Those leaves keep feeding the cutting while it works on roots.
2

Step 2: Let the Milky Sap Stop Flowing

0:40
Step 2: Step 2: Let the Milky Sap Stop Flowing

The moment you cut a rubber plant, the cut end oozes a sticky white latex. This is normal, and every Ficus elastica does it. Give the cut end a few minutes to air out, or dab it with a clean tissue until the sap stops running.

Do not skip this. If you drop a fresh, bleeding cutting straight into water, the sap can cloud the jar and coat the wound, which slows rooting. A quick blot and a short rest is all it needs. Wear gloves if your skin is sensitive, since the sap can irritate.

Tip

Watch this step Once the latex has sealed over, this is the moment to dip the cut end in rooting hormone if you want to nudge things along.

3

Step 3: Stand the Cutting in Water and Perlite

3:25
Step 3: Step 3: Stand the Cutting in Water and Perlite

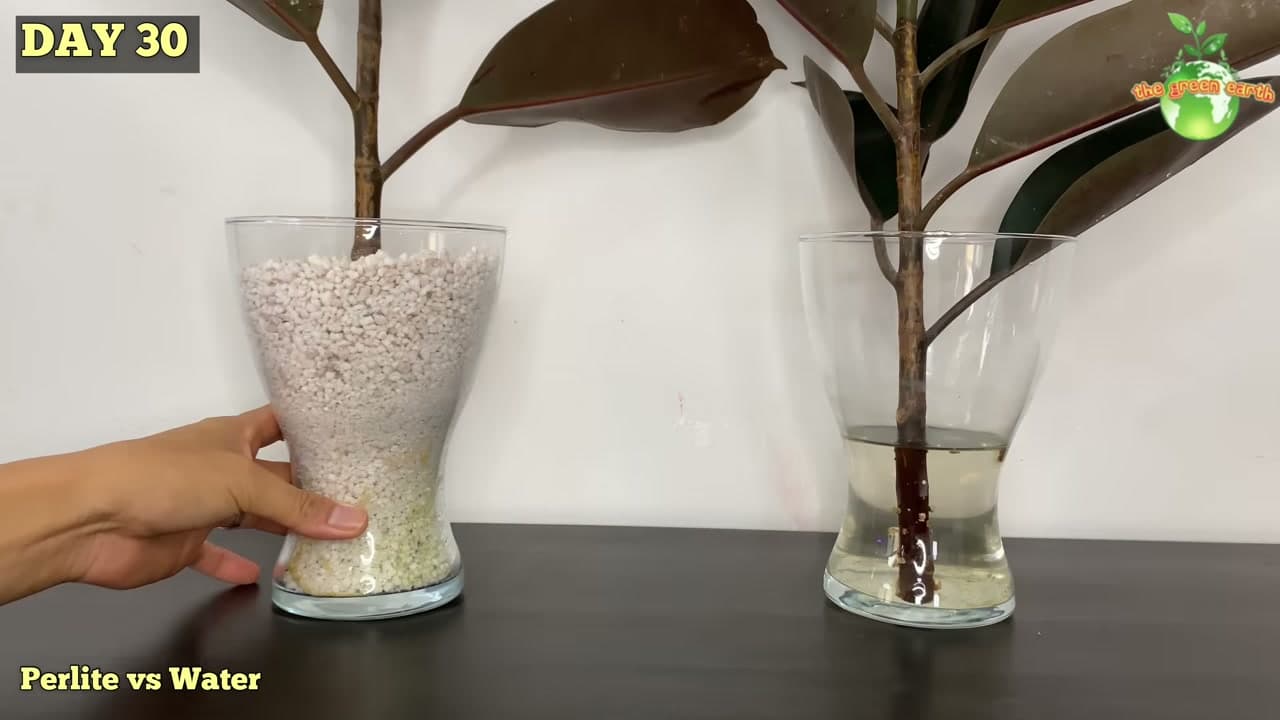
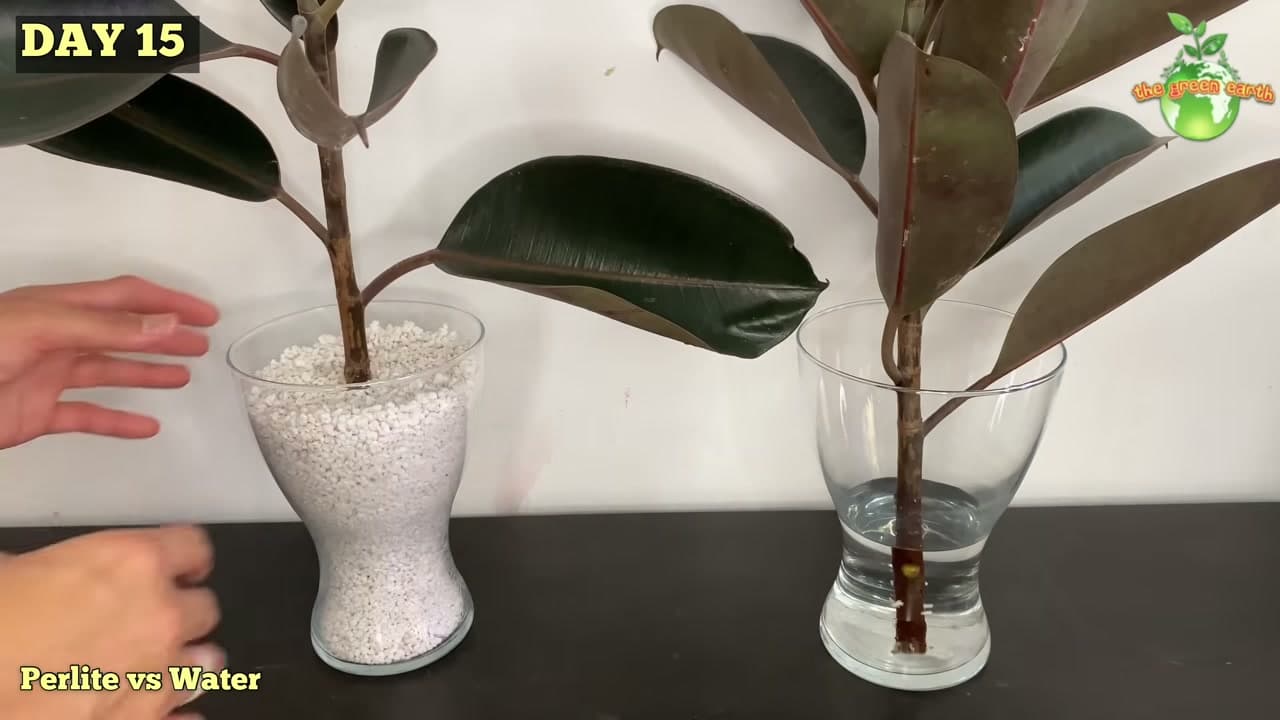
Set up two jars side by side, one filled with plain water and one filled with damp perlite. Strip off any lower leaves so nothing but bare stem sits below the surface. Leaves left underwater rot and foul the whole jar.

Stand a cutting in each medium with the bottom node covered. Running both at once is a fun little experiment. Water lets you watch the roots form, while perlite gives you stronger, less shock-prone roots that transplant more easily. There is no wrong choice here.

Tip

Watch this step Use a clear glass jar for the water cutting. Watching the roots creep down the stem is half the fun and tells you exactly when it is ready.

4

Step 4: Give It Warmth, Light, and Patience

7:25
Step 4: Step 4: Give It Warmth, Light, and Patience

Move the jars somewhere bright and warm, out of direct sun, and then mostly leave them alone. Top up the water as it evaporates and keep the perlite damp to the touch. Rubber plants are slow rooters, so steady warmth and indirect light matter more than fussing over them.

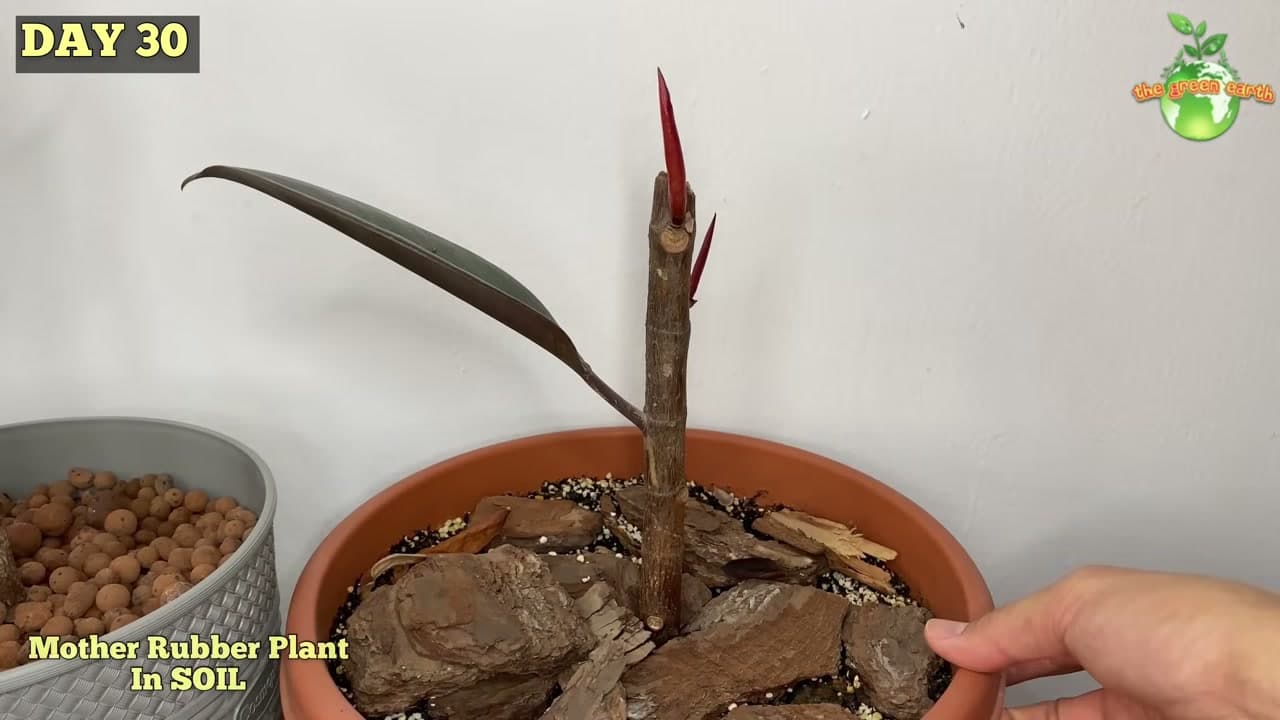
The best sign that a cutting is alive and working is new growth up top. When a bright crimson sheath pushes out and unfurls into a fresh leaf, like the one in this shot, roots are almost always forming down below at the same time.

Tip

Watch this step A spot on top of the fridge or near a warm window speeds rooting. Cold, dim corners can stall a cutting for months.

5

Step 5: Watch for Roots at the Base

6:00
Step 5: Step 5: Watch for Roots at the Base

Around the 30 day mark the payoff shows up. The cutting in the water jar sends out dark red roots right from the submerged node, easy to spot against the glass. The perlite cutting is rooting too, it just hides its work down in the granules.

Once you see real roots, the cutting has stopped living off the energy stored in the stem and started feeding itself. Let those roots reach an inch or two long before you think about potting up. Longer roots take the move better.

Tip

Watch this step Do not rush a cutting with just a couple of tiny nubs. Wait for a small cluster of roots so the plant can actually drink once it hits soil.

6

Step 6: Lift the Cutting and Check the Roots

10:08
Step 6: Step 6: Lift the Cutting and Check the Roots

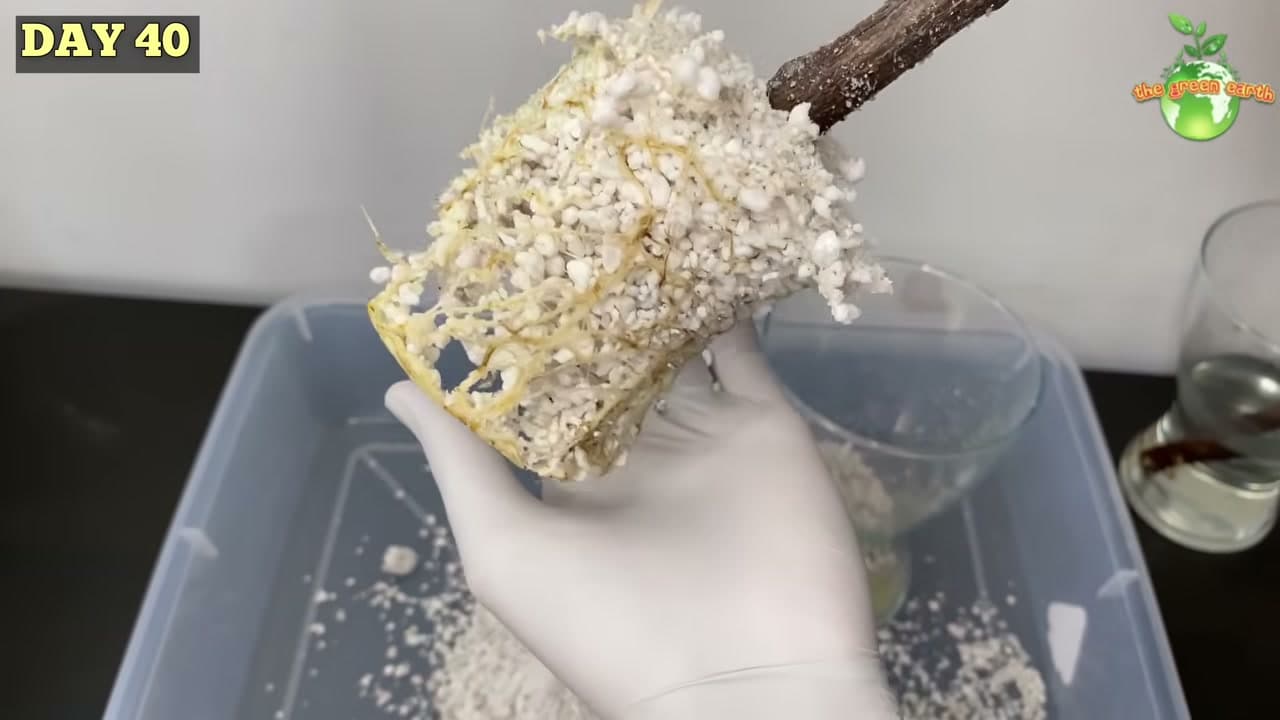
By Day 40 the perlite cutting is ready to come out. Tip the jar and gently work the cutting free, shaking off the loose granules. A well rooted cutting lifts out with a thick, pale tangle of roots gripping the perlite, exactly like the one held up here.

Be gentle. These fresh roots are brittle and snap easily. Handle the cutting by the stem, not the roots, and leave a little perlite clinging on rather than picking every piece off.

Tip

Watch this step A dense white root mass like this means the cutting is fully established. Sparse or brown roots mean give it another week or two.

7

Step 7: Pot the Rooted Cutting into Soil

10:40
Step 7: Step 7: Pot the Rooted Cutting into Soil

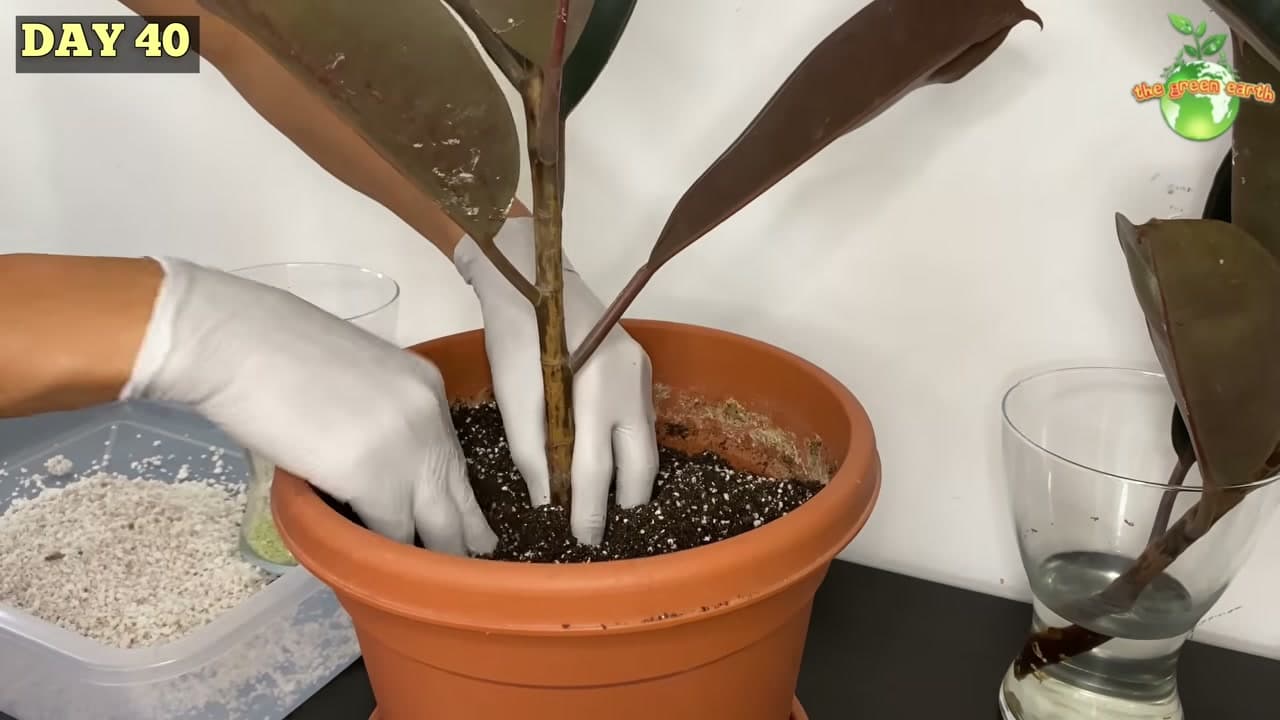
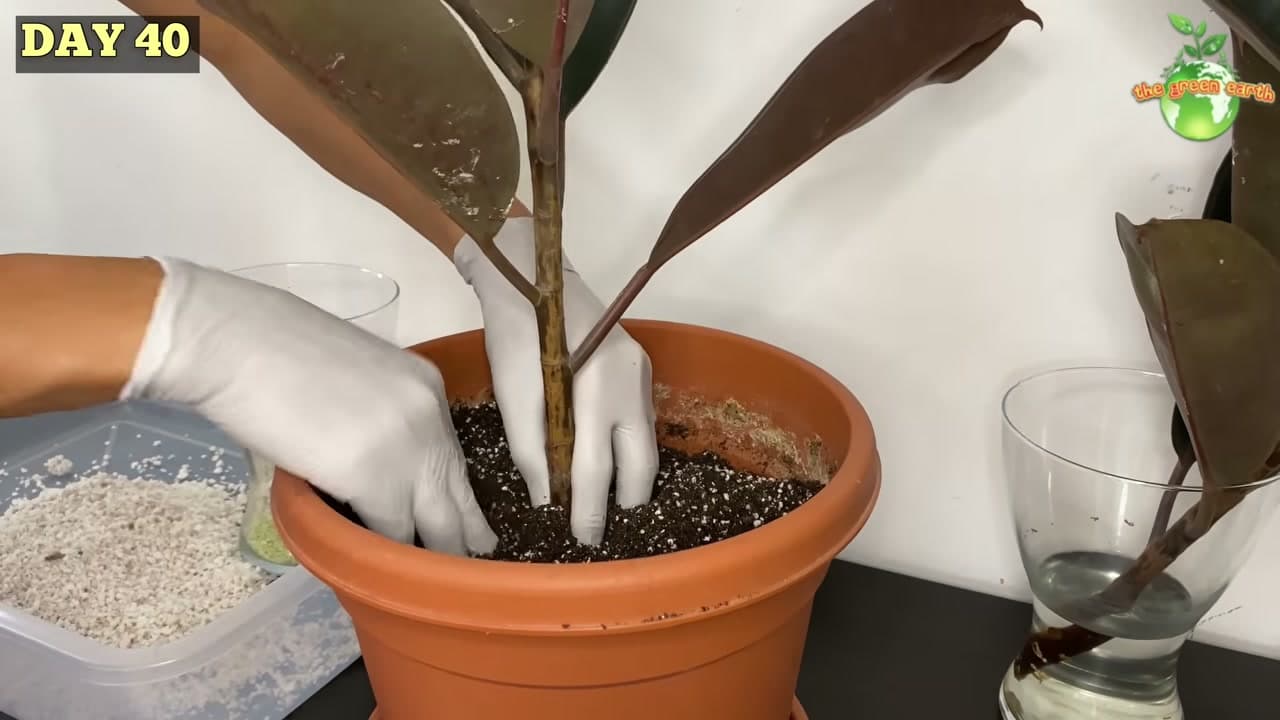
Fill a small pot with a well draining potting mix, one with some perlite or bark worked in so water runs through. Make a hole, set the rooted cutting in, and hold the stem upright while you firm soil around the roots.

Water it in slowly until it drains from the bottom. That first watering settles the mix and closes any air pockets around the roots. Keep the new plant somewhere bright and warm for a few weeks while it adjusts, and your single cutting is now a full rubber plant of its own.

Tip

Watch this step Go up one pot size, not five. A cutting swimming in a giant pot holds too much wet soil around those young roots and can rot.

Products Used

☐ The Checklist

How to Propagate a Rubber Plant from Stem Cuttings

Tools
3
Materials
5
Steps
7
Video
12 min

Tools we recommend

Your Guide

The Green Earth

As an Amazon Associate we earn from qualifying purchases. Links on this page may be affiliate links - clicking them and buying doesn't change your price, but helps support ShowMeStepByStep.

Tags

Sunday How-To

New gardening tutorials, every Sunday

One short email with the week's best step-by-step guides. Free, no spam, unsubscribe anytime.

Did this work for you?

What's next

Related collections

Curated theme pages that include this tutorial.

Weekly Digest

Liked this gardening tutorial?

Pick the categories you want to hear about. Weekly digest of new step-by-step tutorials. No spam, easy unsubscribe.

Send me tutorials about

We only email about new tutorials. Easy unsubscribe anytime.