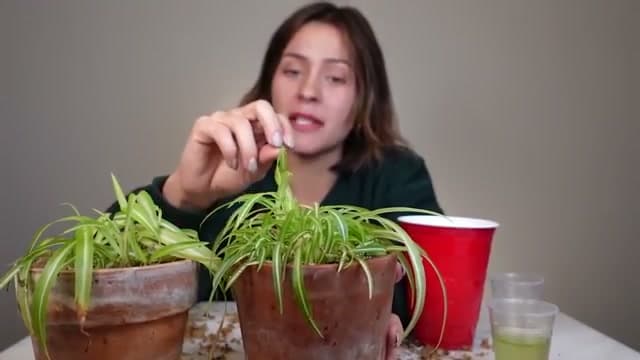
How to Propagate a Spider Plant (Water and Soil Methods)

GardeningEasy11:128 stepsBrowse more →

By ShowMeStepByStepPublished

Based on a video by Harli G.

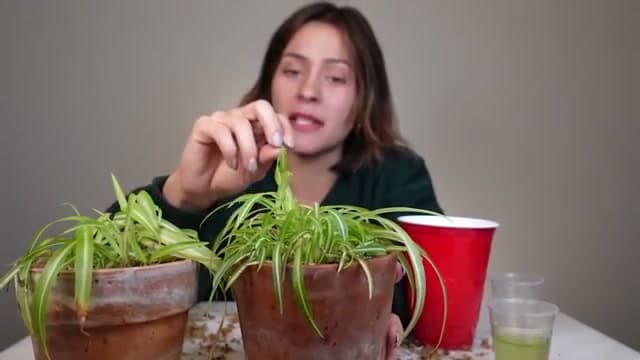
Spider plants are about the easiest houseplant there is to multiply, and this walkthrough from Harli G takes you all the way from taking a cutting to potting it up. Spider plants throw out long runners tipped with baby plants called spiderettes, so they basically hand you free plants. All you have to do is root them.

You'll see two ways to root the babies: the classic water method, where you watch roots grow in a clear jar, and a damp substrate method using coco coir or sphagnum moss that makes the eventual move into soil a little smoother. Both work, and you can try both to see which you like. After about a month of rooting, you'll pot the plantlets into a well-draining mix and water them in.

By the end you'll have full, leafy pots grown entirely from one parent plant, and those will throw runners of their own before long. If you catch the propagation bug, the same idea works on other easy houseplants too. Once you've mastered spider plants, try propagating succulents or propagating pothos next.

Step-by-Step Guide

1

Step 1: Find the Baby Plants on the Runners

0:24
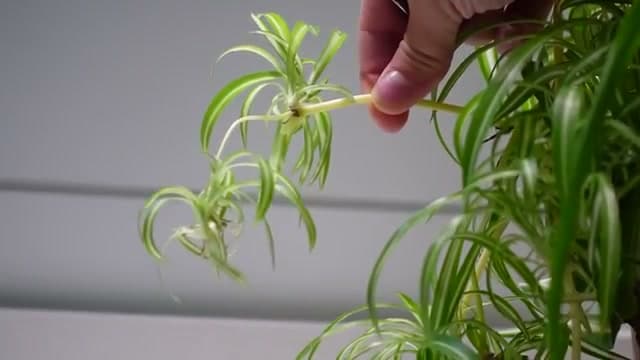
Step 1: Step 1: Find the Baby Plants on the Runners

Spider plants basically hand you free plants. Look for the long yellowish stems arching out from the main plant, these are the runners. Along each one you'll spot little clusters of leaves called spiderettes, or plantlets. Those are the babies you're going to root.

Some babies are big and ready, others are tiny and just getting started. Bigger plantlets root faster and transplant more easily, so start by picking out the largest ones on the runners.

Tip

Watch this step If your plant has no runners yet, it may need brighter light or to be a little root bound. There are tips for coaxing out babies further down.
2

Step 2: Check the Base for Root Nubs

0:59
Step 2: Step 2: Check the Base for Root Nubs

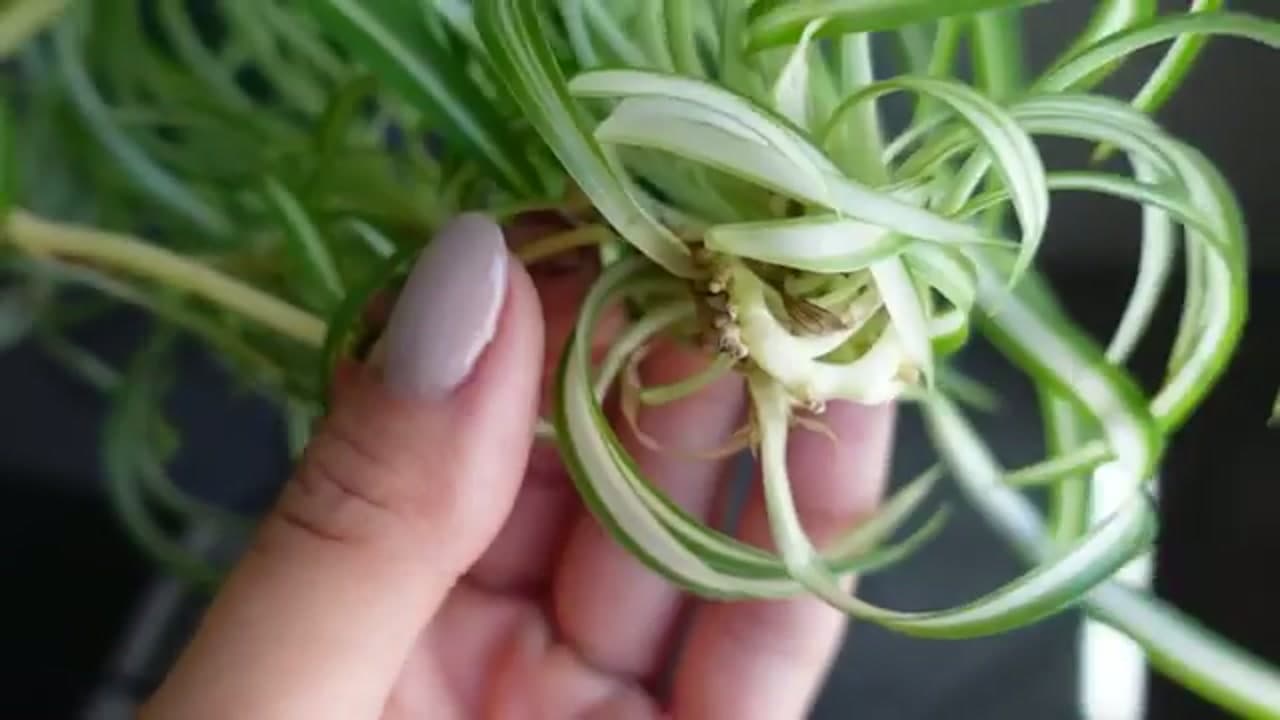
Turn the baby over and look at the underside where the leaves meet. You're hunting for a small bump, almost like a little pimple, sometimes with tiny root tips already poking out. That bump is where the roots will grow.

A plantlet that already shows a few root nubs will root much faster than a bare one. It's not required, but it gives you a big head start, so favor those when you can.

Tip

Watch this step Even a baby with zero visible roots will usually root fine. The nubs just speed things up, so don't toss the ones that look bare.

3

Step 3: Snip the Plantlet Off the Runner

1:10
Step 3: Step 3: Snip the Plantlet Off the Runner

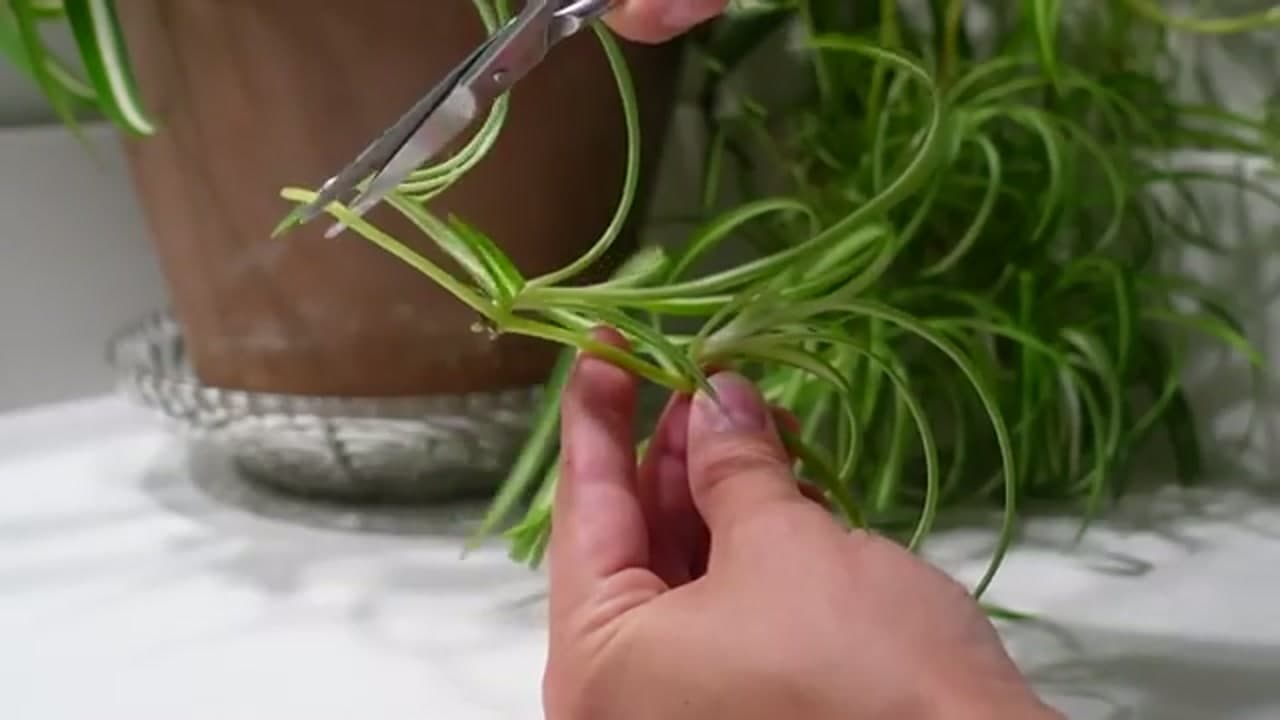
Hold the baby in one hand and cut the runner on both sides of it with a clean pair of scissors or pruning shears. Then trim off the leftover stub of stem so you're left with a tidy little plantlet.

Clean blades matter here. A quick wipe with rubbing alcohol keeps you from passing anything between plants. Cut close to the base of the baby but don't nick the leaves.

Tip

Watch this step Snip the babies off one at a time so you don't lose track of which end is the base. That's the end that needs to go into water or substrate.

4

Step 4: Set the Babies Up to Root

2:13
Step 4: Step 4: Set the Babies Up to Root

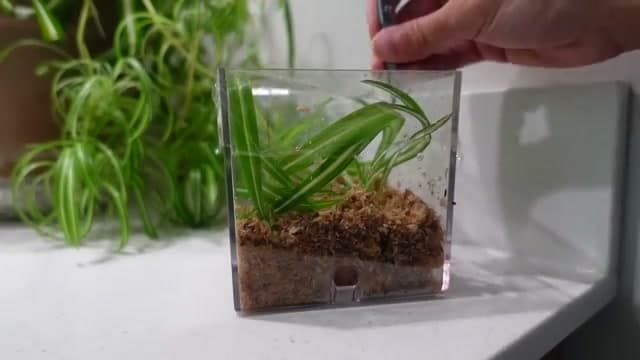
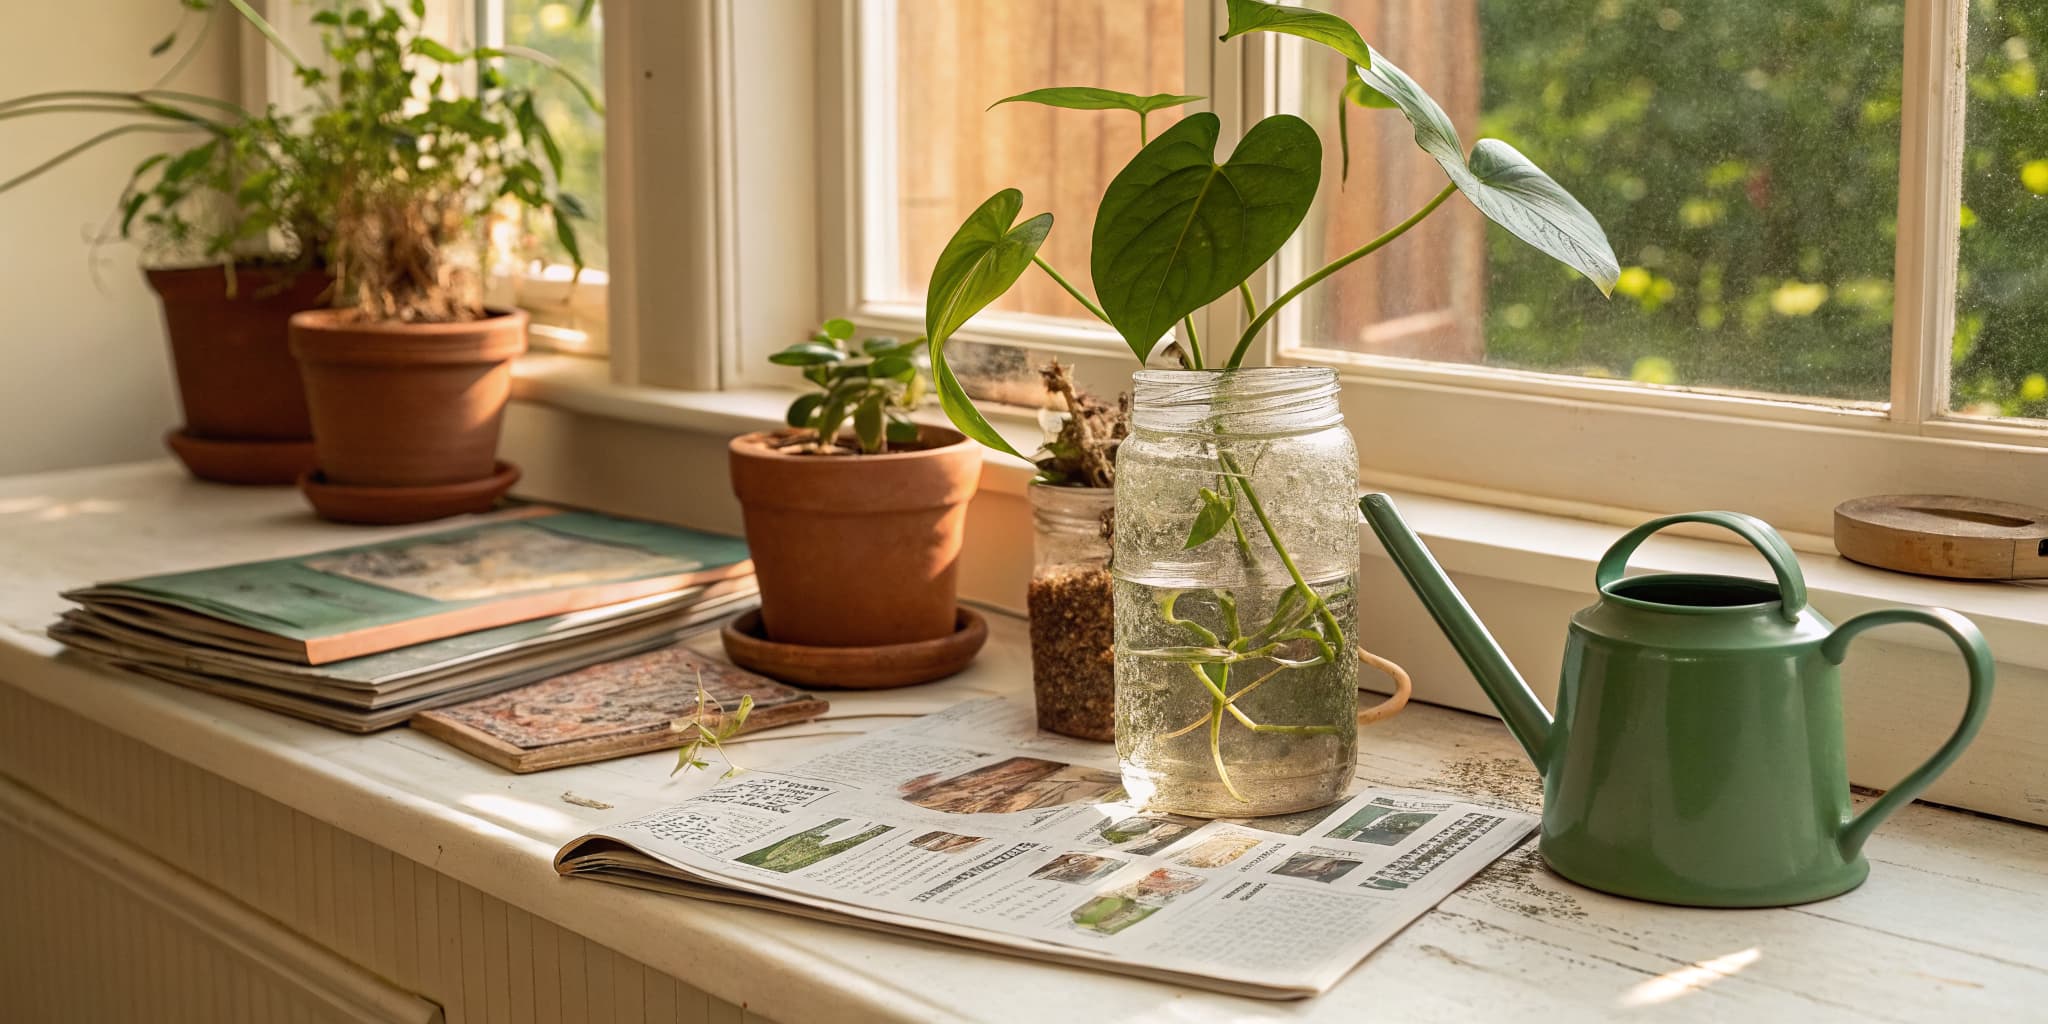
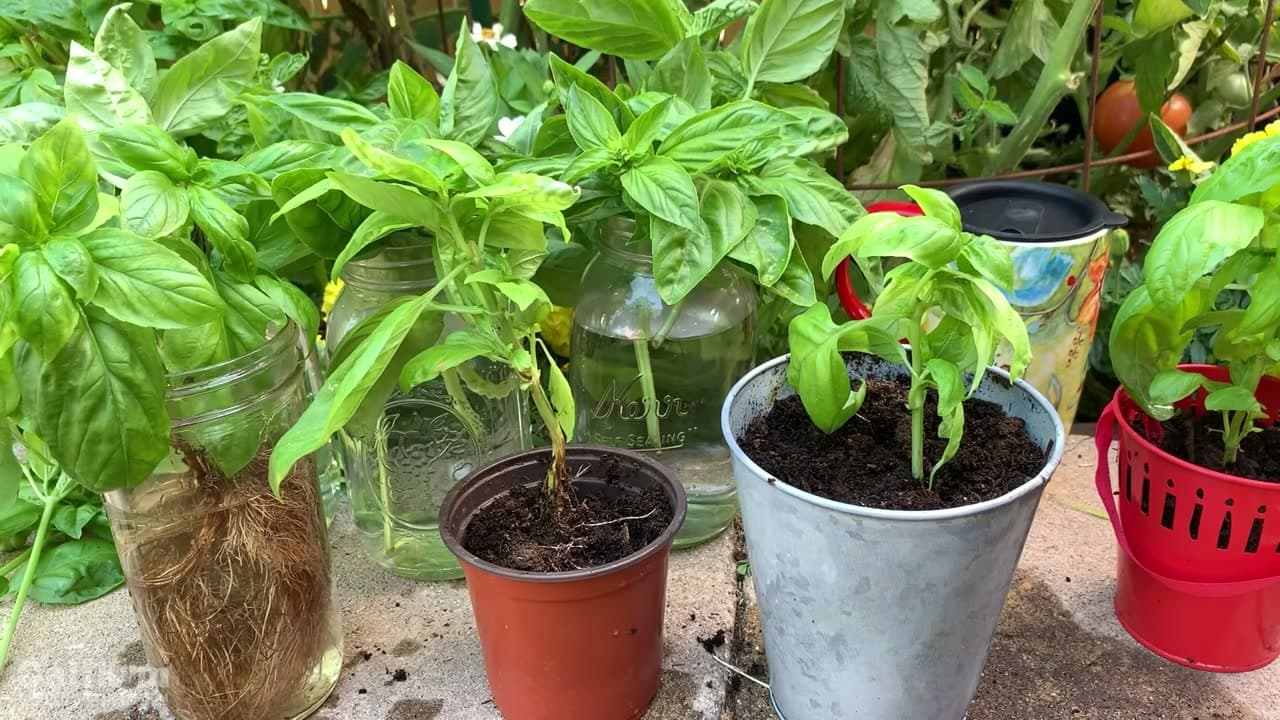
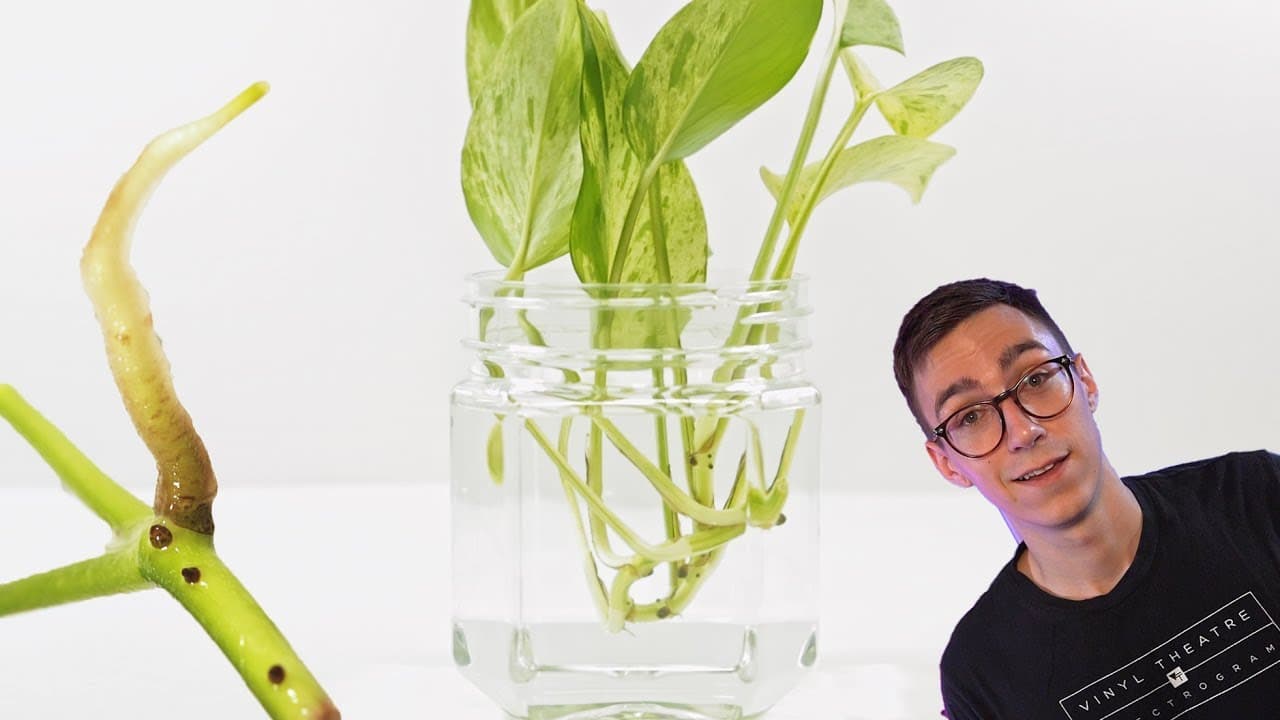
You have two easy routes. The classic one is water: drop the base of each plantlet into a clear jar of water and you'll watch roots form. The other is a damp substrate like coco coir or sphagnum moss, which holds moisture nicely around the roots and gives a smoother move into soil later.

Clear vessels let you watch the roots and check moisture at a glance. Set them on a windowsill with bright indirect light, an east or north window is ideal, and top off the water when it runs low. A loose piece of plastic wrap with a few holes punched in it traps humidity and speeds things along.

Tip

Watch this step Water roots and soil roots behave differently, so babies rooted in moss or coir usually settle into a pot with less shock than water-rooted ones. New to this? Water is the most fun to watch. If you want faster, sturdier roots, try coco coir or sphagnum moss and cover it for humidity.

5

Step 5: Wait a Month, Then Check the Roots

2:52
Step 5: Step 5: Wait a Month, Then Check the Roots

Now the hard part: patience. Give the babies about a month. During that time, keep the substrate damp or the water topped up and leave them in that bright indirect spot. If you covered them for humidity, you'll barely need to water at all.

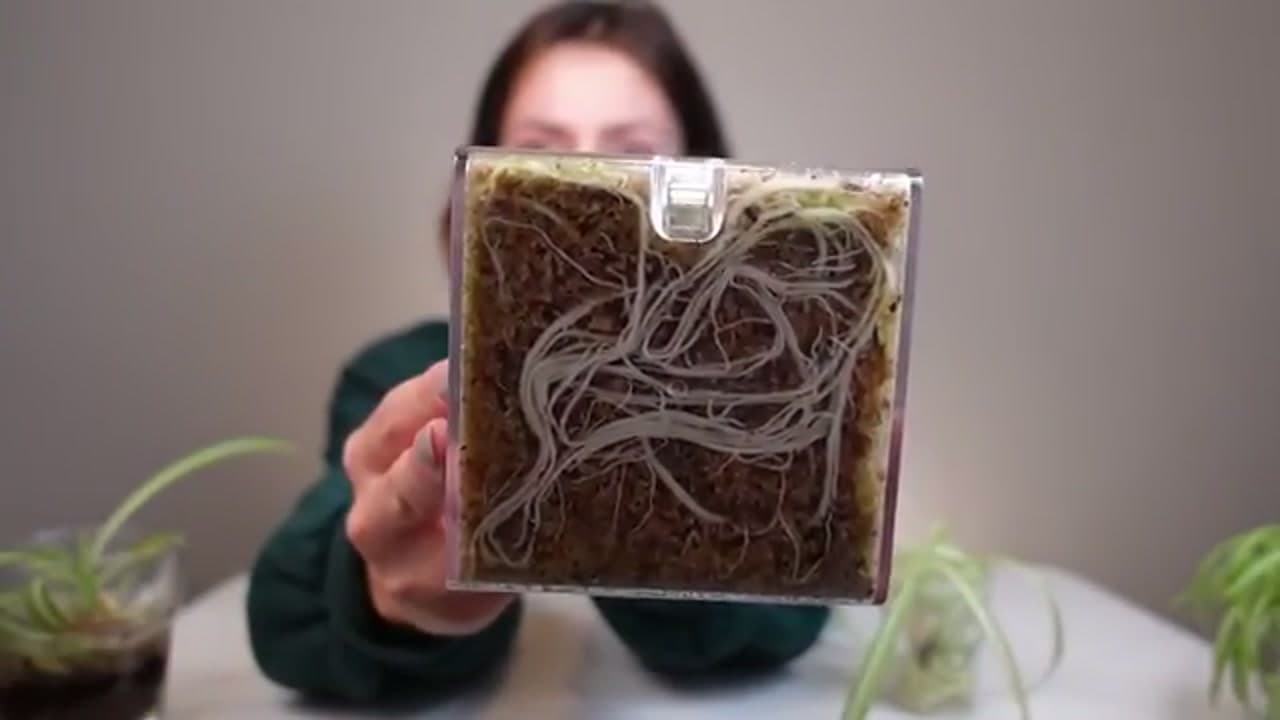
After a few weeks, lift a plantlet out and look. You want a healthy tangle of white roots, a couple of inches long, before you pot anything up. Thick, pale, noodle-like roots mean the baby is ready for soil.

Tip

Watch this step Roots grown under a humidity cover often come out thicker and fuller because the moisture stays so consistent. If the roots still look short and sparse, give it another week or two.

6

Step 6: Free the Rooted Babies From the Substrate

4:06
Step 6: Step 6: Free the Rooted Babies From the Substrate

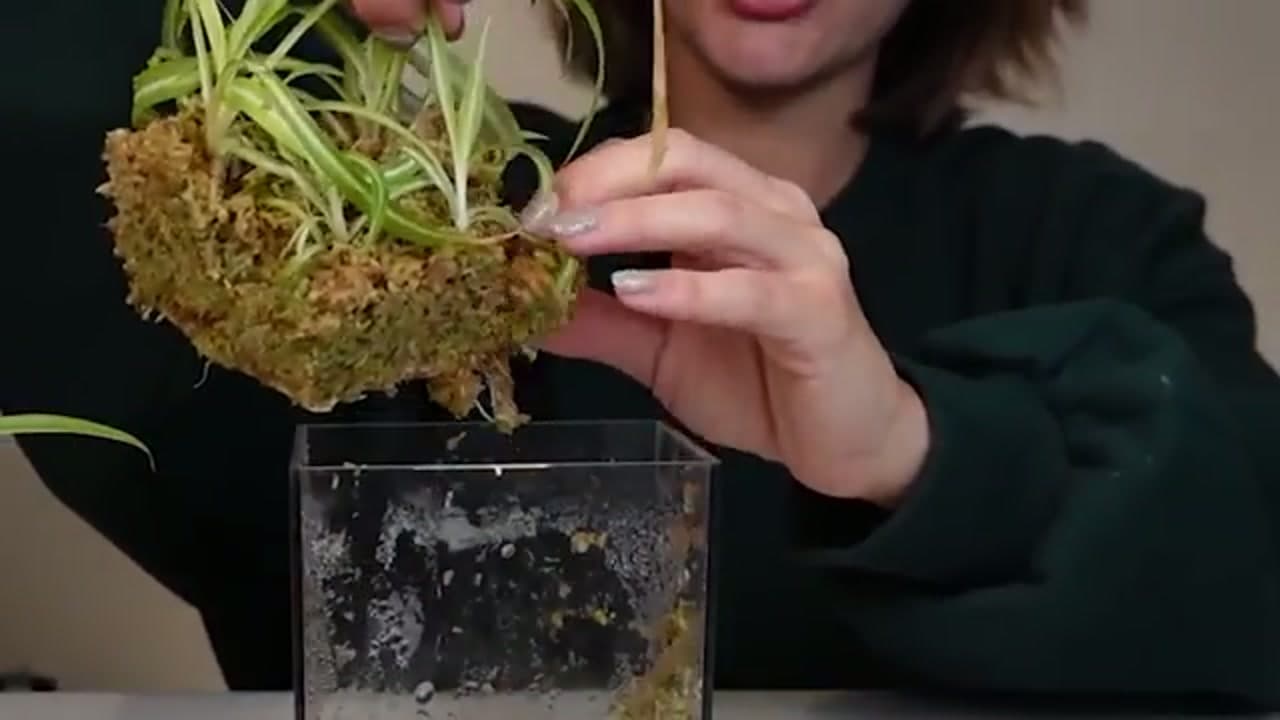
Once the roots are ready, gently brush away the moss or coir clinging to them. You don't have to get every bit off, just enough to separate the plantlets from each other and see what you're working with.

If roots are tangled and won't come apart easily, stop. It's far better to leave a little substrate stuck on than to rip off a bunch of roots trying to clean them. Coir tends to fall away easier than fluffy sphagnum, so go slow with the mossy ones.

Tip

Watch this step Water-propagated babies come out bare and clean, no brushing needed. Handle those roots gently too, they're more delicate than they look.

7

Step 7: Pot Them Up in Well-Draining Mix

5:40
Step 7: Step 7: Pot Them Up in Well-Draining Mix

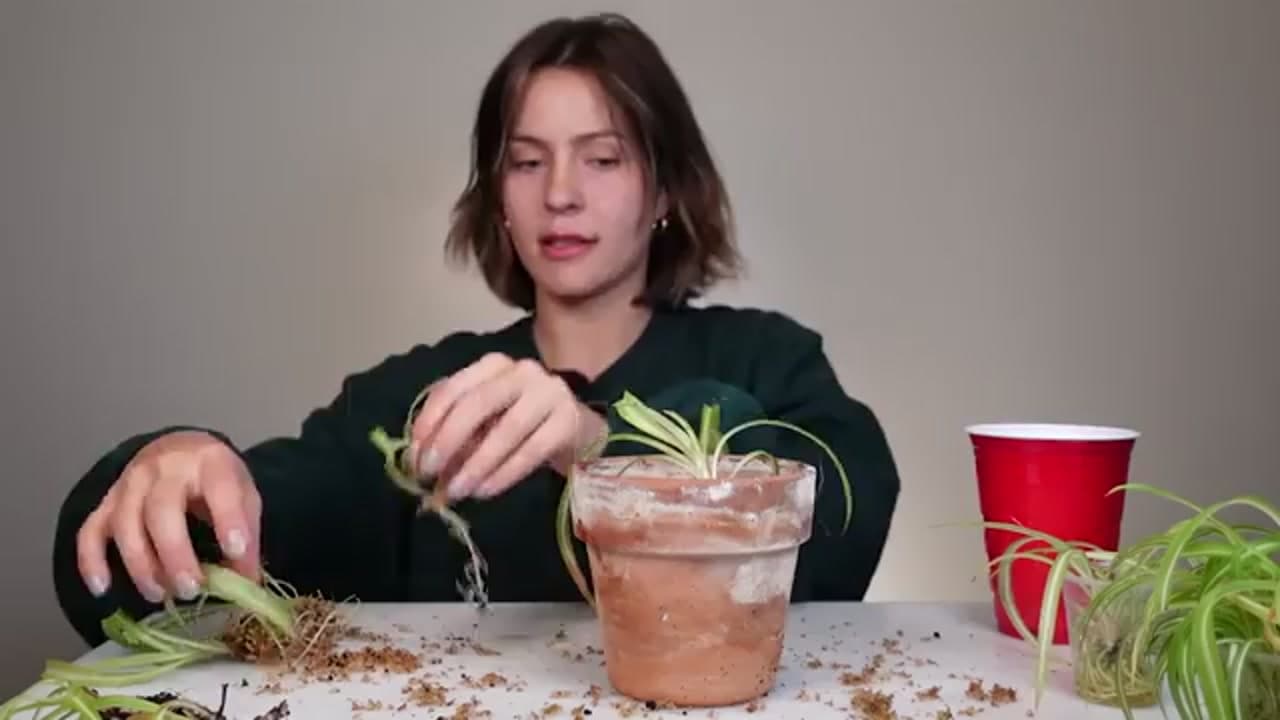
Grab a small pot, terracotta is great because it breathes and helps prevent rot. Cover the drainage hole with a chunk of bark or a bit of long fiber sphagnum so your mix doesn't wash out. Fill the pot partway with a well-draining potting mix that still holds some moisture.

Space the babies evenly around the pot and fill in around the roots. Keep the soil off the leaves where they meet the base, burying that crown can lead to rot. Tap the pot on the table a few times to settle the mix and close up any air pockets.

Tip

Watch this step Grouping several babies in one pot gives you a full, lush plant much faster than a single plantlet. A mix cut with perlite or bark keeps airflow around the roots, which spider plants love.

8

Step 8: Water In and Care for Your New Plants

7:50
Step 8: Step 8: Water In and Care for Your New Plants

Give the newly potted babies a thorough drink so the mix settles around every root, then set them back in that bright indirect window. A little diluted liquid fertilizer in the first watering helps them push new growth as they settle in.

Spider plants don't like to stay bone dry, so water when the top of the mix starts to dry out. From here it's just light, water, and time. Before long these babies fill out into full plants that throw runners of their own, and you can propagate all over again.

Tip

Watch this step Want more babies to root next? This same method scales to succulents and pothos too. See how to propagate succulents and how to propagate pothos for two more easy plants to multiply.

Products Used

☐ The Checklist

How to Propagate a Spider Plant (Water and Soil Methods)

Tools
4
Materials
5
Steps
8
Video
11 min

Your Guide

Harli G

As an Amazon Associate we earn from qualifying purchases. Links on this page may be affiliate links - clicking them and buying doesn't change your price, but helps support ShowMeStepByStep.

Tags

Sunday How-To

New gardening tutorials, every Sunday

One short email with the week's best step-by-step guides. Free, no spam, unsubscribe anytime.

Did this work for you?

What's next

Related collections

Curated theme pages that include this tutorial.

Weekly Digest

Liked this gardening tutorial?

Pick the categories you want to hear about. Weekly digest of new step-by-step tutorials. No spam, easy unsubscribe.

Send me tutorials about

We only email about new tutorials. Easy unsubscribe anytime.