How to Propagate Succulents (Dry Propagation Method)

GardeningEasy4:427 stepsBrowse more →

By ShowMeStepByStepPublished

Based on a video by Succulents Box.

Dry propagation is the low-effort way to multiply your succulents, and the team at Succulents Box walks through the whole thing in one short video. No rooting hormone, no wet paper towels, no fuss. You pull a few leaves, set them on a dry tray, and let nature do the rest.

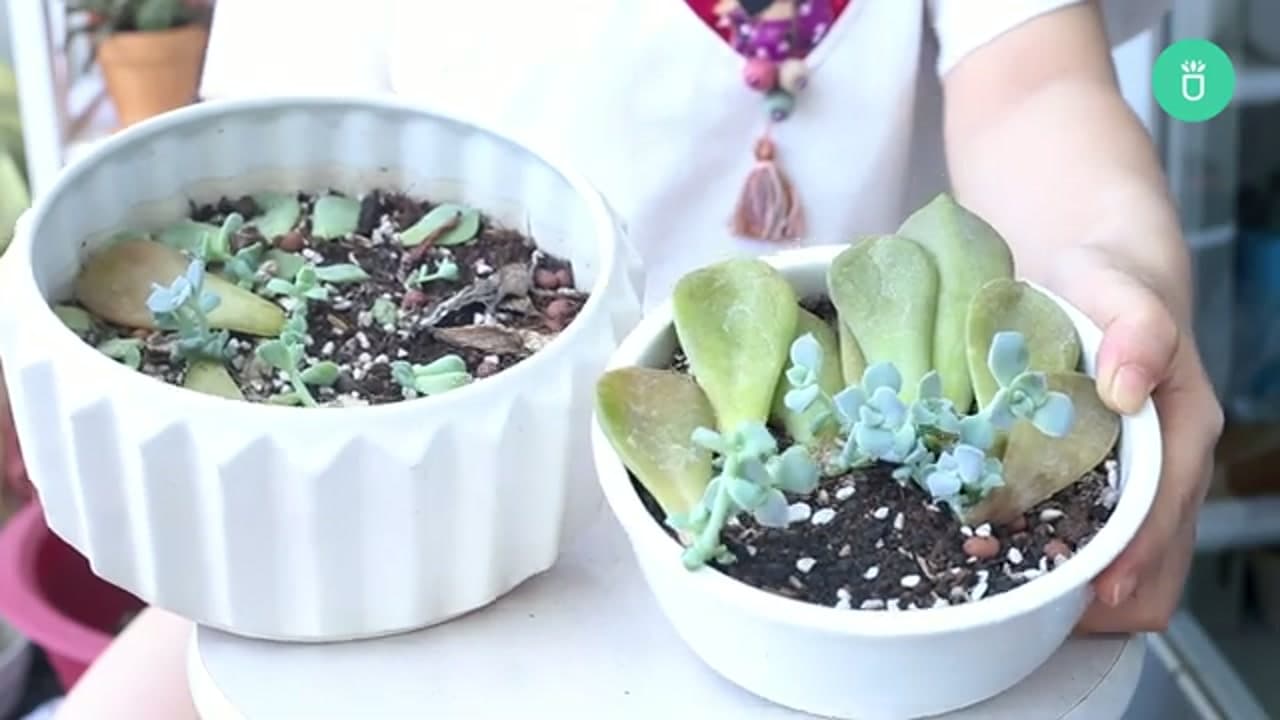
The payoff is those little pink roots and clusters of baby pups that form right at the cut end of each leaf. Once they show up, you tuck the leaf into soil and you have a brand new plant. It costs nothing and works with most rosette succulents like Echeveria and Graptopetalum.

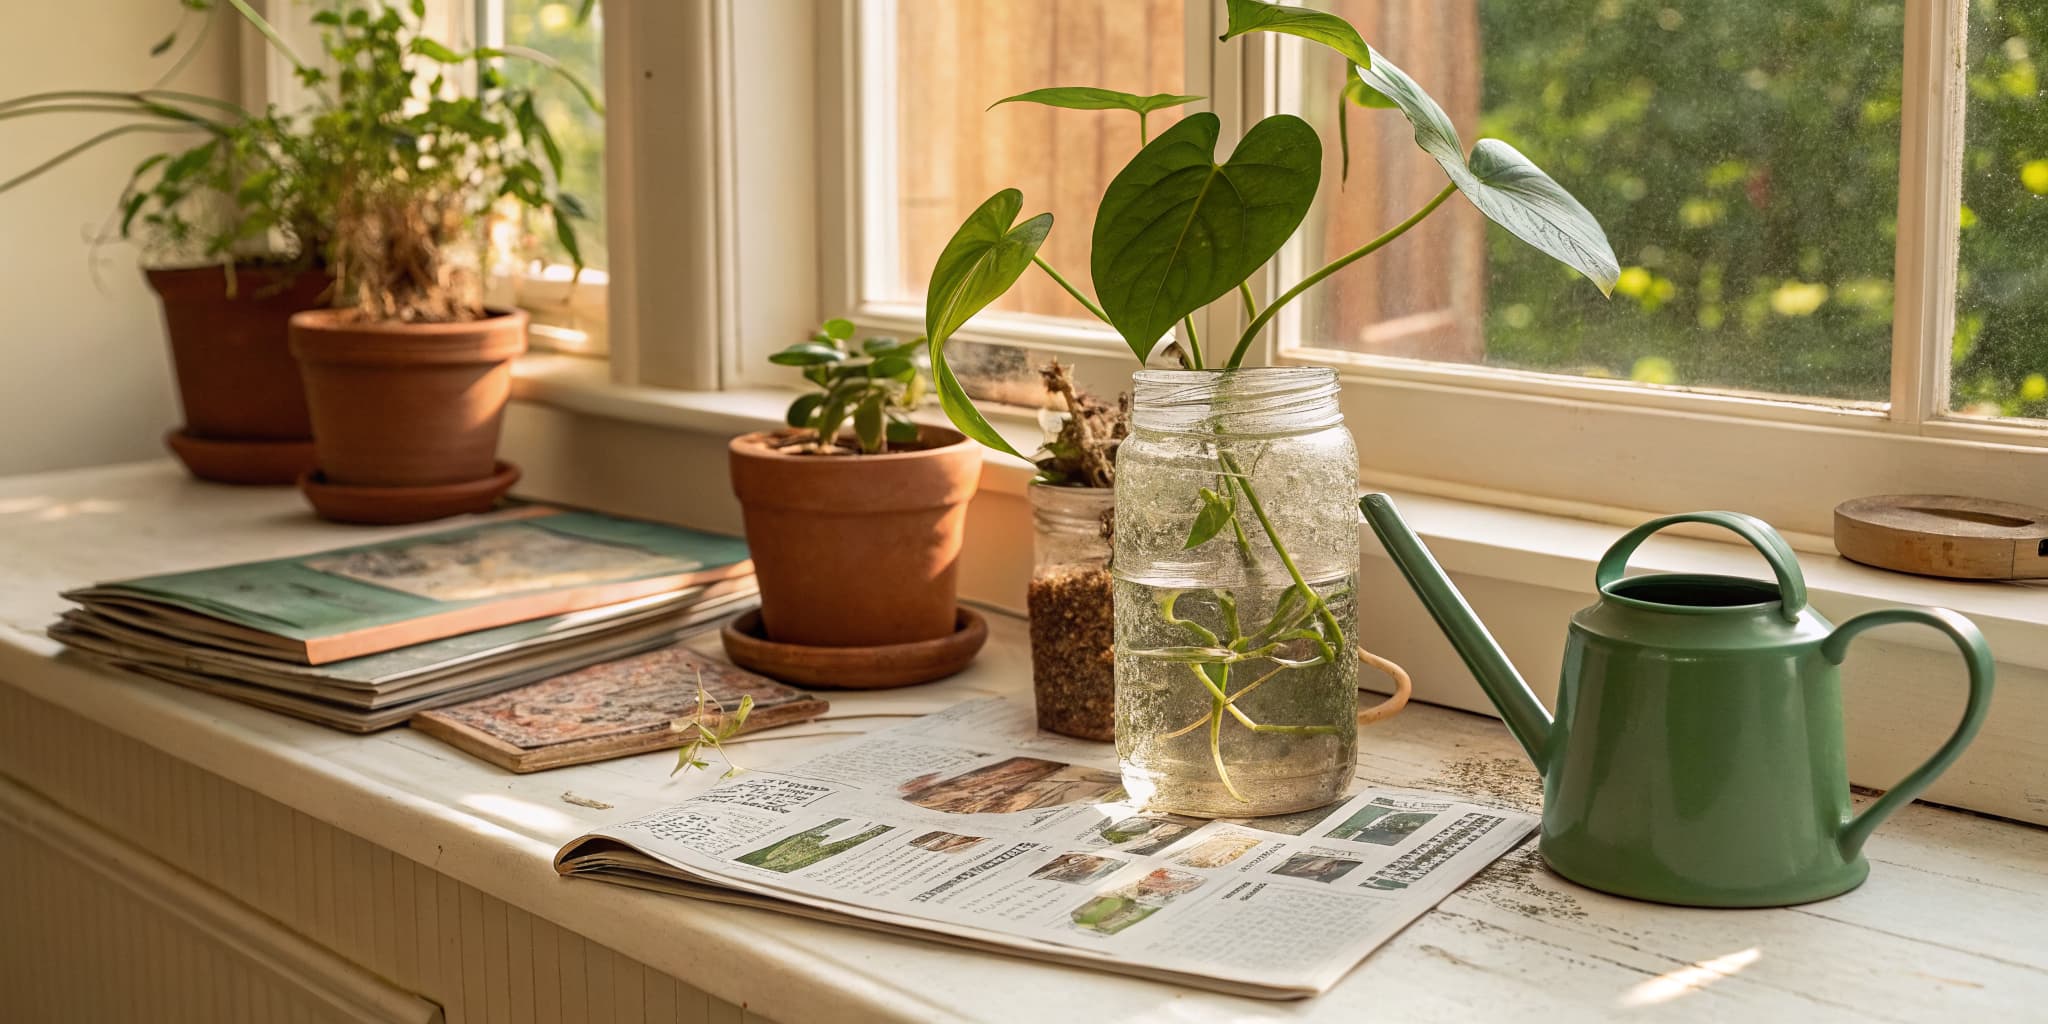
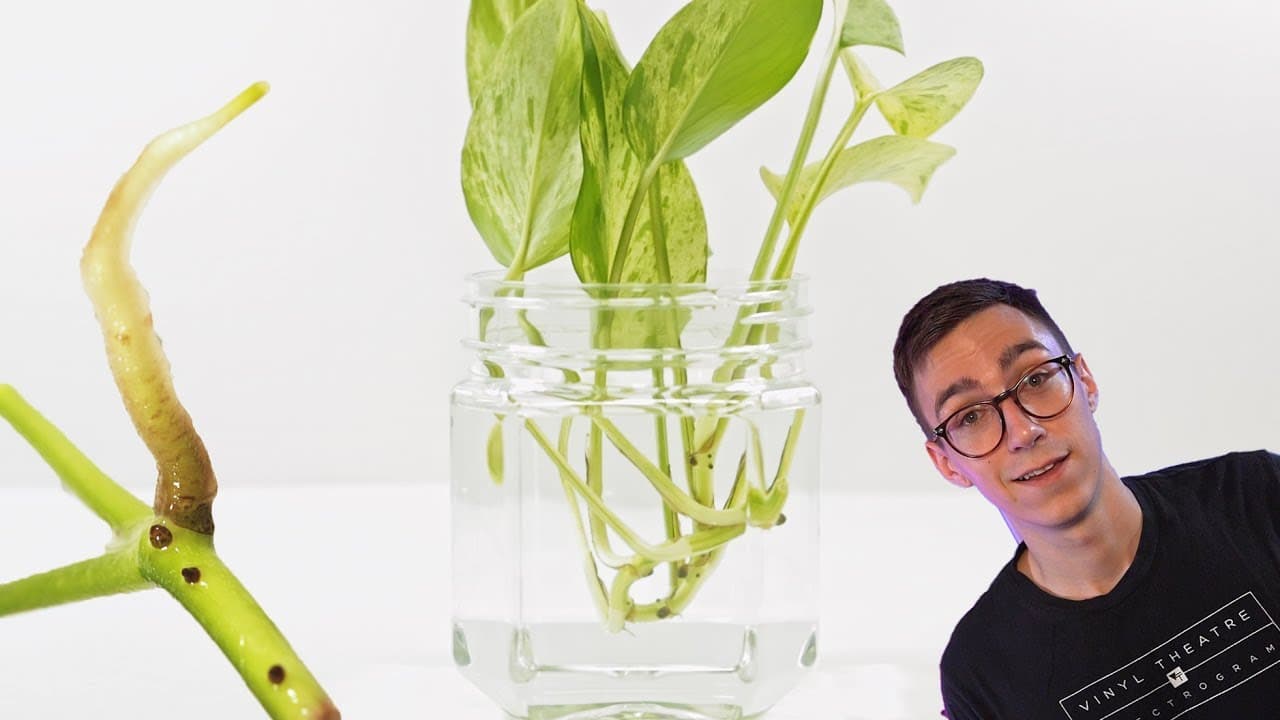
If you catch the propagating bug, put your new plants to work in a succulent terrarium. The same patient, low-water approach also carries over to houseplants when you propagate pothos.

Step-by-Step Guide

1

Step 1: Water the Parent Plant

1:00
Step 1: Step 1: Water the Parent Plant

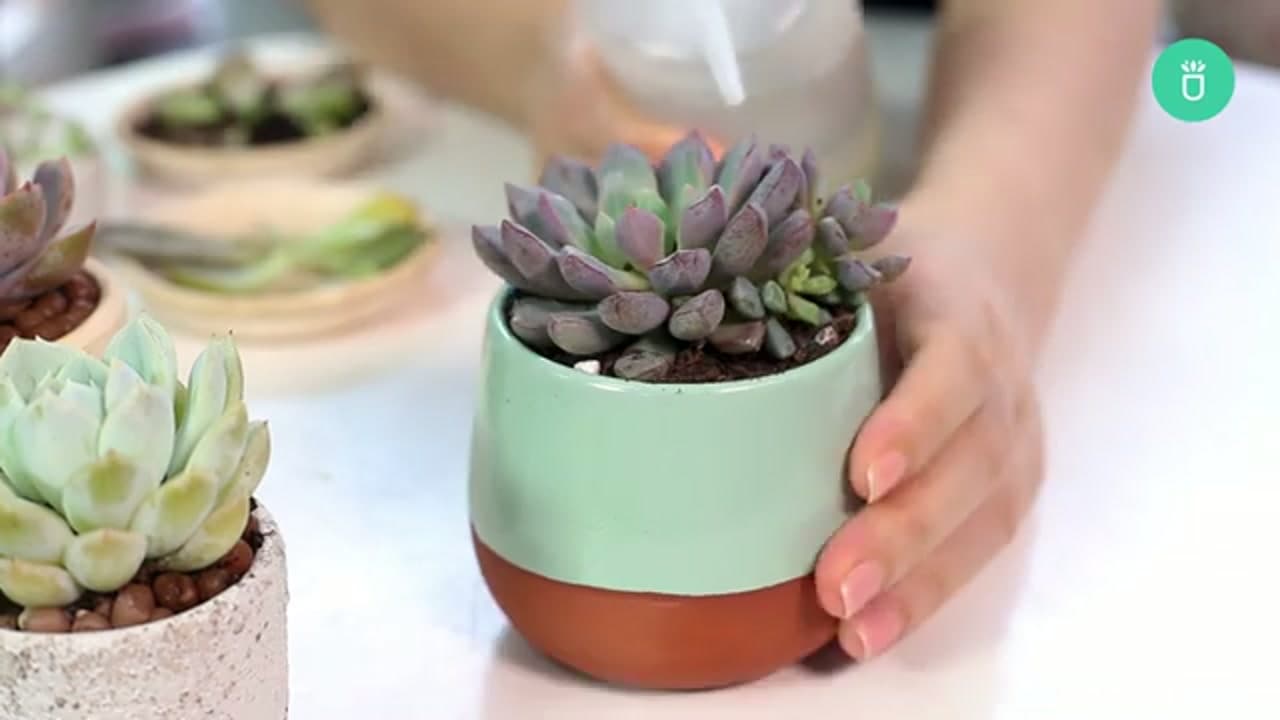
A couple of days before you pull any leaves, give the mother plant a good drink. Plump, hydrated leaves carry more stored water and nutrients, so they root faster once they come off. Here a spray bottle mists the whole rosette until the soil is damp. Skip this and your cuttings start out thirsty, which slows everything down. Let the plant soak it up before you move to the fun part.

Tip

Well-hydrated leaves snap off cleaner and shrivel less while they wait for roots.
2

Step 2: Take Your Leaf Cuttings

1:30
Step 2: Step 2: Take Your Leaf Cuttings

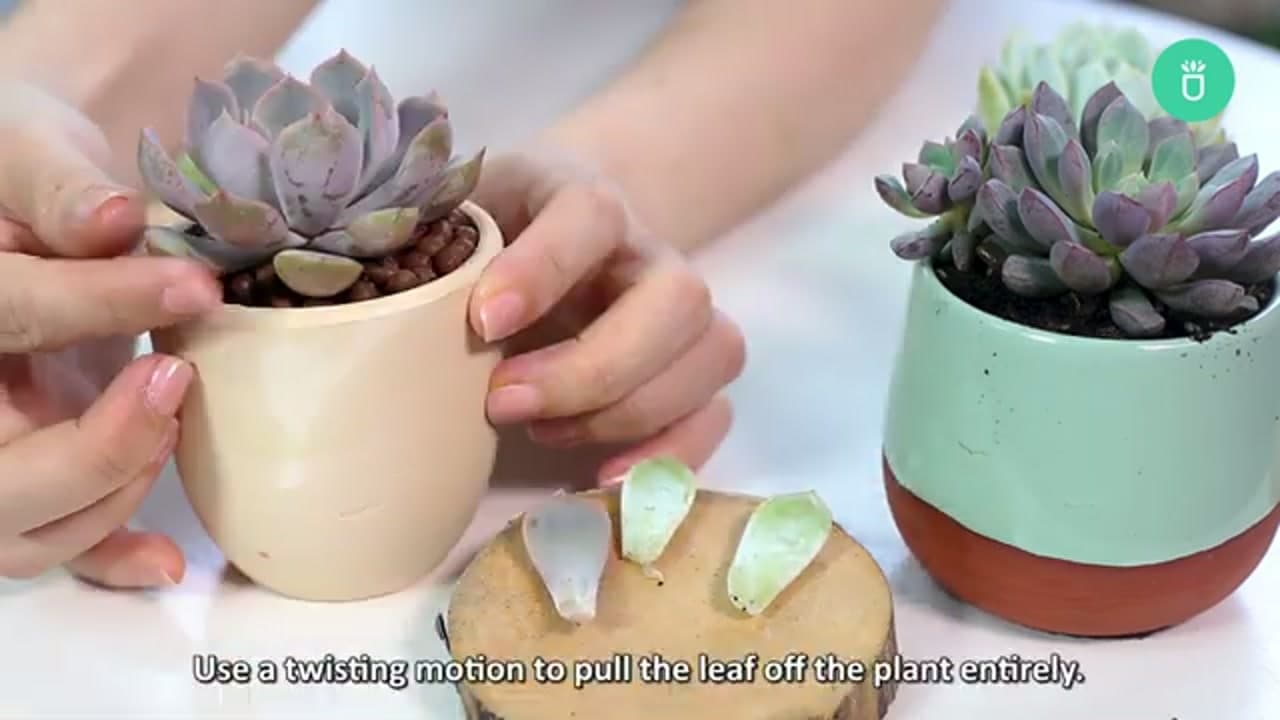
Grip a lower, healthy leaf and use a gentle twisting motion to pull it away from the stem. You want the whole leaf to pop off clean with its base intact, because that little nub at the bottom is where roots and pups grow. Avoid tearing or leaving part of the leaf behind. A clean break is the single most important thing you can do at this stage. Take as many leaves as you like.

Tip

A leaf that snaps in half or loses its base usually will not sprout, so go slow and twist rather than yank.

Products used in this step

3

Step 3: Lay the Leaves Out to Callus

1:50
Step 3: Step 3: Lay the Leaves Out to Callus

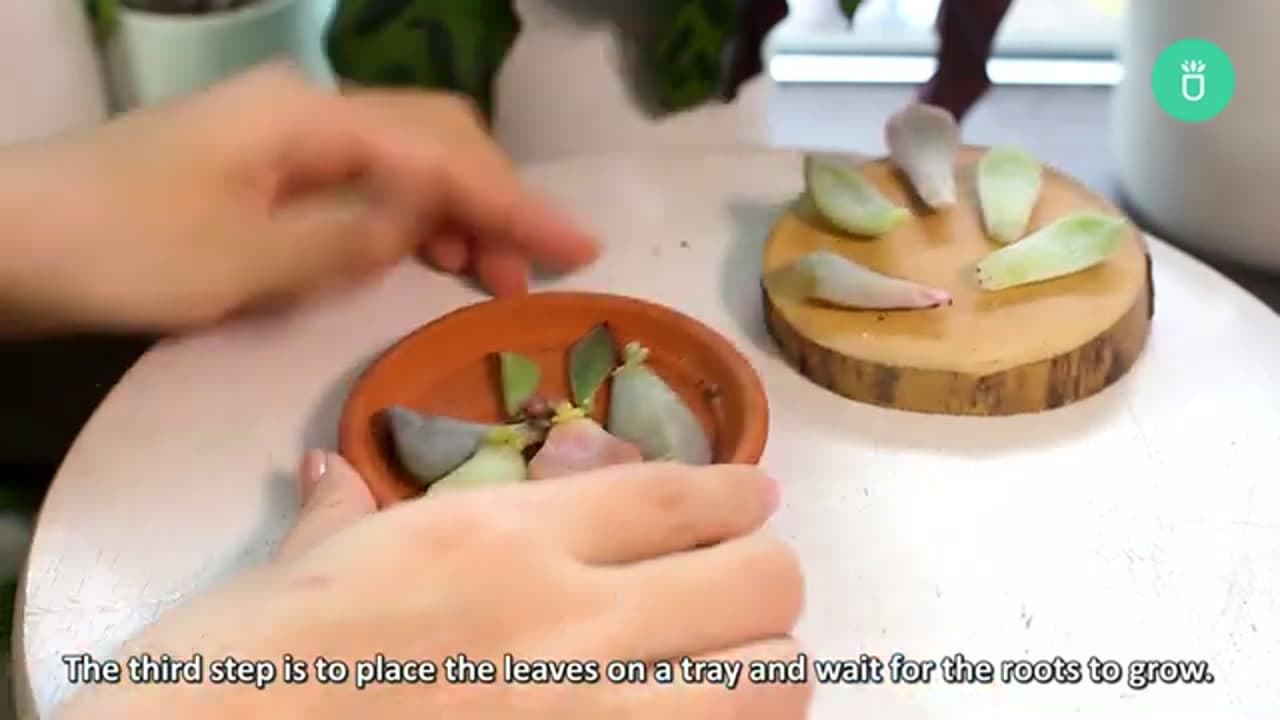
Set the leaves in a single layer on a dry tray, saucer, or wood slice. Keep them out of soil and out of water for now. The cut ends need a few days in open air to callus over, which protects them from rot. Space them so air moves around each one. This is the dry part of dry propagation, and it is why the method is so forgiving for beginners.

Tip

Put the tray somewhere bright but out of harsh direct sun so the leaves do not cook.

Products used in this step

4

Step 4: Watch for Roots and Pups

2:18
Step 4: Step 4: Watch for Roots and Pups

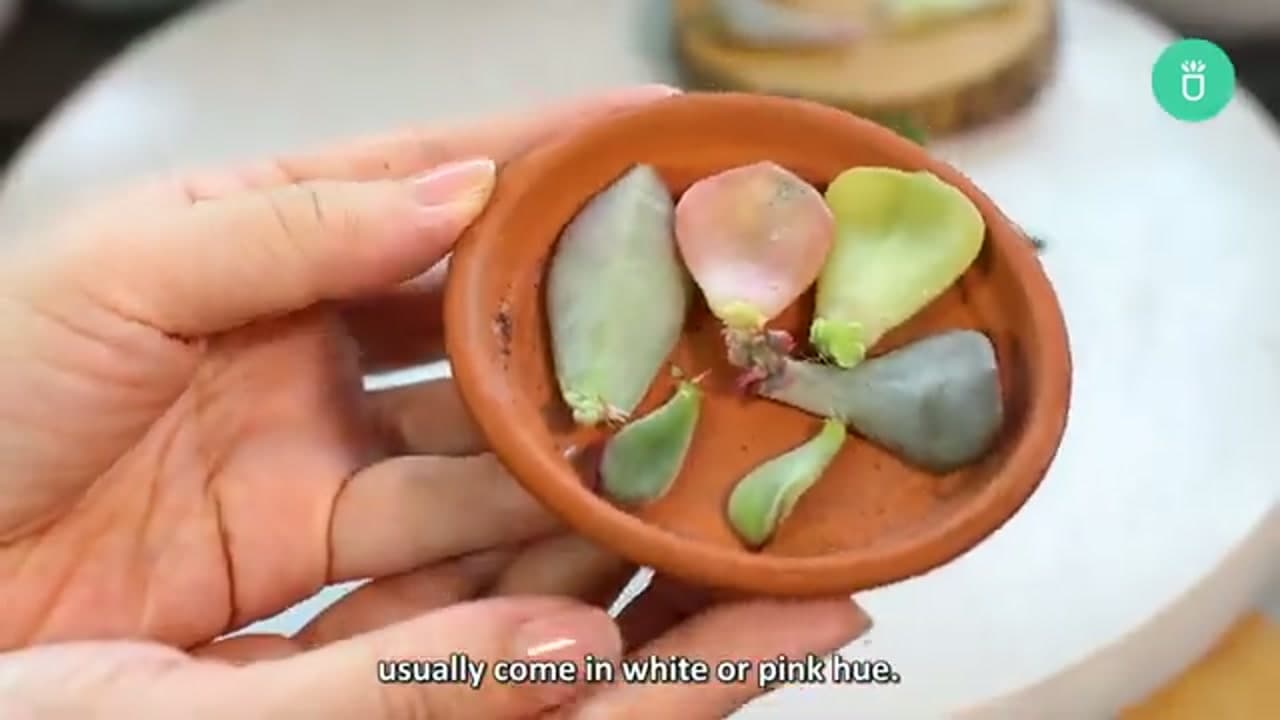
Over the next couple of weeks, tiny pink roots and small green pups start to form at the base of each leaf. This is the moment that makes propagation feel like magic. Healthy roots usually come in a white or pink hue, and the pups look like miniature versions of the parent. You do not need to water the leaves yet. Just keep them in that bright, dry spot and let the roots reach out.

Tip

Some leaves grow roots first, others grow pups first. Both are good signs, so be patient with the slow ones.

Products used in this step

5

Step 5: Pot Up the Rooted Leaves

2:38
Step 5: Step 5: Pot Up the Rooted Leaves

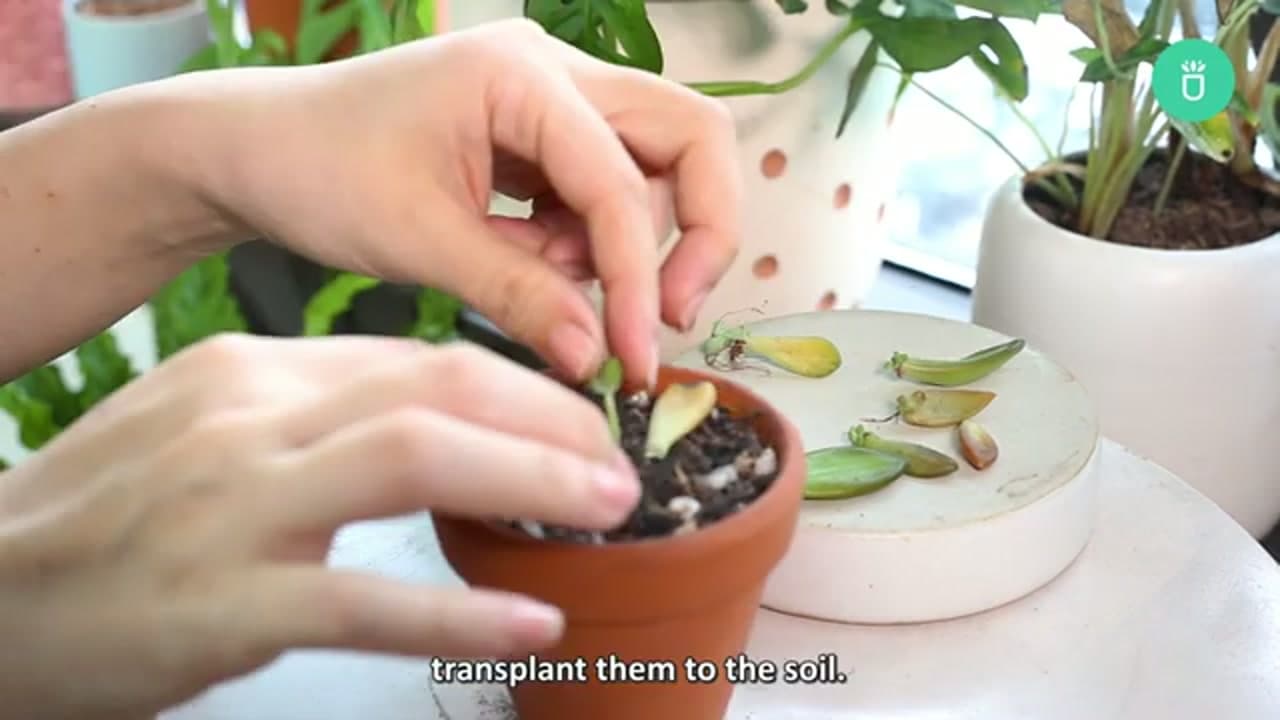
Once a leaf has visible roots and a little pup, move it into a small pot of well-draining succulent soil. Lay the leaf on top and gently tuck the roots just under the surface so they can dig in. Do not bury the whole leaf. The old leaf will keep feeding the new pup until it shrivels away, which is completely normal. Give each cutting a bit of room to grow.

Tip

A gritty cactus mix drains fast and keeps those new roots from sitting in soggy soil.

6

Step 6: Care for the New Pups

2:45
Step 6: Step 6: Care for the New Pups

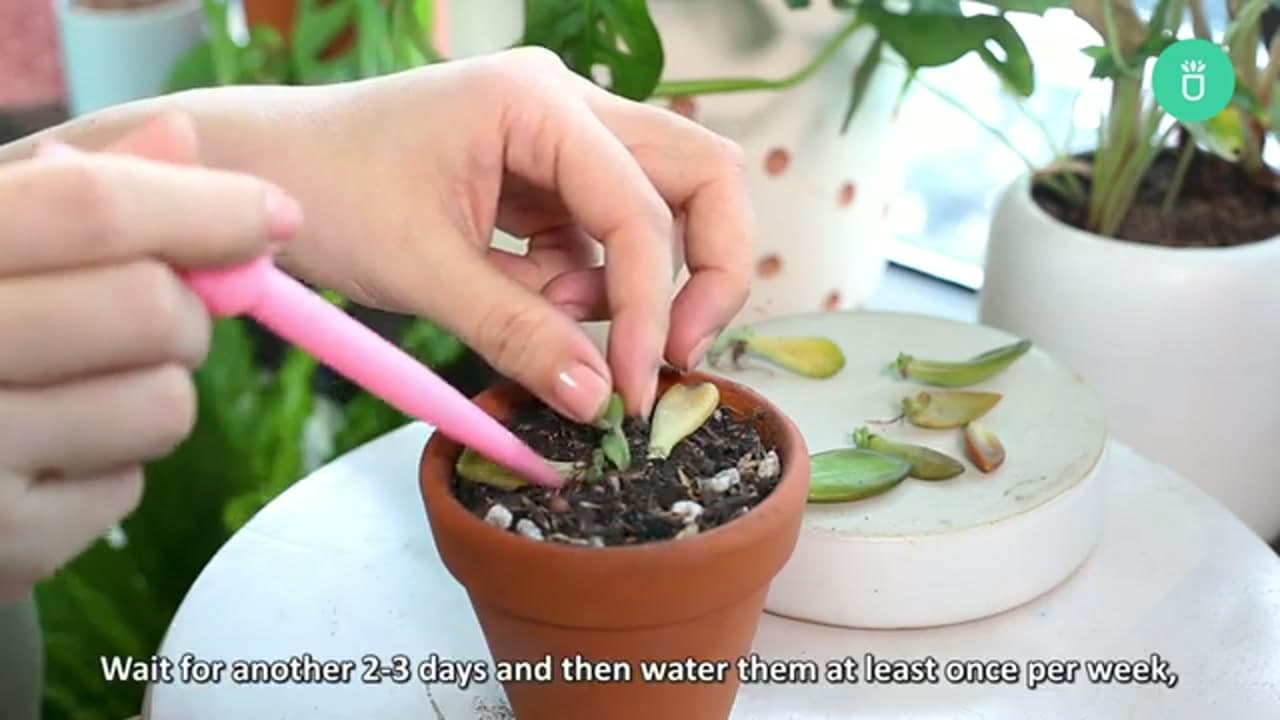
Newborn pups are thirstier than mature succulents, so they need water a little more often. Wait two to three days after potting, then water at least once a week using a small squeeze bottle to wet the soil around the base. Aim for the roots, not the leaves. As the pup grows and the parent leaf drops off, you can stretch the watering back out to a normal succulent schedule.

Tip

Let the top of the soil dry between waterings so the young roots get air and never sit wet.

Products used in this step

7

Step 7: Enjoy Your New Plants

4:28
Step 7: Step 7: Enjoy Your New Plants

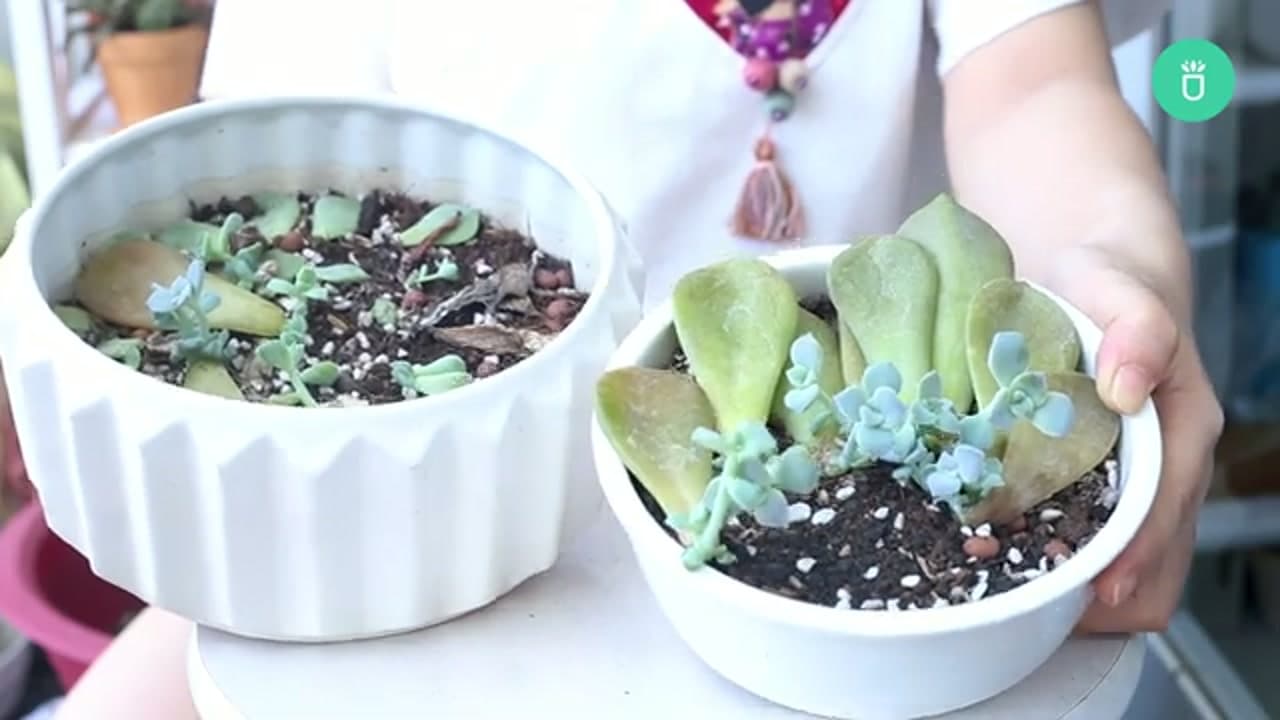
Give it a few weeks and those single leaves grow into full clusters of baby succulents. What started as one plant is now a pot of new ones, ready to spread around your windowsill, gift to friends, or plant together in a wider dish. That is the whole appeal of dry propagation: it is nearly free, it is easy, and one healthy succulent can quietly become a dozen.

Tip

Group several rooted pups in one shallow bowl for a fuller, arranged look once they are established.

Products used in this step

Products Used

☐ The Checklist

How to Propagate Succulents (Dry Propagation Method)

Tools
4
Materials
4
Steps
7
Video
5 min

Your Guide

Succulents Box

As an Amazon Associate we earn from qualifying purchases. Links on this page may be affiliate links - clicking them and buying doesn't change your price, but helps support ShowMeStepByStep.

Tags

Sunday How-To

New gardening tutorials, every Sunday

One short email with the week's best step-by-step guides. Free, no spam, unsubscribe anytime.

Did this work for you?

What's next

Related collections

Curated theme pages that include this tutorial.

Weekly Digest

Liked this gardening tutorial?

Pick the categories you want to hear about. Weekly digest of new step-by-step tutorials. No spam, easy unsubscribe.

Send me tutorials about

We only email about new tutorials. Easy unsubscribe anytime.