How to Propagate Pothos: 2 Easy Water-Rooting Methods

GardeningEasy11:527 steps

By ShowMeStepByStepPublished Updated

Based on a video by Techplant.

Pothos is one of the easiest houseplants to multiply at home. Take a few cuttings from a parent plant, drop them in water, and in about ten to twenty days you'll have rooted starts ready to pot up.

There are two ways to do this. Method 1 is a single long cutting that grows into one trailing vine. Method 2 chops the vine into individual node sections, so four cuttings in one pot grow into a bushy multi-vine plant. Both work, they just give you different-looking plants.

Credit to Techplant for the source video, which follows both methods all the way from the first cutting to a fully potted plant.

Step-by-Step Guide

1

Step 1: Take Healthy Clippings

0:22
Step 1: Step 1: Take Healthy Clippings

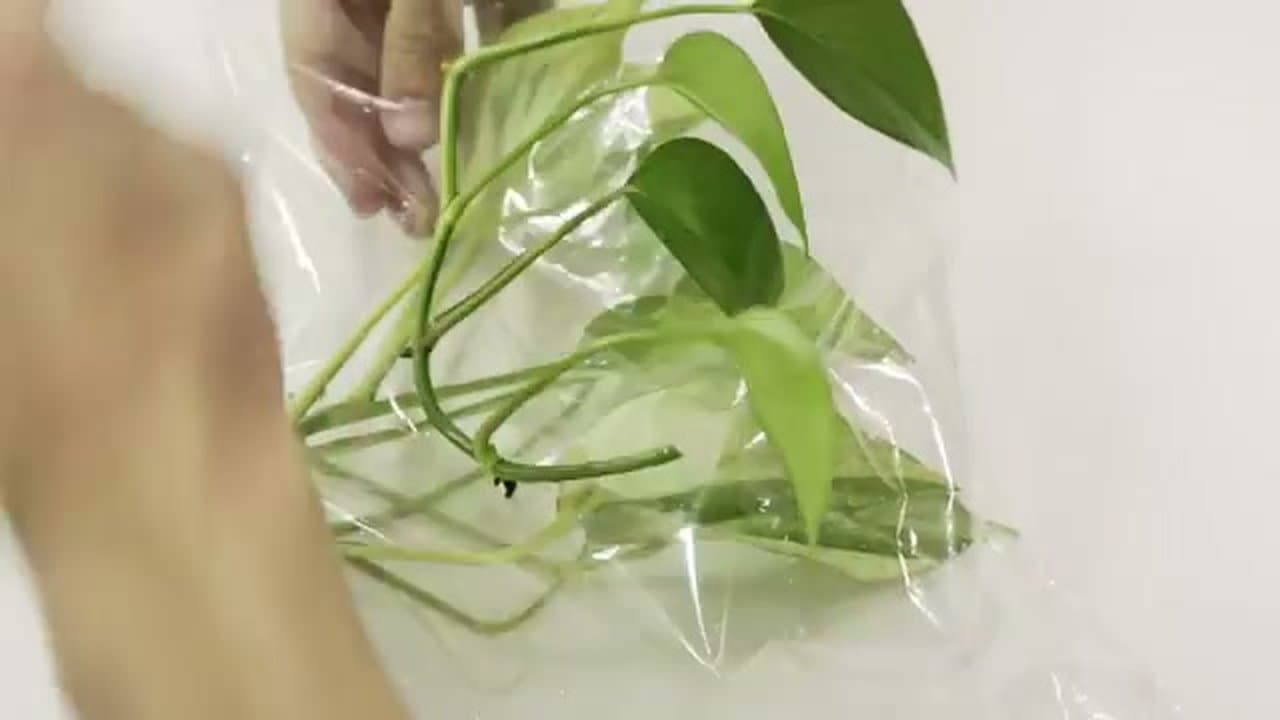
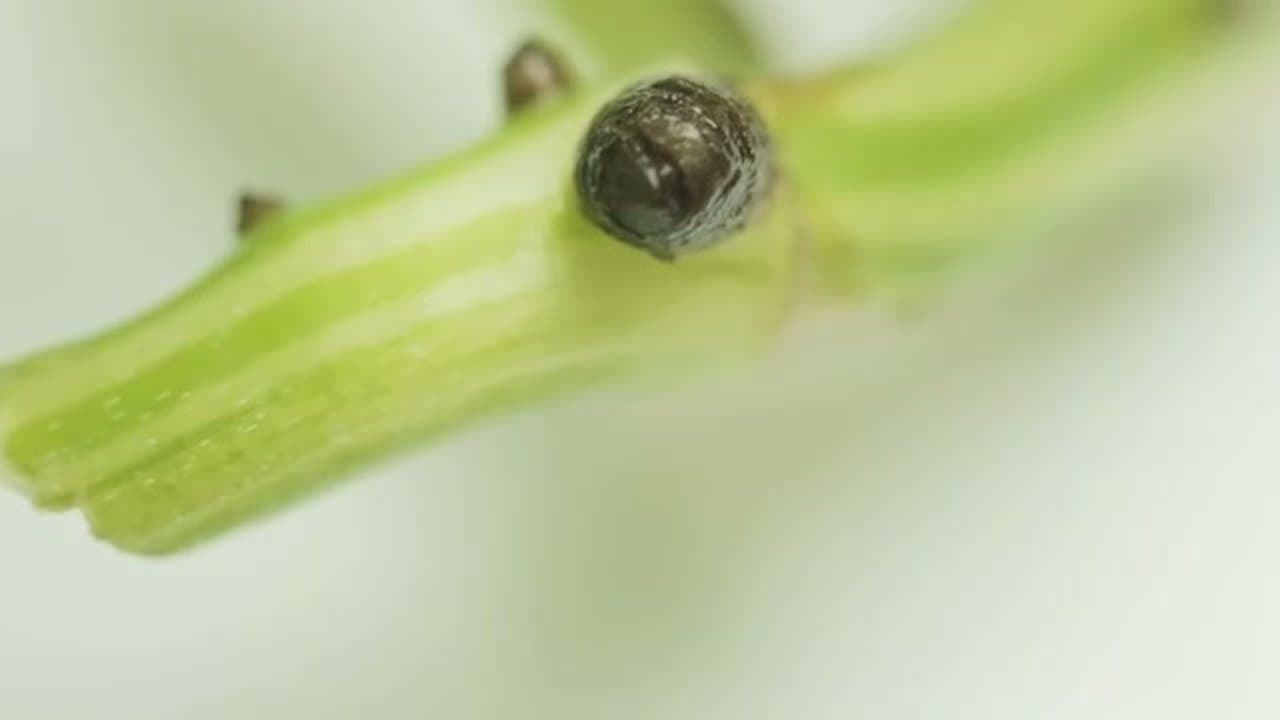
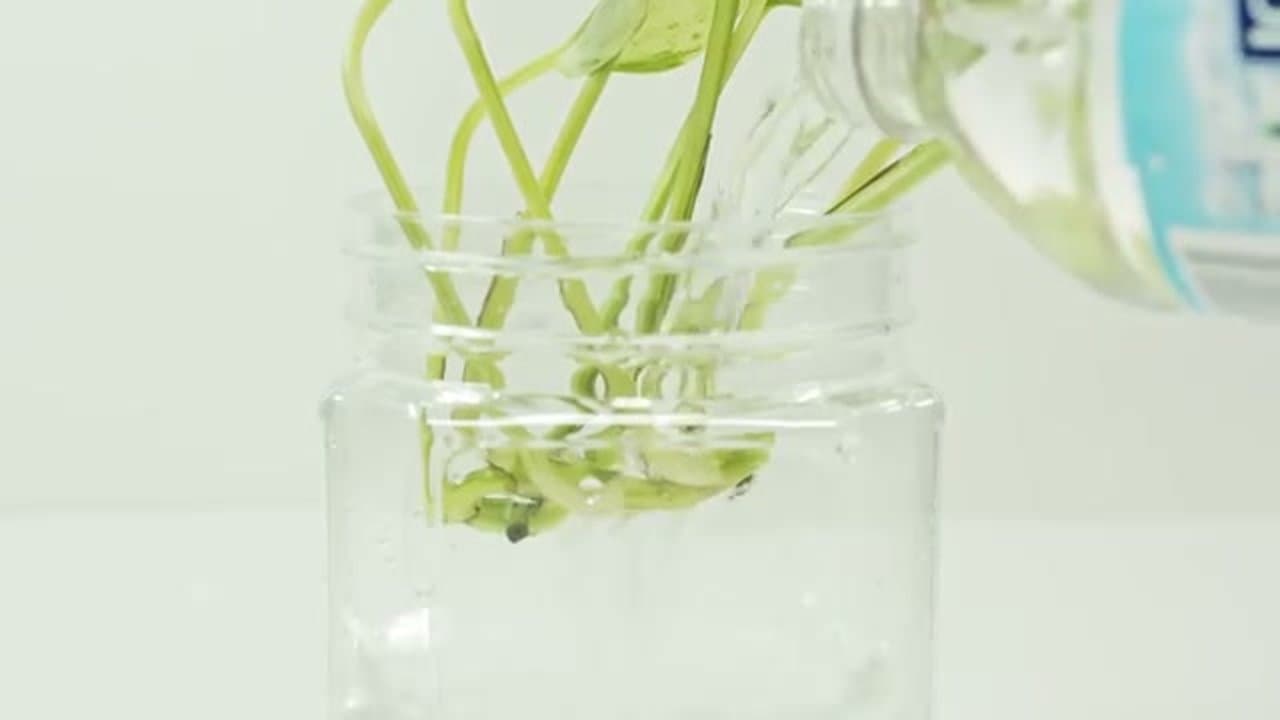
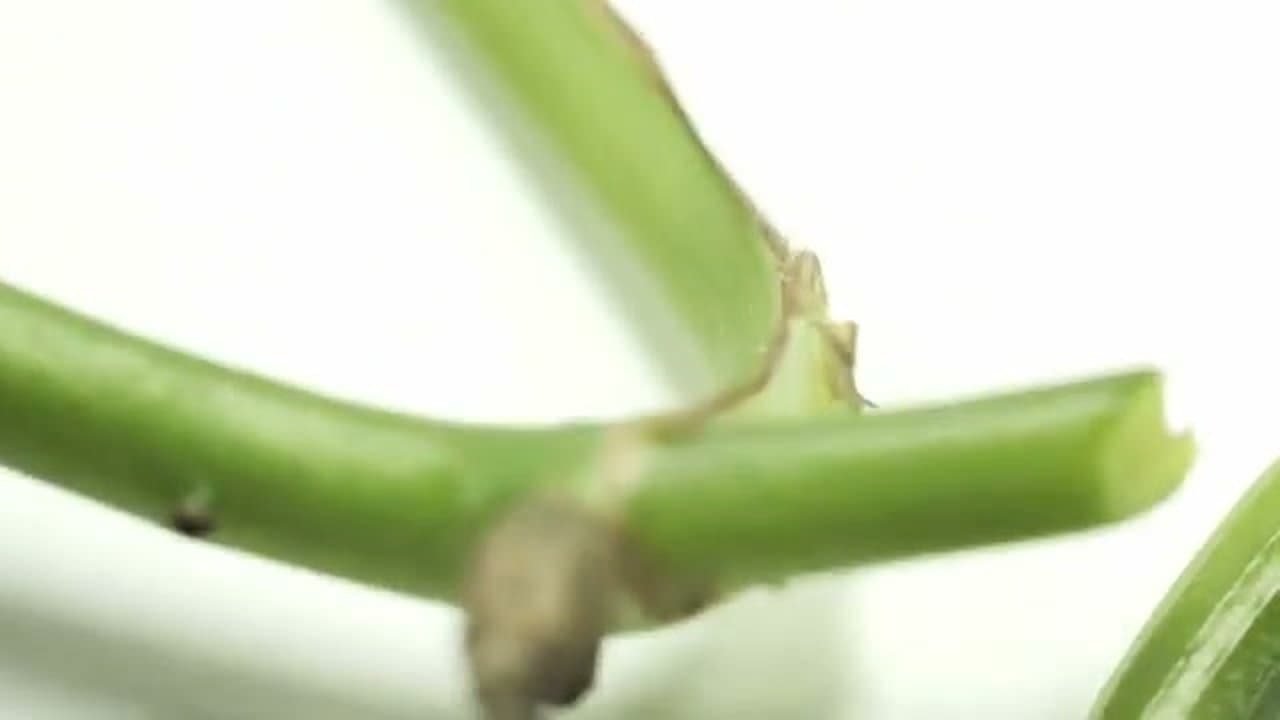
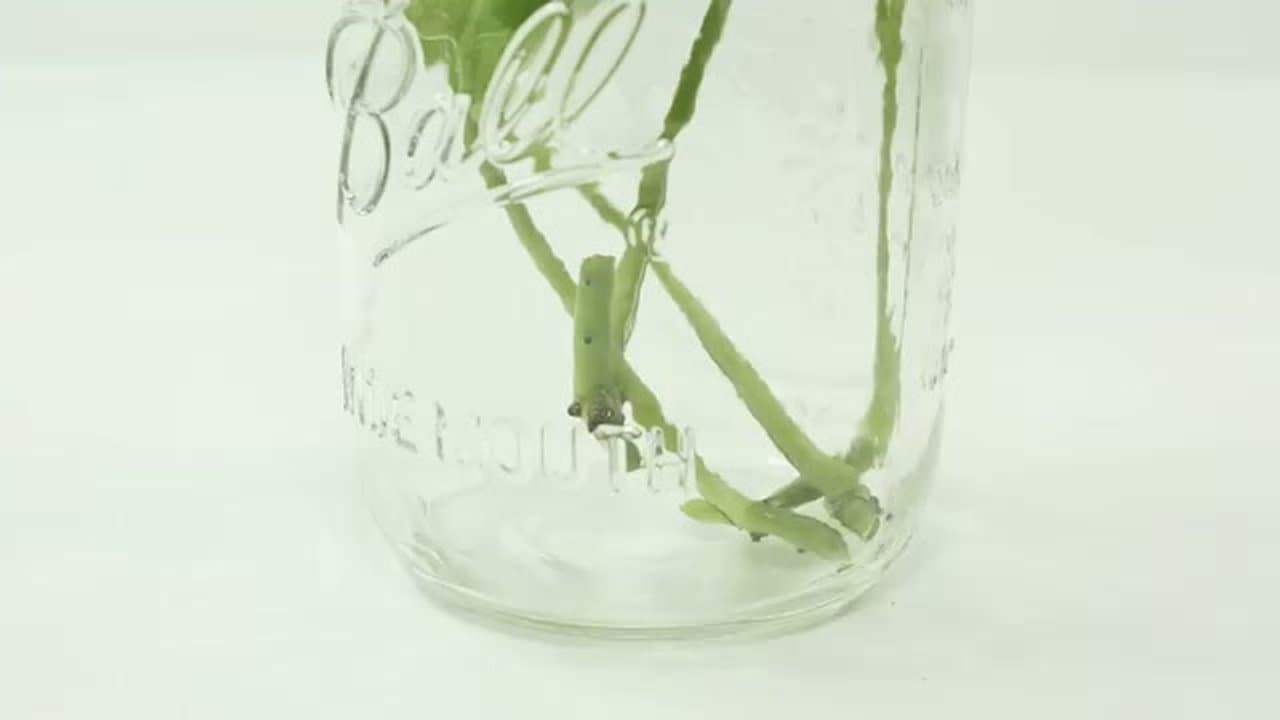
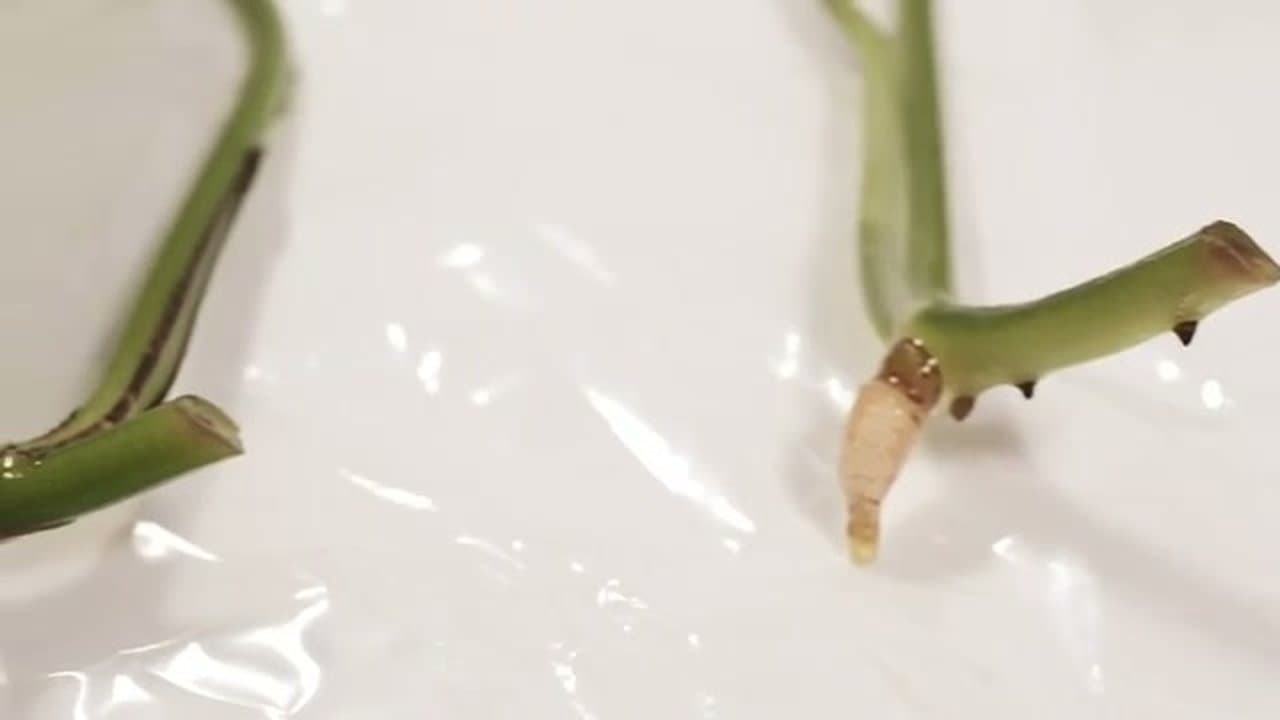
Pull a few healthy vines off a parent pothos. Clippings from a friend's plant work fine too, since pothos shares roots happily. Pick stems with at least three leaves and a clean, firm look.

Marbled queen, golden, neon - any variety propagates the same way. The vines are flexible so pick whatever bends nicely off the parent. Don't fuss over the cut yet. You'll trim each piece in the next steps.

Products used in this step

2

Step 2: Find the Nodes on Each Vine

1:00
Step 2: Step 2: Find the Nodes on Each Vine

Look closely at where each leaf meets the stem. The small brown bump there is a node, and it's the only place a root will grow from. Sometimes there's already a tiny brownish nub poking out of the node - that's a future root waiting for water.

If a cutting has no node, it will not root. Period. So before you trim anything, find at least one node on every piece you want to keep.

3

Step 3: Method 1 - Place a Single Long Cutting in Water

1:45
Step 3: Step 3: Method 1 - Place a Single Long Cutting in Water

For a fast-fill plant with one trailing vine, use the whole cutting as one piece. Make a fresh cut at the bottom of a stem that has several leaves still attached. The fresh cut lets the cutting pull water up - if the bottom has sealed off, it won't drink properly.

Drop the whole stem into a glass jar or vase, then top it off with bottled or filtered water. Tap water has chlorine, and chlorine damages the open nodes. This method only ever produces one long vine. Good if you want a quick-looking plant immediately.

4

Step 4: Method 2 - Cut the Vine Into Node Sections

3:10
Step 4: Step 4: Method 2 - Cut the Vine Into Node Sections

For a denser plant down the road, slice the vine into separate pieces. Each piece needs one node and one leaf, with about half an inch to an inch of stem on either side of the node.

Four nodes means four future plants. They all root at the same time and share a pot, so the result fills in as a bushy multi-vine pothos rather than a single stem. This is the method most people prefer once they've tried both.

Products used in this step

5

Step 5: Place the Node Sections in Chlorine-Free Water

3:52
Step 5: Step 5: Place the Node Sections in Chlorine-Free Water

Drop every cut piece into a clean jar of bottled or filtered water. Same chlorine rule as Method 1. Make sure every node sits below the waterline - that's the part that needs to stay submerged so it can root.

Don't worry about the leaves. They'll rest along the rim. If one keeps falling into the water, prop a shot glass or small object in the middle of the jar to keep the leaves up and out.

Products used in this step

6

Step 6: Wait 10 to 20 Days for Roots

4:10
Step 6: Step 6: Wait 10 to 20 Days for Roots

Set the jar somewhere with bright, indirect light and walk away. Within a week you'll see white roots pushing out of each node. By two weeks they'll be one to two inches long.

Change the water every few days to keep it fresh. Don't stir or poke the roots while you're swapping water - they're fragile and snap off if you mess with them.

Tip

If you're using a clear glass jar, you may see brownish algae on the roots. That's normal and doesn't hurt the plant. A solid-colored jar prevents it if you want cleaner-looking roots.

7

Step 7: Pot Up the Rooted Cuttings

6:52
Step 7: Step 7: Pot Up the Rooted Cuttings

Once roots are one to two inches long, the cutting is ready for soil. Any indoor potting mix works - pothos isn't picky. Keep the soil damp at first so the roots ease from water-life to soil-life without shock.

Plant Method 1 cuttings on their own. Plant the four Method 2 sections together in one pot, with each section's new leaf pointed up so it can reach the surface quickly. Be gentle with the roots when you bury them. Pothos cuttings only have one or two roots at first, so a snapped one is a real setback.

Products Used

Your Guide

Techplant

As an Amazon Associate we earn from qualifying purchases. Links on this page may be affiliate links - clicking them and buying doesn't change your price, but helps support ShowMeStepByStep.

Tags

Related Tutorials