How to Plant Onion Sets the Right Way

GardeningEasy10:308 steps

Based on a video by The Millennial Gardener.

A whole bag of onion sets costs about a dollar and gives you dozens of onions. The trick is timing, spacing, and a couple of feeding steps most beginners skip.

Credit to The Millennial Gardener for the source video. The method works for fall planting in USDA zones 7-10 and late-winter planting further north. Once your sets are in the ground, they need water checks every few days but almost no other attention until harvest.

Step-by-Step Guide

1

Orient the Onion Roots Down

3:49
Step 1: Orient the Onion Roots Down

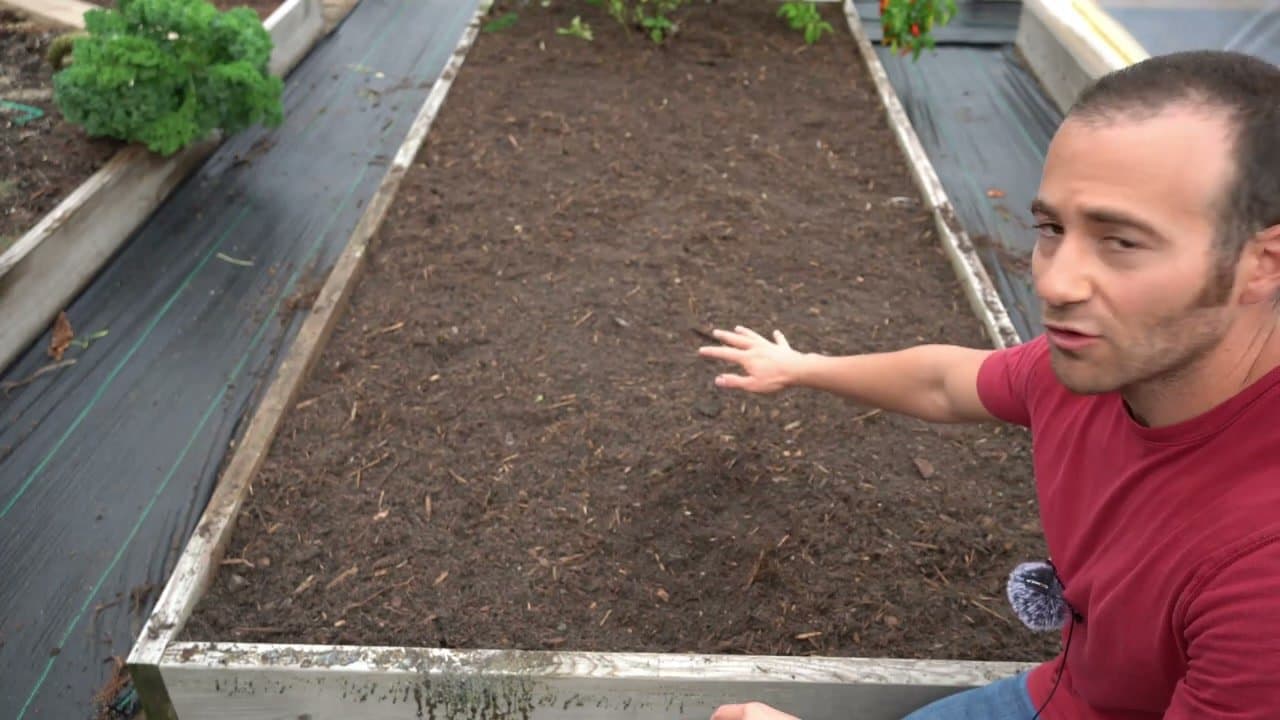
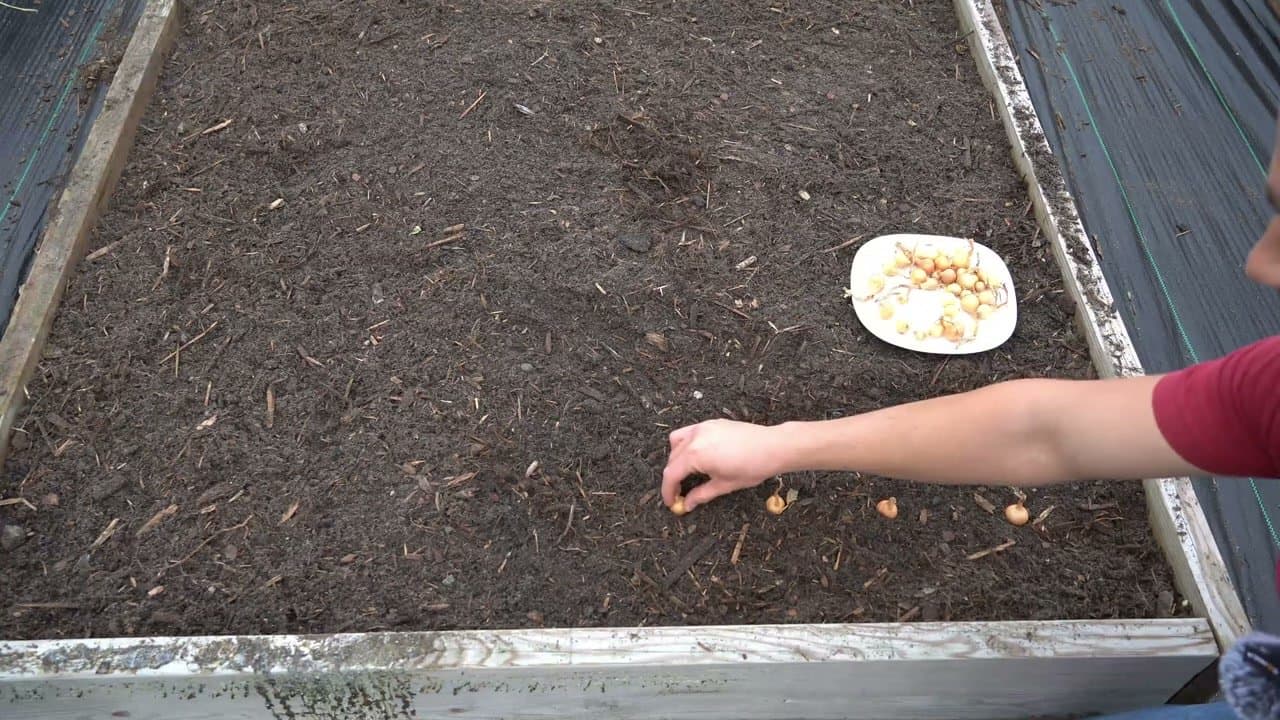
Hold an onion set in your hand and look at the bottom. The tiny hairs you see are the roots - those need to touch the soil. The pointed green tip goes up. Once the onion is in place, you'll only cover the bulb part with soil and let the top poke through the surface.

This sounds obvious but it's the #1 mistake people make with their first bag of sets. Upside-down onions still try to grow and waste a week of energy before giving up.

Tip

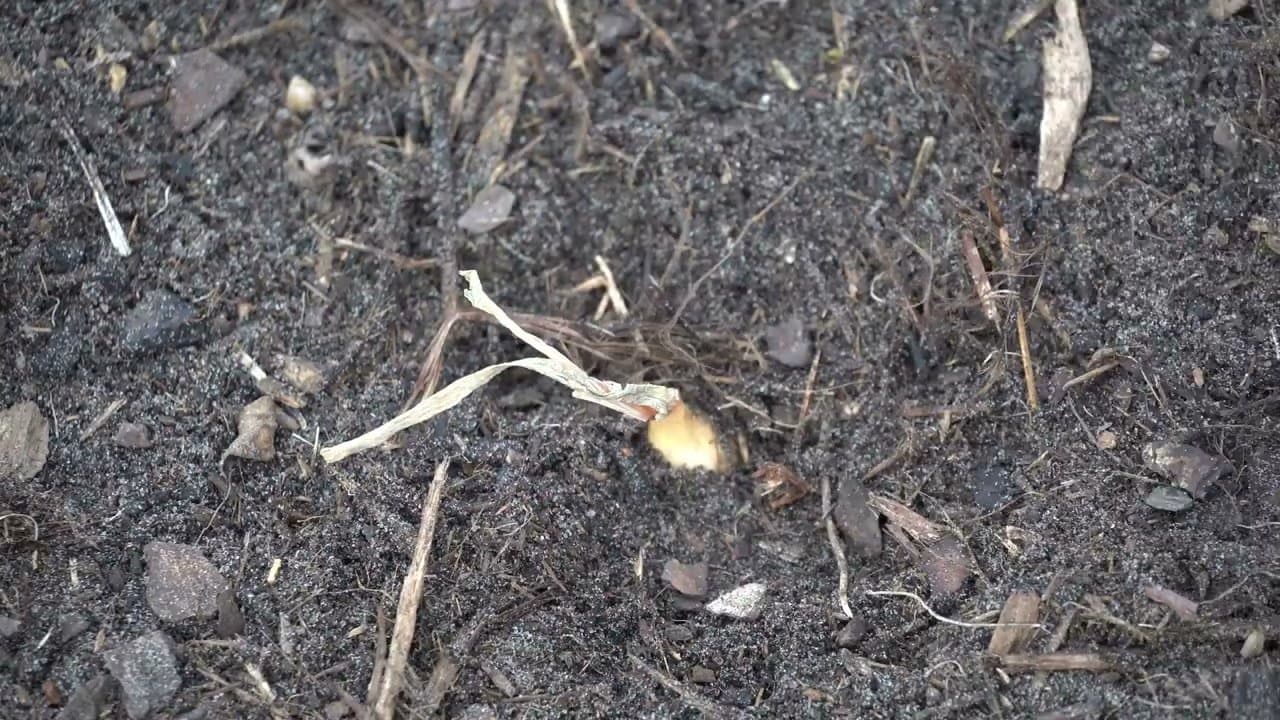
If the set is almost round with no clear top, look for the faintest point - that's the growing tip. When in doubt, plant sideways and the onion will sort itself out.

2

Loosen the Soil in Your Bed

4:08
Step 2: Loosen the Soil in Your Bed

Onions need loose, loamy soil to push roots through. Rake the top two to three inches of your bed until it breaks apart easily when you press your hand in. The lighter and fluffier the better.

If you're planting in heavy clay or compacted soil, mix in some compost or coarse sand before you go further. Onions won't swell properly if the soil fights them.

Products used in this step

3

Space the Sets 4 Inches Apart

4:58
Step 3: Space the Sets 4 Inches Apart

Lay your onion sets on top of the soil in the pattern you want, at least four inches apart in every direction. Keep them four to six inches from the edges of your bed too - an onion that runs into the side of a raised bed will stop growing instead of finishing the bulb.

It's better to err wider than tighter. Crowded onions produce small, unhappy bulbs.

Tip

A simple trick: hold your hand flat on the soil and use your knuckles as a 4-inch ruler. Works for spacing most garden crops.

4

Press Each Set Halfway Into the Soil

5:25
Step 4: Press Each Set Halfway Into the Soil

Work along the row and gently press each onion halfway down with your fingers. You're not burying it yet - the bulb should be half exposed at this stage. The backfill in the next steps does the rest.

Firm the soil around the roots as you go. Any air pocket under the onion will slow root contact.

5

Sprinkle Slow-Release Organic Fertilizer

6:35
Step 5: Sprinkle Slow-Release Organic Fertilizer

Onions are heavy feeders. Sprinkle a slow-release organic fertilizer over the row right after you set the bulbs in place. You want something close to 5-5-5 on the label - a 3-5-6 or 4-4-4 works just as well. The numbers are nitrogen, phosphorus, and potassium.

This goes straight on top of the bulbs. You'll cover it with compost in the next step, which slowly moves the fertilizer into the root zone as the onion grows. Plan to reapply every 30 days through the growing season.

6

Backfill with Cow Manure Compost

7:10
Step 6: Backfill with Cow Manure Compost

Cover the sides of each onion with cow manure compost until the bulb is buried but the pointed green tip is still exposed. Bagged compost from any big-box garden store works fine. You're aiming to bury the bulb completely without piling anything on the top.

The compost feeds the onion steadily and improves drainage around the roots at the same time.

Products used in this step

7

Cover the Bed with Natural Mulch

8:45
Step 7: Cover the Bed with Natural Mulch

Add about an inch of natural mulch over the whole bed. Shredded hardwood, pine bark nuggets, straw, hay, or shredded leaves all work. Pine straw is great if you have it. Avoid dyed mulch - the dye is usually on shredded pallet wood with chemical additives you don't want near food.

The mulch does two jobs: it holds moisture in so the soil stays evenly damp, and it insulates the bulbs if a hard freeze hits later in the season.

8

Water Deeply, Then Check Every Few Days

8:57
Step 8: Water Deeply, Then Check Every Few Days

Soak the bed thoroughly so the water reaches down past the bulbs. Then check every two to three days. If the soil surface is drying out, water again. The goal is lightly moist - not soggy, not crusty-dry.

Keep this up for the first two weeks. After that, root contact is established and you can ease off. You'll see green tops pushing through the mulch layer within a couple of weeks. Reapply the slow-release fertilizer every 30 days through the growing season and let the onions finish on their own.

Products Used

Your Guide

The Millennial Gardener

As an Amazon Associate we earn from qualifying purchases. Links on this page may be affiliate links - clicking them and buying doesn't change your price, but helps support ShowMeStepByStep.

Tags

Related Tutorials