How to Repot a Plant - 7 Steps for Healthy Roots

GardeningEasy17:357 steps

By ShowMeStepByStepPublished Updated

Based on a video by Plntd.

Most indoor plants need to be repotted every one to two years. The signs are pretty clear: water sits on top of the soil instead of soaking in, the older leaves start yellowing, or you can feel the root ball pressed up against the side of the pot.

Plntd walks through the whole process with a peace lily that's been growing happily for two years and just hit the size where it's outgrown its current pot. The fix is straightforward - a slightly bigger pot, fresh soil, and ten minutes of careful work.

The biggest mistakes are picking a pot that's way too big (extra wet soil rots roots) and skipping the air-pocket fix at the end. Both of those have ruined more plant repottings than anything else. The chopstick step is the secret nobody talks about and the one that makes the difference.

Step-by-Step Guide

1

Pick a Pot Just Slightly Bigger

9:18
Step 1: Pick a Pot Just Slightly Bigger

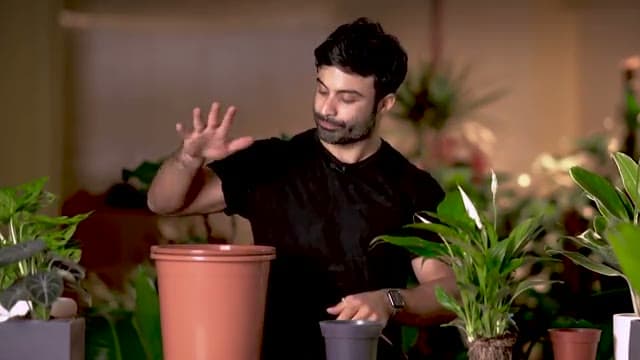
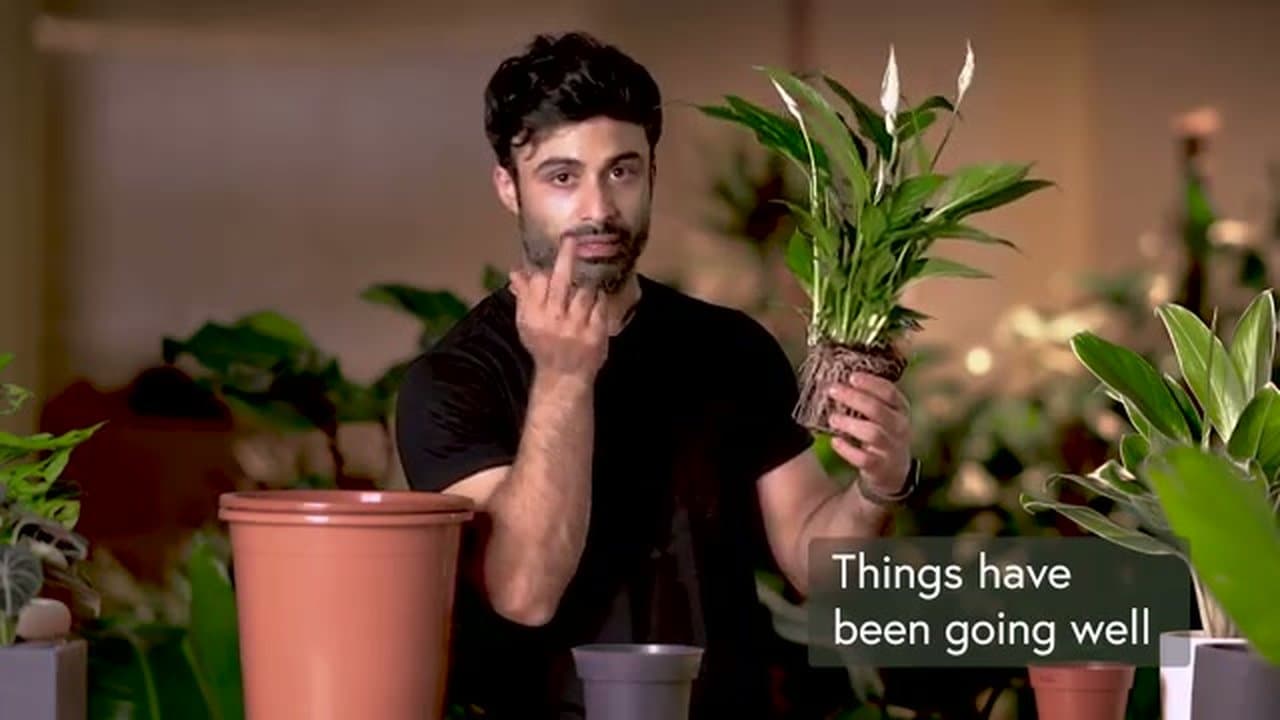
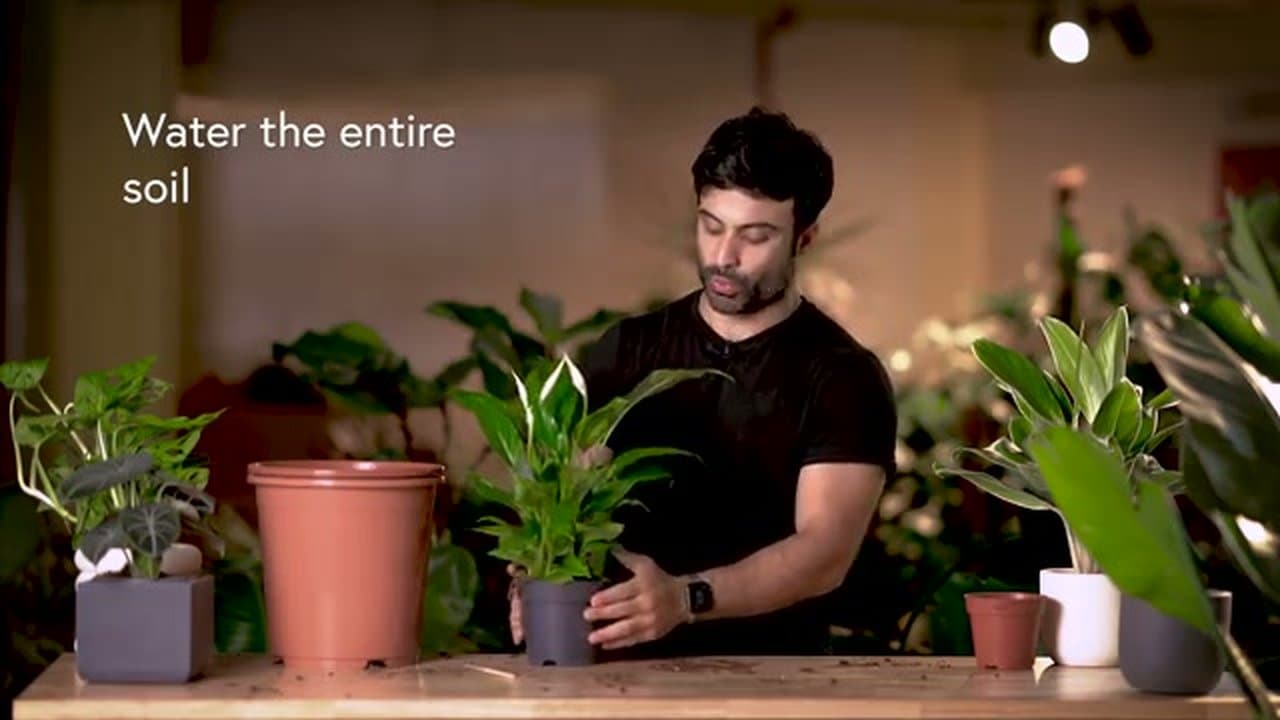
The new pot should be about one inch wider in diameter than the current one. That's a tighter gap than most people pick - the instinct is to size up a lot to give the roots room, but a too-big pot holds extra wet soil that the roots can't reach. That extra water sits there and rots the roots.

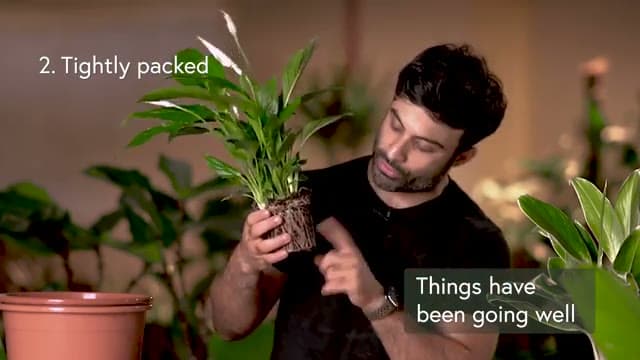
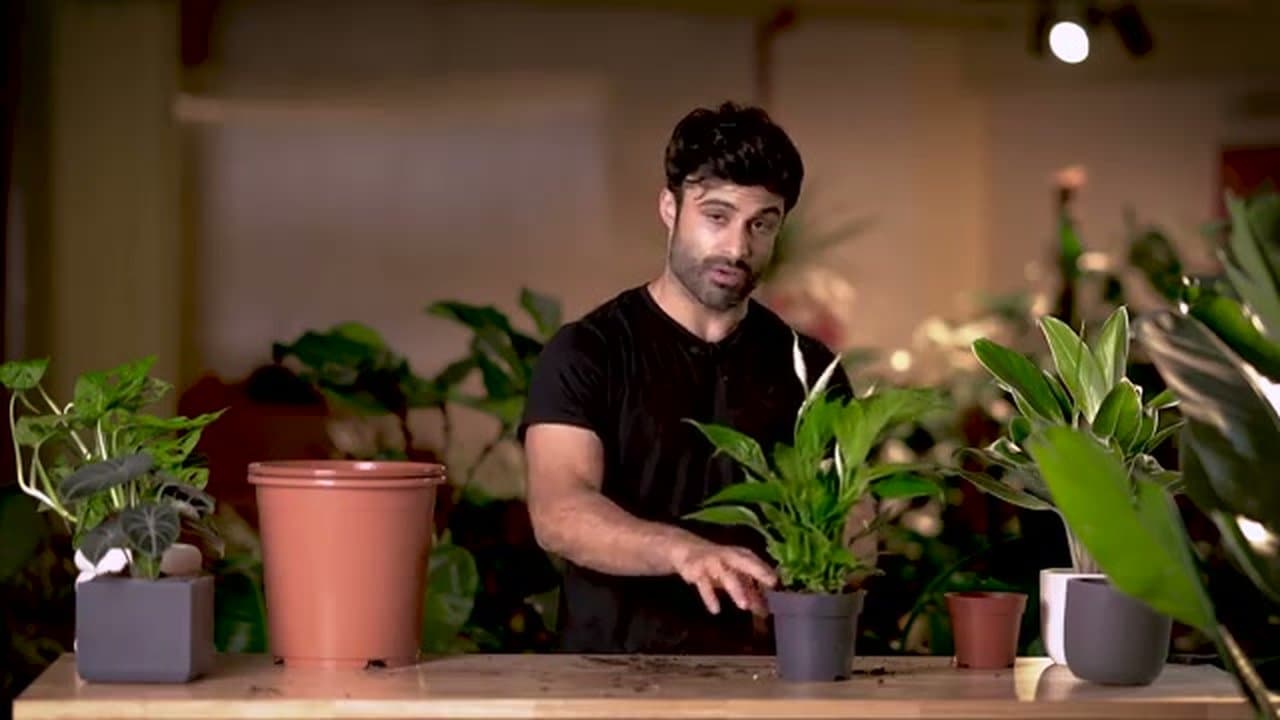
Test the fit by placing the current pot inside the new one. You want about a finger's width of space between them all the way around.

Tip

Glazed ceramic, terra cotta, and plastic all work fine - just make sure the new pot has a drainage hole at the bottom. Anything without drainage drowns the roots.

2

Slide the Plant Out and Inspect Roots

10:00
Step 2: Slide the Plant Out and Inspect Roots

Tip the current pot sideways and squeeze the sides to loosen the root ball. Cradle the base of the plant and slide it out gently. If it's stuck, press the rim of the pot all around to break the seal.

Healthy roots are white and firm. They feel springy when you touch them. If you see any black, mushy roots, those are rotted - get clean scissors and snip them off before they spread to the new soil.

Tip

If the root ball is wound tight in a spiral around the bottom, that's a sure sign the plant has been ready to repot for a while. The spiral pattern is the roots running out of room.

3

Loosen the Root Ball

10:25
Step 3: Loosen the Root Ball

Use your fingers to gently tease the outer roots away from the ball. If the roots have been spiraling around the bottom, break that pattern by pulling them straight outward.

This step matters more than it looks. If you skip it, the roots will keep growing in their old shape inside the new pot instead of branching out into the fresh soil. A few minutes of loosening unlocks the next two years of growth.

Tip

Don't try to remove all the old soil. A small amount on the root ball is fine. You're loosening, not bare-rooting.

4

Add Base Soil and Position the Plant

11:55
Step 4: Add Base Soil and Position the Plant

Pour fresh potting mix into the bottom of the new pot. Set the plant on top and check the height - the top of the root ball should sit about an inch below the rim. That gap is your watering reservoir.

If the plant sits too high, scoop some soil out. Too low, add more underneath. Shift the plant around until it's centered and the leaves are facing the way you want them.

Tip

Use a potting mix that matches your plant - succulents and cacti want a fast-draining mix, tropicals want something richer. The cheap all-purpose bags from the garden center are usually too dense for indoor plants.

5

Fill in the Sides and Tap to Settle

12:50
Step 5: Fill in the Sides and Tap to Settle

Hold the plant upright with one hand and pour fresh soil around the sides of the root ball with the other. Work your way around the pot evenly so one side doesn't end up taller than the other.

Once the soil is level with the top of the root ball, tap the pot on the table or give it a gentle shake. The vibration helps the soil settle into the gaps between the roots.

Tip

Don't pack the soil down hard with your hands. Compacted soil starves the roots of air and water. A gentle tap is all you need.

6

Use a Chopstick to Push Out Air Pockets

13:35
Step 6: Use a Chopstick to Push Out Air Pockets

Take a chopstick (or any thin stick) and gently poke down the sides of the pot, working your way around. You'll feel the soil shift as you go.

This is the step nobody talks about and the one that saves plants. Hidden air pockets mean roots in those spots dry out and die. The chopstick pushes the soil into every gap so every root has soil contact.

Tip

Add more soil after poking - the level usually drops once the air pockets close. Top off until the soil sits about an inch below the rim again.

7

Water Thoroughly and Place

14:15
Step 7: Water Thoroughly and Place

Pour water across the entire surface of the soil until you see it running out the drainage hole. That tells you the water has soaked the full root ball, not just the top.

Let the pot drain fully before moving the plant back to its usual spot. The first watering settles the soil one more time and waters the plant in. Don't water again until the top inch of soil is dry to the touch.

Tip

Skip fertilizer for the first month after repotting. The plant is recovering from root disturbance, and fresh potting mix already has plenty of nutrients to get it through the adjustment.

Products used in this step

Products Used

☐ The Checklist

How to Repot a Plant - 7 Steps for Healthy Roots

Tools
4
Materials
2
Steps
7
Video
18 min

Your Guide

Plntd

As an Amazon Associate we earn from qualifying purchases. Links on this page may be affiliate links - clicking them and buying doesn't change your price, but helps support ShowMeStepByStep.

Tags

Related Tutorials