1
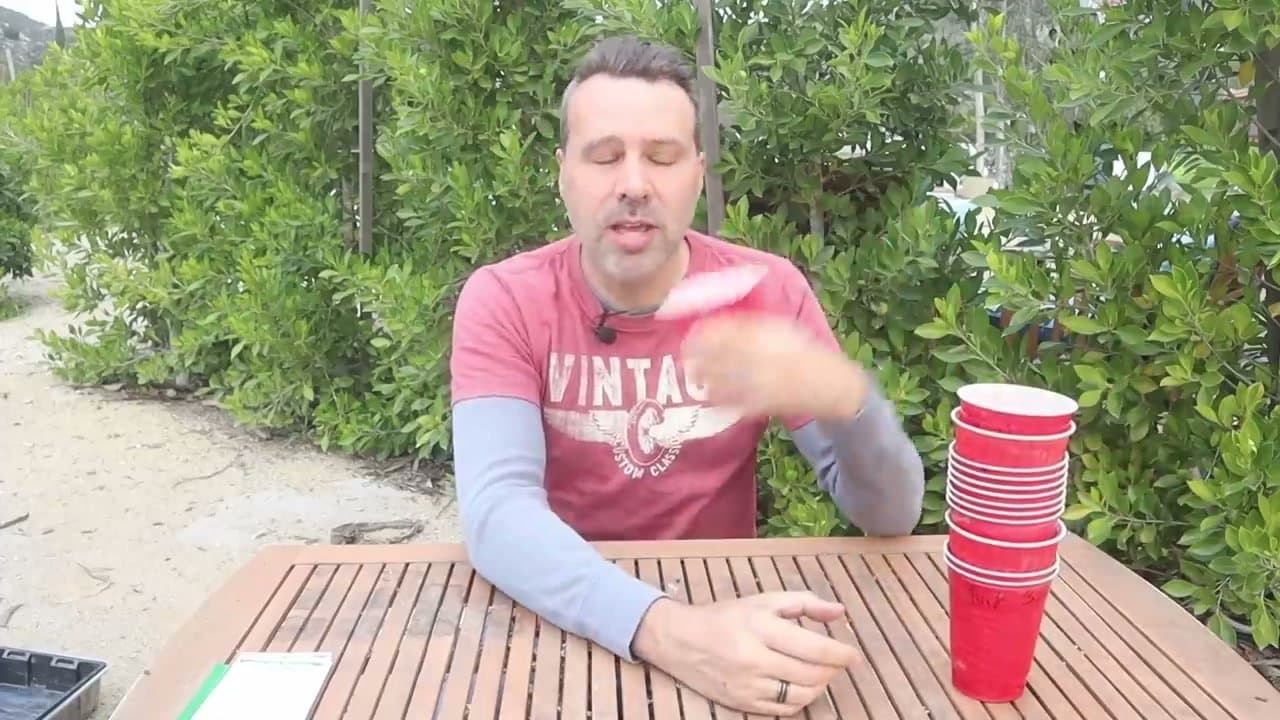
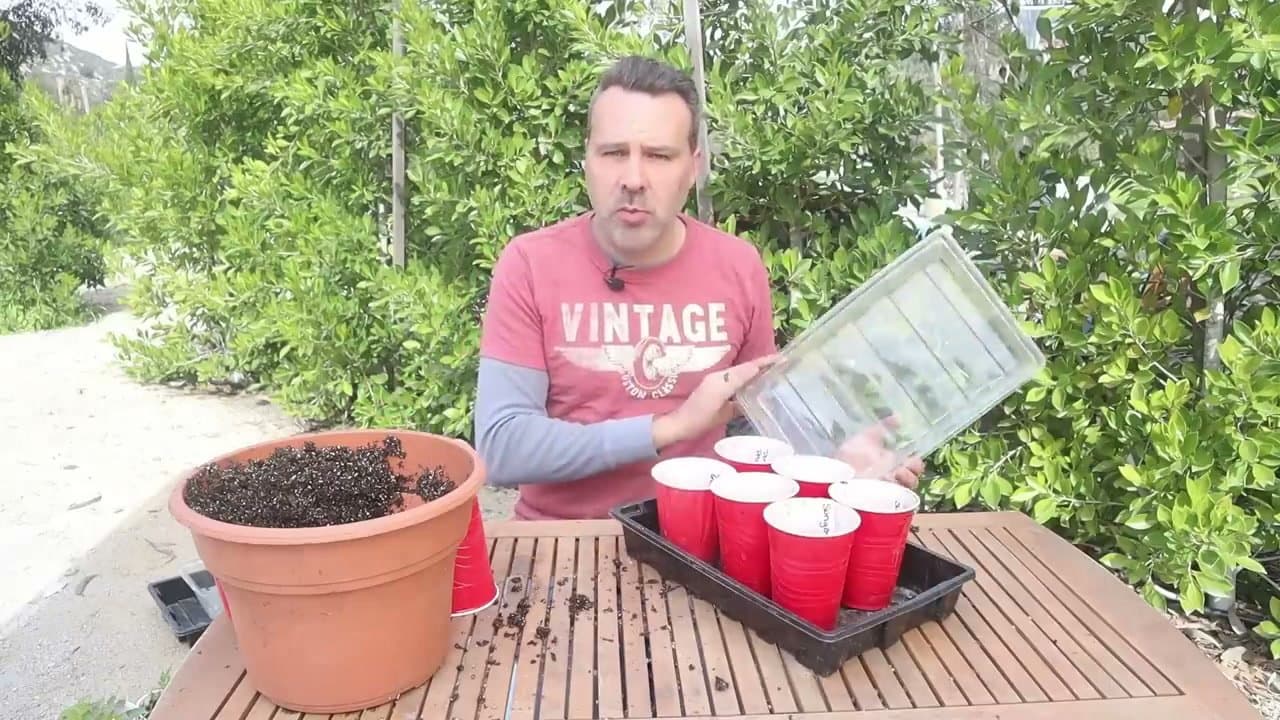
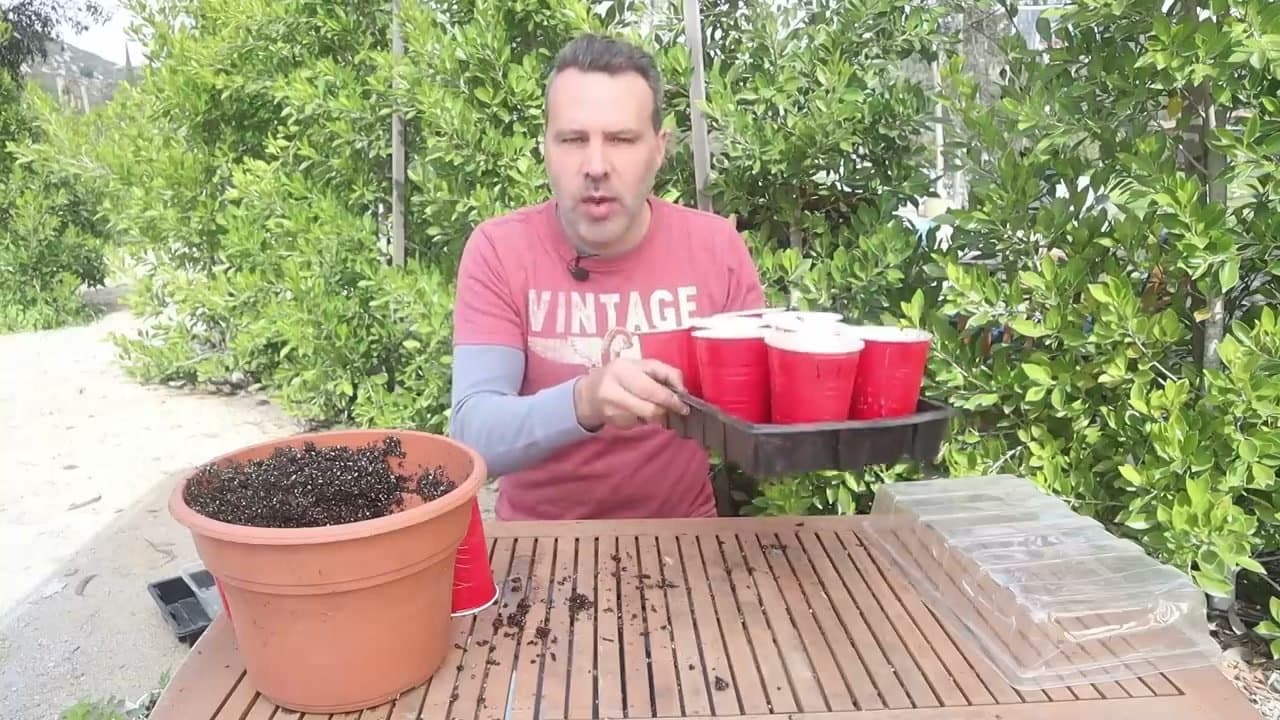
Step 1: Pick Tall Containers (Solo Cups Work Great)
3:15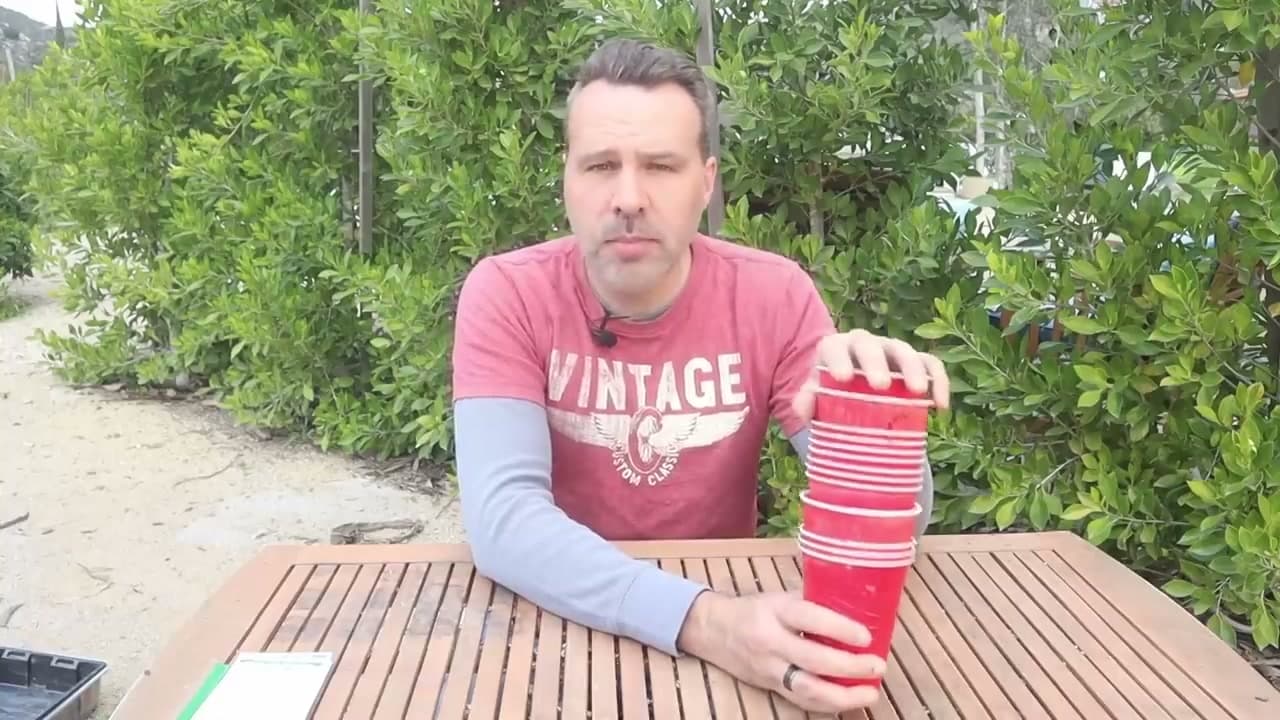
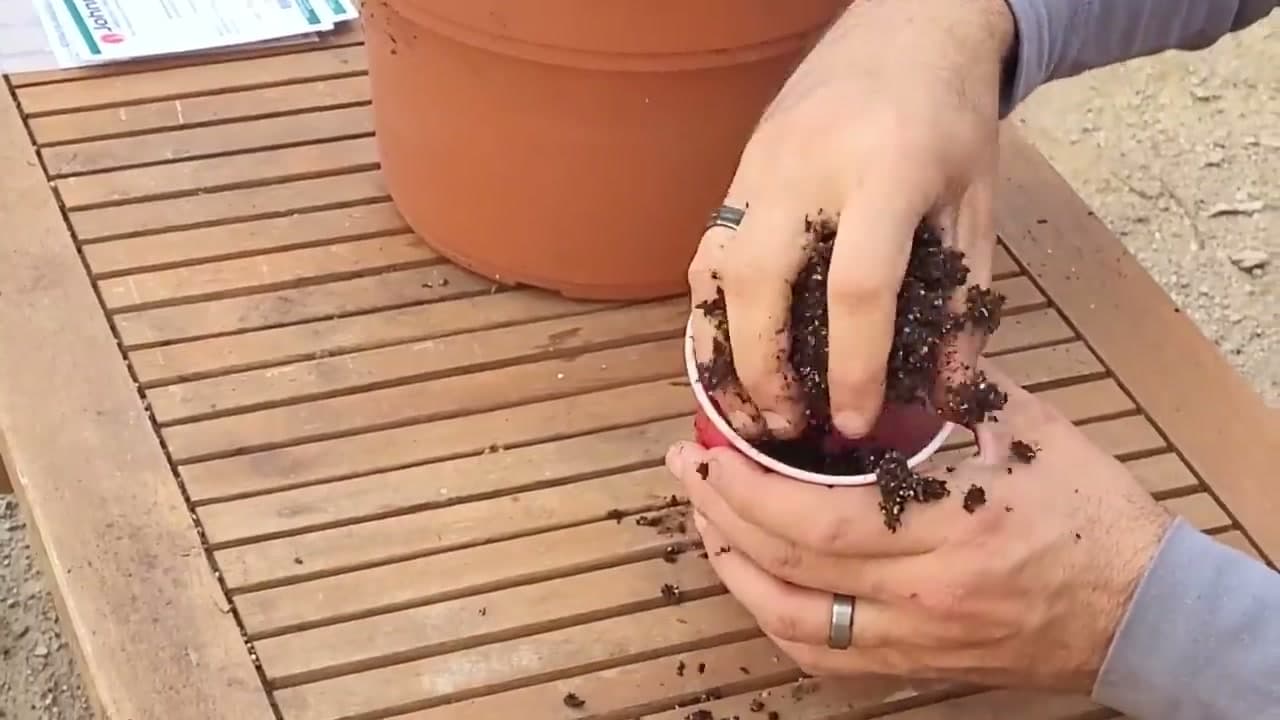
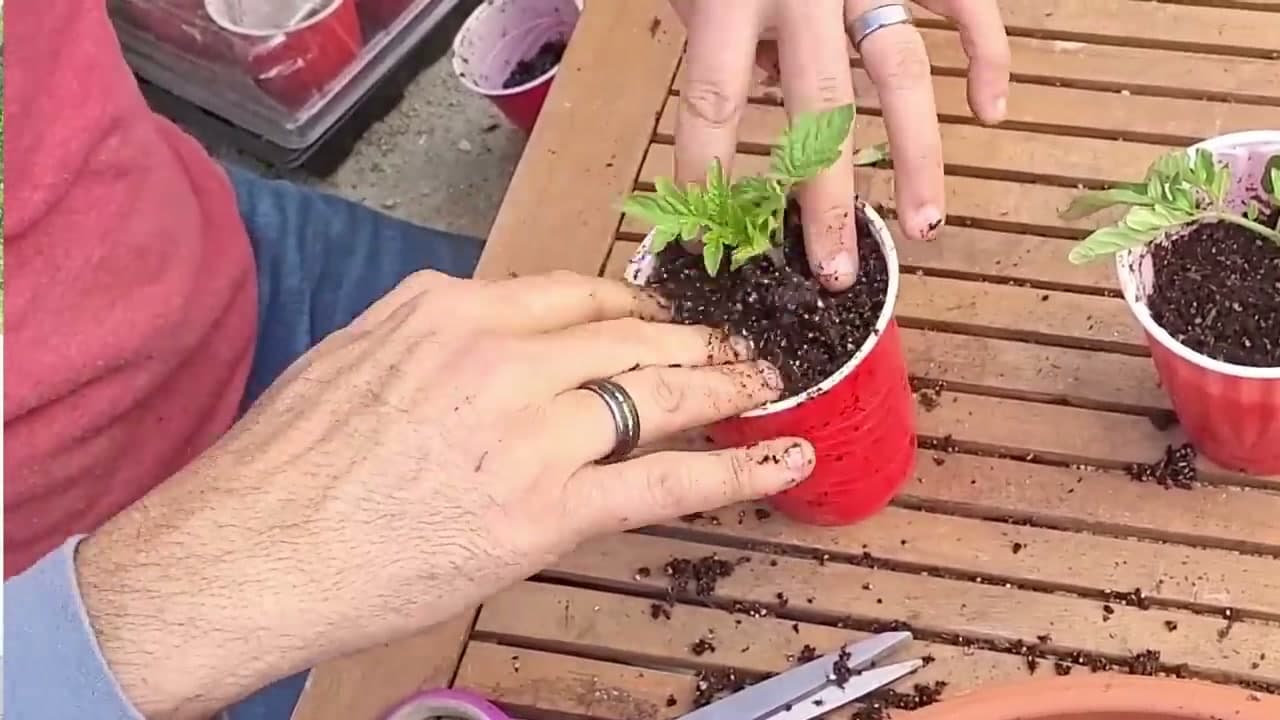
Tomato and eggplant seedlings grow extra roots along any part of the stem that's buried in soil. The taller the container, the more stem you can bury, and the more roots you get before transplant.
16-ounce red Solo cups are nearly perfect - tall enough for plenty of stem burial, cheap, and you can wash and reuse them for years. The 24-ounce cups work too if you're starting unusually early. Skip the short flat cells most seed-starting kits include.