1
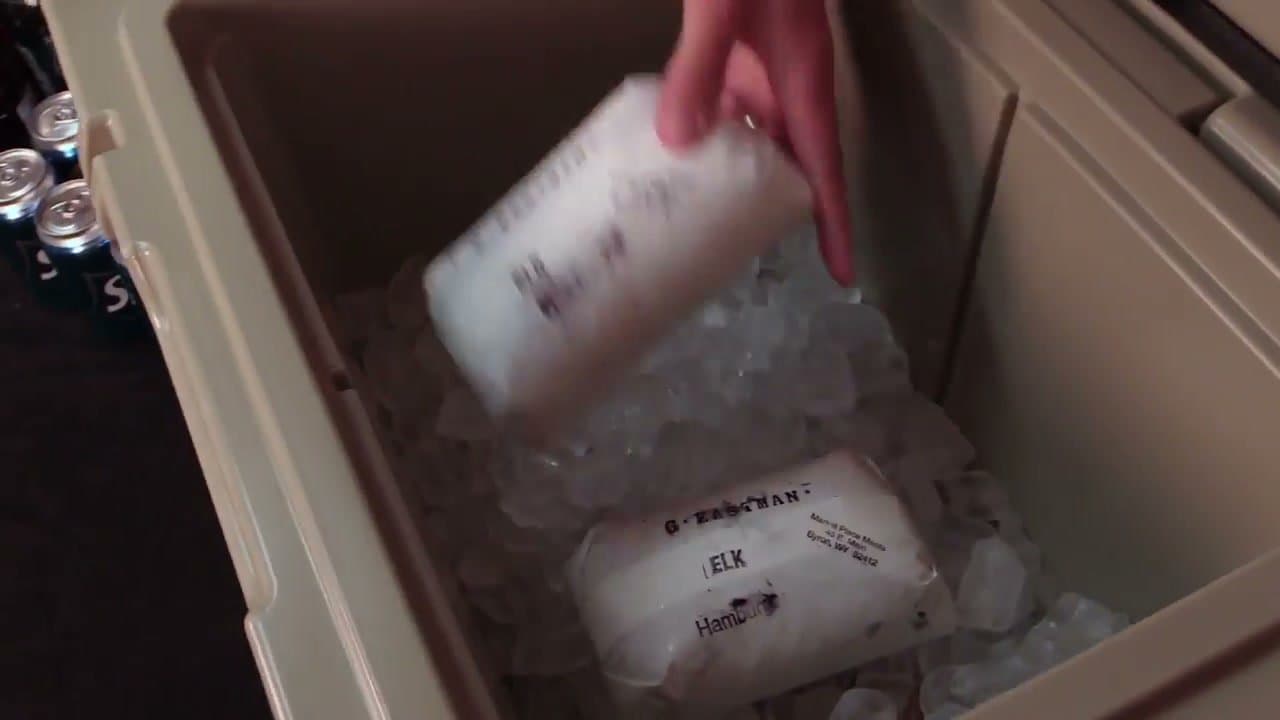
Step 1: Get 1-2 pounds of dry ice in its paper sack
0:55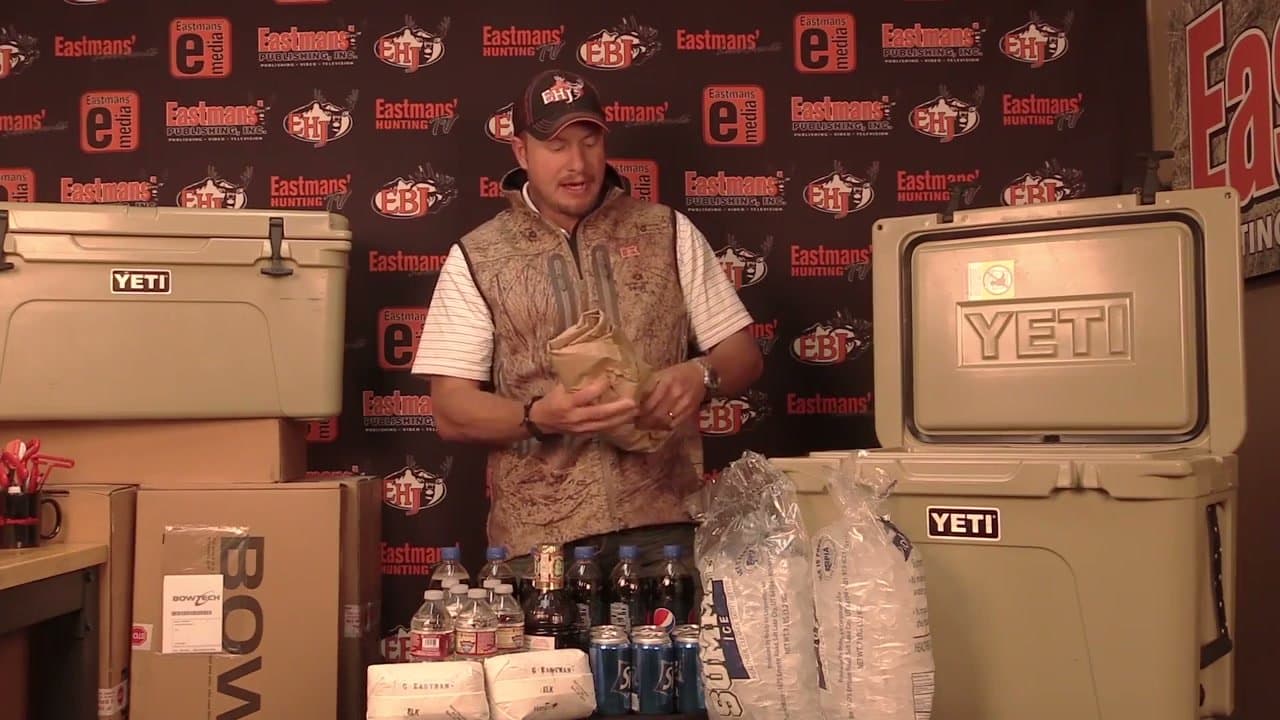
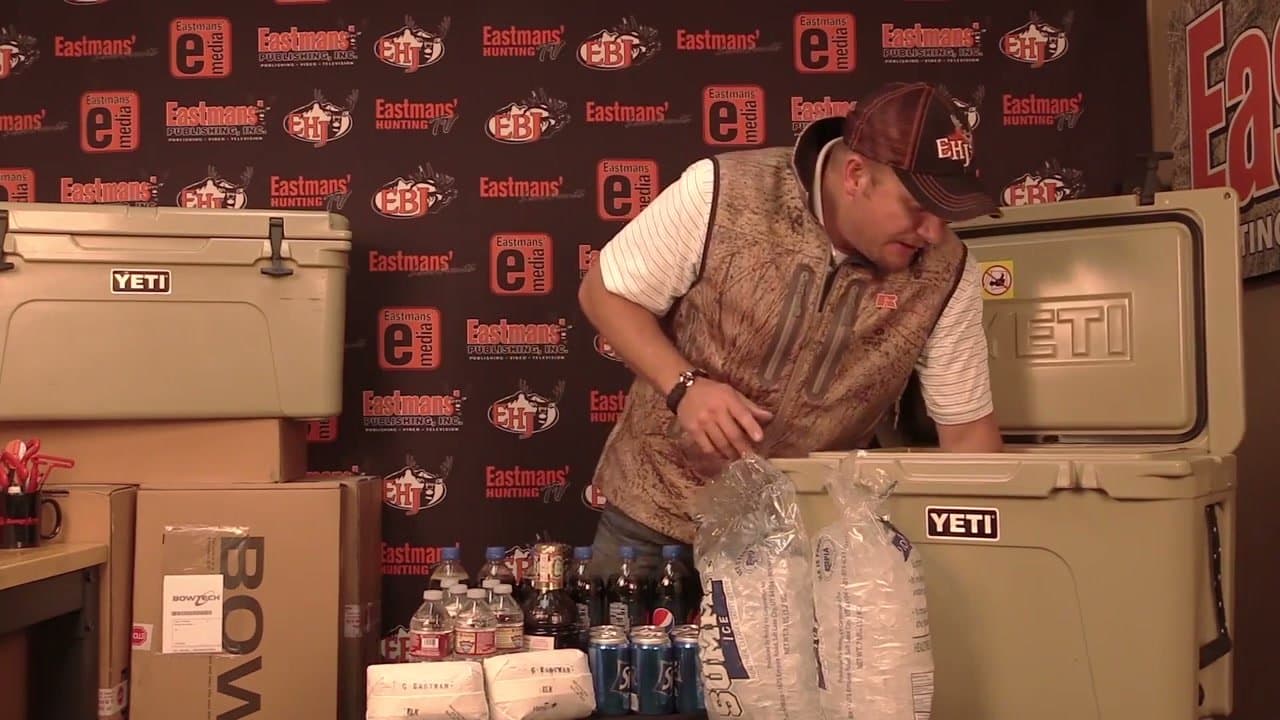
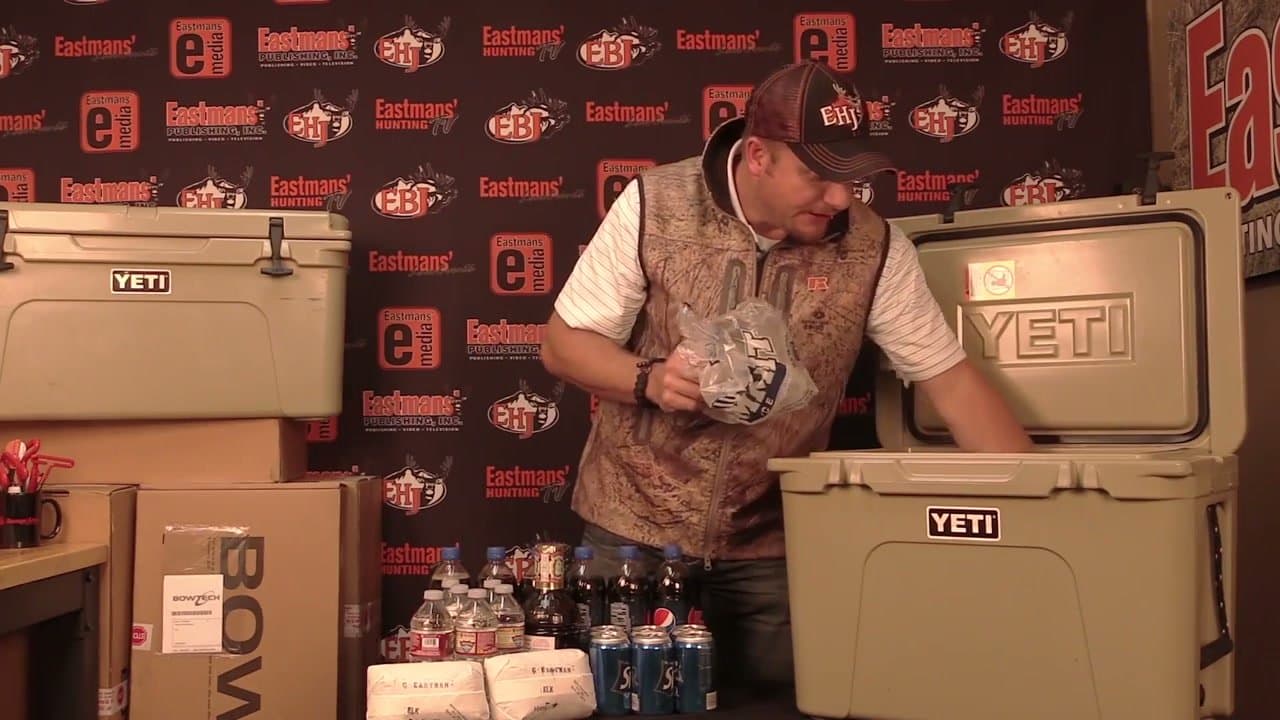
Pick up dry ice from a grocery store, ice supplier, or some gas stations. About 1.5 pounds is enough for a typical 45-65 quart cooler going on a weekend trip.
Keep it in the paper sack the store puts it in. Don't touch it bare-handed - dry ice is around -109°F and will frostbite your skin instantly. The paper insulates enough that you can carry it normally.
Tip
Buy dry ice last on your shopping run. It sublimates (turns from solid to gas) at room temperature, so the longer it sits in your car, the less you have to work with.