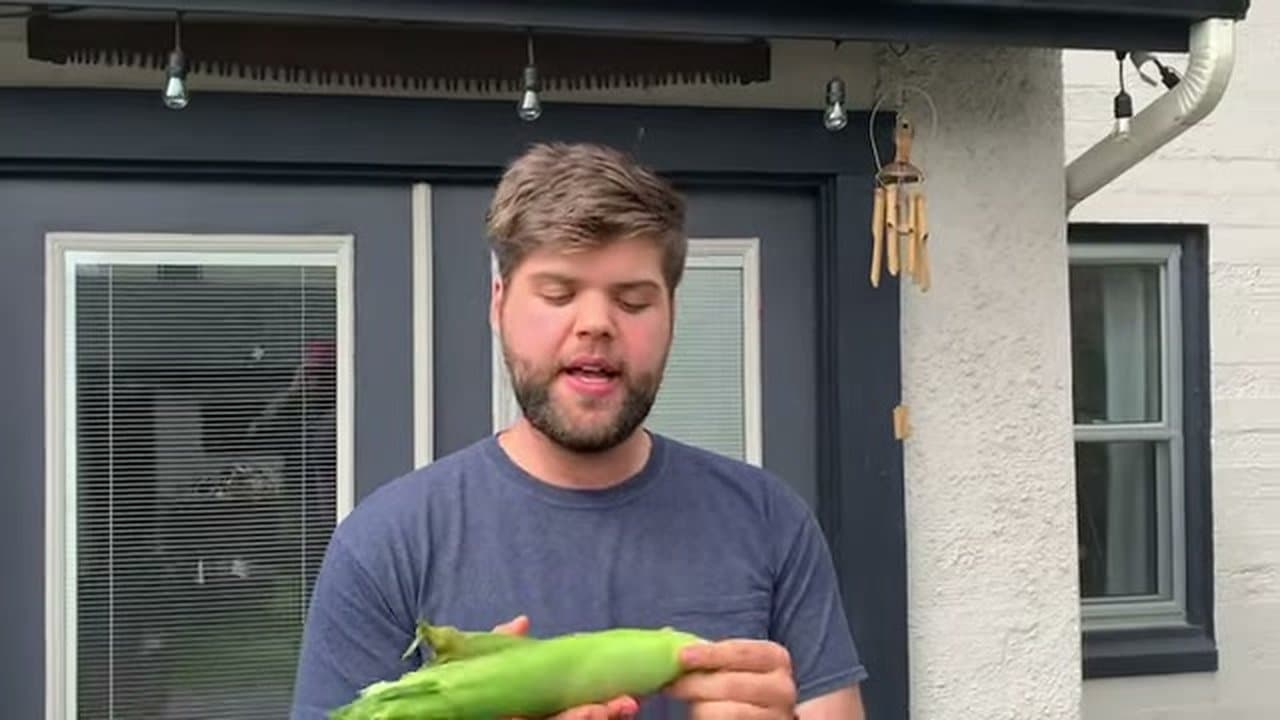
How to Grill Corn on the Cob - 3 Easy Methods

CookingEasy4:366 steps

By ShowMeStepByStepPublished Updated

Based on a video by Allrecipes.

Grilled corn is one of the easiest things you can put on a grate. The ears are sweet enough on their own that all you really have to do is decide how much char you want.

Matthew Francis from Allrecipes covers three methods in one quick walk-through. The husk-on method gives you steamed-tender kernels with a touch of smoke. The foil method wraps each ear with olive oil and seasoning so the corn cooks in its own flavor. The naked method puts kernels right against the grates - this is the smokiest, most caramelized version, and the one most people think of as classic grilled corn.

You can run all three at once on the same grill the way Matthew does. That's the easiest way to taste-test which one you like best, and it gives you a mix of textures for one cookout. Total cook time is about 15 minutes once the lid closes.

Step-by-Step Guide

1

Pick Fresh Corn

0:27
Step 1: Pick Fresh Corn

Corn loses sweetness fast once it's picked. The freshest ears taste sweetest on the grill, so buy from a farmer's market or use it the same day if you can.

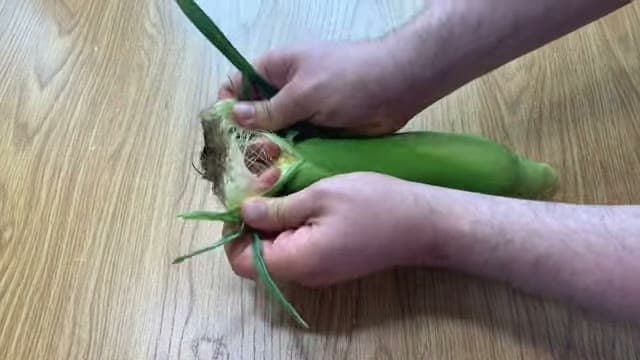
You're aiming for ears with bright green husks and silks that look pale yellow at the tip. Brown, dry silks mean the corn has been sitting around. Pull a husk back at the top and check that the kernels run all the way down without gaps.

Tip

Skip refrigerated grocery-store corn if you can. The cold storage drops the sugar fast - within a couple of days you've lost most of the natural sweetness.

2

Method 1 - Grill in the Husk

1:00
Step 2: Method 1 - Grill in the Husk

The husk-on method gives you the most tender, steamed-style corn with a hint of smoke. Just leave the husk and silks intact - they protect the kernels from direct flame.

For extra flavor, soak the unhusked ears in salted water for 10-15 minutes before they go on the grill. The water keeps the husks from burning and the salt brines the kernels through the husk.

Tip

About a tablespoon of salt per quart of water is plenty for the brine. You don't need to season anything else - the husk seals in flavor on its own.

3

Husk the Other Ears

1:18
Step 3: Husk the Other Ears

For the next two methods, you'll need bare cobs. Pull the silks at the very top of the ear and peel the husk back like you're opening a banana.

Once the husk is folded back, snap or pull it off at the base. Wiggle the leftover silk strands away with your fingers. A few stragglers are fine - they burn off on the grill.

Tip

Save the husks if you're cooking other proteins - they're great for wrapping fish or shrimp on the grill for a smoky veggie-husk effect.

4

Method 2 - Wrap in Foil with Seasoning

1:50
Step 4: Method 2 - Wrap in Foil with Seasoning

Tear off a piece of aluminum foil big enough to fully wrap an ear of corn. Lay the husked cob in the middle and drizzle a little olive oil over it. Sprinkle kosher salt and black pepper across the top.

Roll the foil up like a burrito - tuck both ends in tight so steam doesn't escape. The foil traps the moisture and the corn cooks through evenly with the oil and seasoning baked right into the kernels.

Tip

This is the method to use if you want to add other flavors. A pat of butter, a squeeze of lime, or some chili-lime seasoning before you roll it up all work. Whatever's inside the foil ends up on the corn.

5

Method 3 - Naked on the Grates

3:05
Step 5: Method 3 - Naked on the Grates

Place the bare ears straight on the grill grates. The kernels char and blister against the heat, caramelizing the natural sugars in the corn. This is the smokiest of the three methods and the one that gives you the dark, restaurant-style grilled corn look.

You can run all three methods on the same grill at the same time - husk-on ears, foil packets, and naked cobs side by side. They all need about the same cook time.

Tip

The naked method needs the most attention. The kernels go from charred to burnt fast, so turn the ear every few minutes once it hits the grill.

Products used in this step

6

Cook 15 Minutes and Serve

3:55
Step 6: Cook 15 Minutes and Serve

Close the lid and let the grill do its work. Total cook time is about 15 minutes - turn each ear two or three times so all sides get color. The husk-on ears will look blackened on the outside even when the kernels inside are perfect.

Pull everything off, peel back the husks or unwrap the foil, and serve with butter, salt, and pepper. Roll a stick of cold butter right across the hot kernels to coat them, or melt a tablespoon and brush it on.

Tip

Leftover grilled corn is gold. Cut the kernels off the cob and toss them into a corn salad, cornbread batter, or tacos. The smoky flavor carries.

Products used in this step

Products Used

❖ The Recipe

How to Grill Corn on the Cob - 3 Easy Methods

American
Serves
Serves 4-6
Prep
5 min
Cook
15 min
Total
20 min

Ingredients

5 items
  • 6 earsfresh corn on the cob
  • 2 tbspolive oilfor the foil-wrapped ears
  • 1 tspkosher salt
  • 1/2 tspblack pepper
  • 2 tbspbuttersoftened, for serving

Nutrition

estimated · per servingEstimated from the ingredient list, not measured. Actual values vary by brand, preparation, and serving size. Not a substitute for measured nutrition data.
Calories
120kcal
Protein
5g
Fat
1g
Carbs
25g
Fiber
3g
Sugar
5g

Method

  1. 1
    Pick Fresh Corn. Corn loses sweetness fast once it's picked.
  2. 2
    Method 1 - Grill in the Husk. The husk-on method gives you the most tender, steamed-style corn with a hint of smoke.
  3. 3
    Husk the Other Ears. For the next two methods, you'll need bare cobs.
  4. 4
    Method 2 - Wrap in Foil with Seasoning. Tear off a piece of aluminum foil big enough to fully wrap an ear of corn.
  5. 5
    Method 3 - Naked on the Grates. Place the bare ears straight on the grill grates.
  6. 6
    Cook 15 Minutes and Serve. Close the lid and let the grill do its work.
☐ The Checklist

How to Grill Corn on the Cob - 3 Easy Methods

Tools
3
Materials
5
Steps
6
Video
5 min

Your Guide

Allrecipes

As an Amazon Associate we earn from qualifying purchases. Links on this page may be affiliate links - clicking them and buying doesn't change your price, but helps support ShowMeStepByStep.

Tags

Related Tutorials