1
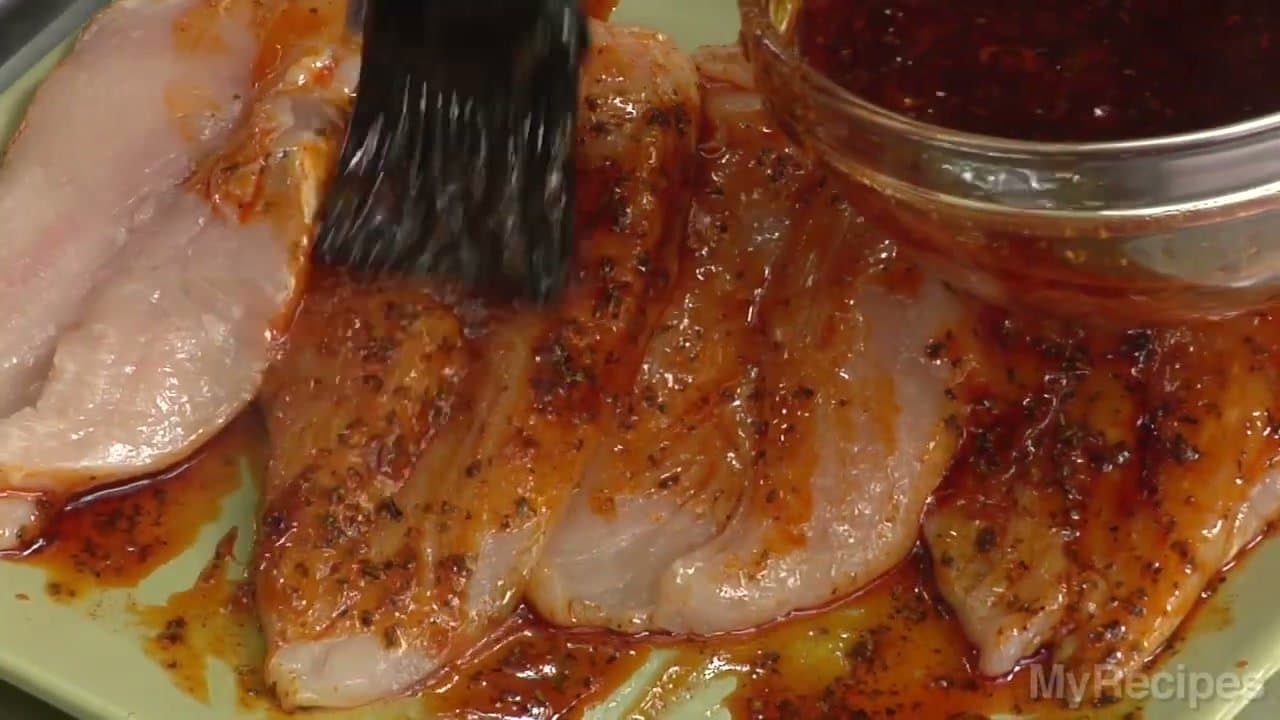
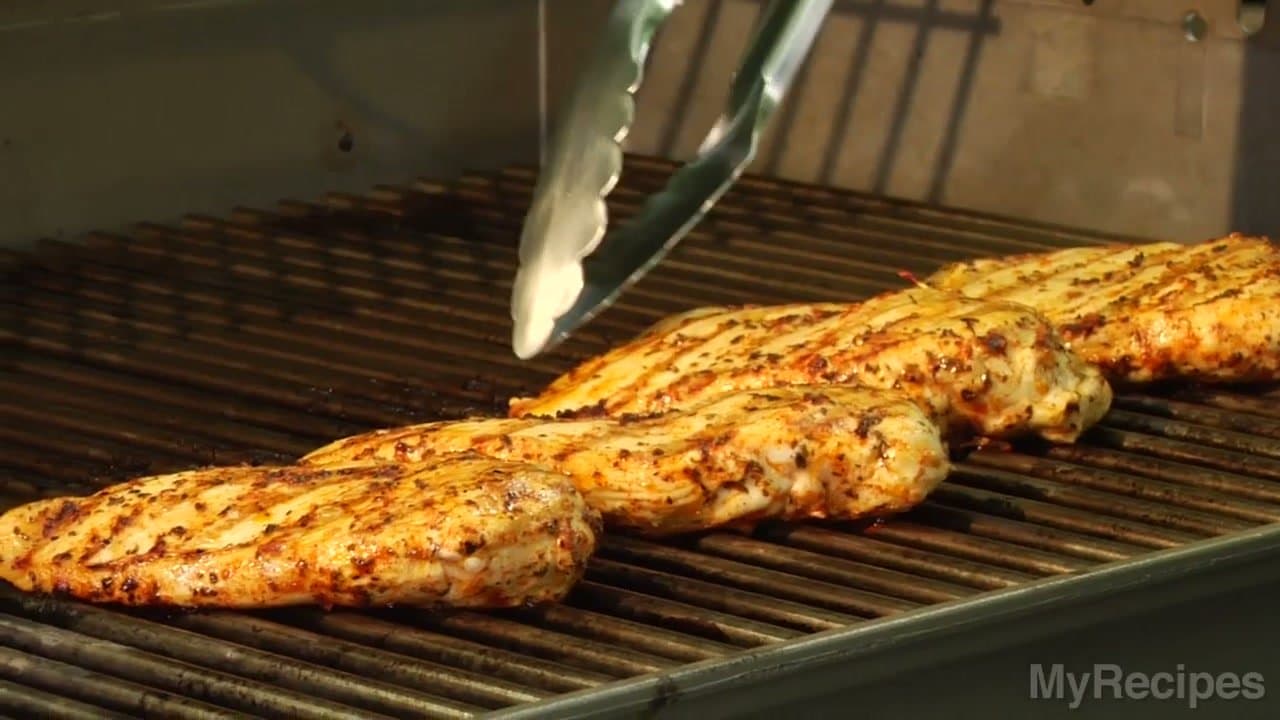
Even Out the Thickness
0:43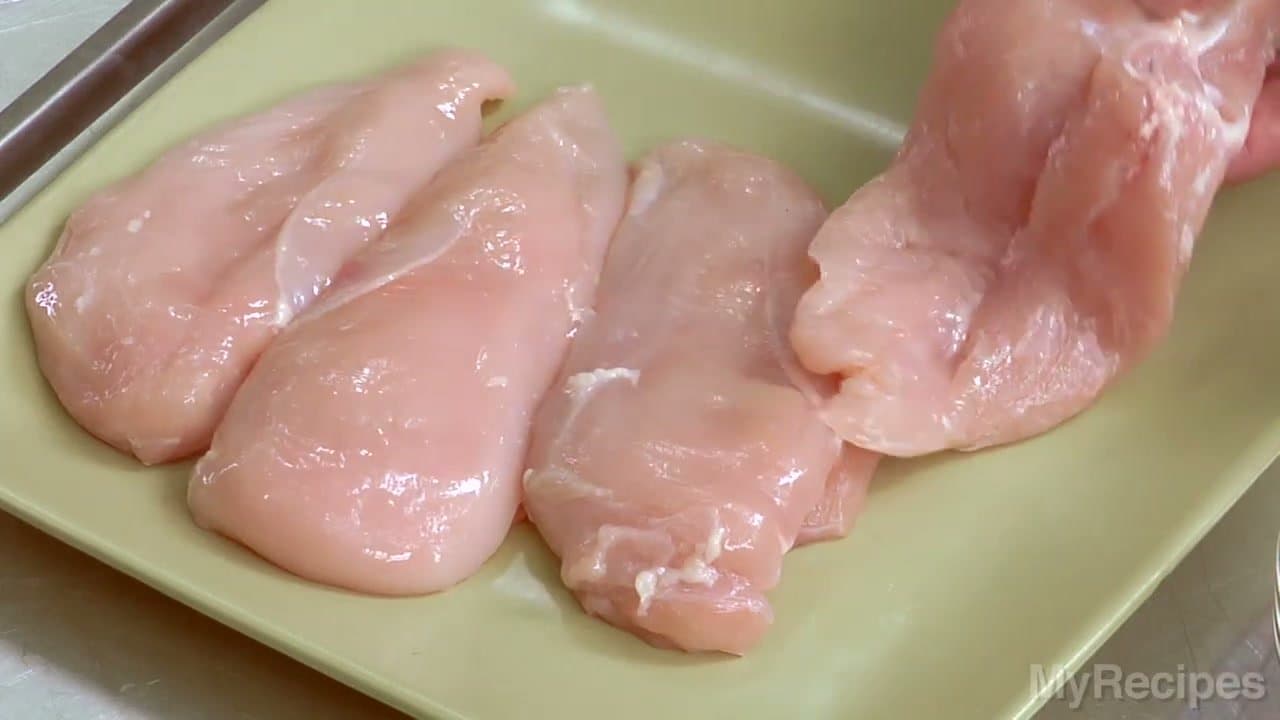
Lay the chicken breasts on a tray and look at the shape. Most are tapered - one end is much thicker than the other. If yours are uneven, place the breast under plastic wrap and pound the thick end with a meat mallet or the bottom of a heavy pan until both ends match. This is the single biggest fix for dry-on-one-end chicken.