How to Plant Tomatoes: 8-Step Beginner Guide

GardeningEasy15:078 steps

Based on a video by LucasGrowsBest.

Tomatoes are the most popular crop home gardeners grow, and the difference between a so-so crop and a heavy harvest comes down to a handful of decisions made early. This guide from Lucas Grows Best walks through the planting process from seed to settled-in plant, with the small techniques that pros use to get a strong start.

Time it right (start seeds 6 weeks before your last frost), plant the seedlings deep, and add support immediately. Get those three things and the plants almost grow themselves.

Step-by-Step Guide

1

Step 1: Start Tomato Seeds Indoors

1:15
Step 1: Step 1: Start Tomato Seeds Indoors

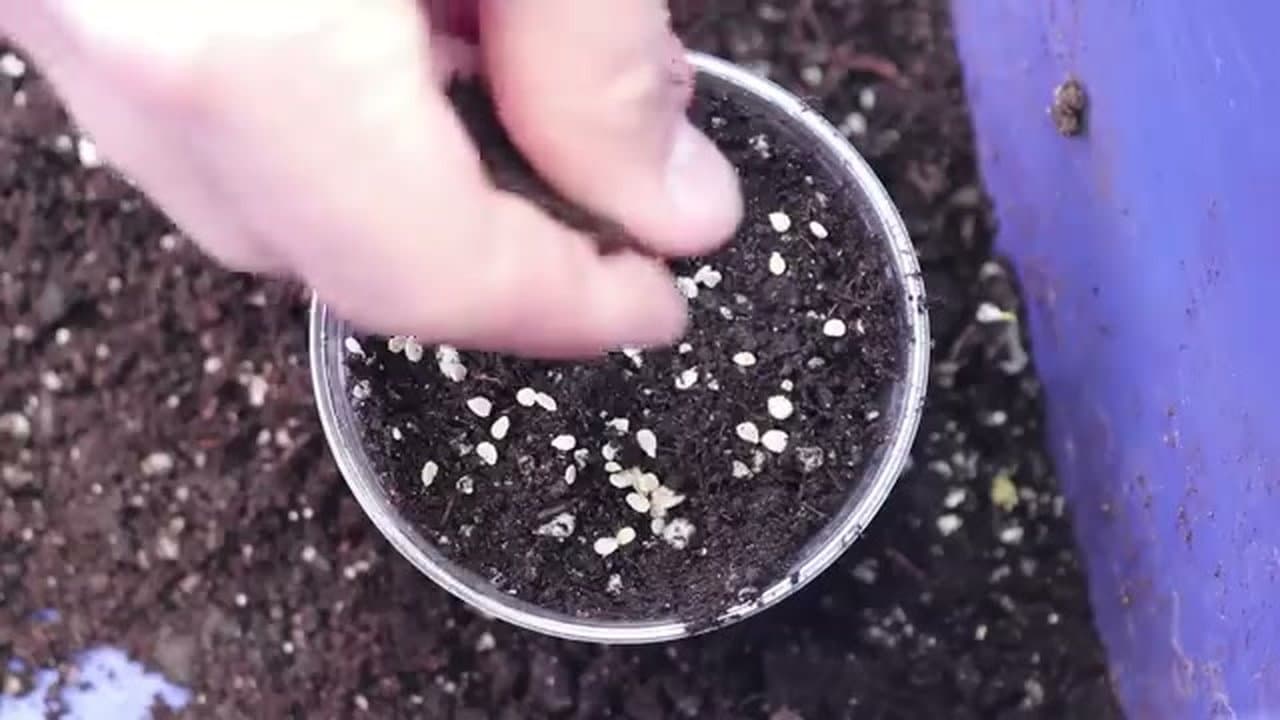
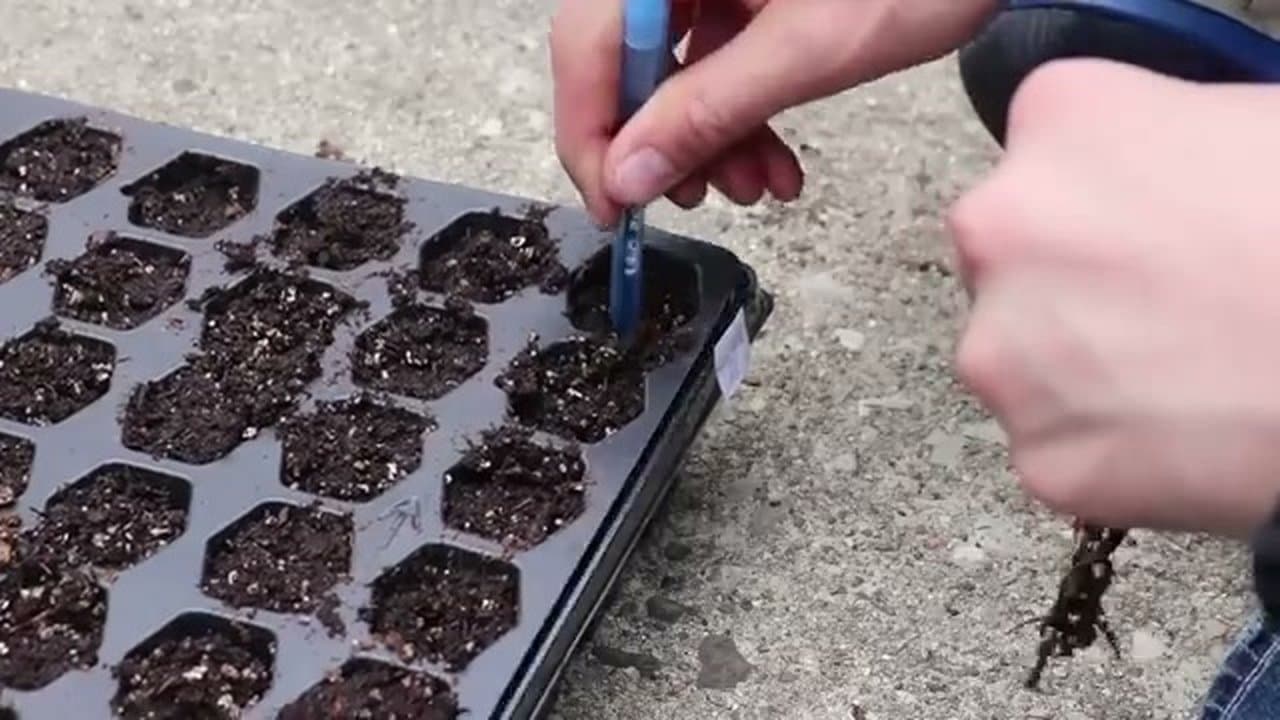
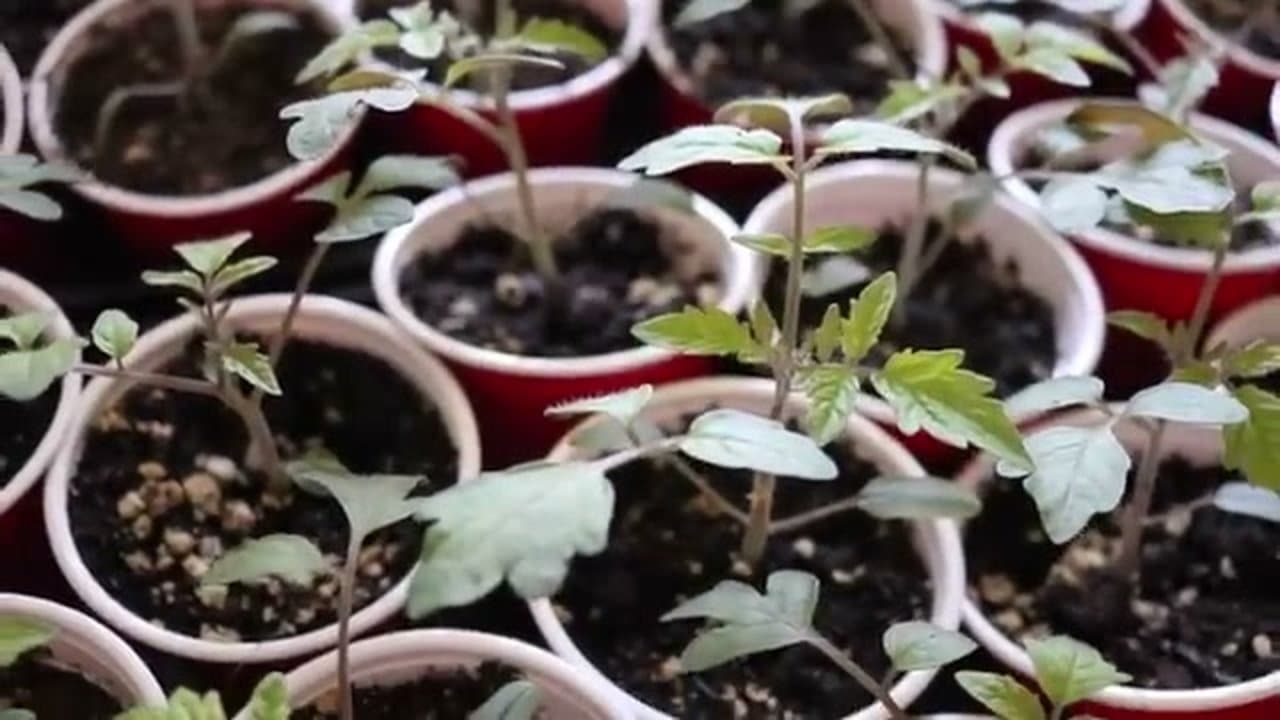
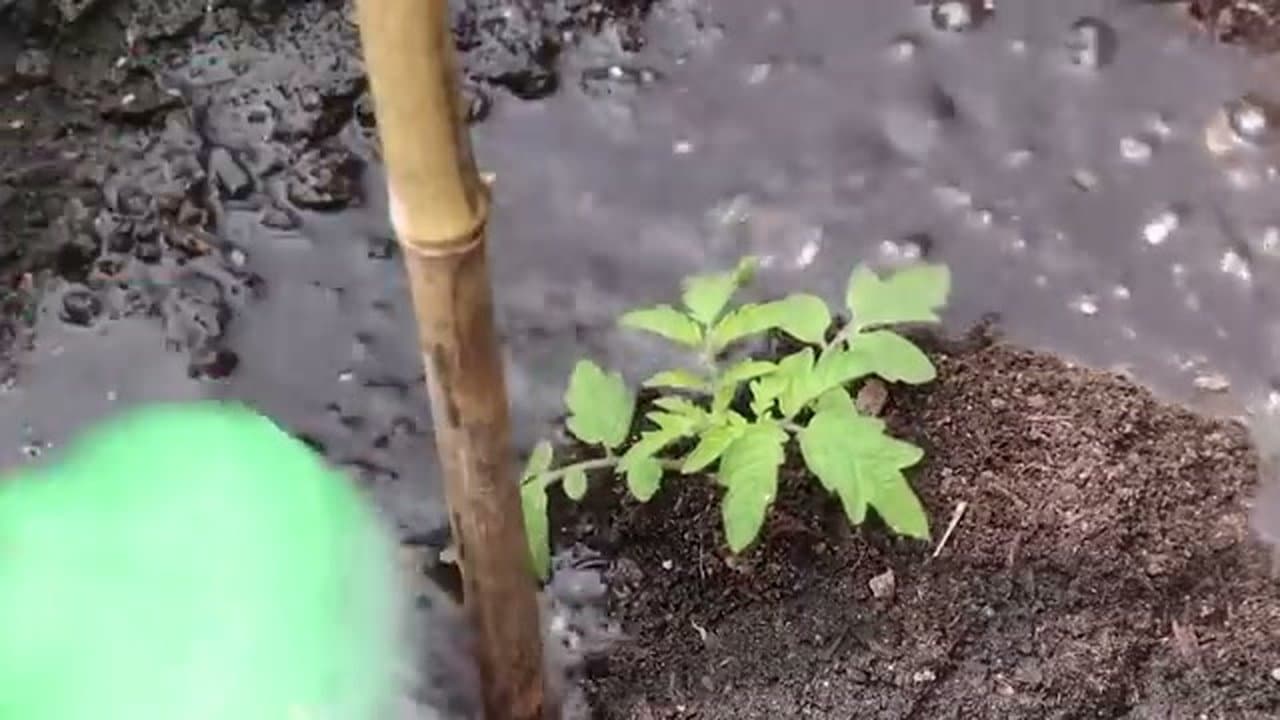
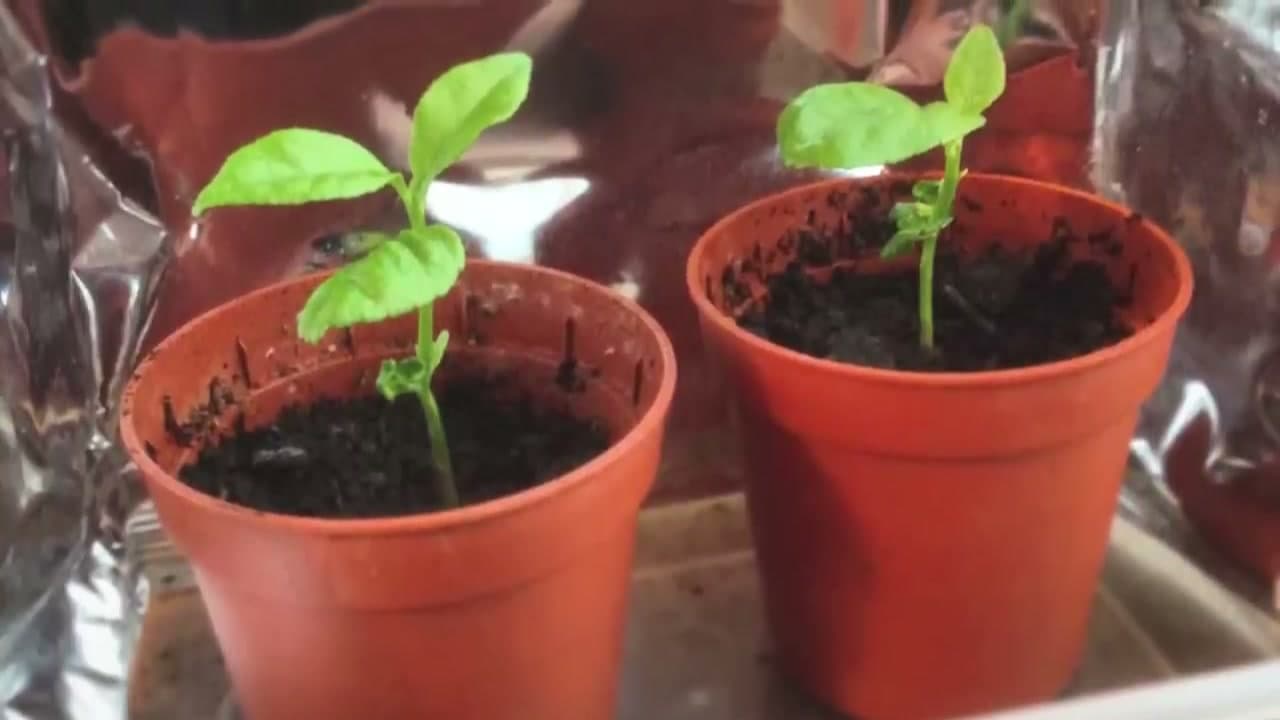
Six weeks before your last frost is the sweet spot for starting tomato seeds. Fill a plastic cup with quality potting mix that already has a bit of fertilizer in it. Cut a few holes in the bottom for drainage.

Sprinkle the seeds on top, give them a pinch of mix to cover, and mist with water. Set the cup on a seedling heat mat (tomatoes want 70-80 F to germinate) and cover with a plastic dome or bag to hold humidity. You'll see sprouts in 5 to 8 days.

Tip

Hybrid varieties tend to produce more reliably than heirlooms in a beginner garden. Mix a few of each to get the flavor of heirlooms with the security of hybrids.

2

Step 2: Transplant Seedlings to Cell Trays

2:05
Step 2: Step 2: Transplant Seedlings to Cell Trays

Once each seedling has its first set of true leaves, move them into a cell tray filled with potting mix. Tease the seedlings apart gently - the roots are fragile at this stage.

Tomatoes grow new roots all along their stems, so bury each seedling as deep as you can in the new cell. The deeper the stem, the bigger the future root system. Label each cell so you remember which variety is which.

Products used in this step

3

Step 3: Harden Off the Seedlings

2:50
Step 3: Step 3: Harden Off the Seedlings

About a week before you plan to plant outside, start hardening off. Move the seedlings outdoors for a few hours a day, picking up sun exposure gradually.

The first day might be just an hour in dappled shade. By the end of the week they should be tolerating most of a day in direct sun. Skip this step and the leaves will scorch the moment you put them in the garden full-time.

4

Step 4: Prep the Soil and Dig Deep Holes

3:25
Step 4: Step 4: Prep the Soil and Dig Deep Holes

Pick a spot that gets at least 6 to 8 hours of direct sun. Amend the bed with compost, aged manure, and bone meal so the soil is rich and loose - tomatoes are heavy feeders.

Dig a hole deep enough that two-thirds of the seedling stem will sit underground. Mix a scoop of granular fertilizer into the bottom of the hole - one that's higher in phosphorus and potassium than nitrogen. Too much nitrogen gives you a leafy plant with no fruit.

Tip

Look for fertilizer with N-P-K numbers like 5-10-10 or 4-6-8. The middle and last numbers (P and K) drive flowering and fruiting; the first one (N) drives leaf growth.

5

Step 5: Strip the Lower Branches

4:30
Step 5: Step 5: Strip the Lower Branches

Snap or pinch off the lower branches of each seedling so the bottom two-thirds of the stem is bare. This is the part that's about to go underground.

Don't skip this. The buried section will sprout new roots wherever the stem makes contact with soil, and that extra root mass is what lets a tomato plant pull water and nutrients through a hot summer without wilting.

6

Step 6: Plant Deep and Water In

4:45
Step 6: Step 6: Plant Deep and Water In

Drop the seedling into the hole so the bottom two-thirds of the stem is buried. Backfill with the amended soil and firm it down around the base.

Space plants 2 feet apart for staked single-stem varieties, or 3 feet apart if you're letting them grow as a bush. Give each one a deep drink of water immediately to settle the roots and eliminate any air pockets in the hole.

7

Step 7: Add Support Right Away

8:45
Step 7: Step 7: Add Support Right Away

Cage, stake, or trellis - pick one and install it the same day you plant. Tomato plants get 4-9 feet tall depending on variety, and trying to add support after they've grown means breaking branches and disturbing roots.

Cages are the easiest option for beginners. Stakes work for indeterminate varieties pruned to a single stem. Either way, a fallen tomato plant on the ground is a magnet for slugs, fungal disease, and rot.

8

Step 8: Water Deeply Once a Week

9:40
Step 8: Step 8: Water Deeply Once a Week

Tomatoes want a deep soak once a week, not a daily sprinkle. Shallow watering trains roots to stay near the surface where they dry out fast. A long deep drink sends them downward.

Water at the soil level, not the leaves. Wet leaves invite fungal disease. Mulch the base of each plant with straw or compost to hold moisture, suppress weeds, and stop soil from splashing onto leaves when you water.

Products used in this step

Products Used

Your Guide

LucasGrowsBest

As an Amazon Associate we earn from qualifying purchases. Links on this page may be affiliate links - clicking them and buying doesn't change your price, but helps support ShowMeStepByStep.

Tags

Related Tutorials