1
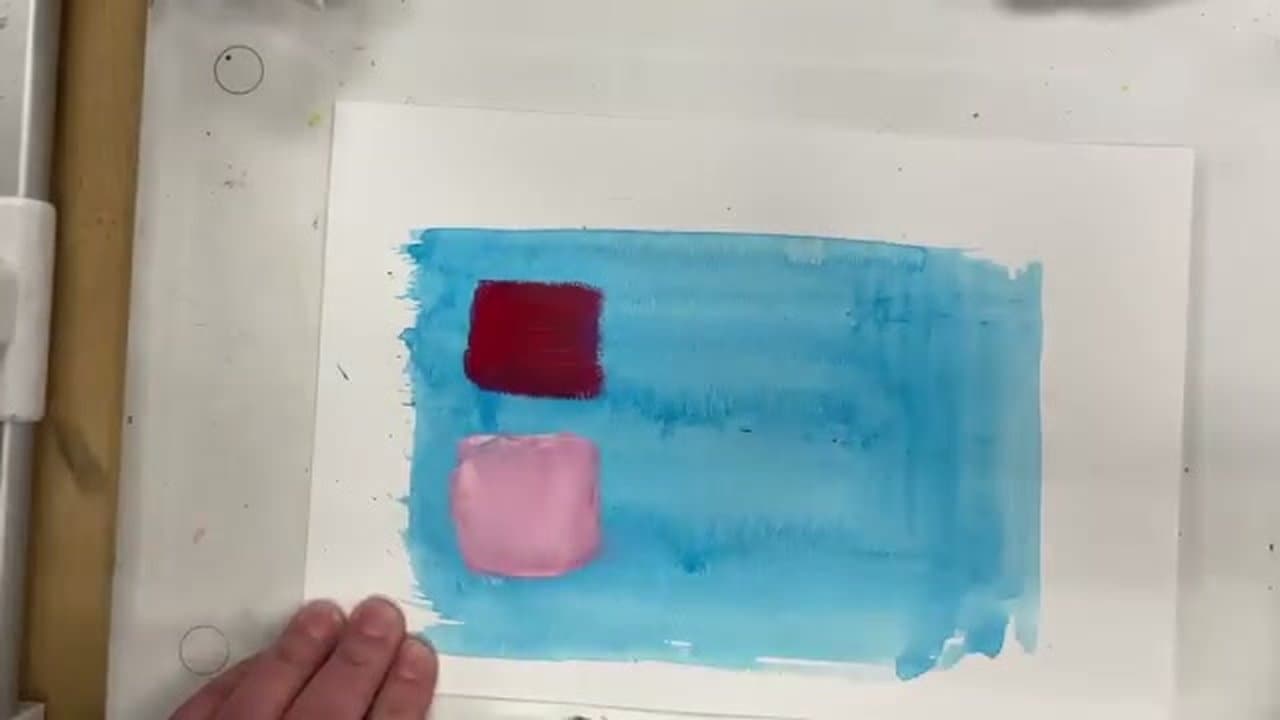
Step 1: Lay a Wash for Your Background
0:25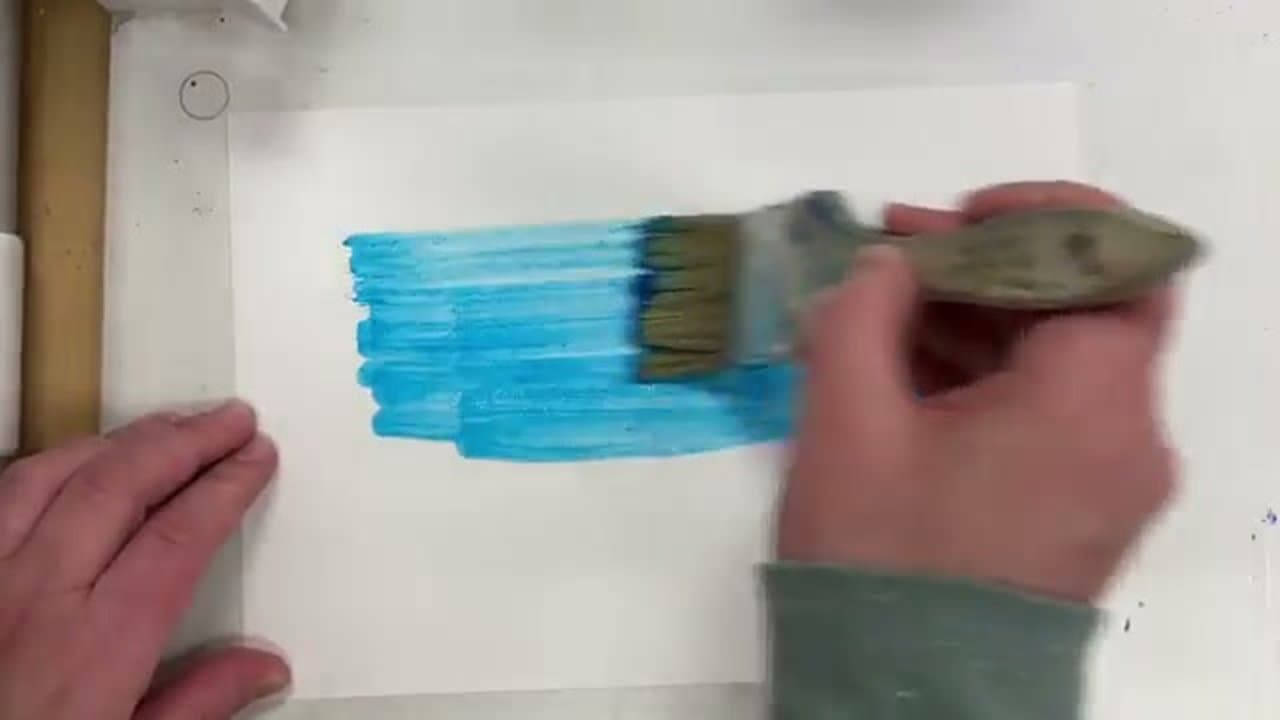
Start with a wash to set a middle-value background. Take a big flat utility brush, dip just the tips into your acrylic paint, then dip the brush in water to dilute it.
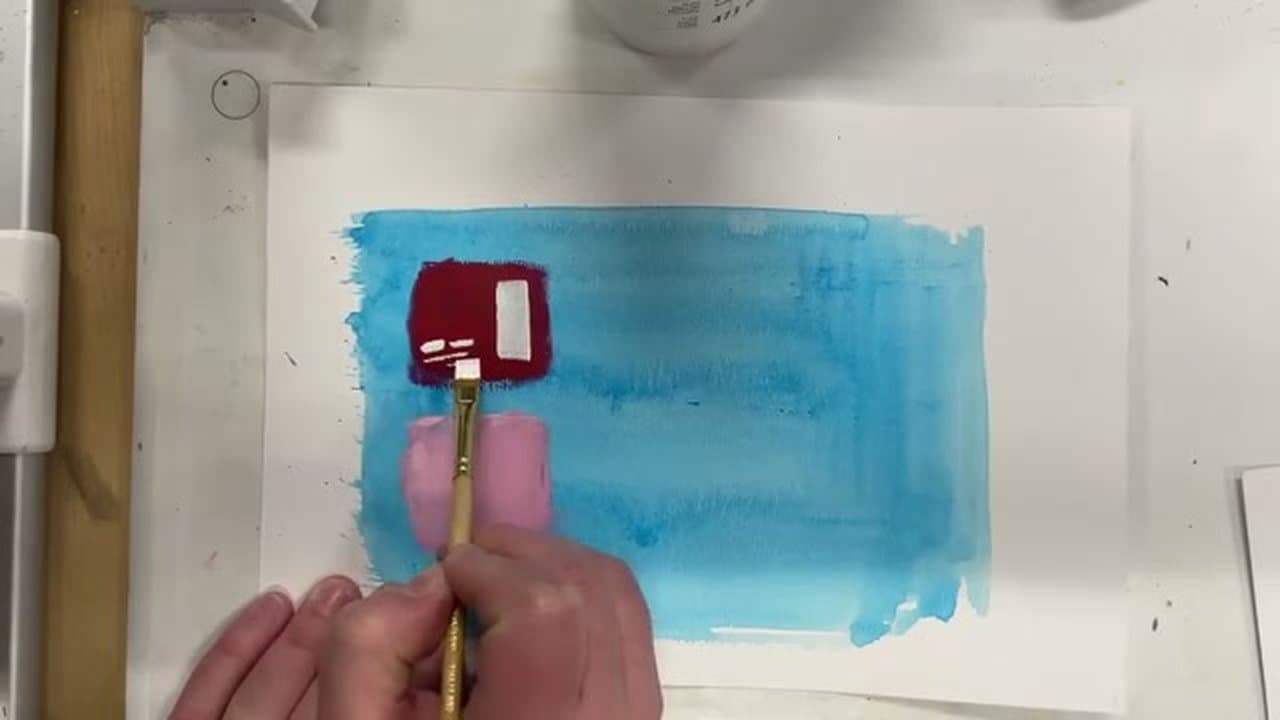
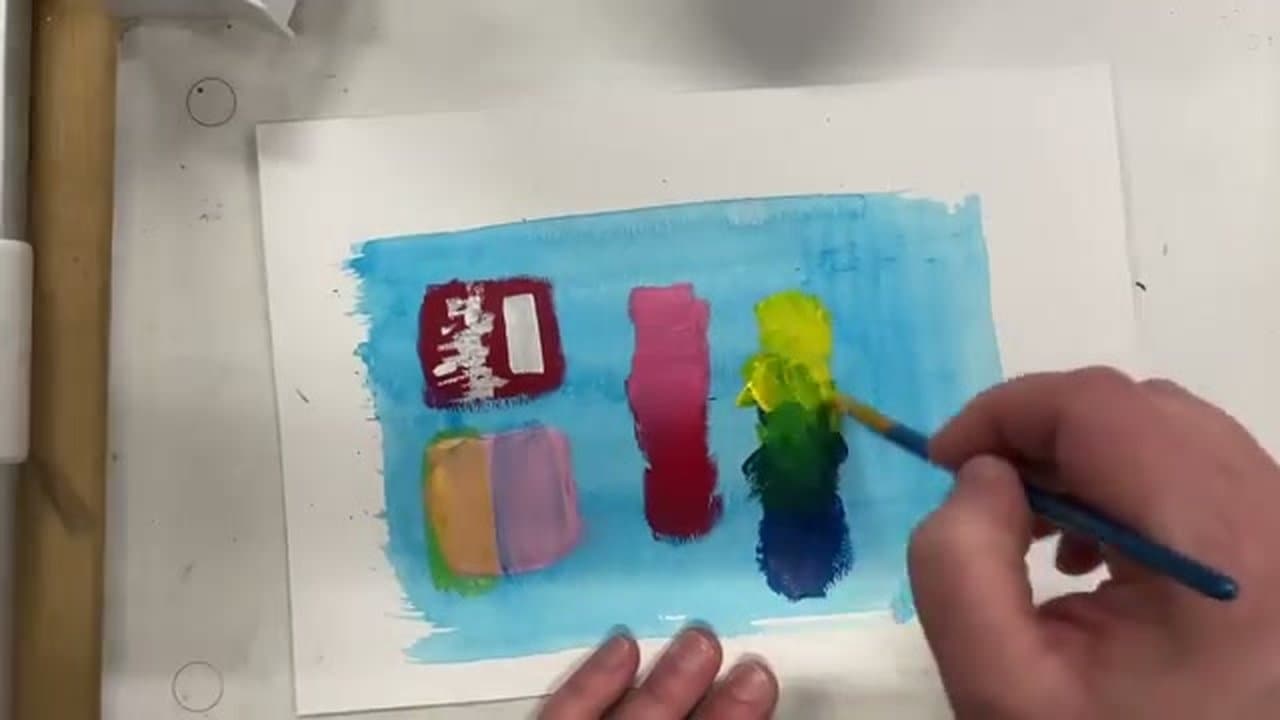
Sweep it across cold press watercolor paper in long horizontal strokes. A little variation in color is fine - it adds character. Let the wash dry fully before painting anything on top, or the next layer will lift the wash right off.
Tip
Cold press paper has more tooth (texture) than hot press, which holds the wash better and gives the paint something to grip onto.