1
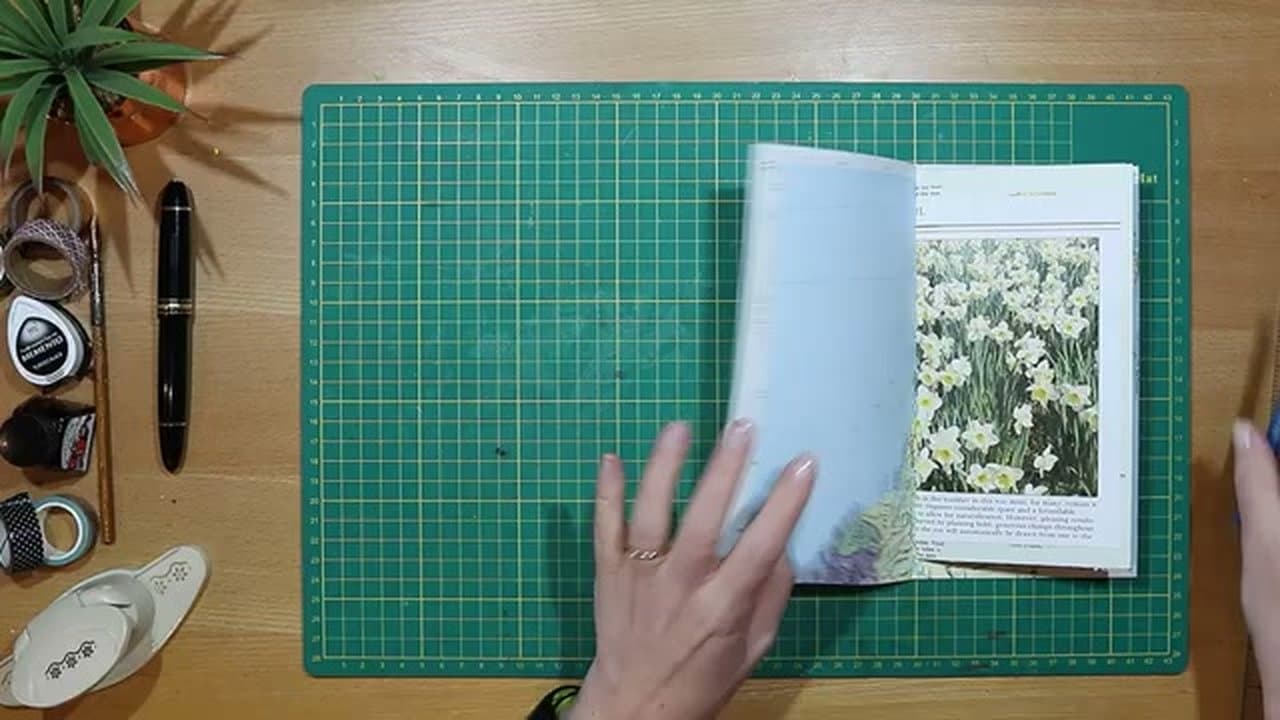
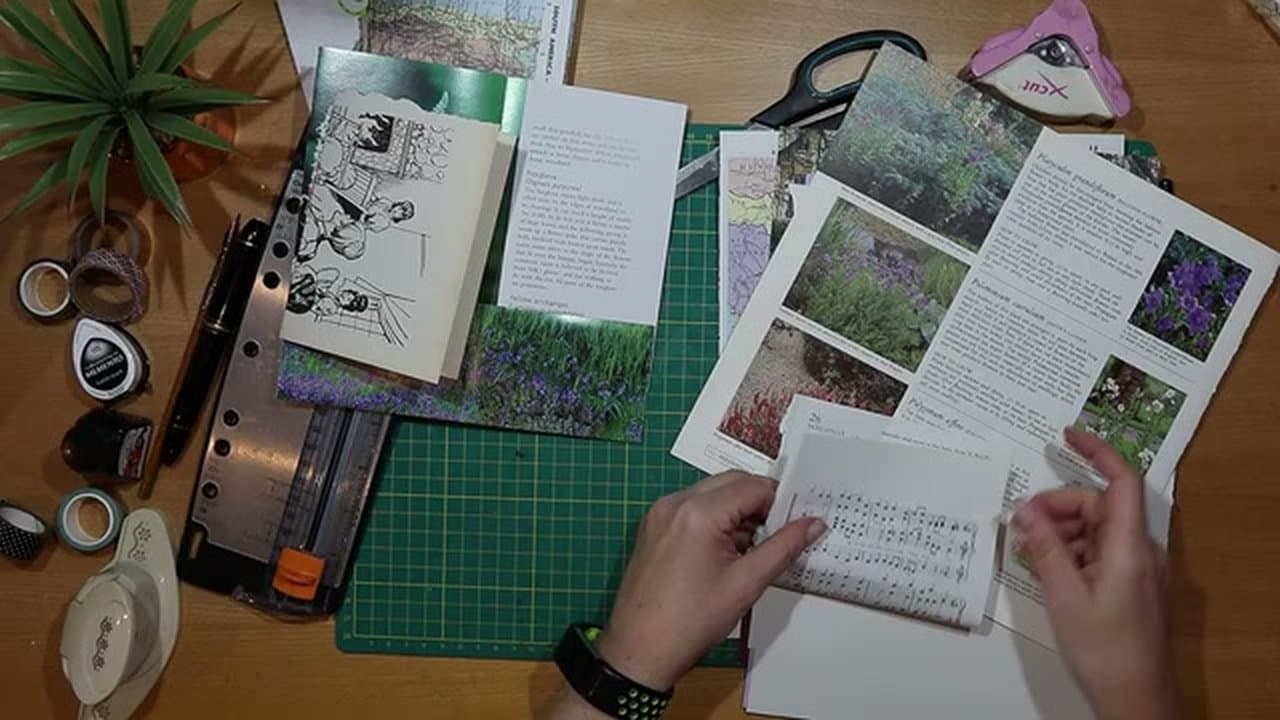
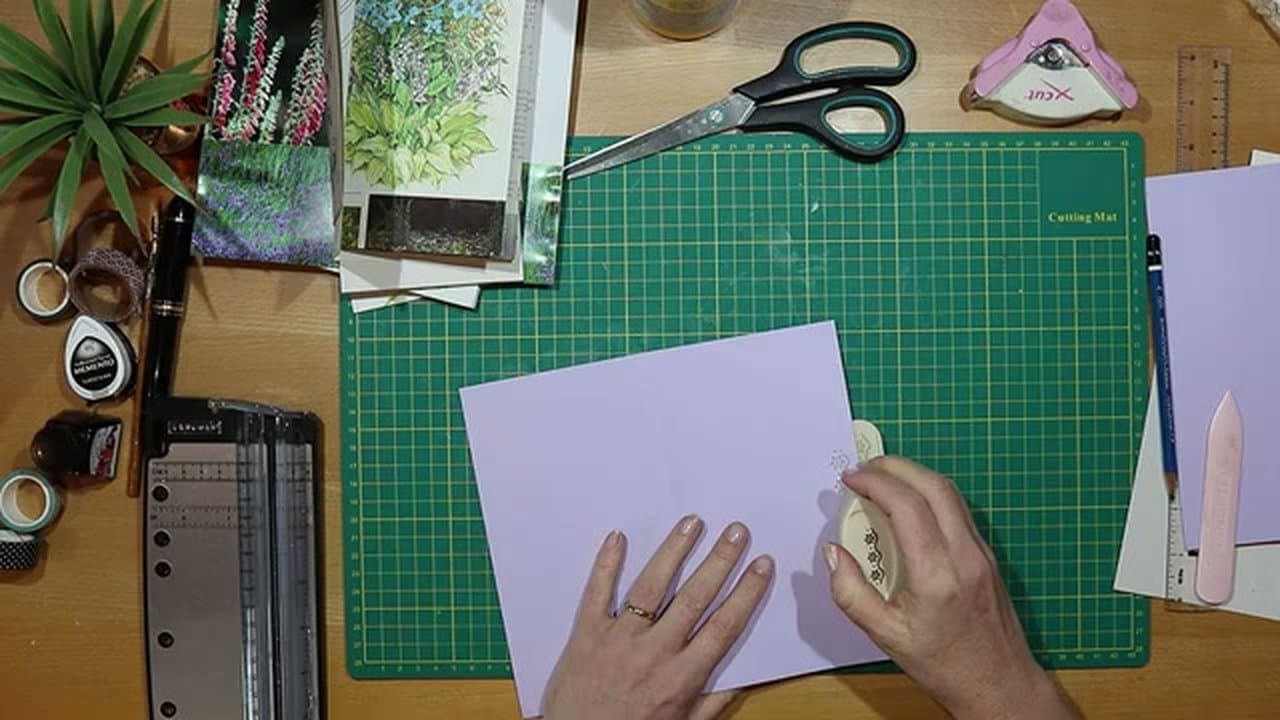
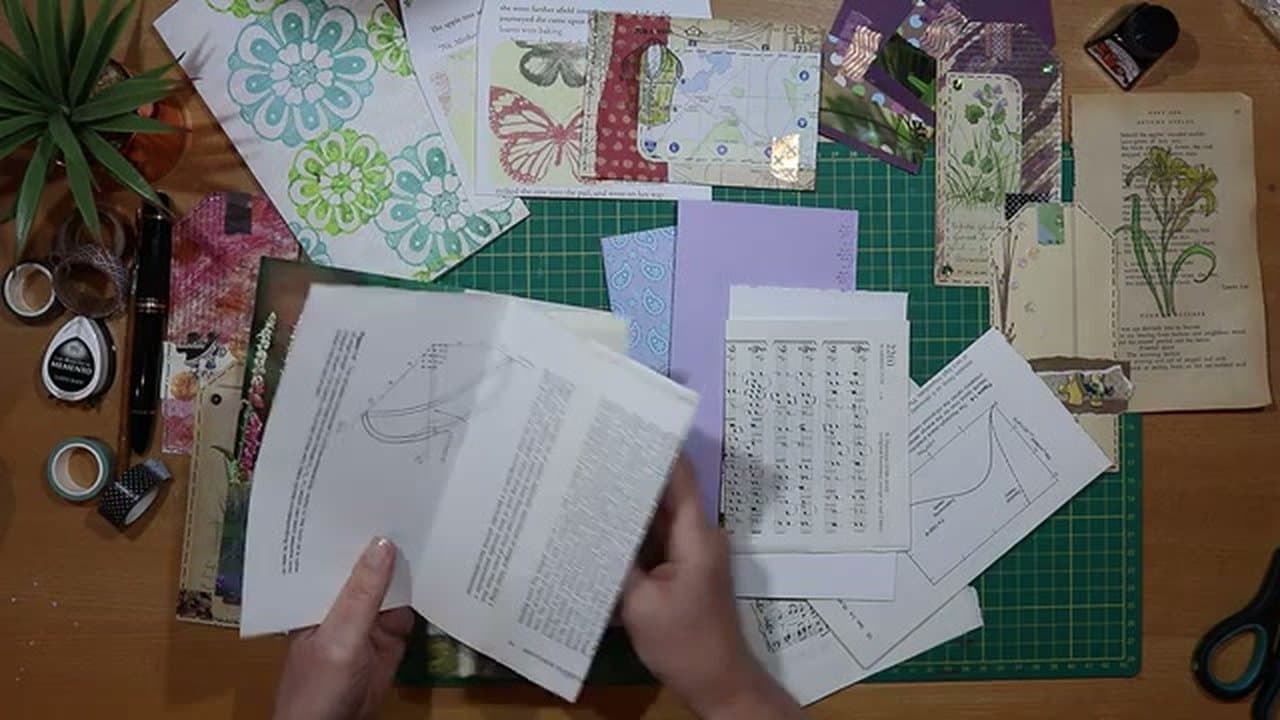
Step 1: Gather Pages and Papers
1:15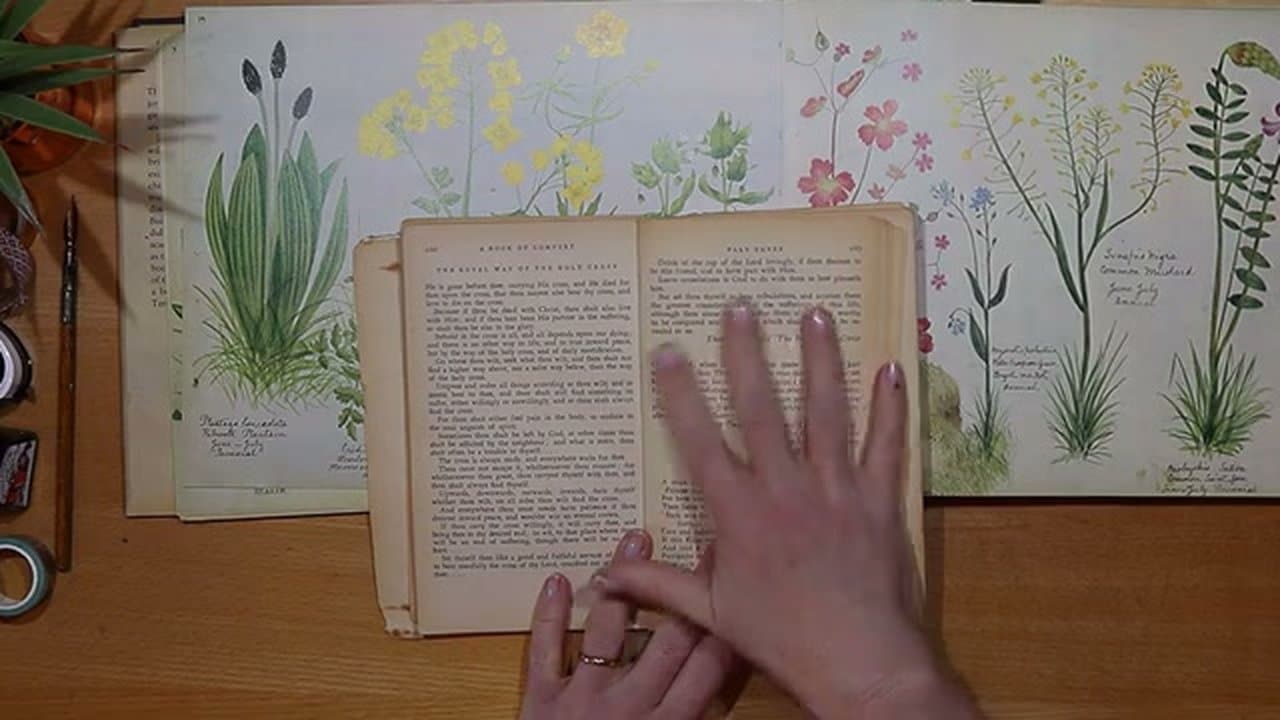
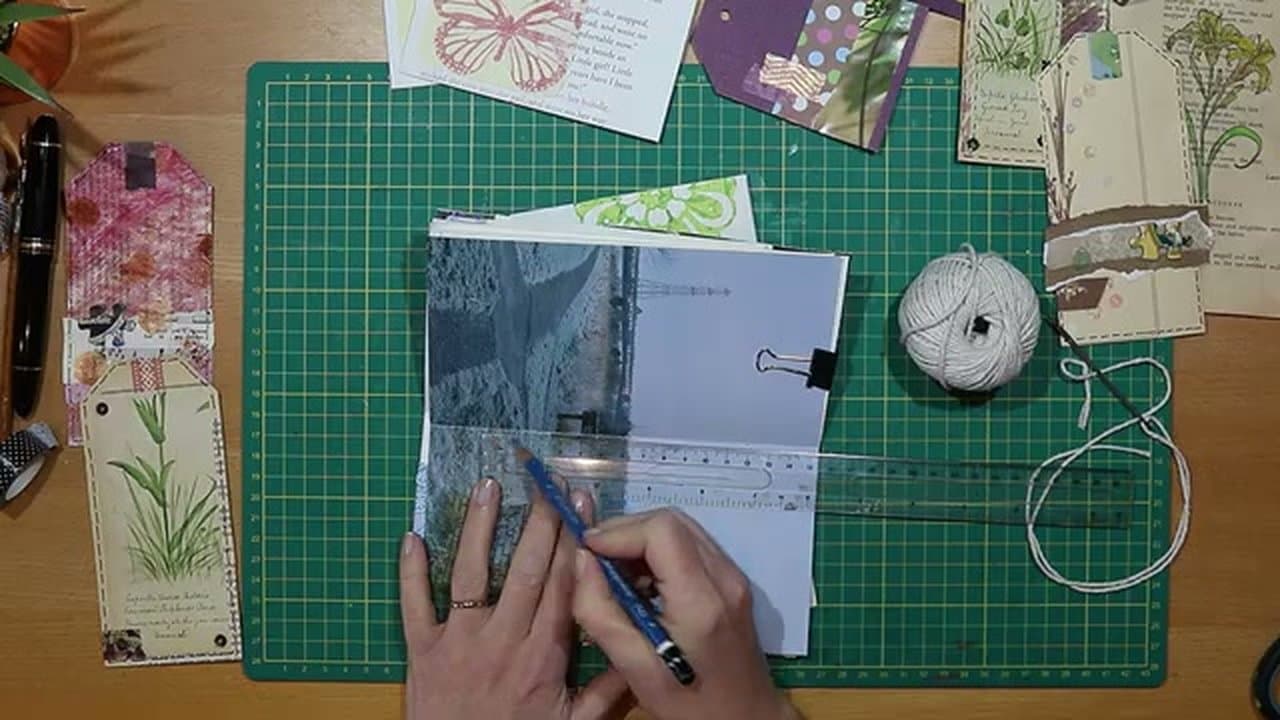
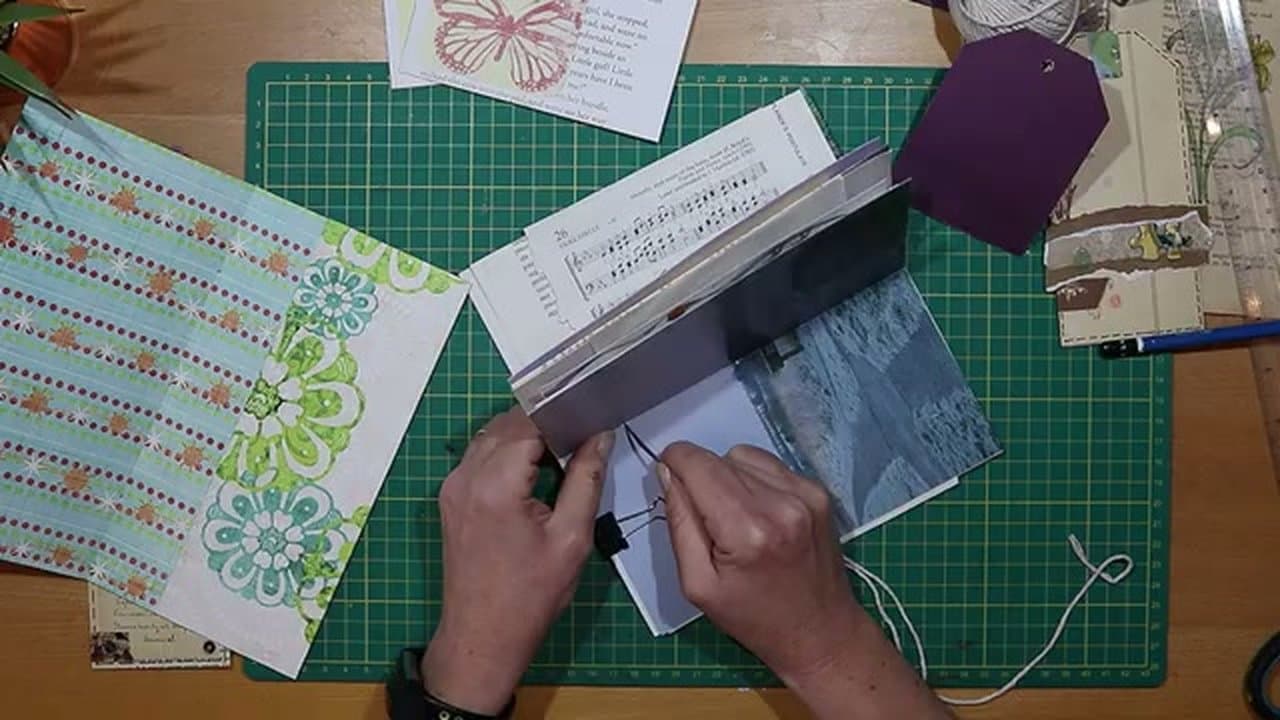
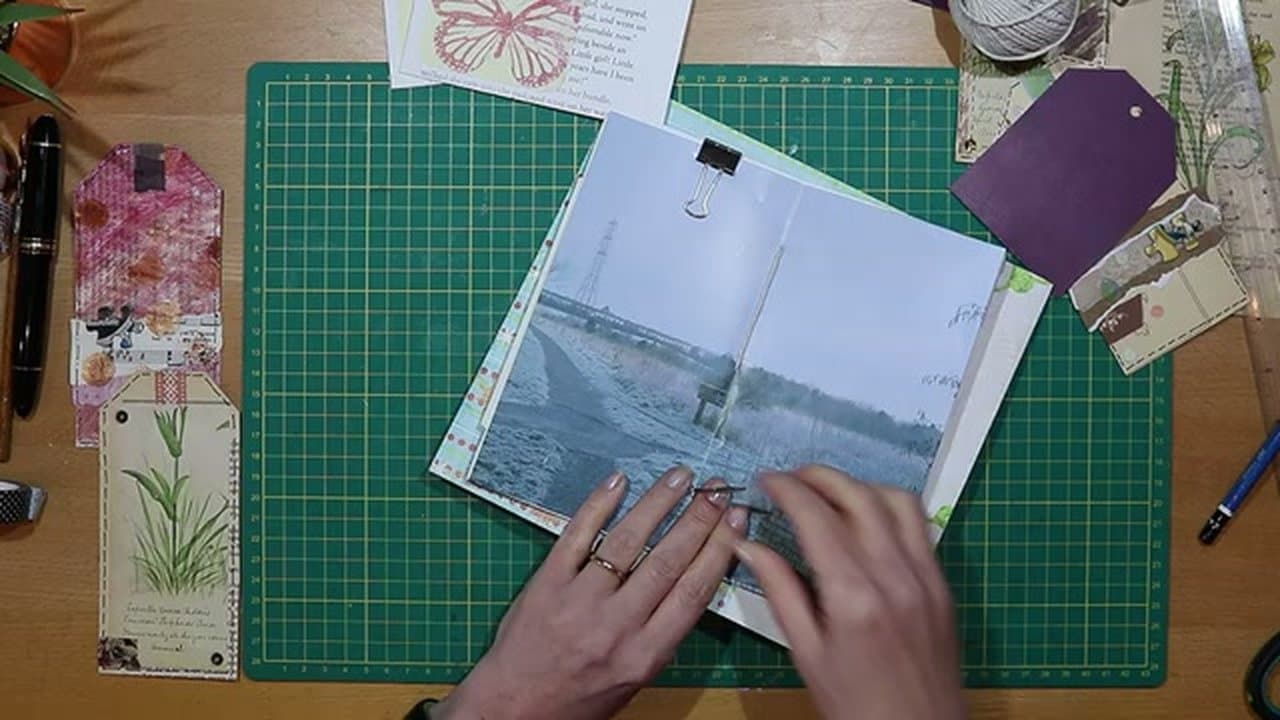
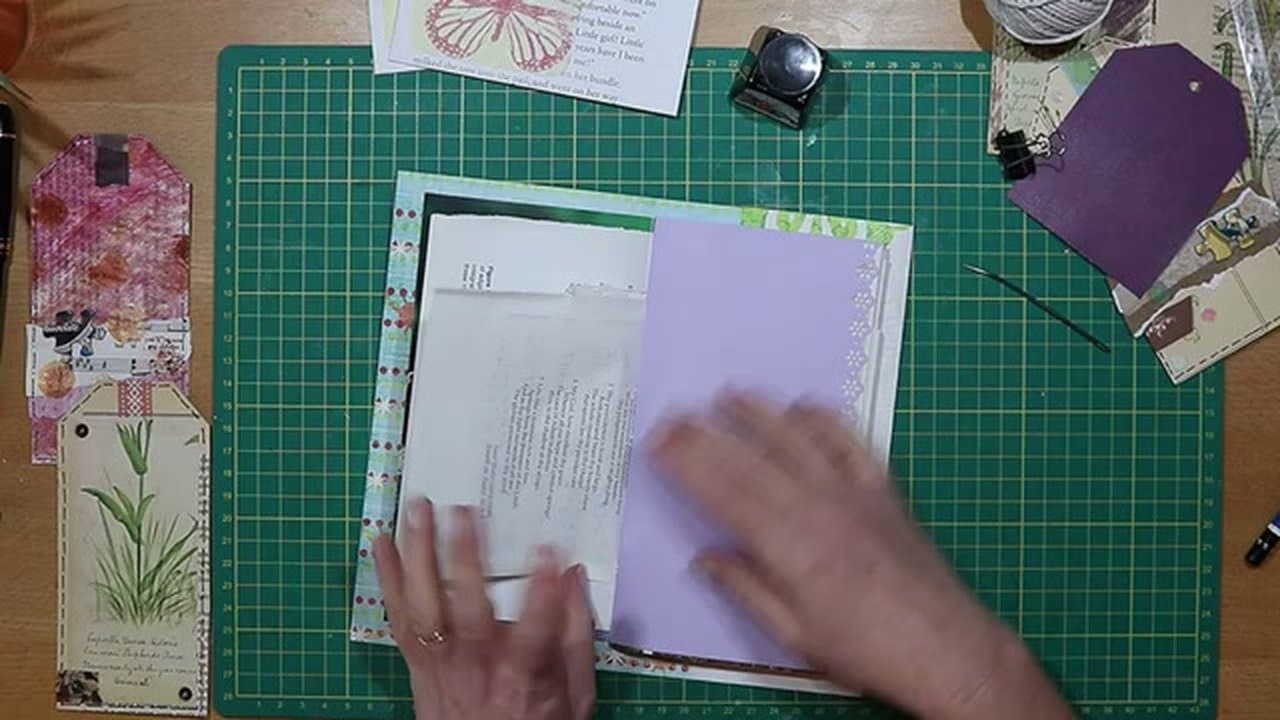
Pull pages from old books, vintage ephemera, scrapbook paper, anything in your stash with character. Mix smooth pages with textured ones, plain with patterned, classic with whimsical.
Look for variety in weight, color, and feel. Botanical illustrations, sheet music, atlas pages, letterpress text, and graph paper all work. The mismatch is the whole point. About 10-12 sheets is plenty for one signature.
Tip
Charity shops, library book sales, and car boot sales are great cheap sources for older books that won't break your heart to cut up.