How to Make a Succulent Terrarium

GardeningEasy8:387 stepsBrowse more →

By ShowMeStepByStepPublished

Based on a video by Christopher Brandsdal.

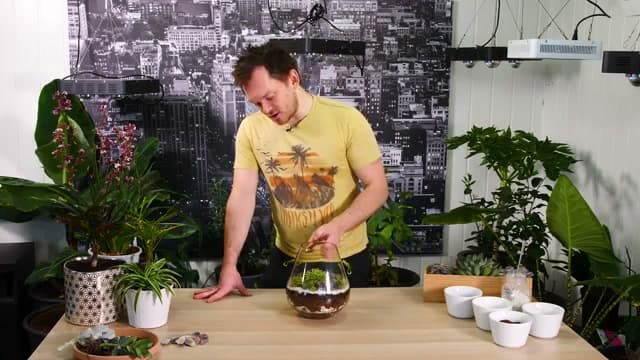
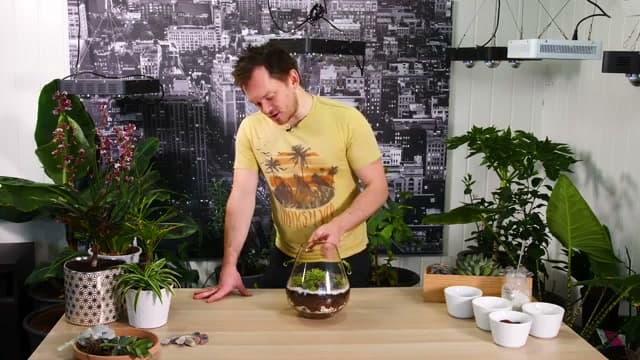
This one is all about the looks. Christopher from the mtn.garden channel wanted a decorative piece for the living room that would actually stay alive, so he planted a bowl of succulents in a clear glass container. It is an open terrarium, so air moves freely and the plants stay happy.

You will start with an activated charcoal base, add a false bottom of pebbles and bark for drainage, then top it with a light succulent soil. The fun part is the planting, where you tuck in a mix of green rosettes and deep purple succulents. A ring of white pebbles at the glass edge shows off the layers.

No special skills needed. If you can spoon soil into a bowl, you can do this in an afternoon.

Step-by-Step Guide

1

Step 1: Add a Charcoal Base

2:00
Step 1: Step 1: Add a Charcoal Base

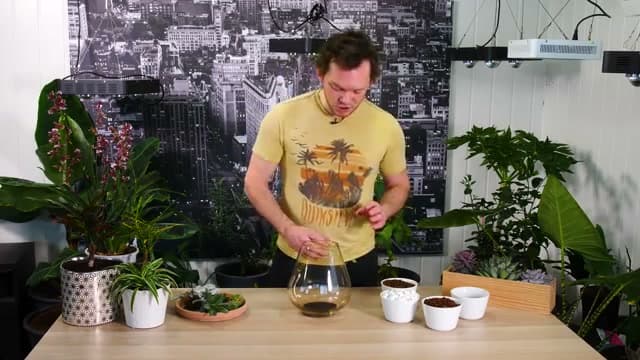
Start with a clean, dry glass bowl. Tip in a shallow layer of activated charcoal across the bottom. It keeps water from going stale down there and helps soak up odors if things ever get too wet. Christopher points out he was winging the amount, so do not stress over it. A thin, even layer is plenty. You just want it to cover the base of the bowl before the next layer goes on.

Tip

Charcoal dust gets on your fingers fast. Keep a cloth nearby so you do not smudge the inside of the glass.
2

Step 2: Pour in a Pebble False Bottom

4:00
Step 2: Step 2: Pour in a Pebble False Bottom

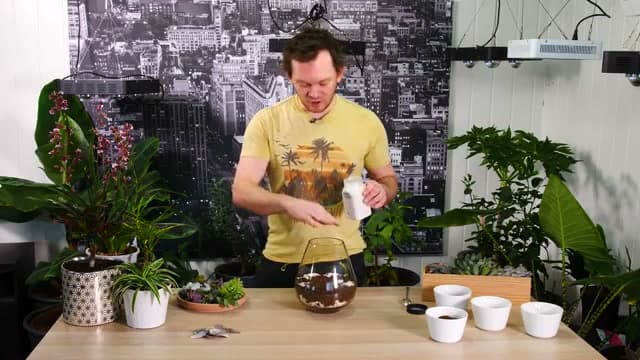
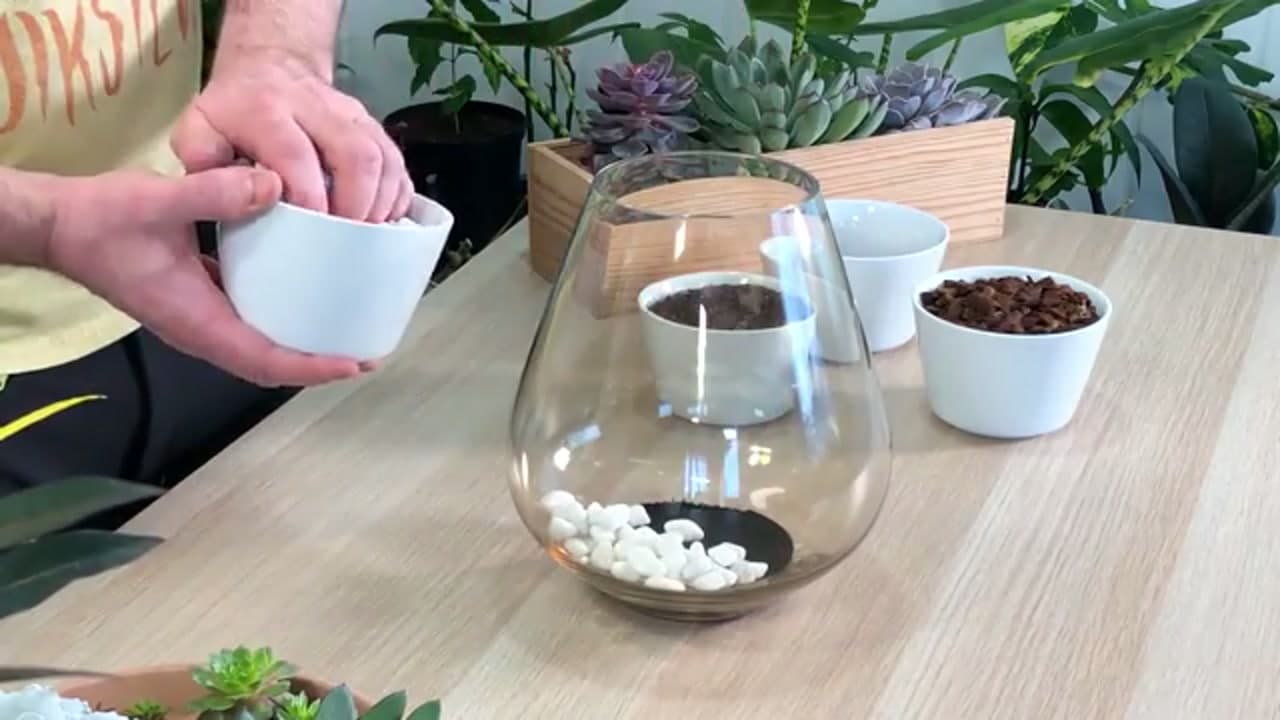
Next comes a thin layer of small white pebbles over the charcoal. This is your false bottom. When you water the terrarium, extra moisture drains down through the soil and settles here instead of sitting around the roots. Pour slowly and tilt the bowl if you need to spread the pebbles evenly. Since the glass is clear, this white band also looks sharp from the side once everything is built up.

Products used in this step

3

Step 3: Add an Orchid Bark Layer

5:00
Step 3: Step 3: Add an Orchid Bark Layer

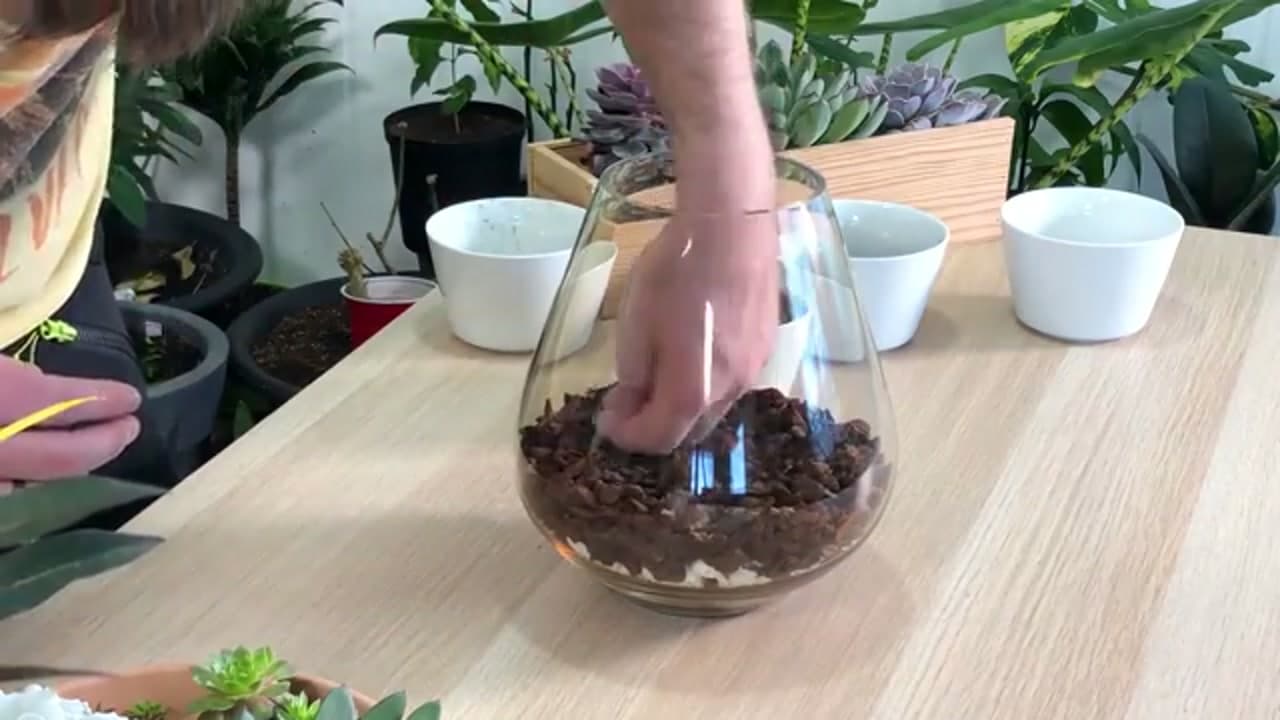
On top of the pebbles, add a layer of orchid bark. Christopher grabbed the same bark he uses for his orchids. It has a nice open texture, so it separates the layers cleanly and stops the fine soil from washing straight down into the drainage rocks. Press it gently so it settles flat. Some people use moss here instead, but the bark does the same job and looks great through the glass.

Products used in this step

4

Step 4: Spoon in the Succulent Soil

5:30
Step 4: Step 4: Spoon in the Succulent Soil

Now the growing medium. Christopher uses a homemade mix of coco peat with a little organic compost, which is safe to use indoors. A cactus or succulent soil mix works just as well. Spoon it in slowly so you do not kick up a mess, and build it up to a good depth for the roots. Do not fill the bowl too high. You want room for the plants to sit without crowding the top of the glass.

Tip

A spoon or small scoop gives you way more control than pouring straight from the bag.

Products used in this step

5

Step 5: Plant the Succulents

6:45
Step 5: Step 5: Plant the Succulents

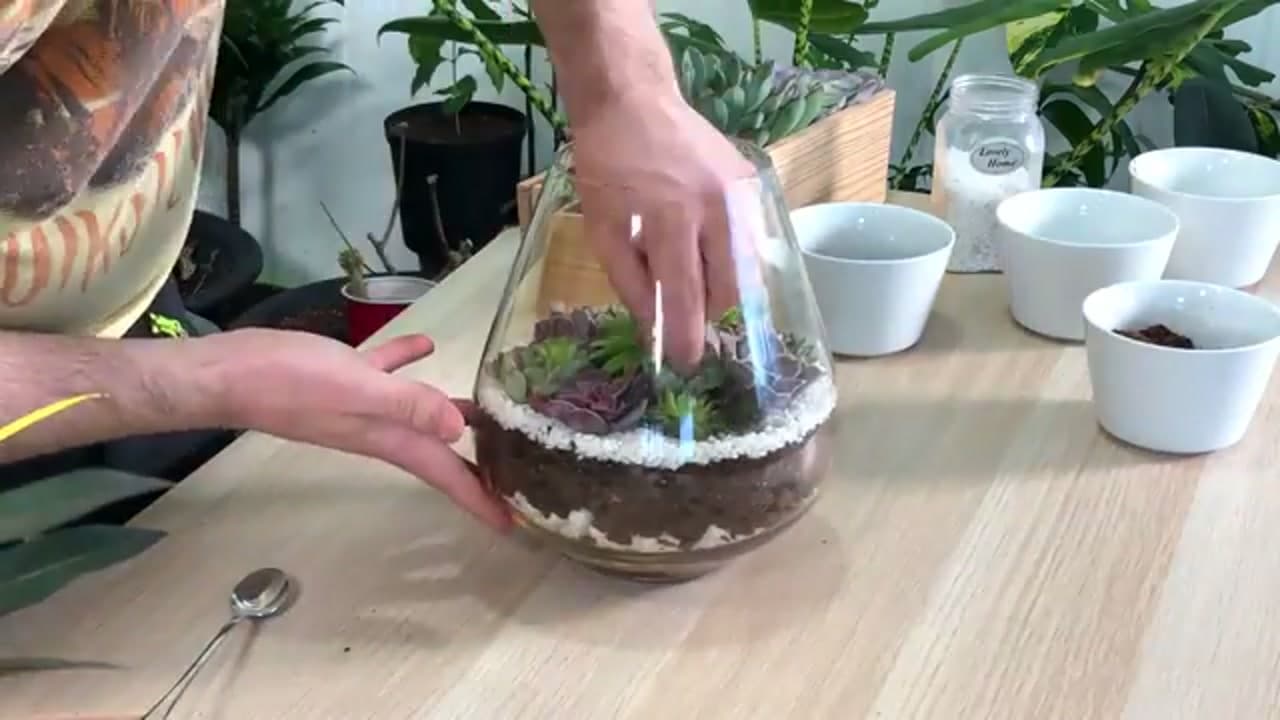
Here is the fun part. Set a thin ring of white gravel around the inside edge first, then place your succulents into the soil. Work from the center out, tucking each plant in snugly. Mix colors and rosette sizes so it has some depth. Christopher went with bright green rosettes in the middle and deep burgundy succulents around them. These plants root into almost anything, so they will settle in fine even sitting over that pebble layer.

Tip

Tweezers help you nudge small plants into tight gaps without crushing the leaves.

6

Step 6: Admire the Finished Terrarium

6:50
Step 6: Step 6: Admire the Finished Terrarium

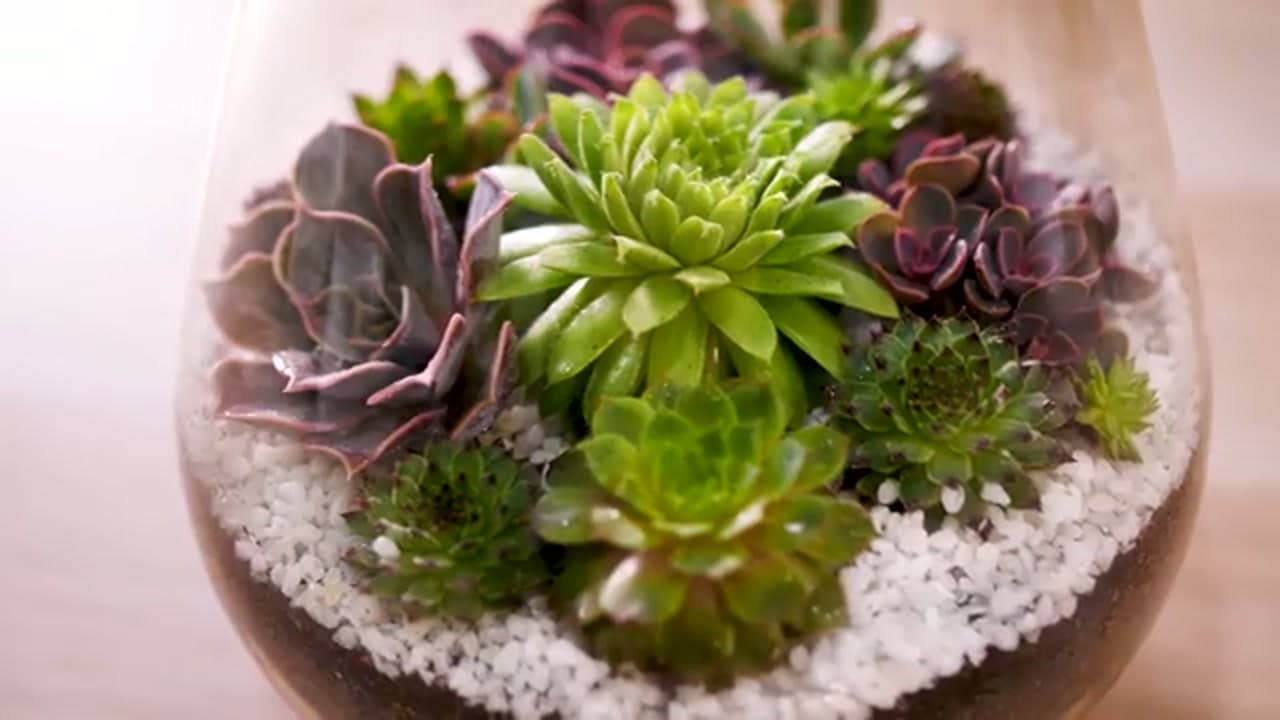
Step back and look at it. The green rosettes sit front and center, framed by the darker purple succulents, all resting on that clean white pebble band. Christopher was thrilled with how his came out, and it will only look better as the plants grow in and fill the space. Give the glass a quick wipe to clear any soil dust, and your terrarium is ready to show off on a shelf or table.

7

Step 7: Light and Feed It Right

7:45
Step 7: Step 7: Light and Feed It Right

Succulents need good light to stay compact. Set the terrarium in or near a south-facing window, or run a grow light over it. Without enough light the plants stretch tall and leggy and lose that tidy shape. Feed lightly every one or two months. Christopher likes to load fertilizer into a plastic syringe and squirt it right at the base of the plants so it does not splash all over the leaves. Go easy on watering, since this bowl has no drainage hole.

Tip

A big plastic syringe lets you water and feed at the roots without soaking the whole bowl.

Products Used

☐ The Checklist

How to Make a Succulent Terrarium

Tools
2
Materials
7
Steps
7
Video
9 min

Your Guide

Christopher Brandsdal

As an Amazon Associate we earn from qualifying purchases. Links on this page may be affiliate links - clicking them and buying doesn't change your price, but helps support ShowMeStepByStep.

Tags

Did this work for you?

What's next

Related collections

Curated theme pages that include this tutorial.

Weekly Digest

Liked this gardening tutorial?

Pick the categories you want to hear about. Weekly digest of new step-by-step tutorials. No spam, easy unsubscribe.

Send me tutorials about

We only email about new tutorials. Easy unsubscribe anytime.