How to Deadhead Geraniums (The Right Way for More Blooms)

By ShowMeStepByStepPublished

Based on a video by Sharkey's Greenhouses.

Geraniums are one of the most disease-prone plants in a summer garden, and almost all of that trouble comes from one thing - the way most people deadhead them. Nip the spent bloom off right behind the flower head and you leave a stubby stalk that rots down into the foliage. That rot is where botrytis and stem rot get a foothold, and by midsummer the plant is half dead in the middle.

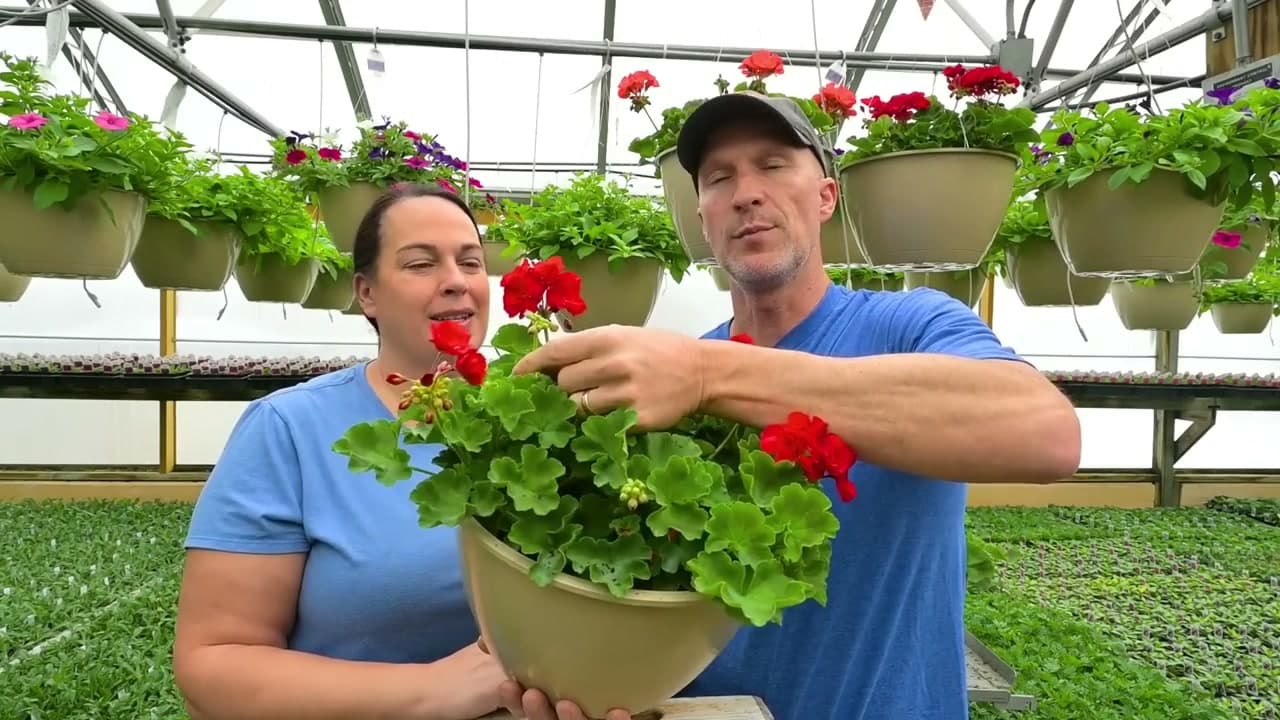
The fix is a single technique. Snap the whole stem off at the knuckle where it joins the main plant. Scott and Amy run Sharkey's Greenhouses and they showed the right way in a five-minute clip that has more than 100,000 views and a lot of grateful comments from gardeners who finally figured out why their geraniums kept dying back.

Pair this with the rest of your summer flower care. The same disease pressure rules apply to roses, so once you have the geranium technique down, check our guide on how to deadhead roses - the cut is different but the timing and aftercare are the same. For early-season planting work, our how to plant onion sets guide rounds out the spring-into-summer rotation.

Step-by-Step Guide

1

Find the Spent Blooms First

0:35
Step 1: Find the Spent Blooms First

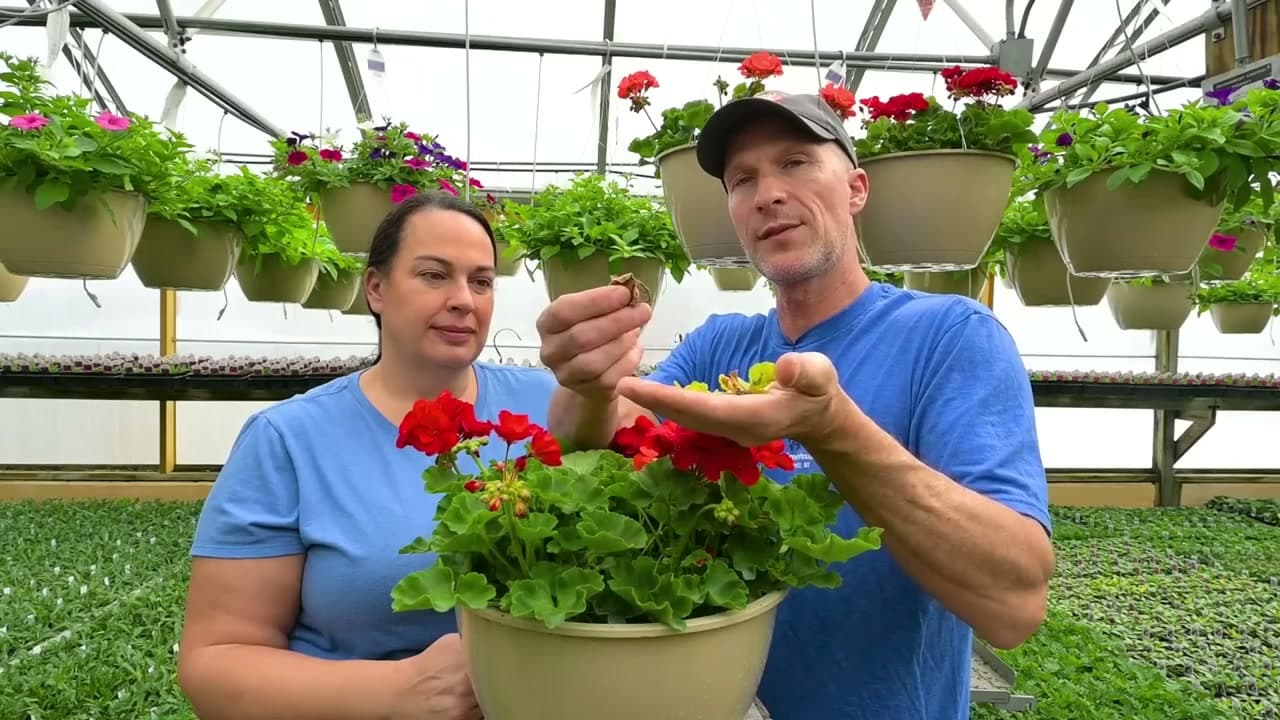
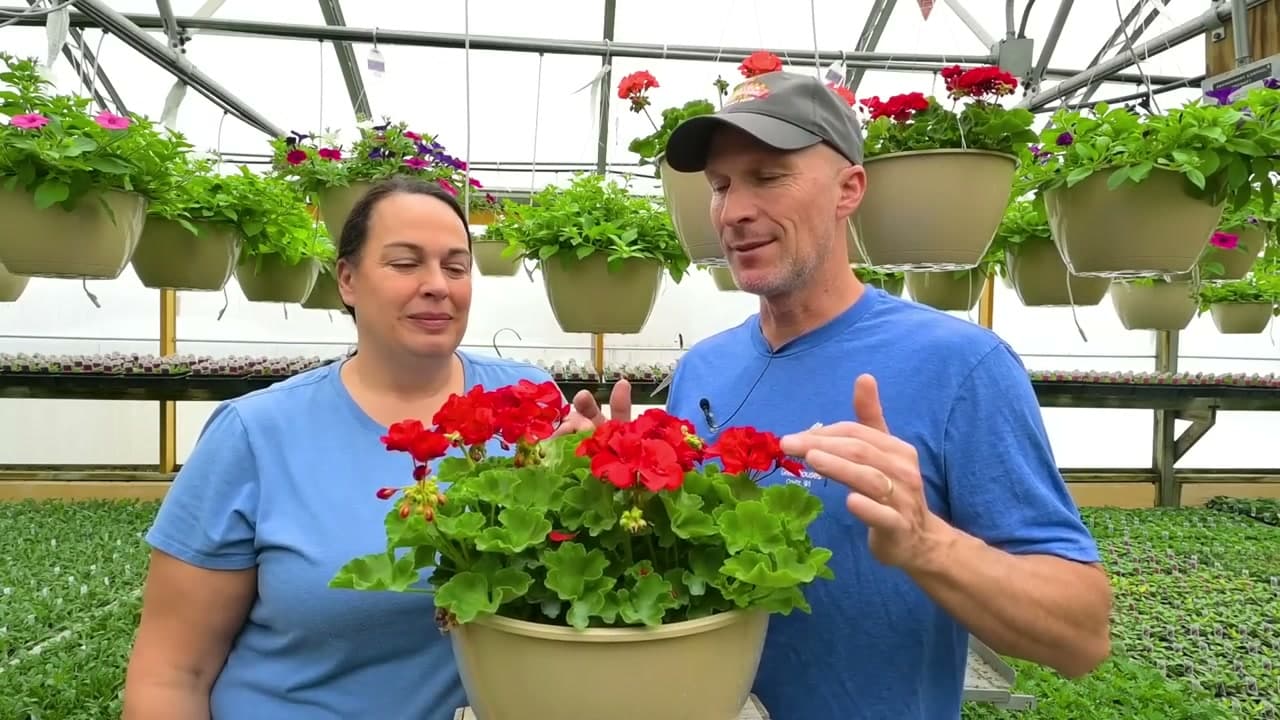
Walk around the plant and look for clusters where the petals are wilted, browning at the edges, or starting to fall off. Those tired blooms are the ones to remove. Healthy flowers stay - cutting off blooms that still have life in them just deletes color you would have enjoyed.

The other thing to watch for is petal drop. As a bloom dies, individual petals fall off and land on the leaves below. Those petals are the start of the rot problem - they sit in the dense geranium foliage, hold moisture, and infect the leaf they are sitting on.

Tip

Walk the plant from above first to spot the obvious dead heads, then crouch and check from the side. Spent blooms hidden underneath the canopy are the ones that drop petals into the worst spot - right onto the foliage.
2

Do Not Just Nip the Top Off

0:55
Step 2: Do Not Just Nip the Top Off

This is the cut almost every new gardener makes and the reason geraniums get such a bad reputation for disease. You see the dead bloom on top of a stalk and you snip the stalk right behind the flower. Looks tidy. Plant disagrees.

What you have left is a bare stem sticking straight up. Over the next few days it browns, softens, and rots downward into the leaves below. That rotting tissue is wet, sheltered, and full of plant sugar. It is exactly what botrytis and stem rot need to get going. One bad cut can take down a whole basket.

Tip

If you have already made this kind of cut on a plant earlier in the season, go back now and follow the stub all the way down to the knuckle. Snap off whatever rotted stalk is still attached. Better late than letting it spread.

3

Snap the Stem at the Knuckle

2:15
Step 3: Snap the Stem at the Knuckle

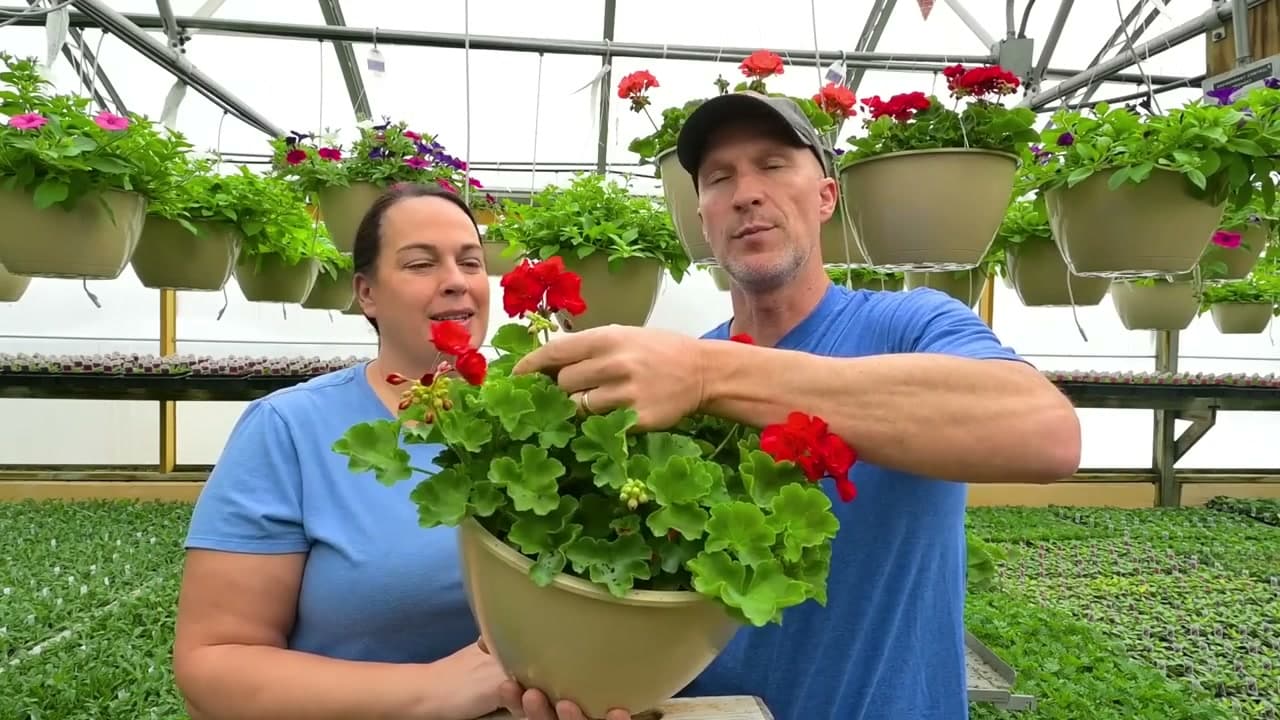
This is the move. Trace the bloom's stem down through the foliage to where it meets the main body of the plant. You will feel a slight bulge - the knuckle - where the stalk attaches. Pinch the stem just above that joint between your thumb and forefinger.

Push sideways with your thumb in one quick motion. The stem pops off cleanly. There is a tiny audible snap - Scott calls it satisfying and he is right. No scissors, no shears, no ragged cut. The plant seals over the break in a day or two and disease has nothing to grab onto.

Tip

If the stem will not snap with thumb pressure, it is not woody enough yet or you are too far up. Slide your hand down another half inch until you can feel the knuckle, then try again. A clean snap takes almost no force.

4

Clean Up Petals and Bad Leaves

3:15
Step 4: Clean Up Petals and Bad Leaves

While you are in there, pick out everything that should not be on the plant. Loose petals sitting on the leaves. Brown or yellow leaves still attached. Anything spotted, soft, or chewed. Geraniums grow such dense foliage that this debris collects in the middle of the canopy and at the soil line where you cannot see it from above.

Drop all of it in a trash bag. Do not compost geranium leaves that show signs of disease - the spores survive most home compost piles and you will reinfect the plant next year when you spread the finished compost.

Tip

If a leaf shows yellow with brown spots, it is not coming back. Pinch the petiole at the main stem and pop the whole leaf off, same snap technique as the blooms. Half-dead leaves use energy the plant would rather spend on new flowers.

5

Space the Deadheading for Continuous Blooms

3:45
Step 5: Space the Deadheading for Continuous Blooms

The temptation is to deadhead everything in one afternoon. Do not. If you take every spent bloom at once, the plant runs out of flowers, redirects all its energy into making new buds, then those open all at the same time, finish at the same time, and you are back to a bare plant.

Instead, pick off the three or four worst offenders today. Come back in three or four days for the next batch. That rolling cadence keeps the plant in constant bloom rather than the boom-bust cycle most gardeners end up with.

Tip

A geranium that has been pinched to a hard stop usually takes about two weeks to look full again. Spaced deadheading skips that gap entirely. The investment is one minute every few days.

6

Fertilize Right After You Deadhead

4:00
Step 6: Fertilize Right After You Deadhead

Snapping off blooms and leaves takes plant tissue away. The plant needs nutrients to rebuild. This is the perfect moment to fertilize - the timing tells the plant that you want growth, and the soluble nutrients are right there when the new buds start forming.

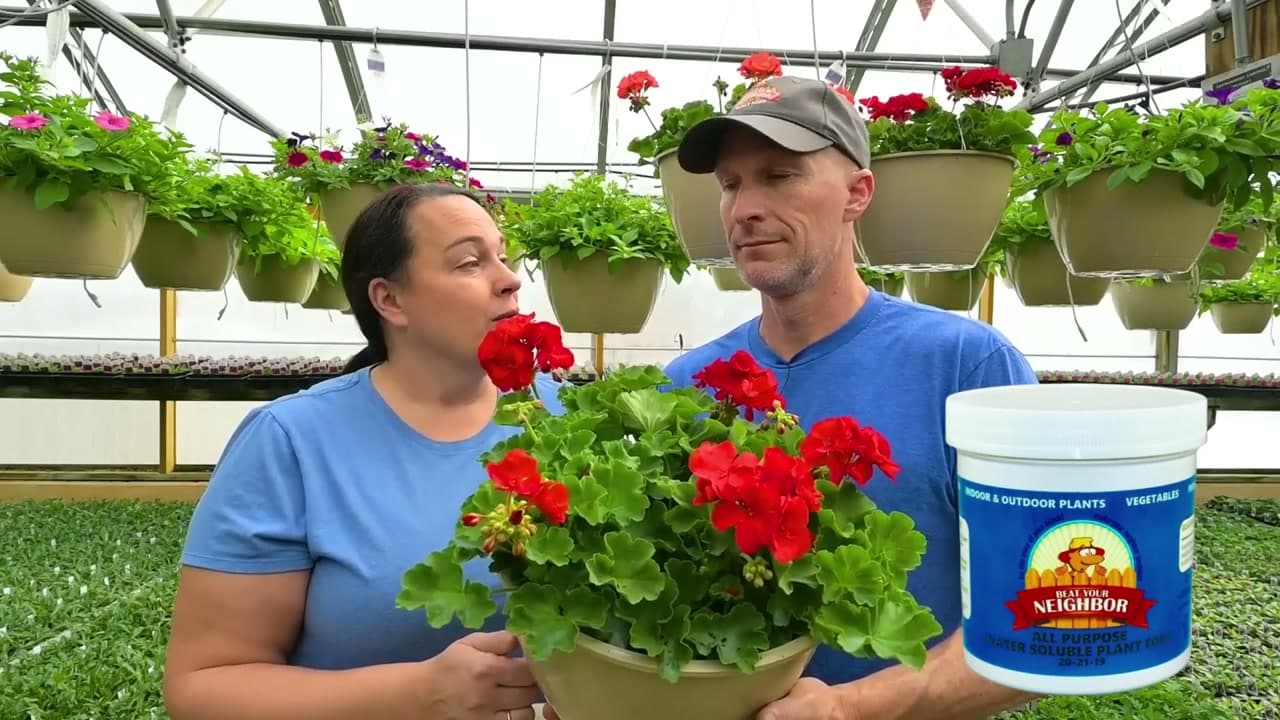
A water-soluble flower fertilizer mixed at the rate on the label is the easiest option. Sharkey's recommends Beat Your Neighbor All-Purpose, which is the white container Scott is holding in the video. Anything similar with balanced N-P-K works. Apply to soil that is already damp, not bone dry, so the salts do not burn the roots.

Tip

Geraniums in containers and hanging baskets need feeding every one to two weeks through the growing season - they exhaust the soil fast. Garden bed geraniums can stretch to every three to four weeks.

7

Repeat Around the Plant

4:35
Step 7: Repeat Around the Plant

Work your way around the plant in a single slow pass. Each time you find a spent bloom, trace the stem down to the knuckle and snap. Each time you find a brown leaf, pinch it off at the base. The whole plant gets done in a few minutes once the rhythm is going.

Within a couple of days the new buds that were already forming underneath the canopy will pop into bloom. The plant fills back in, looks fresh, and stays in the bloom-and-feed cycle for the rest of the summer instead of crashing in midseason.

Tip

Make deadheading geraniums a Sunday morning habit. Coffee, ten minutes per plant, done. That cadence beats any other geranium-care advice you will read.

Products Used

☐ The Checklist

How to Deadhead Geraniums (The Right Way for More Blooms)

Tools
2
Materials
2
Steps
7
Video
5 min

Your Guide

Sharkey's Greenhouses

As an Amazon Associate we earn from qualifying purchases. Links on this page may be affiliate links - clicking them and buying doesn't change your price, but helps support ShowMeStepByStep.

Tags

What's next

Related collections

Curated theme pages that include this tutorial.

Weekly Digest

Liked this gardening tutorial?

Pick the categories you want to hear about. Weekly digest of new step-by-step tutorials. No spam, easy unsubscribe.

Send me tutorials about

We only email about new tutorials. Easy unsubscribe anytime.