How to Harvest Tomatoes (When and How to Pick for Best Flavor)

Also in:Cooking

By ShowMeStepByStepPublished Updated

Based on a video by The Millennial Gardener.

Every gardening book tells you to wait until a tomato is fully red on the vine before picking it. That advice is wrong - and following it is how home gardeners lose half their harvest every summer to squirrels, birds, hornworms, splits, sunscald, and afternoon thunderstorms.

The real rule is simpler. As soon as a tomato shows the first hint of color change at the blossom end (the bottom, opposite the stem), its connection to the vine has stopped feeding it. Anything that happens after that point is just ripening, which the tomato can finish on your kitchen counter just as well as on the plant. The flavor is identical. The fruit is firmer. And the squirrels do not get a single one.

The Millennial Gardener has been growing tomatoes in zone 8B for years and walks through the science and the technique in clear, no-fluff steps. If you have not started your plants yet, begin with our guide to growing tomatoes from seed, then read how to prune tomato plants so your plants are productive once the fruit sets. This guide picks up at harvest.

Step-by-Step Guide

1

Forget Everything You Know About 'Vine Ripened'

3:20
Step 1: Forget Everything You Know About 'Vine Ripened'

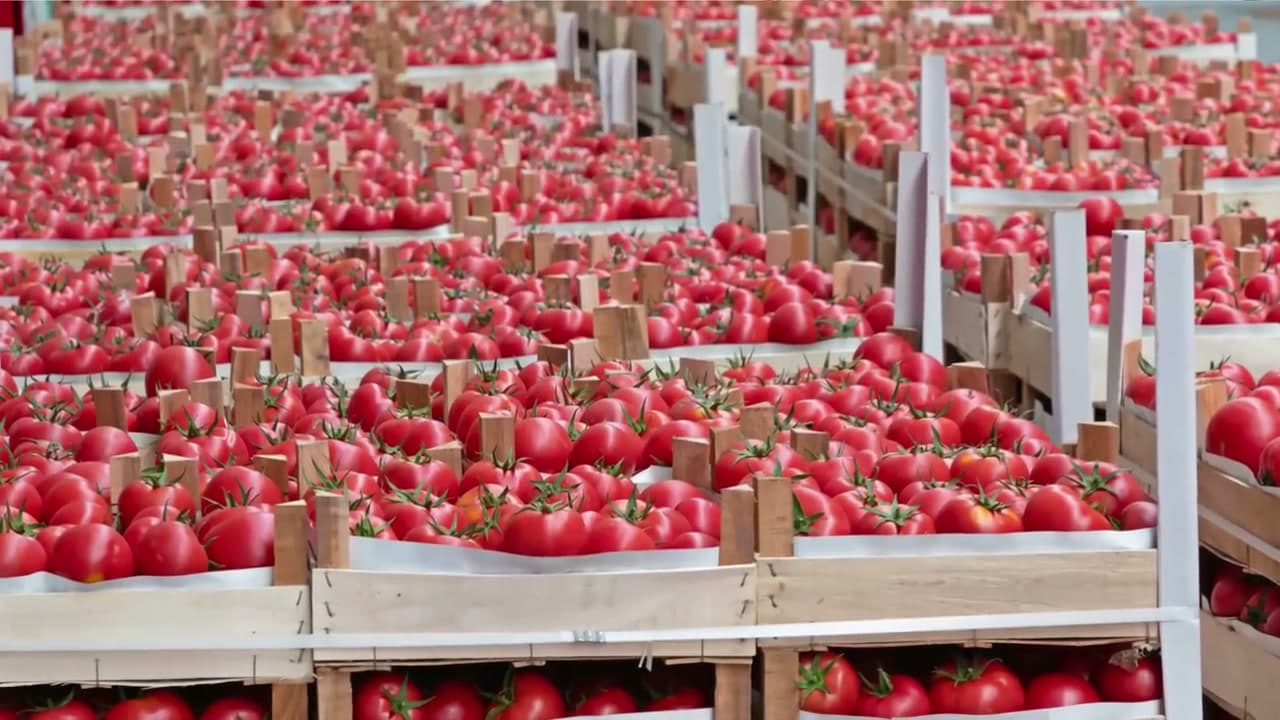
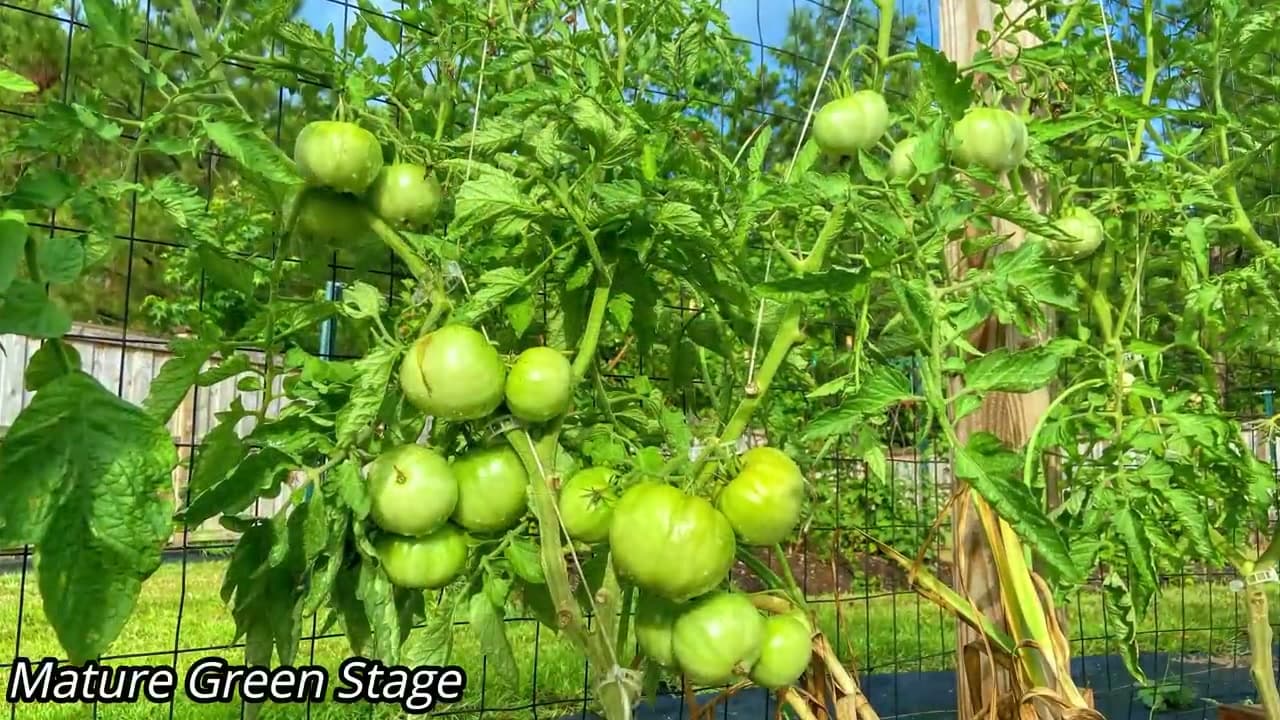
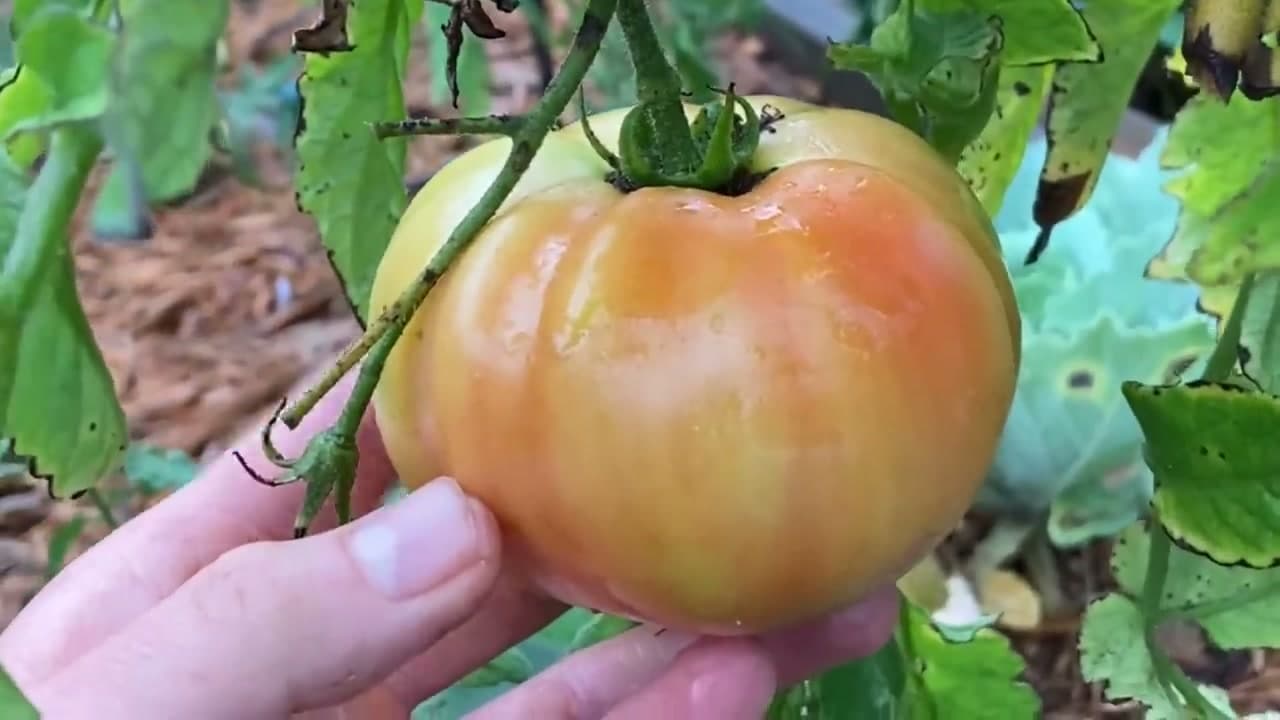
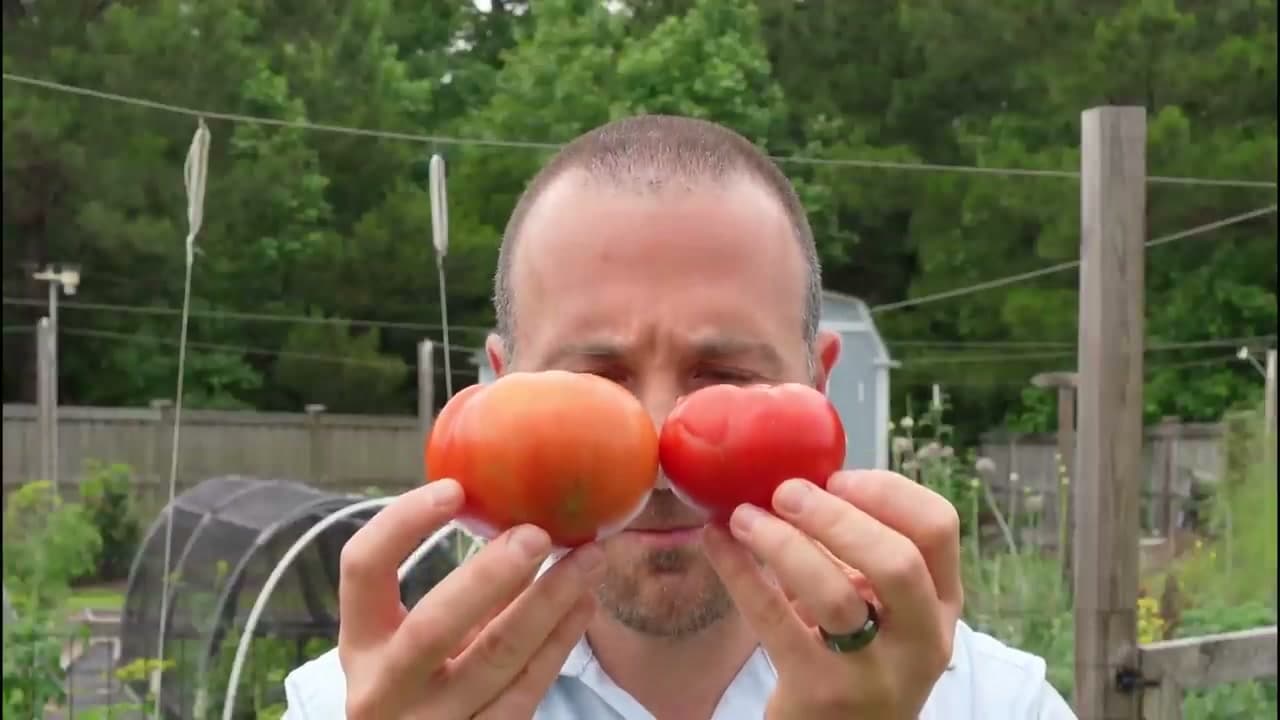
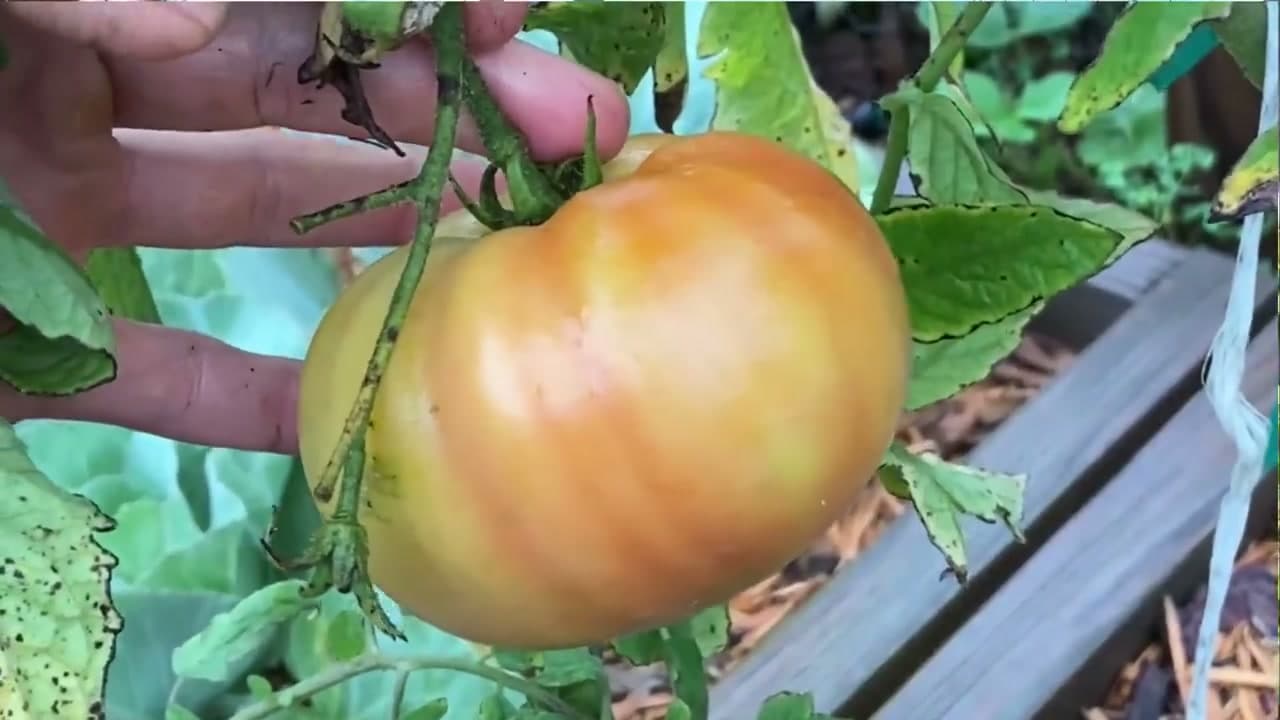
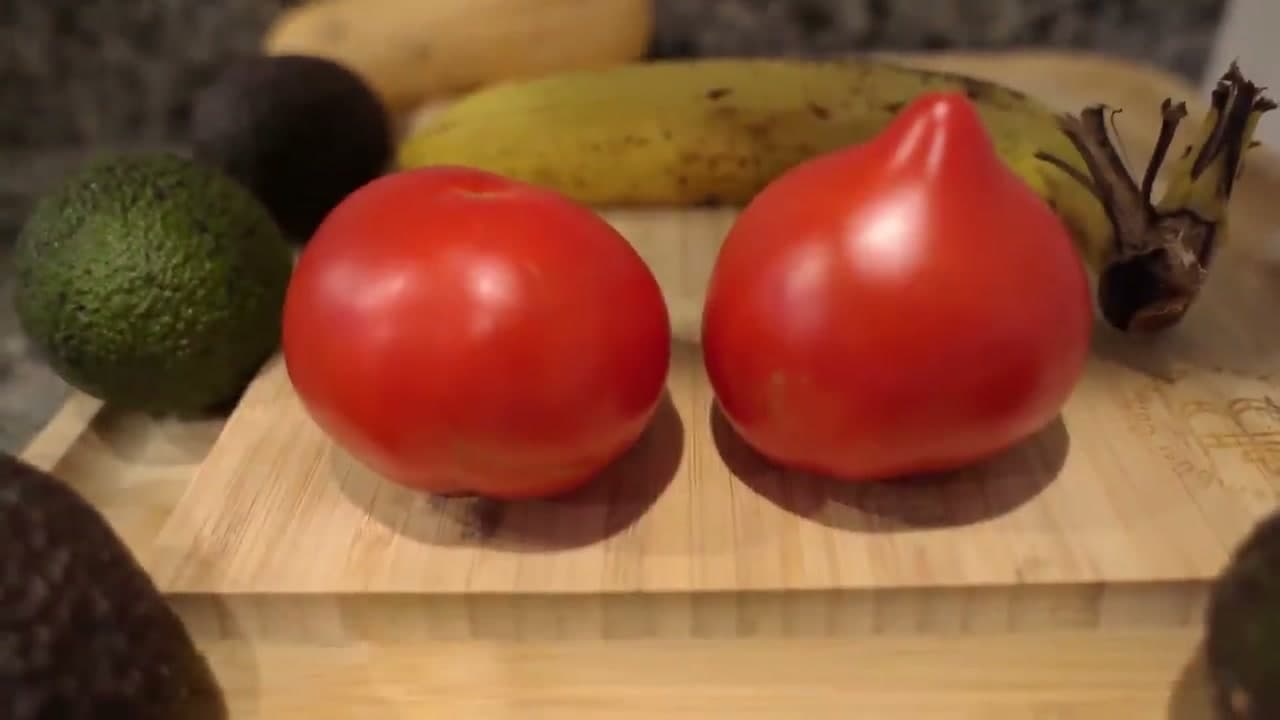
Grocery store tomatoes are picked at the mature green stage and gassed with ethylene to turn red on the truck. They look ripe but never developed flavor on the plant. That is what most shoppers think 'vine ripened' means - and it is wrong on both counts. A real vine-ripened tomato is one that finished coloring on the vine, and that long extra wait is exactly what costs you the harvest.

Your garden tomatoes do not have to follow either broken playbook. There is a third option that gives you the flavor of a true vine-ripened tomato without the losses. The rest of this guide is that option.

Tip

If a tomato you bought at the store is hard, pink, and tastes like nothing, it was picked green and ethylene-ripened. That is industry standard - not bad luck.

Products used in this step

2

Learn the Six Stages of Tomato Ripening

2:30
Step 2: Learn the Six Stages of Tomato Ripening

A tomato goes through six stages: immature green, mature green, breaker, turning, pink (or light red), and red ripe. The plant only feeds the fruit until it hits the breaker stage. After that, the tomato has built its own seal at the stem - it can no longer take in sugars or water from the vine. Every day past breaker is just exposure: to pests, cracking, splitting, sunscald, and weather.

This single fact changes everything about when to pick. The vine is a delivery vehicle, not a flavor factory. Once it has delivered, your job is to get the fruit somewhere safer to finish.

Tip

Immature greens are small, dull, and lighter in color. Mature greens are full-sized, glossy, and a deeper waxy green. Only mature greens can ripen off-vine - immature ones just rot.

3

Spot the Breaker Stage at the Blossom End

4:55
Step 3: Spot the Breaker Stage at the Blossom End

The breaker stage is the moment a tomato shows its first hint of color change away from green. Look at the blossom end - the bottom of the fruit, opposite the stem. You are looking for a faint yellow, pink, or pale orange tint, sometimes just on a quarter-sized patch.

Walk your plants every morning. The shift from mature green to breaker can happen overnight on a single fruit, and if you wait three or four days you have already given the squirrels and stink bugs their window. Tomatoes at this exact stage are what you want in your basket.

Tip

Tip the fruit gently to check the underside without picking it. Color changes always start at the blossom end, not the shoulders.

4

Pick at Breaker - the Flavor Is the Same

9:00
Step 4: Pick at Breaker - the Flavor Is the Same

Side-by-side blind taste tests confirm what the science predicts: a tomato picked at breaker and ripened indoors tastes identical to one ripened on the vine. The sugars, acids, and aroma compounds finish their development whether the fruit is on the plant or on a kitchen counter, as long as it crossed the breaker line first.

What is different is everything else. The breaker-picked tomato is firmer, unblemished, free of cracks, and actually sitting in your kitchen. The vine-ripened one is more likely to be cracked, sunscalded, or already in a squirrel's mouth. Pick at breaker every time.

Tip

Heirlooms and beefsteaks especially benefit from breaker picking - their thinner skins crack the moment they sit through a heavy summer rainstorm at full ripeness.

Products used in this step

5

Twist and Lift to Pick Cleanly

4:50
Step 5: Twist and Lift to Pick Cleanly

Cup the tomato in your palm with the stem at the top of your hand. Lift gently and rotate your wrist - the stem will snap cleanly at the calyx, the green star where it connects to the fruit branch. The break should feel like popping a small joint. If the stem fights you and the whole branch flexes, the fruit is not ready. Leave it and come back in a day or two.

Avoid yanking straight down. A hard pull can rip an entire fruit-bearing branch off the plant and cost you every tomato on that cluster. For thick-stemmed heirlooms, use garden snips and cut the stem about a quarter inch above the calyx - cleaner cut, no tug on the plant.

Tip

Keep the calyx attached to the fruit when you can. Tomatoes ripen a day or two longer in storage with the calyx still on, and the dry stem cap helps you spot the freshest fruit at a glance.

Products used in this step

6

Ripen Indoors on the Counter (Never the Windowsill)

11:25
Step 6: Ripen Indoors on the Counter (Never the Windowsill)

Bring the breaker-stage tomatoes inside and set them stem-side-up on a kitchen counter in a single layer, with enough space between each one that they are not touching. A cardboard box or a wood crate works just as well - the goal is a single layer at room temperature, around 65 to 70 degrees, out of direct sunlight.

Three things ruin this. Direct sun cooks the skin and dulls the flavor, which is why a windowsill is the worst spot in the kitchen. Stacking traps ethylene against the lower fruit and they all go at once. And the fridge - more on that in a moment - kills flavor permanently. Counter, single layer, no sun. That is it.

Tip

Slip a banana into the box if you want to speed things up. Bananas release a lot of ethylene and will cut ripening time in half. Pull the banana out as soon as the tomatoes turn or they will go too fast.

7

End of Season - Pick Everything Before First Frost

2:25
Step 7: End of Season - Pick Everything Before First Frost

Two weeks before your average first frost date, watch the forecast. The night before any forecasted low under 40 degrees, walk the garden and pick every fruit that has reached at least the mature green stage. Mature greens are full-sized, glossy, and a deeper waxy green - they will ripen on the counter exactly like breaker-stage fruit. The small, dull, immature greens will not ripen and should go to the compost or the fryer.

Sort everything you brought in. Set the mature greens out in a single layer to ripen over the next two to four weeks. The harder, paler ones that are clearly immature get used right away for fried green tomatoes, salsa verde, or refrigerator pickles. You will eat fresh garden tomatoes well into November.

Tip

If a hard frost catches you with fruit still on the plants, pull whole vines up by the roots and hang them upside down in a garage or basement. The plant keeps feeding the fruit for another few days even after it is uprooted.

Products used in this step

Products Used

☐ The Checklist

How to Harvest Tomatoes (When and How to Pick for Best Flavor)

Tools
2
Materials
1
Steps
7
Video
17 min

Your Guide

The Millennial Gardener

As an Amazon Associate we earn from qualifying purchases. Links on this page may be affiliate links - clicking them and buying doesn't change your price, but helps support ShowMeStepByStep.

Tags

Test your knowledge

Did the lesson stick? Find out in 2 minutes.

5 quick questions covering what you just read. No signup, no score saved — just a gut check.

Quick reference

Key takeaways from How to Harvest Tomatoes (When and How to Pick for Best Flavor)

5 questions, answers, and one-line explanations. Tap to expand.

  1. 1.What's a 'breaker-stage' tomato?

    Answer: A tomato showing its first hint of color change away from green

    A faint pink, yellow, or pale orange tint at the blossom end is the breaker signal.

  2. 2.After the breaker stage, what does the plant still give the tomato?

    Answer: Nothing - the fruit has built its own seal and stops feeding from the vine

    Once breaker hits, the vine stops feeding; every extra day on the plant is just exposure to risk.

  3. 3.Where do you look for the breaker color change?

    Answer: The blossom end (bottom, opposite the stem)

    Breaker shows first at the blossom end - sometimes just a quarter-sized patch.

  4. 4.How do you pick a tomato cleanly without ripping the branch?

    Answer: Cup it, lift gently, and rotate your wrist to snap at the calyx

    Twist-and-lift breaks at the calyx joint without flexing the fruit-bearing branch.

  5. 5.Where should you ripen picked breaker-stage tomatoes?

    Answer: On the counter, stem-up, single layer, out of direct sun

    Direct sun cooks the skin, the fridge kills flavor permanently, and stacking traps ethylene.

What's next

Related collections

Curated theme pages that include this tutorial.

Weekly Digest

Liked this gardening tutorial?

Pick the categories you want to hear about. Weekly digest of new step-by-step tutorials. No spam, easy unsubscribe.

Send me tutorials about

We only email about new tutorials. Easy unsubscribe anytime.