When to Harvest Potatoes (5 Signs They're Ready)

Also in:Adulting

By ShowMeStepByStepPublished

Based on a video by Gardenary.

Potatoes do not come with a calendar. Days-to-maturity on the seed packet is a rough estimate, and weather, variety, and soil temperature all shift it by weeks. The good news: the plant tells you exactly when it's ready, and once you know the signals you'll never dig too early or wait too long again.

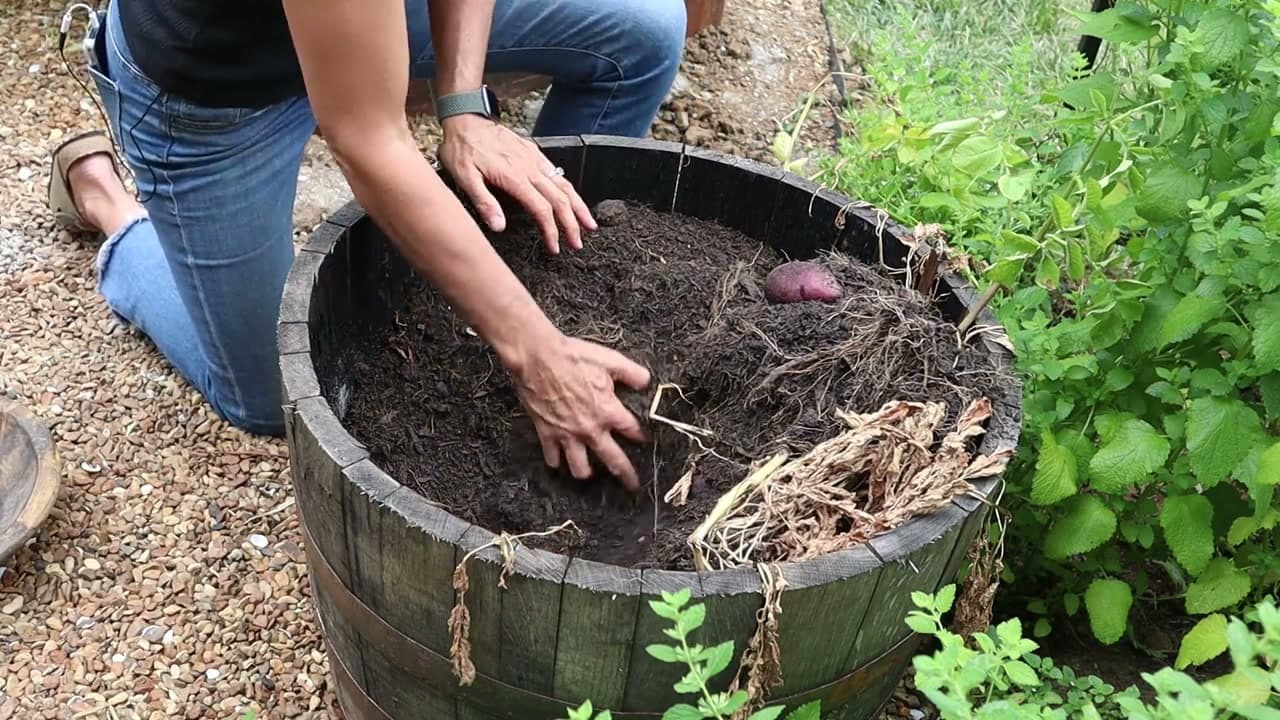
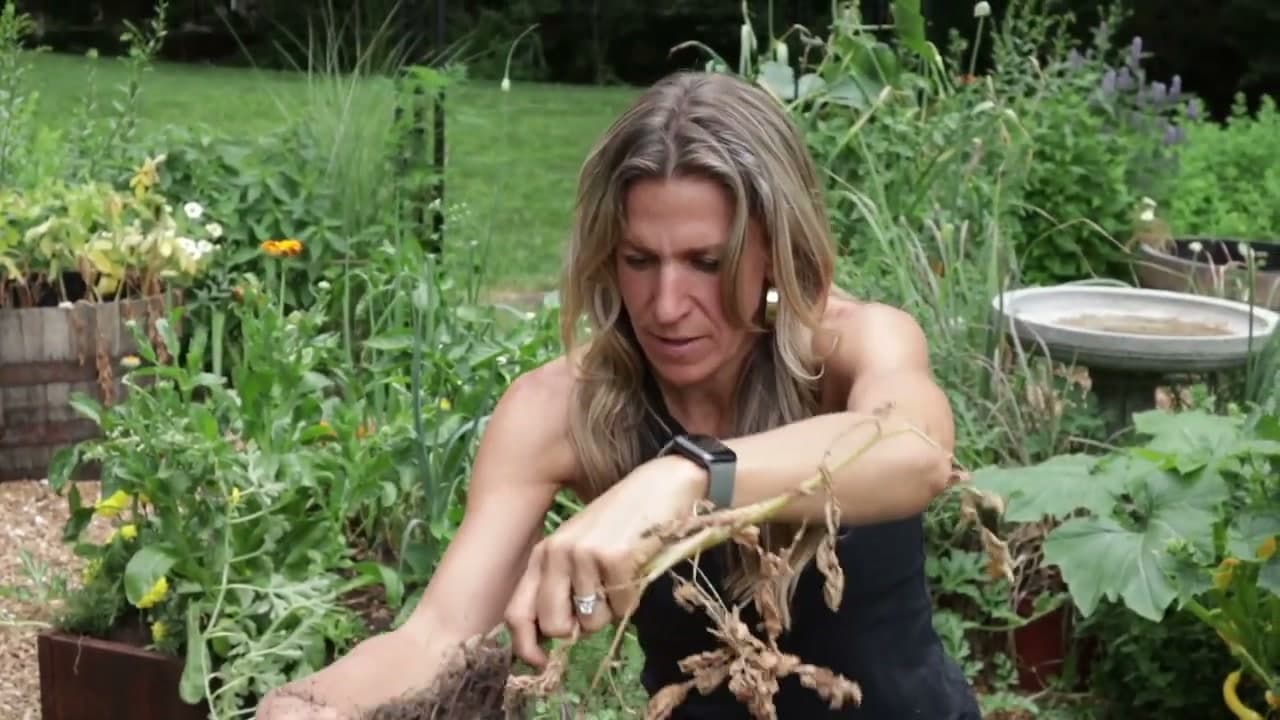
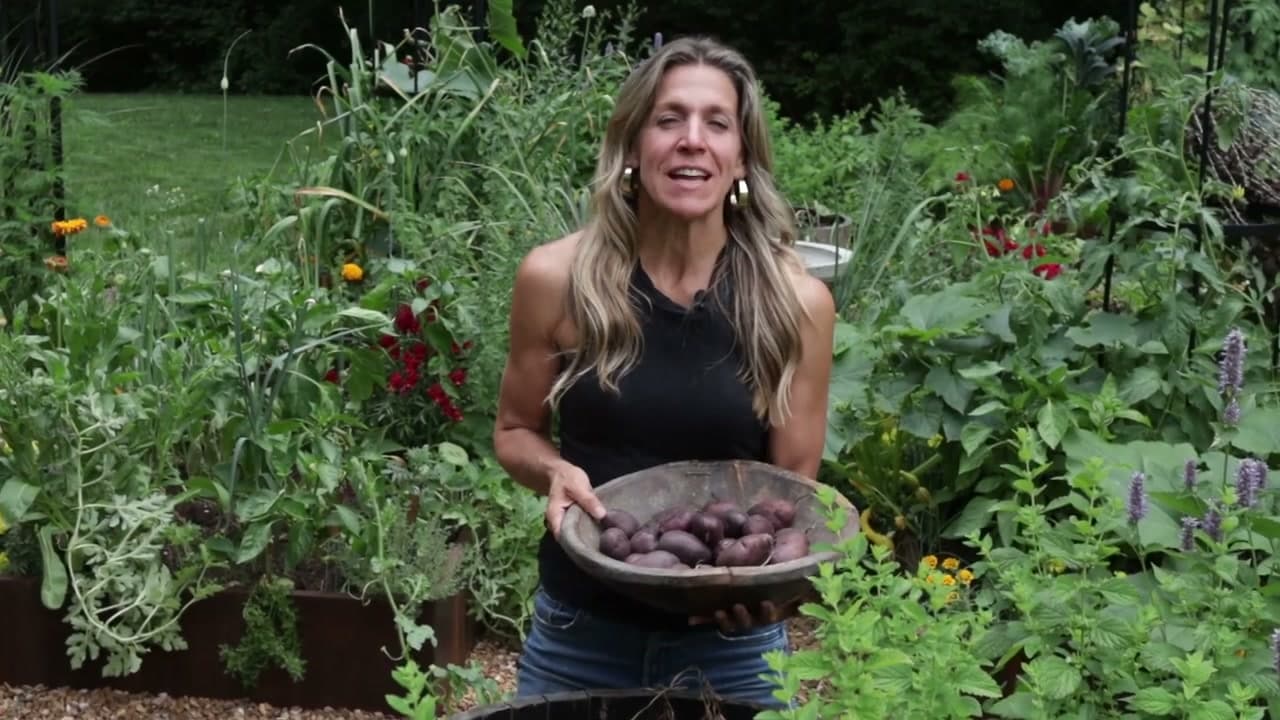
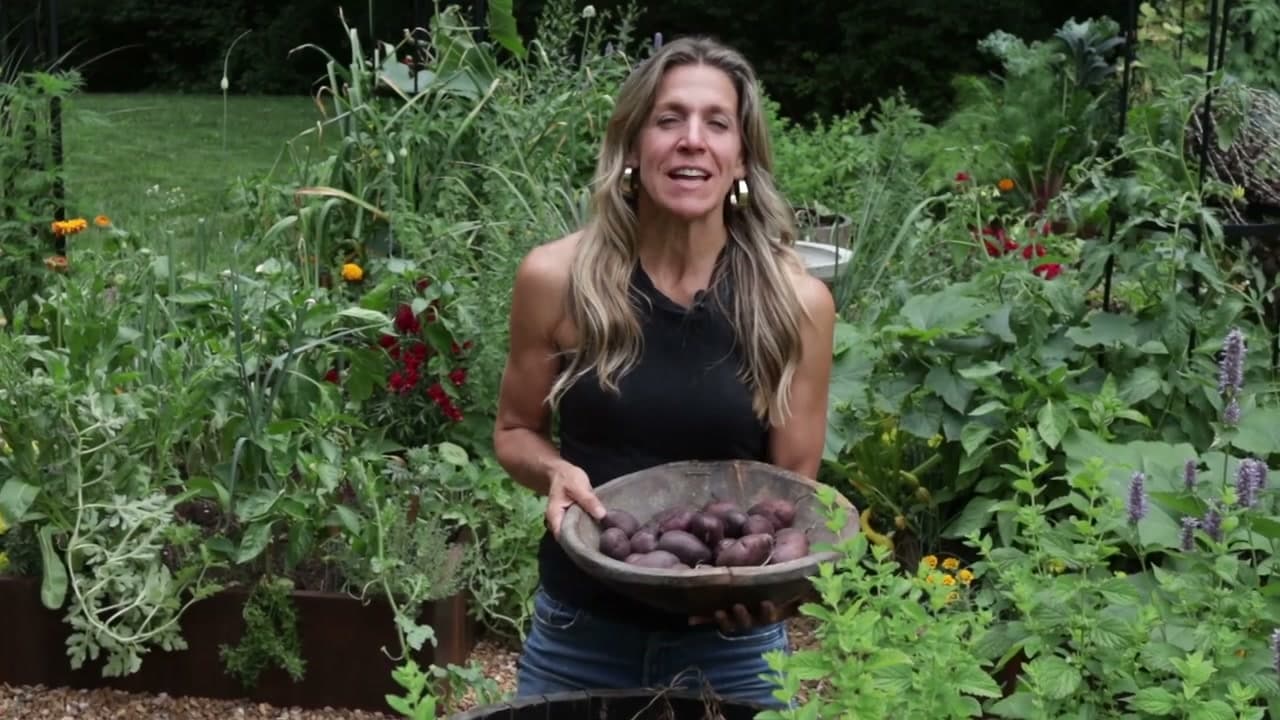
Gardenary's Nicole Burke walks her bed of potato plants and shows the difference between a plant that needs another two weeks underground, a plant that's right at the line, and one that's clearly done. Then she lifts a whiskey-barrel planting by hand and sweeps the soil for stragglers. Five and a half minutes, no jargon, and you'll spot a ready potato plant the moment you walk back outside.

If you're planning next season already, pair this guide with our tomato harvest guide and onion harvest guide to finish out your summer beds with nothing wasted.

Step-by-Step Guide

1

Watch the Foliage for Yellowing and Die-Back

0:42
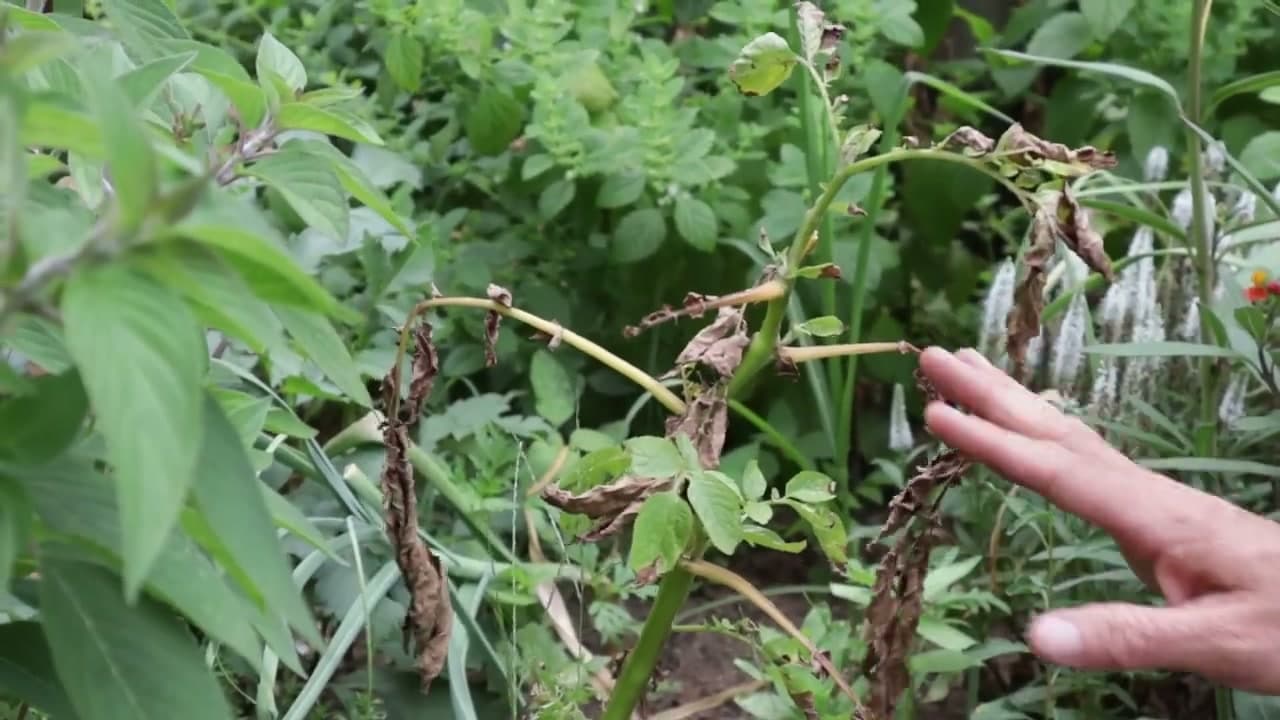
Step 1: Watch the Foliage for Yellowing and Die-Back

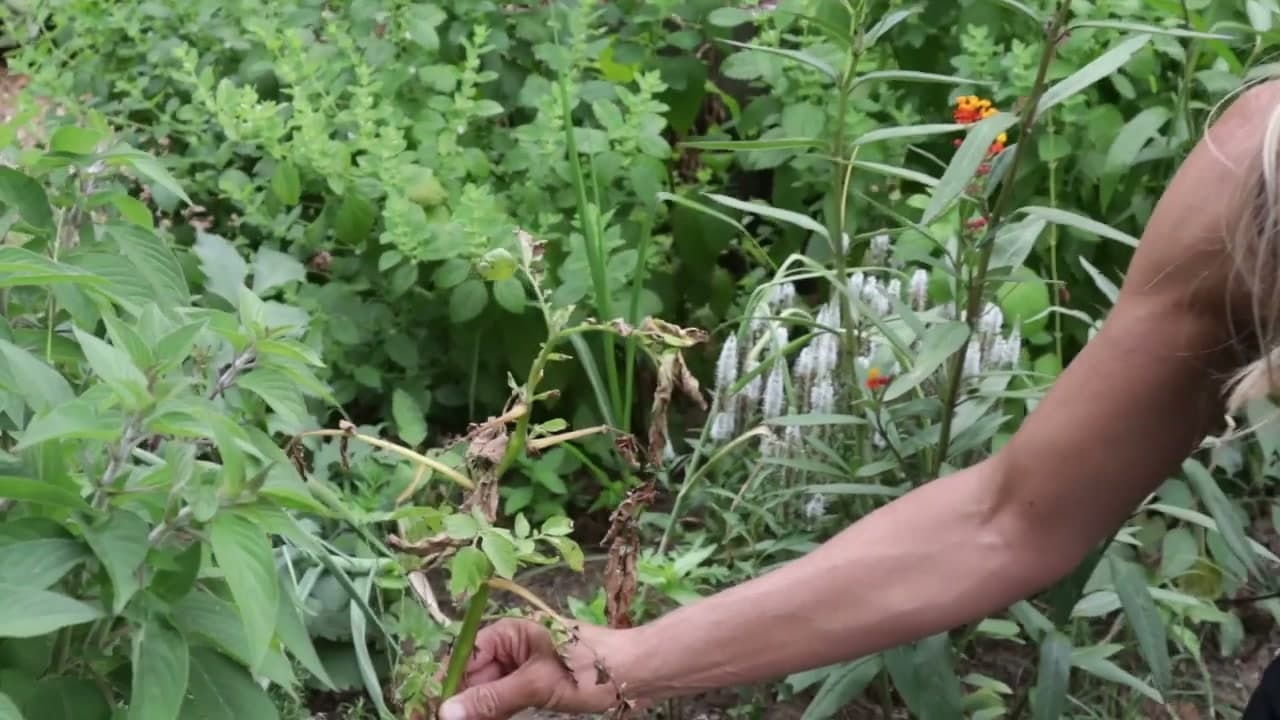
Potatoes tell you when they're ready by what's happening above ground. Once the tubers finish forming, the leaves stop being useful to the plant and start to die off. Look for foliage that's lost its bright green color and is shifting toward yellow, brown, and limp. The stems will start to lay over instead of standing upright.

If a plant is still vivid green with leaves pointing skyward, those potatoes underneath are still bulking up. Leave them alone. The signal you want is unmistakable: the top of the plant looks like it's giving up.

Tip

Drying potato foliage looks a lot like blight damage. The difference: blight spreads in patches across multiple plants in days, while natural die-back happens evenly across one plant over a week or two.

Products used in this step

2

Spot the In-Between Plants That Need More Time

0:46
Step 2: Spot the In-Between Plants That Need More Time

Not every plant in the same bed will be ready at the same moment. Some will show early wear - a few yellow spots on the lower leaves, slight discoloration on the edges - but the stems are still standing tall. That plant has another week or two underground.

Mark it mentally, water the rest of the bed normally, and check again in seven days. Pulling early gives you small potatoes with thin skins that won't store. The patience pays off in pounds.

Tip

If you're growing different varieties in the same bed, expect a two- to three-week spread between the first plants ready and the last. Early varieties like Yukon Gold finish ahead of storage varieties like Russet.

Products used in this step

3

Confirm Maturity with a Single Test Dig

4:25
Step 3: Confirm Maturity with a Single Test Dig

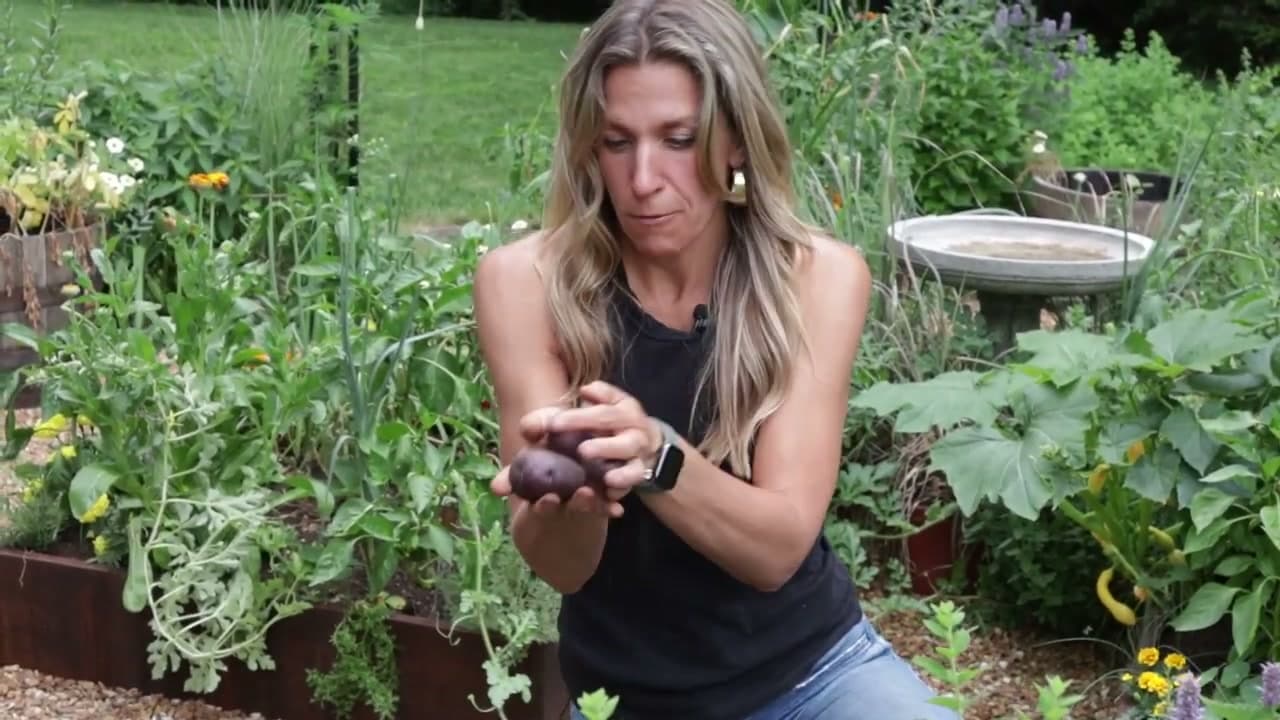
If you're still unsure, dig one plant to check before you commit to the whole bed. Use a hand trowel and start about 8 inches out from the main stem so you don't slice into any tubers. Lift one potato and rub the skin with your thumb.

If the skin scrapes off easily, the crop isn't fully cured underground yet and needs another week or two. If the skin stays put and feels papery-firm, the rest of the bed is ready to come up.

Tip

A test-dug potato that has loose skin can still be eaten - it just won't store. Wash it gently, cook it within a couple of days, and let the rest of the bed finish curing in the ground.

4

Stop Watering 7 to 14 Days Before Harvest

2:24
Step 4: Stop Watering 7 to 14 Days Before Harvest

Once most plants have laid over and browned, stop watering. Letting the soil dry out for a week or two firms up the skins, reduces rot risk, and makes lifting cleaner. The plants are done feeding the tubers anyway - extra water at this stage just feeds rot.

Pick a stretch of dry weather for the actual dig if you can. Harvesting wet potatoes from wet soil leads to bruises, mud caked on every tuber, and a much shorter storage life.

Tip

If a heavy rain hits the day before your planned harvest, wait three days. Soil needs to drain before you can lift cleanly, and tubers pulled from soaked ground are far more likely to develop scab spots in storage.

Products used in this step

5

Lift the Plants with a Garden Fork

2:10
Step 5: Lift the Plants with a Garden Fork

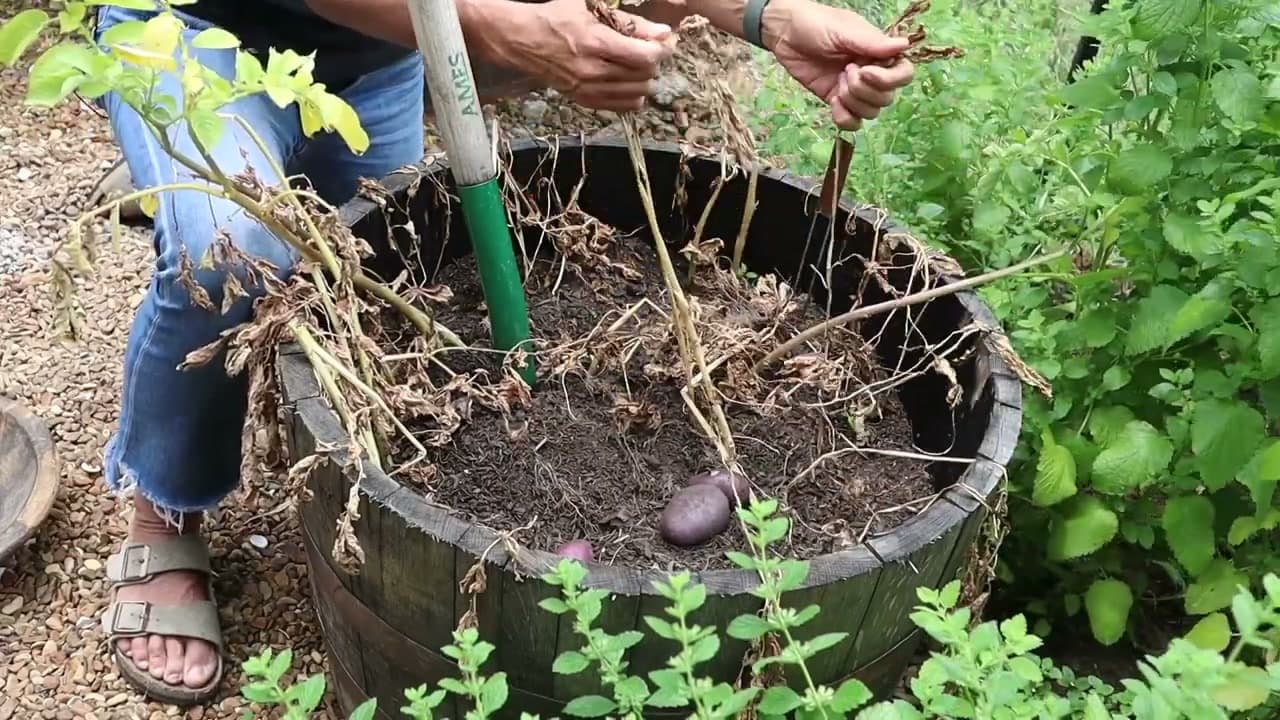
Slide a garden fork into the soil about a foot away from the stem and rock it backward to break up the root ball, then lift straight up. The whole plant comes out with the bulk of the tubers attached. For container or whiskey-barrel plantings, you can often grab the dead stem and pull the whole plant out by hand without a tool at all.

Work slowly. Spear damage from a fork driven too close to the stem is the most common harvest mistake, and a punctured potato won't store more than a few days. Better to lift one extra forkful of soil than slice through your biggest potato.

Tip

Use a garden fork, not a shovel. A shovel's flat blade is much more likely to slice tubers in half than a fork's tines, which slide between them.

6

Hand-Sweep the Soil for Stragglers

4:35
Step 6: Hand-Sweep the Soil for Stragglers

After lifting the main plant, get down on your knees and feel through the loose soil with your hands. Tubers grow on stolons that snap off easily when you pull the plant, and the stragglers left behind are usually the biggest potatoes of the crop.

Sweep down at least 6 inches and out a foot in every direction from where the stem was. Missing the stragglers means a volunteer plant next spring and a smaller harvest right now. Two minutes of digging through dirt with bare hands is worth several pounds of potatoes.

Tip

If you find a green-shouldered potato while sweeping, set it aside in a separate pile. Green areas contain solanine, which is mildly toxic - peel that section off thickly before cooking or compost the whole potato.

7

Brush Off Soil and Cure for 1 to 2 Weeks

3:40
Step 7: Brush Off Soil and Cure for 1 to 2 Weeks

Do not wash freshly dug potatoes. Water dramatically shortens their storage life. Instead, brush off loose dirt with a dry soft brush or your hand and lay the potatoes in a single layer on newspaper or burlap.

Keep them in a cool, dark, well-ventilated spot at around 50 to 60 degrees for 10 to 14 days. Curing thickens the skin, heals small scrapes from the fork, and is the single biggest factor in whether your potatoes last a month or six months.

Tip

A spare bedroom with the curtains drawn, a basement, a covered porch, or even a garage will work for curing. The two requirements are no direct sunlight and decent airflow - skip a sealed closet.

8

Sort and Store for the Long Haul

5:40
Step 8: Sort and Store for the Long Haul

Once cured, sort the harvest. Set aside any potatoes that are bruised, green-tinged, or damaged from the fork to use this week - they will not store. Store the rest in a paper sack, burlap bag, or wood crate in a cool dark spot around 45 to 55 degrees.

Skip plastic bags and skip the fridge. Plastic traps moisture and the cold temperatures of a refrigerator turn potato starches into sugar, ruining the texture. Check the stash every few weeks and pull anything that softens. Stored well, your potatoes will keep for four to six months.

Tip

Toss an apple into the storage bin. Apples release ethylene gas that suppresses sprouting in potatoes, buying you an extra month or two before eyes start to pop.

Products Used

☐ The Checklist

When to Harvest Potatoes (5 Signs They're Ready)

Tools
6
Materials
2
Steps
8
Video
6 min

Your Guide

Gardenary

As an Amazon Associate we earn from qualifying purchases. Links on this page may be affiliate links - clicking them and buying doesn't change your price, but helps support ShowMeStepByStep.

Tags

What's next

Weekly Digest

Liked this gardening tutorial?

Pick the categories you want to hear about. Weekly digest of new step-by-step tutorials. No spam, easy unsubscribe.

Send me tutorials about

We only email about new tutorials. Easy unsubscribe anytime.