How to Harvest Sage

GardeningEasy5:327 stepsBrowse more →

By ShowMeStepByStepPublished

Based on a video by Growing In The Garden.

Sage is one of those herbs you can pick from all year once it settles in. The trick is cutting it in a way that keeps the plant full and productive instead of woody and bare.

Angela from Growing In The Garden grows sage in her Mesa, Arizona garden, and in this guide she walks through the harvest: when the leaves are ready, how to make a clean cut above a leaf node, how much to take at once, and what to do with the edible purple flowers.

By the end you will know how to keep one sage plant feeding your kitchen for years, plus how to dry and store the extra so nothing goes to waste.

Step-by-Step Guide

1

Step 1: Know When to Harvest

4:22
Step 1: Step 1: Know When to Harvest

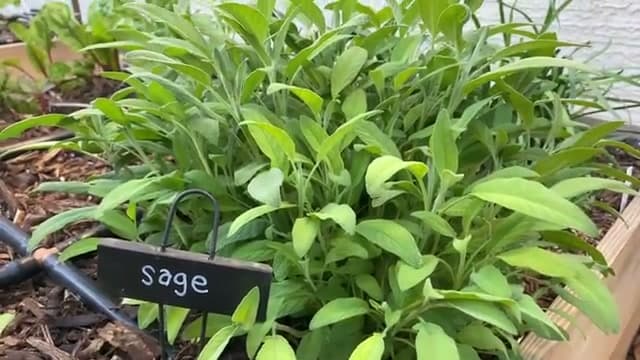
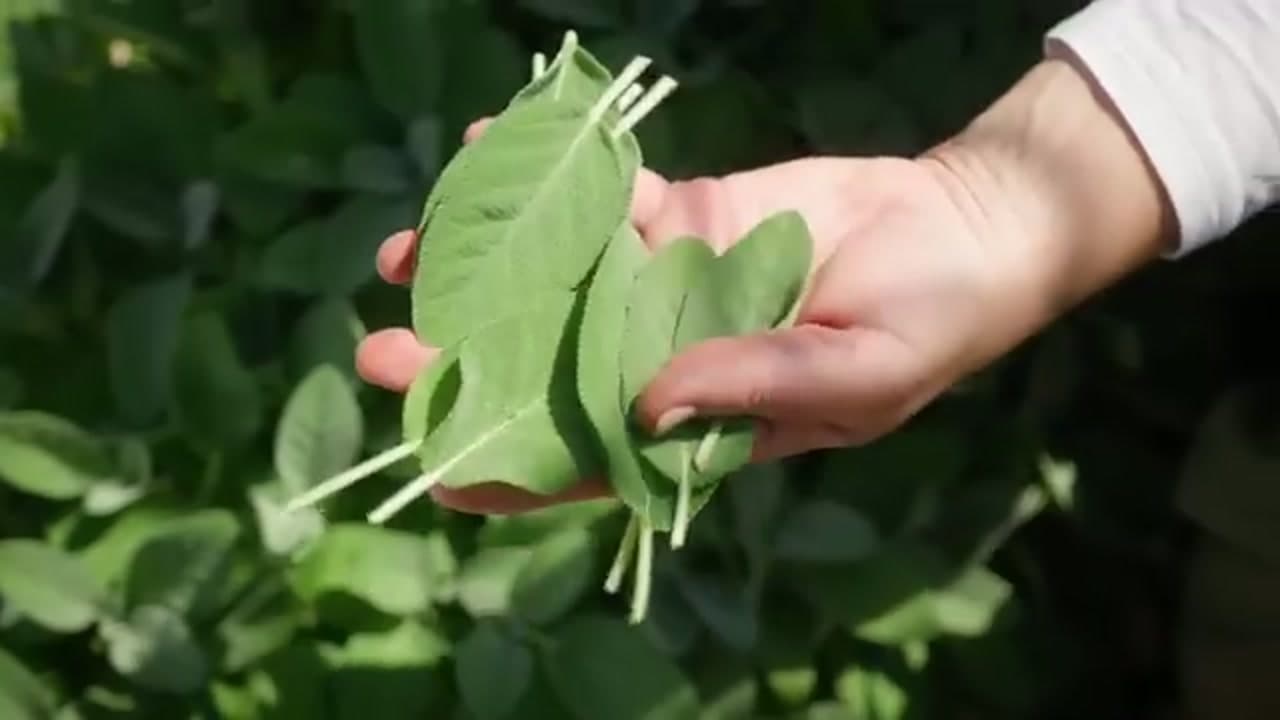
An established sage plant can be harvested year round, so you rarely have to wait for a special window. Look for firm, healthy gray-green leaves and pick as you need them. Sage that is a few years old and full like this one gives you plenty to work with. Grab a little for tonight's dinner or a bigger handful when you want to dry some for later.

Tip

Morning is a good time to cut, after the dew dries but before the afternoon heat. The leaves have the most flavor then.
2

Step 2: Cut, Don't Tear

4:20
Step 2: Step 2: Cut, Don't Tear

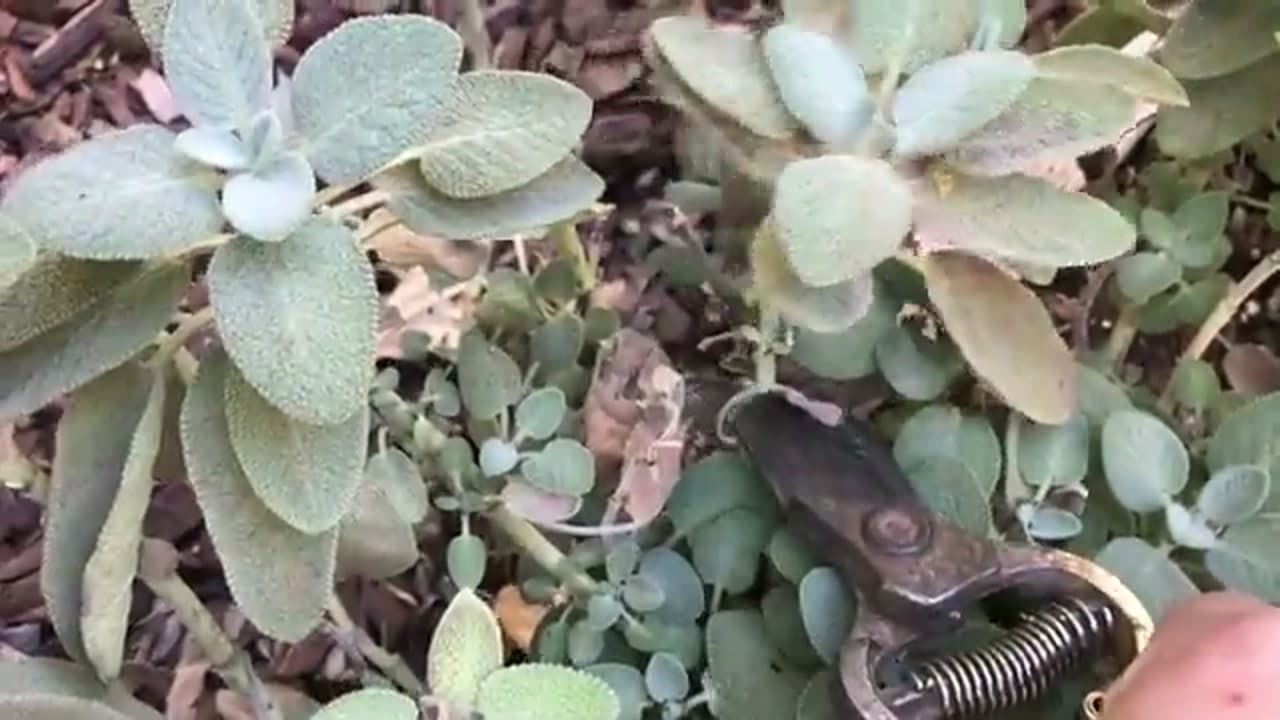
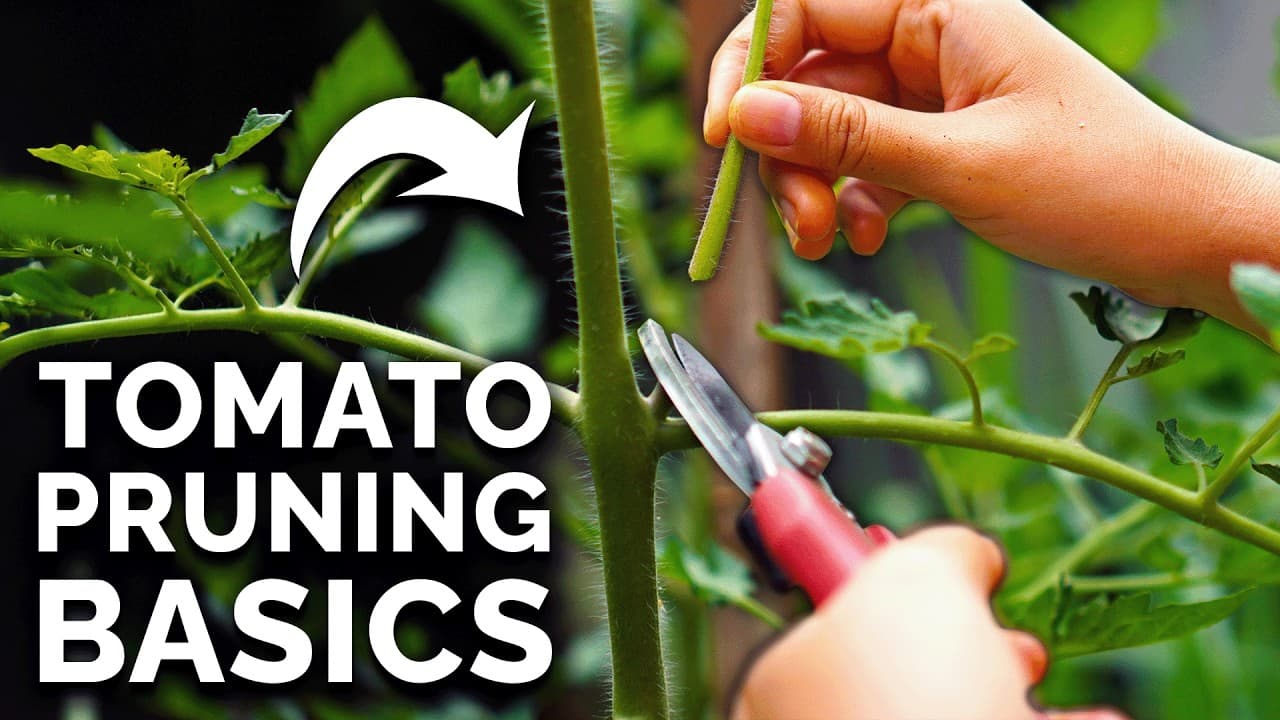
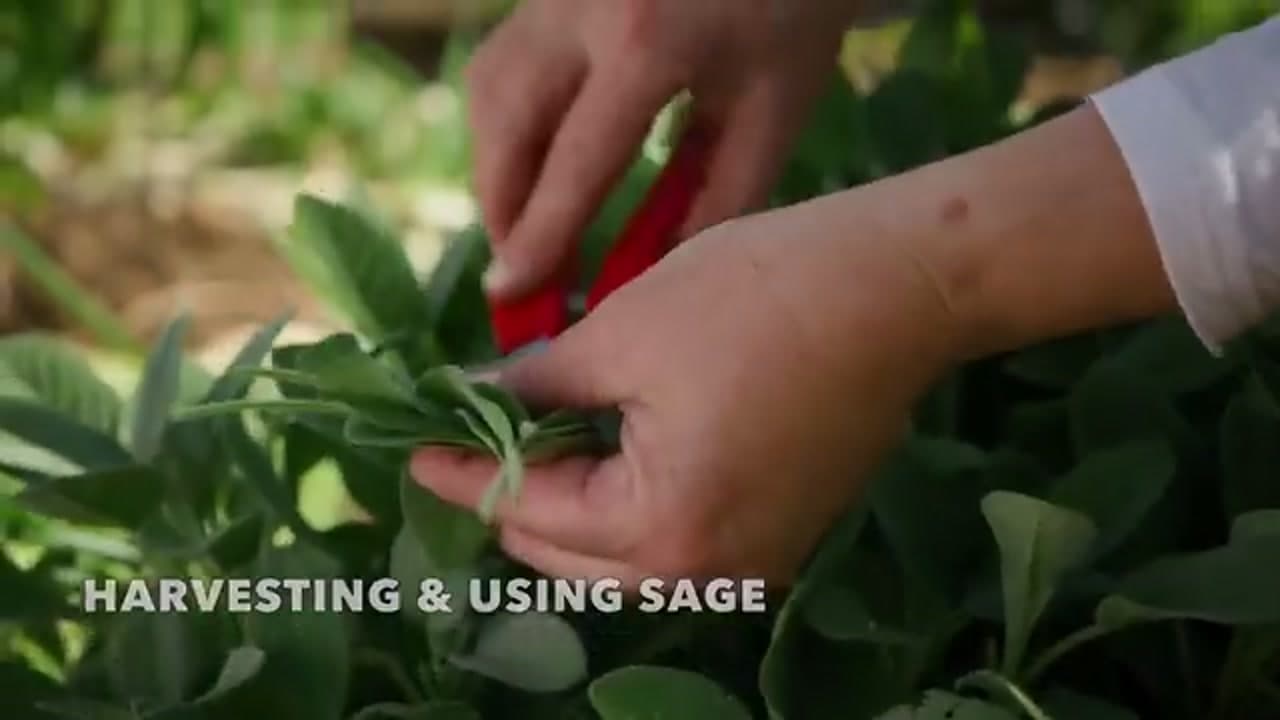
Hold a sprig steady with one hand and snip it cleanly with garden snips or pruning shears. Make the cut just above a set of leaves, right at a leaf node. That is where the plant branches out, so cutting there tells it to push two new stems from that spot. Tearing sage off by hand crushes the stem and leaves a ragged wound, so reach for the snips.

Tip

A clean cut heals faster and looks tidier. Wipe your blades if you have been cutting diseased plants.

Products used in this step

3

Step 3: Take Only What You Need

4:23
Step 3: Step 3: Take Only What You Need

A small handful goes a long way with sage, so don't strip the whole plant at once. Harvest from the soft, leafy top growth and stay out of the thick woody stems near the base. That old wood won't push out new leaves the way the green growth does. Leaving most of the plant intact keeps it strong and ready to give you more in a week or two.

Tip

A good rule is to take no more than a third of the plant at any one harvest.

4

Step 4: Harvest the Flowers Too

4:21
Step 4: Step 4: Harvest the Flowers Too

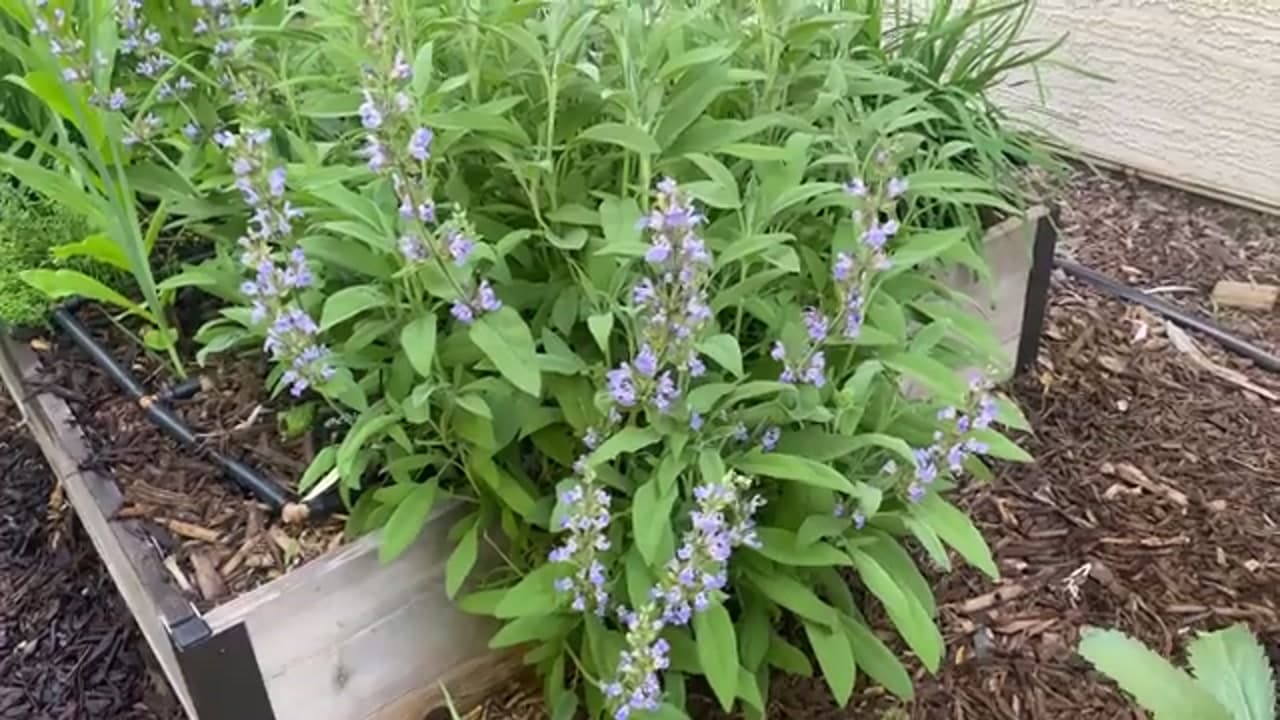
Those purple flower spikes are edible, so don't overlook them. Snip a few to scatter over a salad or to use as a garnish. If you cut them while they are young, you may coax the plant into a second flush of blooms later in the season. The flowers also draw in bees and other pollinators, so leaving some standing is good for the whole garden.

5

Step 5: Cut It Back to Keep It Productive

3:47
Step 5: Step 5: Cut It Back to Keep It Productive

A couple of times a year your sage may look tired, usually at the end of a hot summer or a cold winter. When temperatures ease off and you spot fresh growth at the base, give the plant a hard prune with pruning shears to wake it back up. Follow it with a layer of fresh compost. New growth should push out and the plant will fill in again.

Tip

Don't cut into bare, leafless wood. Leave some green growth so the plant can bounce back.

Products used in this step

6

Step 6: Use It Fresh

4:35
Step 6: Step 6: Use It Fresh

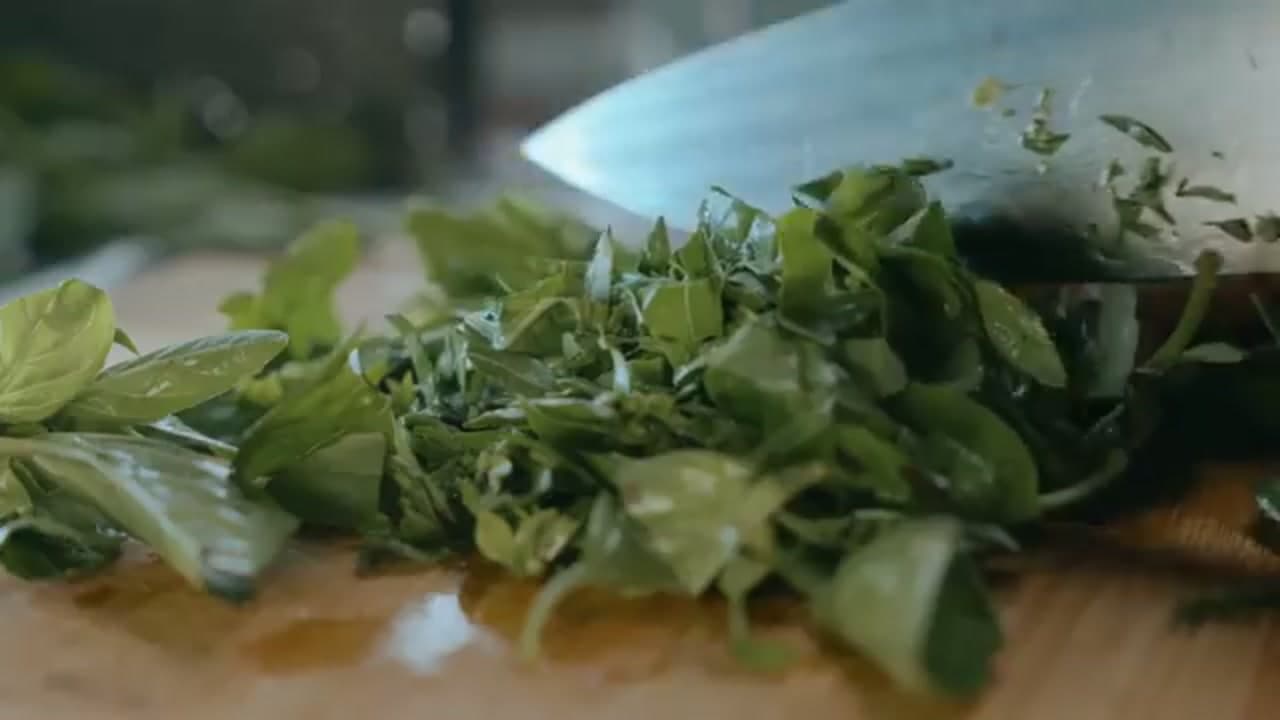
Fresh is where sage really shines. Chop the leaves on a board and add them to soups, roasted vegetables, or a pan of browned butter. It plays well with parsley, rosemary, and thyme, so mix and match. Don't save it only for the holidays. A few chopped leaves in a weeknight dish add a lot of flavor for very little effort.

7

Step 7: Store What You Dry

5:00
Step 7: Step 7: Store What You Dry

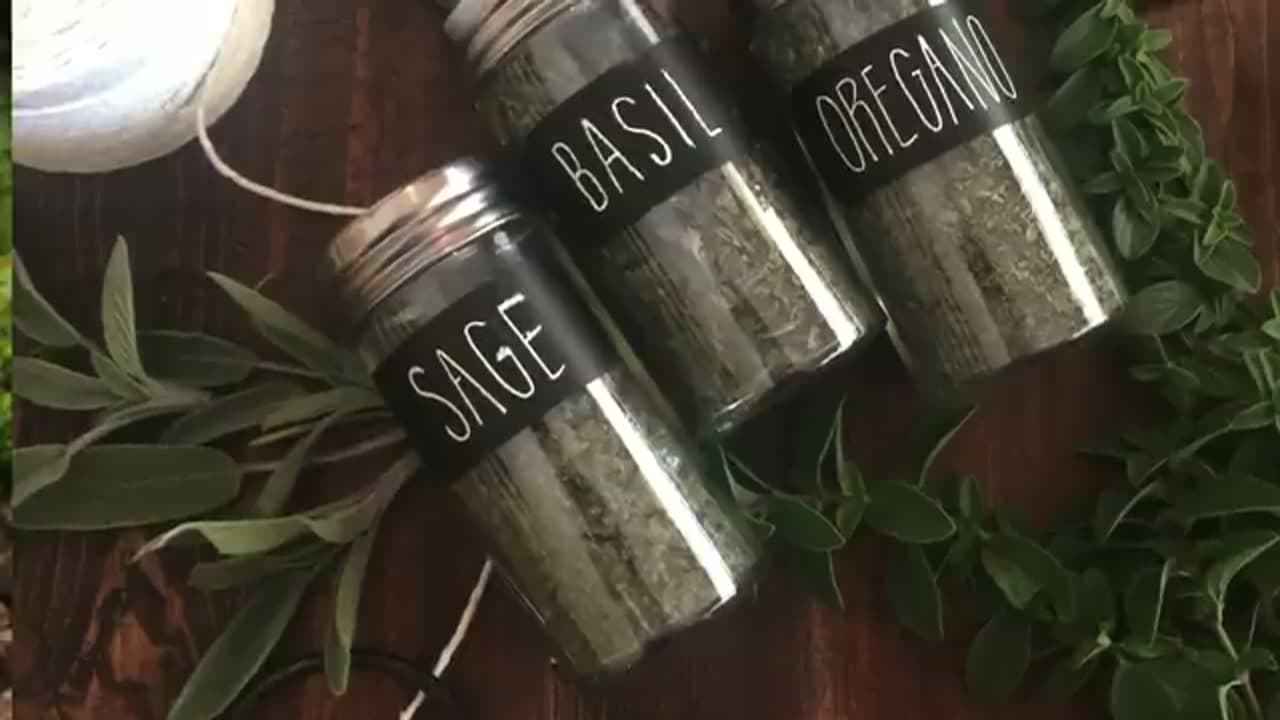
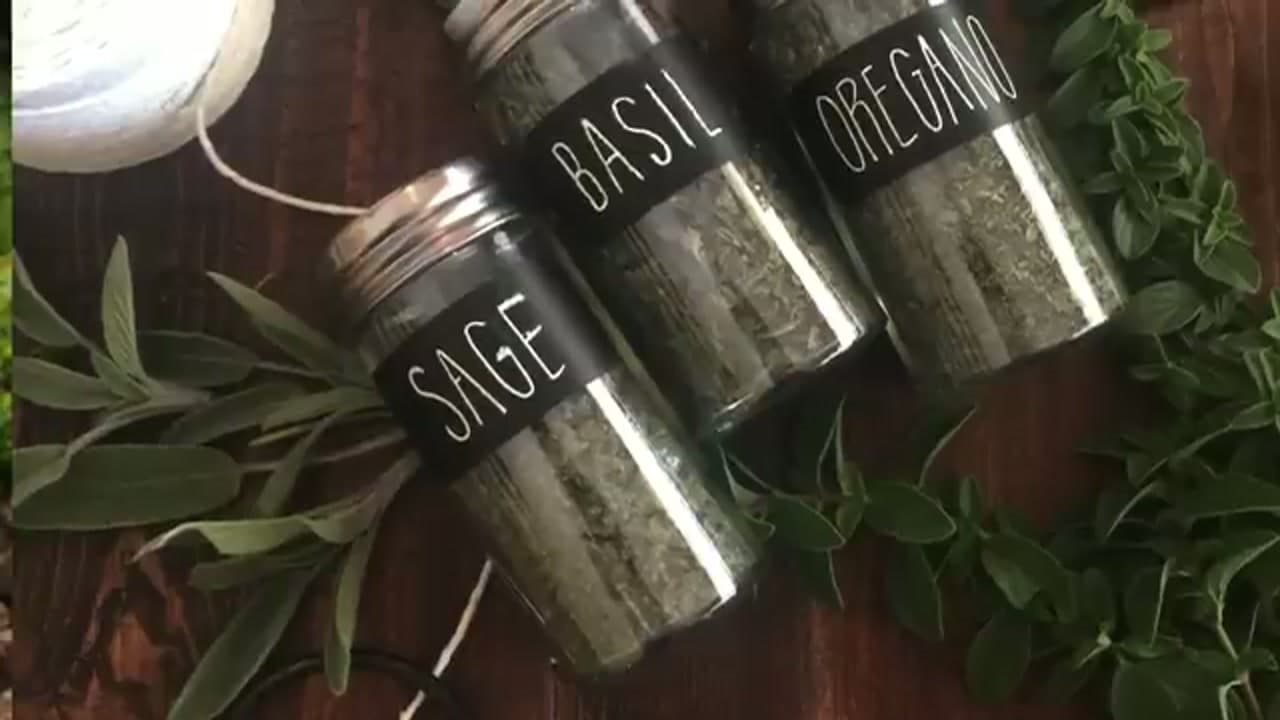
If you cut more than you can use, dry it. Get the leaves fully dry in a dehydrator or freeze dryer, then store them whole in a labeled airtight jar. Crush them just before cooking and they will hold the most flavor. Dried sage tastes stronger and a little different from fresh, so start with less than a recipe calls for. For the full method, see how to dry sage.

Tip

Store jars out of direct sunlight. Whole leaves keep their flavor longer than pre-crushed sage.

Products Used

☐ The Checklist

How to Harvest Sage

Tools
2
Steps
7
Video
6 min

Your Guide

Growing In The Garden

As an Amazon Associate we earn from qualifying purchases. Links on this page may be affiliate links - clicking them and buying doesn't change your price, but helps support ShowMeStepByStep.

Tags

Did this work for you?

What's next

Related collections

Curated theme pages that include this tutorial.

Weekly Digest

Liked this gardening tutorial?

Pick the categories you want to hear about. Weekly digest of new step-by-step tutorials. No spam, easy unsubscribe.

Send me tutorials about

We only email about new tutorials. Easy unsubscribe anytime.