When to Harvest Onions

GardeningEasy10:188 stepsBrowse more →
Also in:Adulting

By ShowMeStepByStepPublished

Based on a video by GrowVeg.

Onions look like they're ready long before they actually are. You see fat bulbs sitting half out of the soil and the temptation to dig is real. Pull them too early and the skins are thin, the flavor is sharp, and the bulbs rot within weeks of storage. Wait for the right signals and the same bulbs will keep you cooking through next spring.

This tutorial follows GrowVeg's harvest-and-store walkthrough. You'll learn how to read the foliage-flop signal, how to lift bulbs without bruising them, how to cure them so the outer skins go papery, and four different ways to store the finished onions through fall and winter.

The two parts most gardeners get wrong: harvesting at the first sign of a flopped leaf instead of waiting for skin color, and storing damp bulbs that should have cured for another two weeks. Get those right and a single bed of onions can feed you for six to eight months.

If you grow your own from sets, the companion piece is how to plant onion sets. For other late-summer harvest projects, see how to harvest tomatoes.

Step-by-Step Guide

1

Step 1: Watch for the Foliage Flop Signal

0:55
Step 1: Step 1: Watch for the Foliage Flop Signal

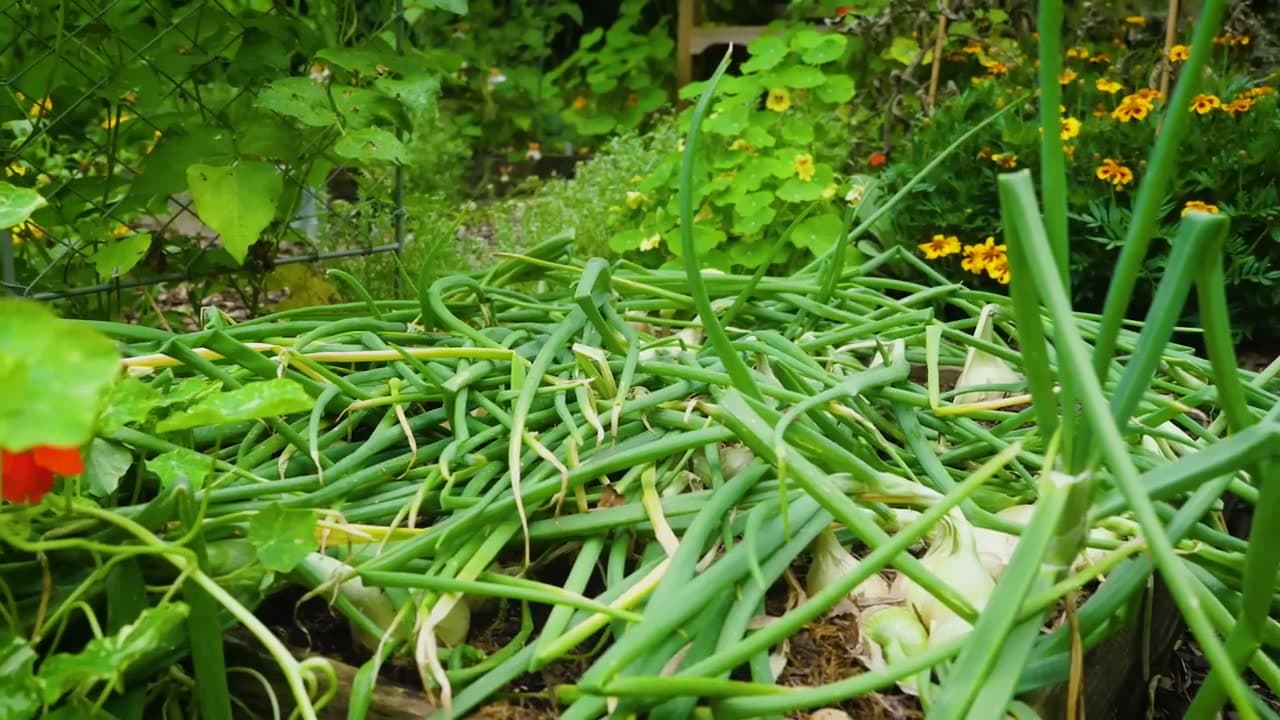
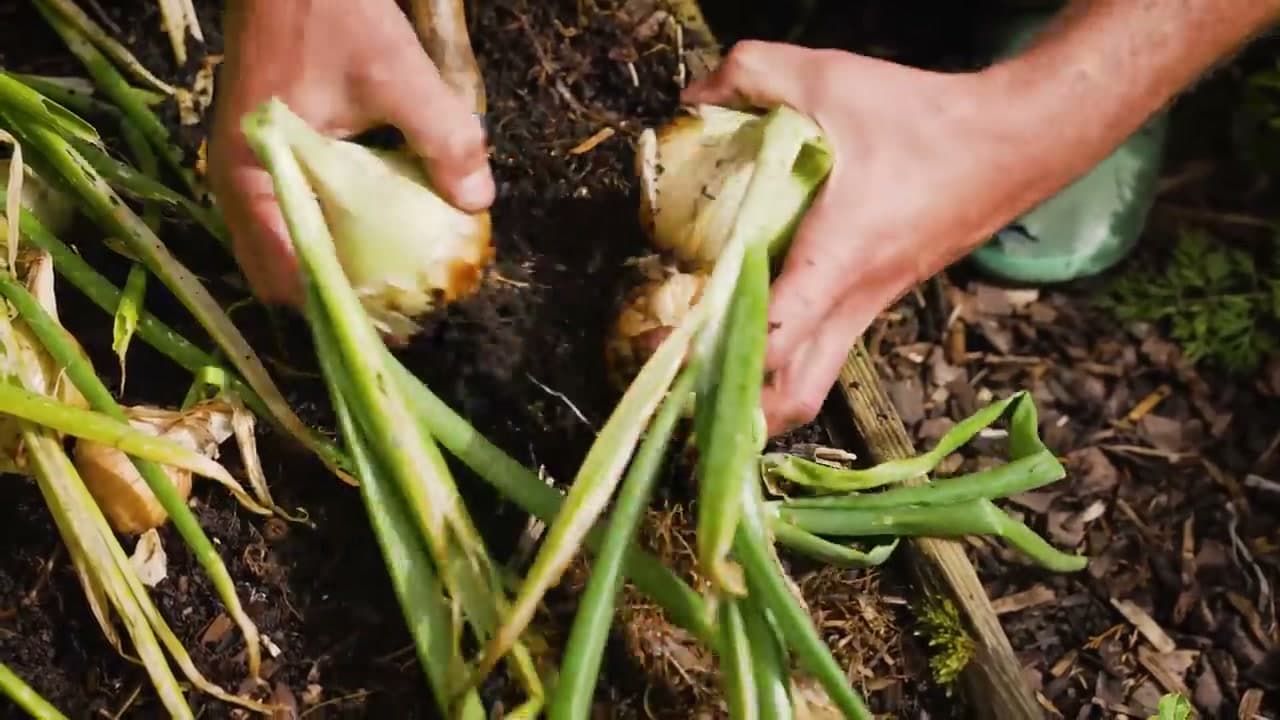
The first real harvest cue is the leaves bending over at the neck of the bulb. Walk past your onion bed and look down. If the green tops are still standing straight up like chives, your onions are still bulking up underground. Once the neck softens, the leaves can't hold their weight anymore and they sag sideways.

That softened neck is the plant winding down for the season. The bulb stops swelling, sugars start moving out of the leaves, and the outer skins begin to firm up. From the day the first leaves flop, you're typically one to two weeks from lift day.

Tip

Old advice was to walk through the bed and step the rest of the leaves over once half had flopped on their own. Don't. Manually breaking the necks can let disease into the bulb. Let the plant flop on its own schedule.
2

Step 2: Wait for Skin Color and Full Maturity

1:30
Step 2: Step 2: Wait for Skin Color and Full Maturity

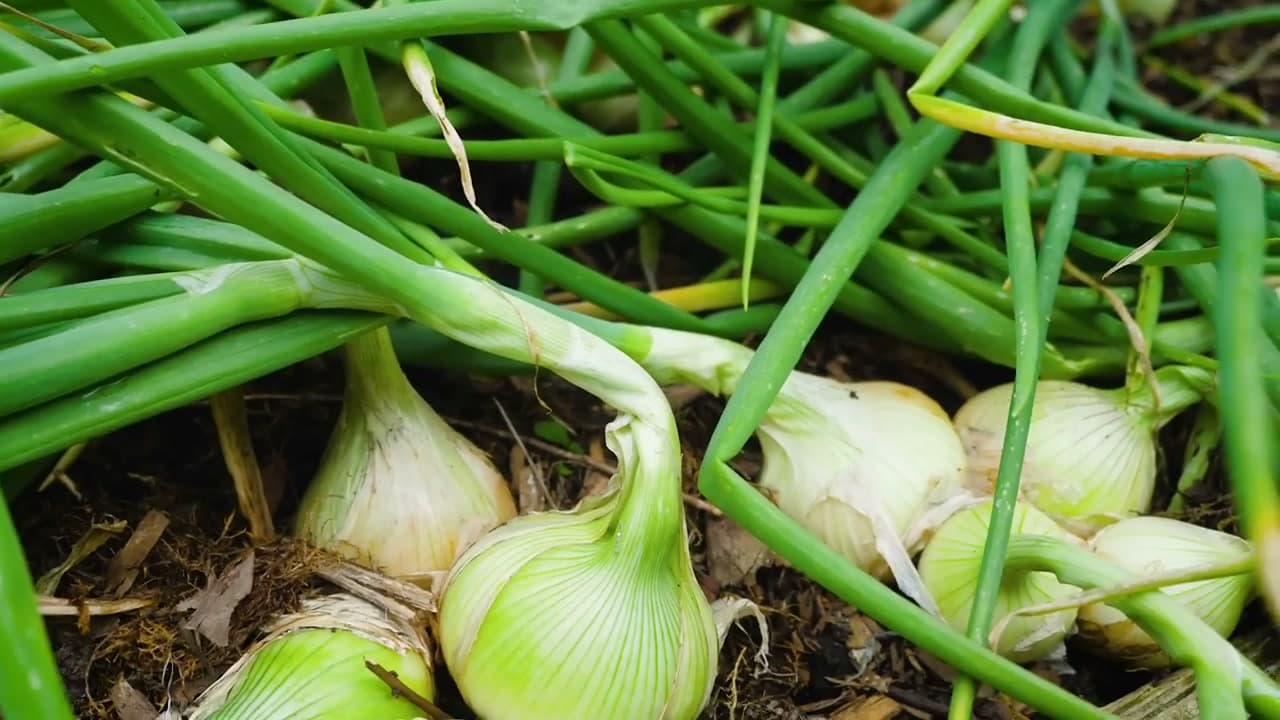
Once roughly half to two-thirds of the bed has flopped, the bulbs go through a final color change. The papery outer skin starts taking on the brown, yellow, or red tone of your variety. The tops of the bulbs sitting above the soil look glossy and dry instead of pale and green.

This is the signal for storage onions. You can absolutely harvest a few early for fresh eating - young onions are sweet and great in salads - but for bulbs that need to last through fall and winter, hold off until the skins have colored up properly.

Tip

Check the weather before you commit to a harvest day. Lifting onions into a forecast of heavy rain just means you'll be carrying soggy bulbs straight into the curing rack. Pick a dry stretch if you can.

Products used in this step

3

Step 3: Lift the Bulbs Without Damaging Them

1:58
Step 3: Step 3: Lift the Bulbs Without Damaging Them

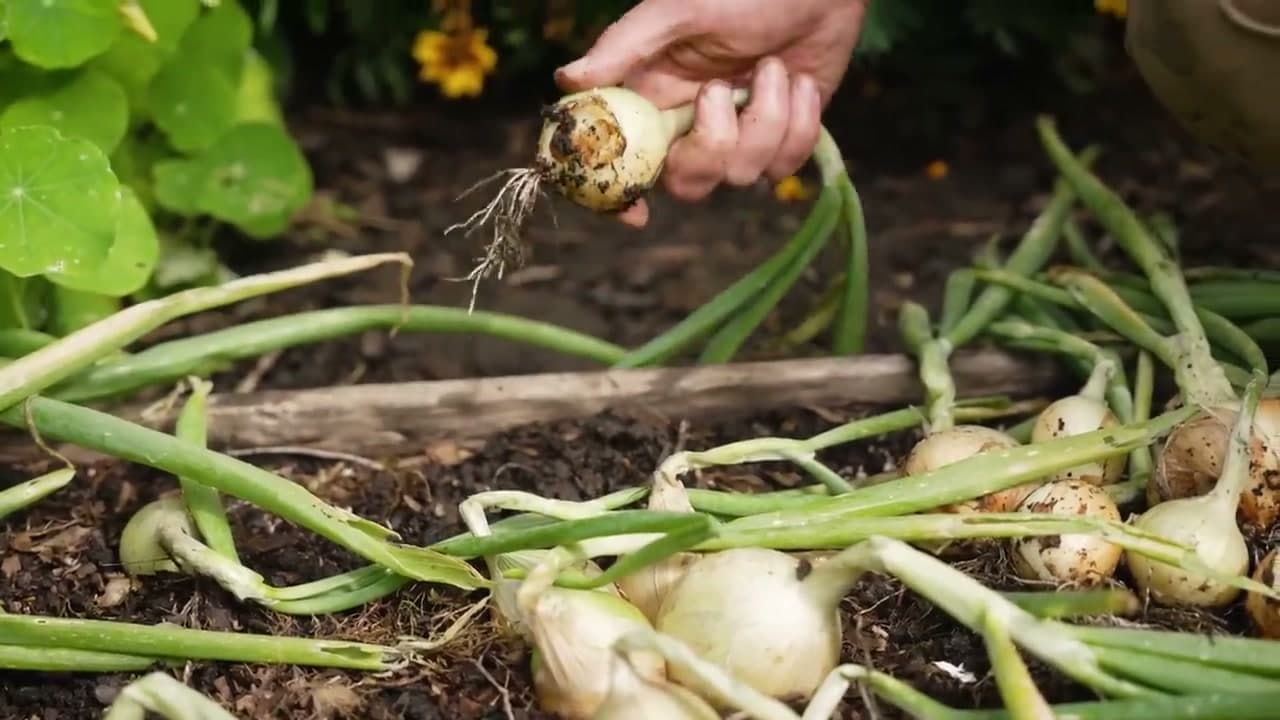
Slide a hand fork or garden fork under each bulb and gently lever it up. Don't yank by the leaves. The pull point is the soil around the roots, not the foliage above. Once the soil loosens, the bulb lifts straight out with the roots still attached.

Keep the roots and leaves intact. They're not just for looks - they help the bulb shut down naturally during curing, which is what gives you a long storage life. Shake off the worst of the dirt, but skip any real cleaning until the cure is done.

Tip

Drop a lifted onion onto hard ground and you've just bruised it. Bruised tissue is where rot starts. Carry the bulbs in a soft basket or crate, and stack no more than two layers deep until they're on the curing rack.

4

Step 4: Sort and Cull as You Lift

2:38
Step 4: Step 4: Sort and Cull as You Lift

Look at each bulb as it comes out of the ground. Anything that's tiny, split, badly damaged, or that bolted to flower goes in a separate pile. Those won't store - the open neck of a bolted onion lets air and bacteria straight into the bulb - but they'll keep for a week or two in the fridge for fresh eating.

Any bulb that already feels soft, squidgy, or smells off gets tossed entirely. One rotting onion can spoil the bulbs touching it during storage. Only firm, dry-necked, healthy-looking bulbs make it onto the cure rack.

Tip

Use the cull pile first. Chop and freeze diced onion in zip bags - it goes straight from freezer to pan and you skip the next month's worth of chopping at dinnertime.

5

Step 5: Set Up a Curing Space

4:00
Step 5: Step 5: Set Up a Curing Space

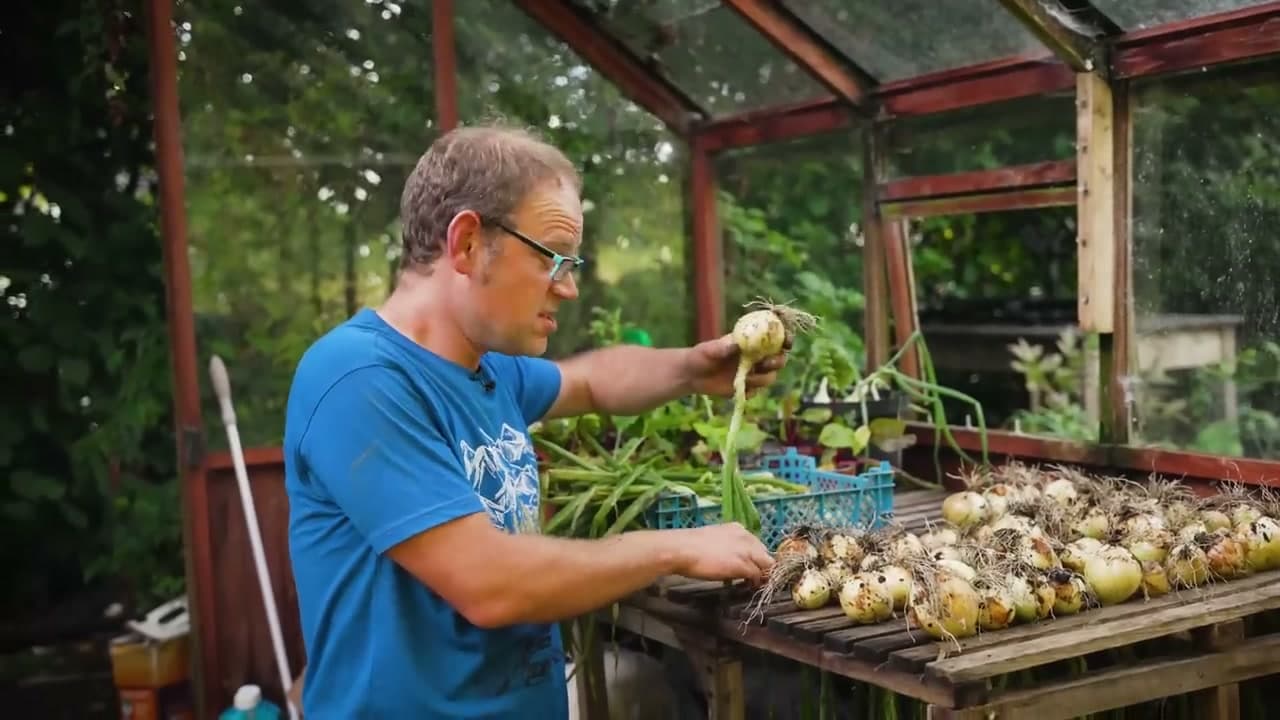
Curing is just controlled drying. You're looking for somewhere dry, sheltered from rain, and with strong air circulation. A greenhouse with a slatted wooden rack is ideal because the warmth speeds the cure, but a porch, garage, lean-to, or covered hoop house works just as well.

What you need to avoid is damp ground, still air, and direct rain. Wet curing onions go straight to rot. Lay them on a raised slatted rack so air moves both above and below, and keep them out of bright direct sun (the bulbs can scald like a sunburn).

Tip

If your only spot is a garage with the door closed, point a box fan toward the rack on low. Air movement matters more than temperature - even cool air will cure onions cleanly if it's actually moving.

6

Step 6: Lay the Onions Out to Cure for 2 to 4 Weeks

4:45
Step 6: Step 6: Lay the Onions Out to Cure for 2 to 4 Weeks

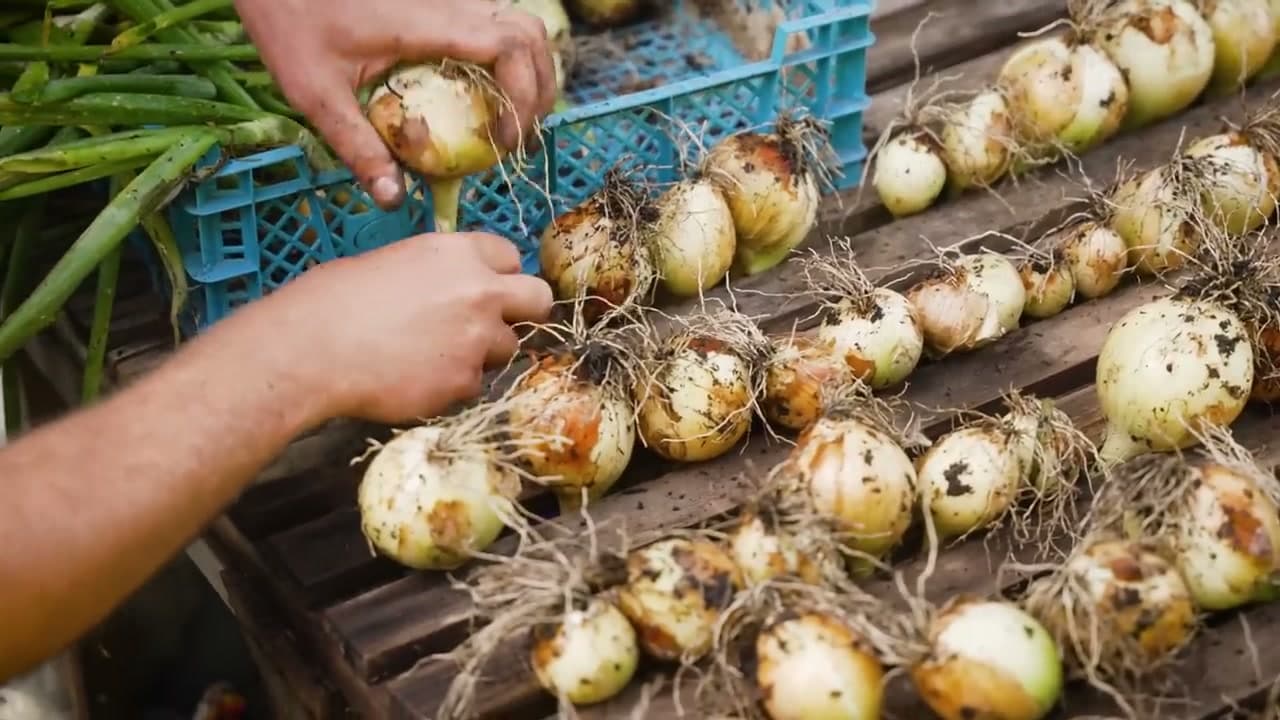
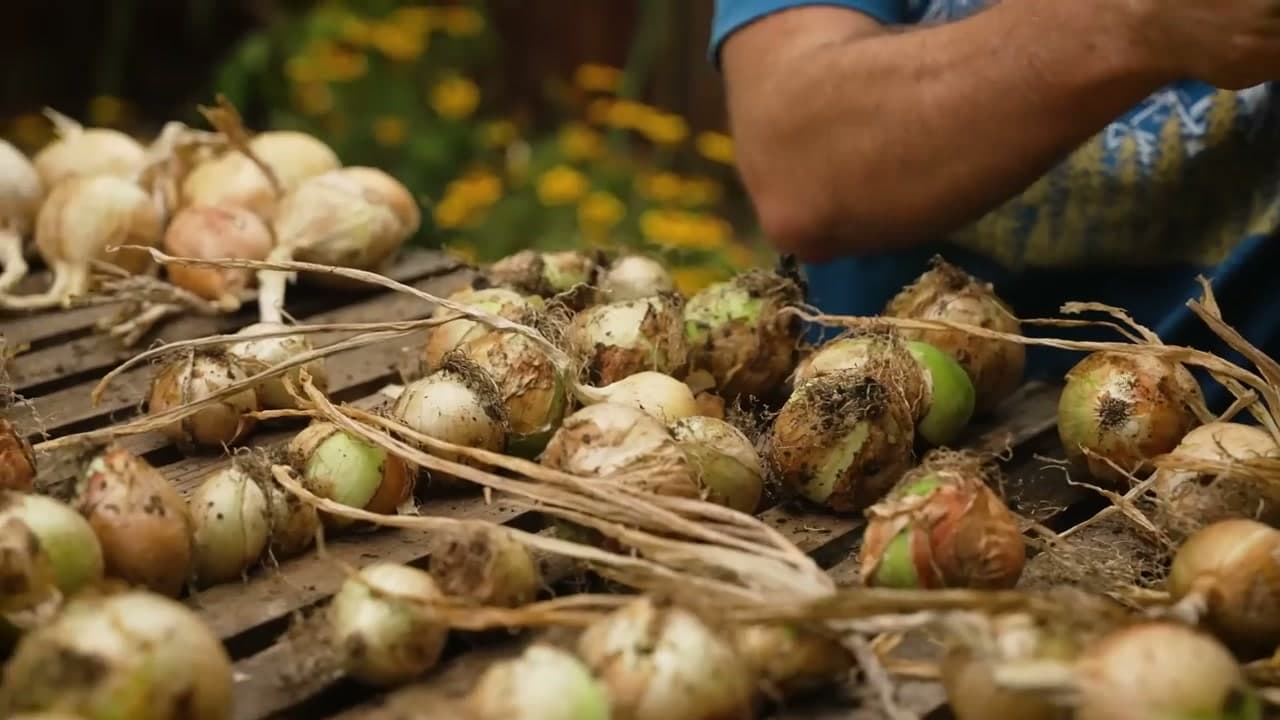
Spread the bulbs out so they're not piled on top of each other. A single layer on a slatted rack is best. If you're short on rack space, you can thread bulbs through wire mesh by the foliage so they hang in rows.

Leave them alone for two to four weeks. Most home gardeners need the full month, especially in cool or humid climates. The cure is done when the leaves shrivel up brown, the roots feel wiry and dry, and the outer skins have gone fully papery and seal in the bulb.

Tip

Check the bulbs every few days during the cure. If any one starts to mush or smell off, pull it out immediately so it doesn't take down the bulbs around it.

Products used in this step

7

Step 7: Trim and Clean the Cured Bulbs

5:25
Step 7: Step 7: Trim and Clean the Cured Bulbs

Once the skins are papery, you can clean the bulbs up for storage. Brush off loose dirt with your fingers or a soft brush. Snip the dried roots short with kitchen shears or pruning snips. Leave the papery outer skin alone - it's the moisture seal that lets the bulb keep for months.

If you're storing in nets or sacks, cut the leaves down to a short stump above the bulb. If you're braiding them into onion strings, leave at least six inches (15 cm) of foliage on so you have material to weave with. Don't nick the bulb itself when you cut.

Tip

Soft brushes work better than stiff ones. A clean paint brush or even a mushroom brush won't tear through the papery skins the way a wire brush will.

8

Step 8: Store Cured Onions in a Cool, Dry, Dark Place

9:25
Step 8: Step 8: Store Cured Onions in a Cool, Dry, Dark Place

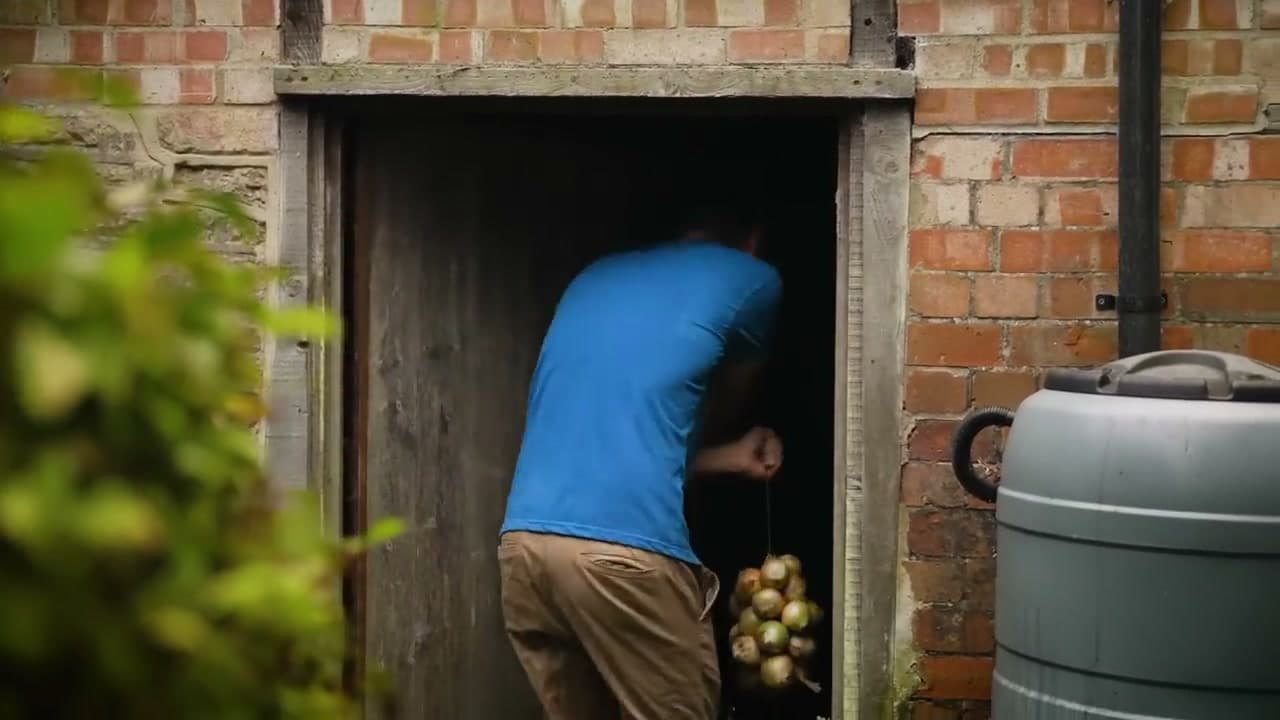
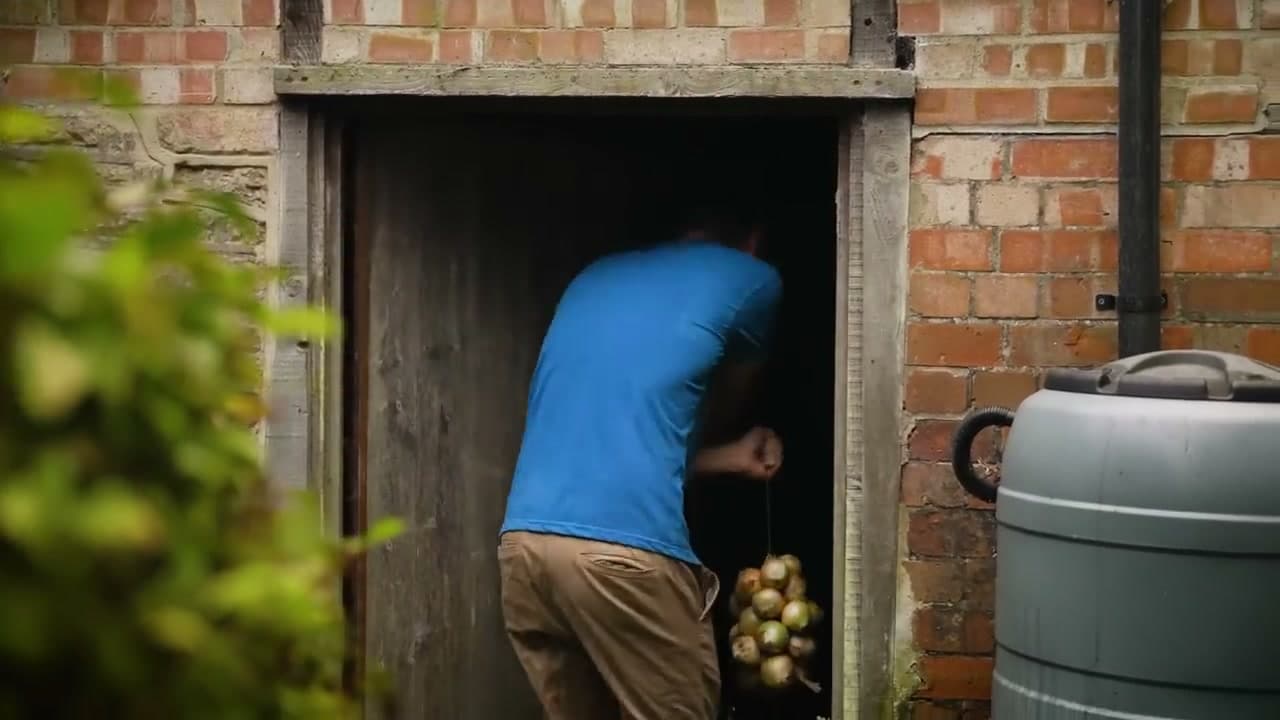
Cured onions store in four classic ways. Mesh sacks or breathable produce bags hung from a hook are the simplest. Old panty hose with a knot tied between each bulb works (yes, really - it's a classic gardener's trick). Tying small bunches together by the leaves on a piece of string is quick. Hand-woven onion strings are the prettiest and let you pluck one bulb at a time from the bottom.

Whatever method you use, move the finished bulbs somewhere cool, dry, and dark. A basement, frost-free outbuilding, or cool spare room all work. Skip direct sun and high humidity. Check the bulbs every few weeks and use any that start softening first. Well-stored onions can last you right through to next spring.

Tip

Keep onions and potatoes in separate rooms. Onions give off gases that make potatoes sprout faster, and potato moisture makes onions soft. Two cool rooms beats one shared one.

Products Used

Your Guide

GrowVeg

As an Amazon Associate we earn from qualifying purchases. Links on this page may be affiliate links - clicking them and buying doesn't change your price, but helps support ShowMeStepByStep.

Tags

What's next

Weekly Digest

Liked this gardening tutorial?

Pick the categories you want to hear about. Weekly digest of new step-by-step tutorials. No spam, easy unsubscribe.

Send me tutorials about

We only email about new tutorials. Easy unsubscribe anytime.