How to Start Seeds Indoors (Beginner's Complete Guide)

By ShowMeStepByStepPublished Updated

Based on a video by The Millennial Gardener.

A six-pack of cabbage transplants at the garden center now runs five or six dollars. A pack of cabbage seed costs the same and gives you 50 to 100 plants. Starting your own seeds indoors is the biggest single dollar-for-dollar win in vegetable gardening, and the setup costs almost nothing.

This tutorial follows The Millennial Gardener's beginner walk-through. You'll get a 72-cell tray going from bare plastic to sown and labeled in about an hour, then learn how to use a heat mat to germinate seeds in two to three days instead of two to three weeks. The same process works for broccoli, cabbage, mustard greens, parsley, tomatoes, peppers, lettuce, onions, leeks - anything you'd otherwise buy as a transplant.

The two parts most beginners get wrong: using regular potting soil instead of seed-starting mix (too dense, drowns the seeds), and skipping the humidity dome (lets the surface dry out before the seed can sprout). Get those right and you'll have green sprouts in under a week.

For what to do with these seedlings later, see how to grow tomatoes from seed and how to plant tomatoes in the garden. For other early-season planting projects, the gardening category also covers onion sets, garlic, and repotting houseplants.

Step-by-Step Guide

1

Step 1: Gather Your Seed-Starting Supplies

3:20
Step 1: Step 1: Gather Your Seed-Starting Supplies

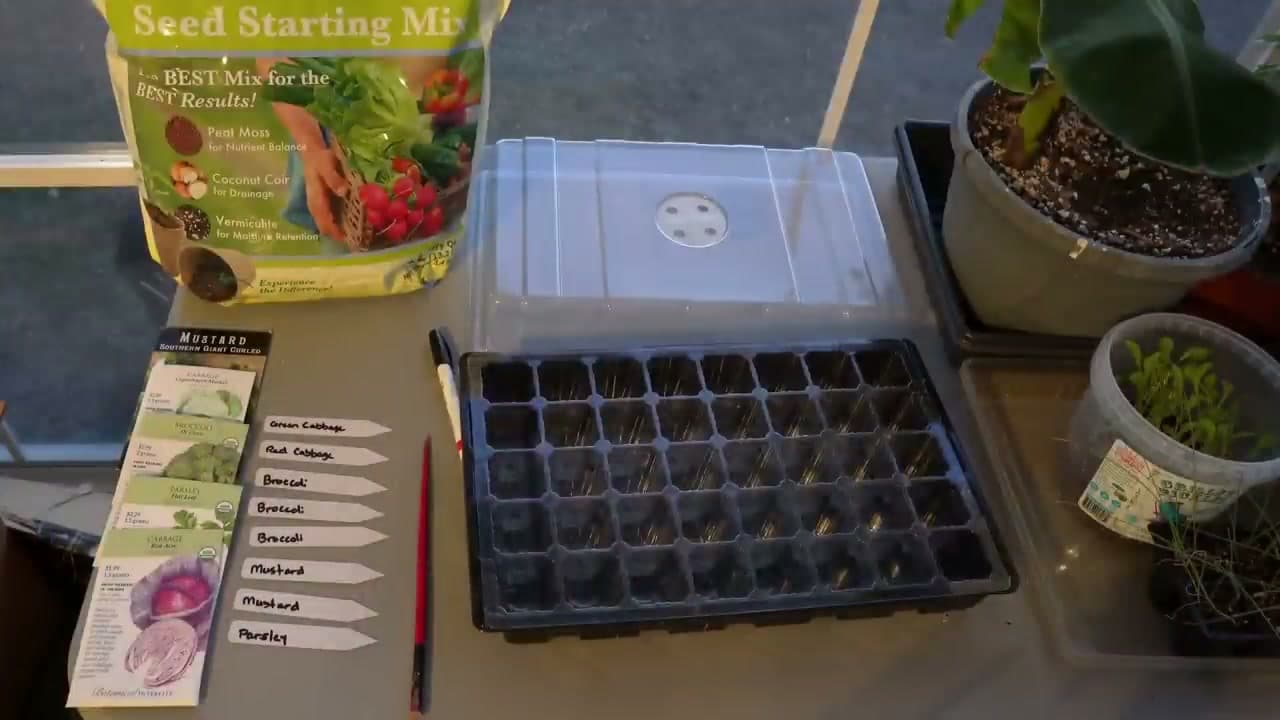
Before you open the seed packets, lay everything out so you only have to dig in once. You need a seedling tray with cells, a clear humidity dome, plant labels and an oil-based paint pen, a chopstick, your seeds, a bag of seed-starting mix, a heat mat, and a thermostat for the mat.

The mix is the part beginners often skip. Regular potting soil is too dense and holds too much water for tiny seeds. Seed-starting mix is light and fluffy, mostly peat or coco coir with a little vermiculite. The oil-based pen matters too. Permanent marker fades off plant tags in a few weeks under sun and water; the oil pen lasts the whole season.

Tip

Skip the writing-on-tape labels and skip Sharpies on plastic tags. Both wash off. Hardware-store oil paint pens in white or black are around four dollars and pay for themselves the first season.
2

Step 2: Fill the Tray with Seed-Starting Mix

4:35
Step 2: Step 2: Fill the Tray with Seed-Starting Mix

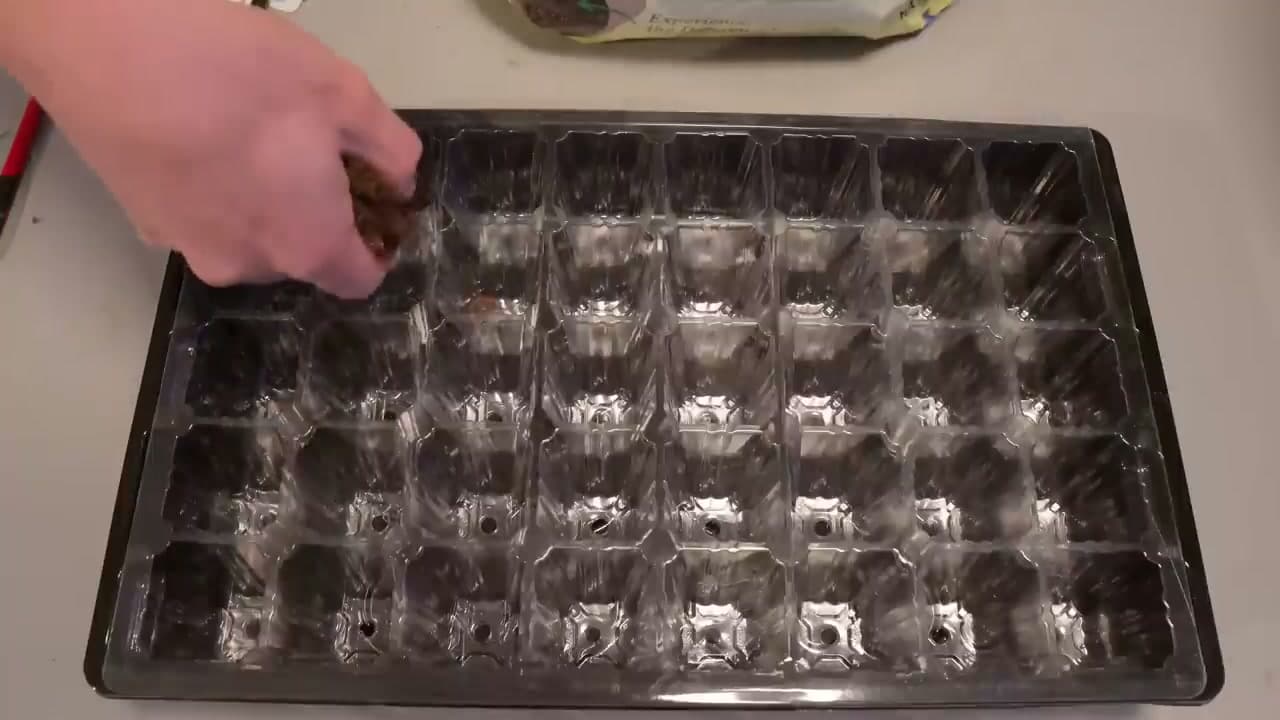
Fluff up the bag of mix with your hand, then start scooping it into the cells. The mix is light and powdery, so let it fall in loose - don't compress yet. Mound each cell so the mix sits a little above the rim.

Once the whole tray is mounded, run a flat hand or a piece of cardboard across the top to level it. Sweep the spillover back into the bag. You'll lose surprisingly little if you work over the bag itself instead of a counter.

Tip

If the mix feels bone dry and dusty out of the bag, you can pre-moisten it in a bucket before filling. Add water a cup at a time and stir until it holds together when squeezed but isn't dripping.

3

Step 3: Press the Mix Down to Make Room for Seeds

5:35
Step 3: Step 3: Press the Mix Down to Make Room for Seeds

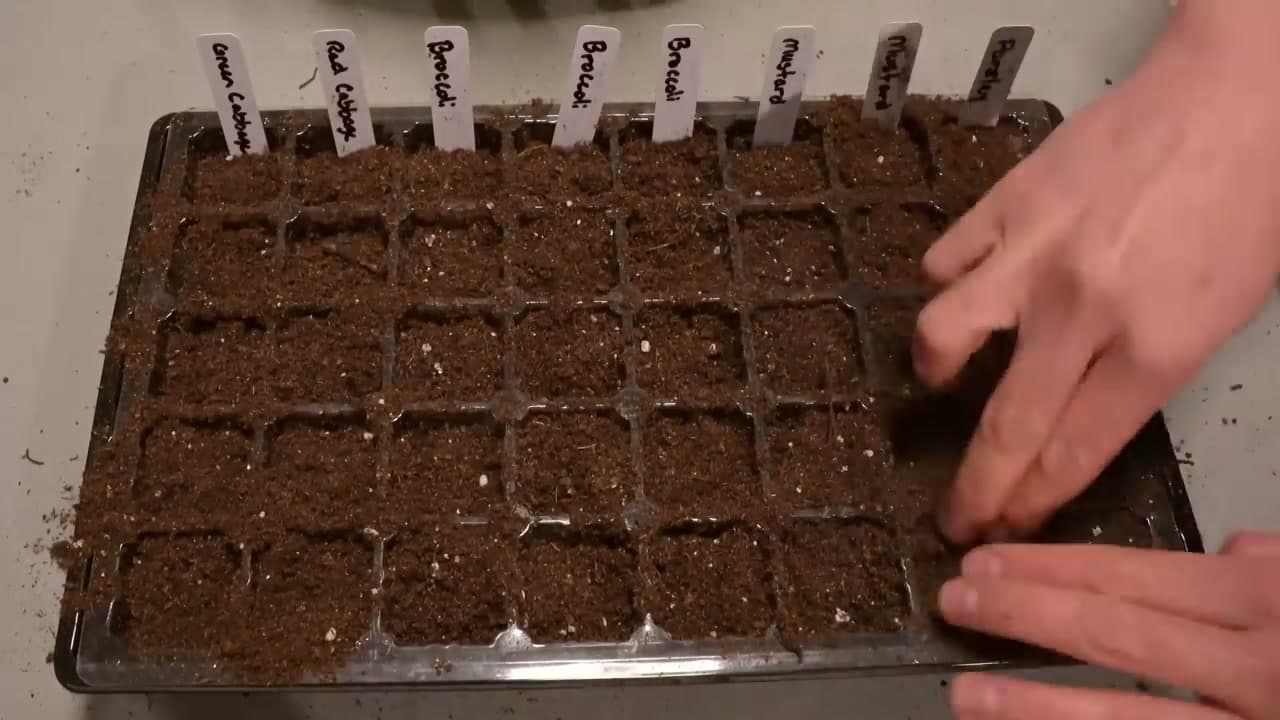
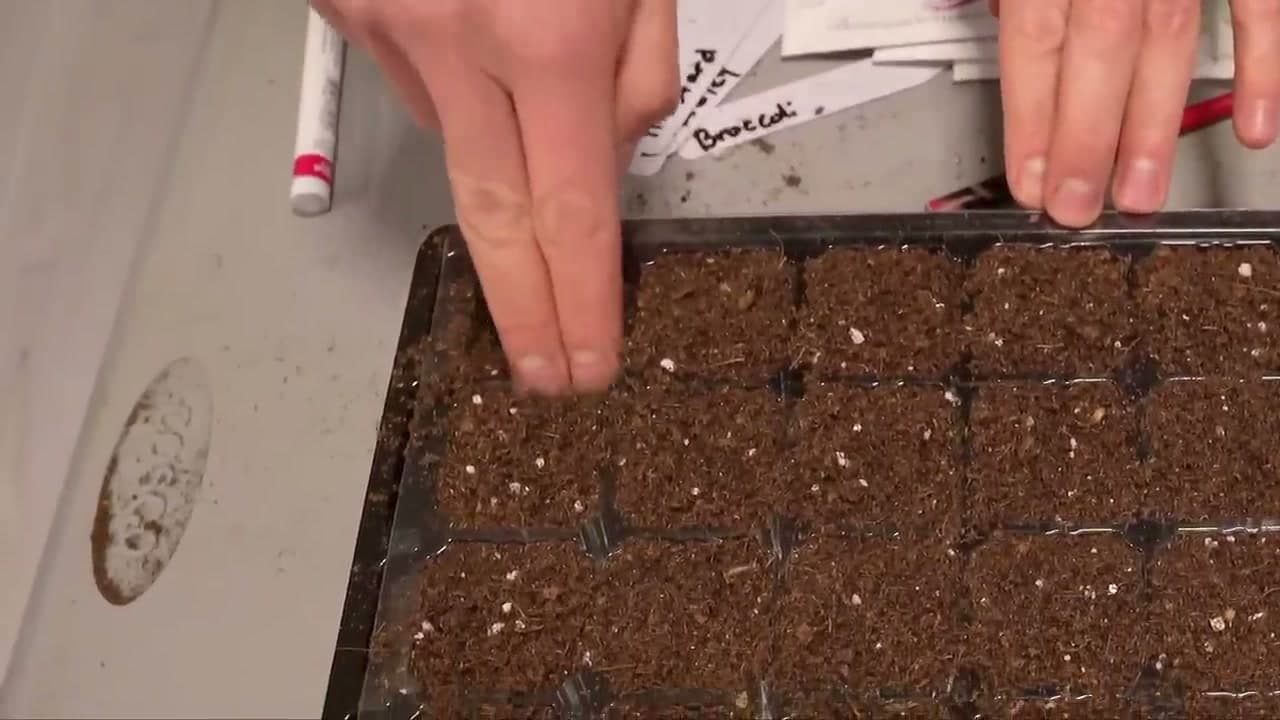
Use your fingertips to press each cell down gently. You want the mix to compact about a quarter to a half inch below the rim. That sunken space is what holds the seed and a thin cover of mix on top.

Press lightly, not firmly. The mix should still feel springy when you let go. If you mash it down hard, water won't move through it and roots won't push down through it. Think of patting a pillow flat, not pressing dough.

Tip

If you compress too much and the mix is rock hard, just fluff it back up with a chopstick and start the press-down again. You can't ruin a tray at this stage.

4

Step 4: Pre-Moisten the Mix with Water

6:35
Step 4: Step 4: Pre-Moisten the Mix with Water

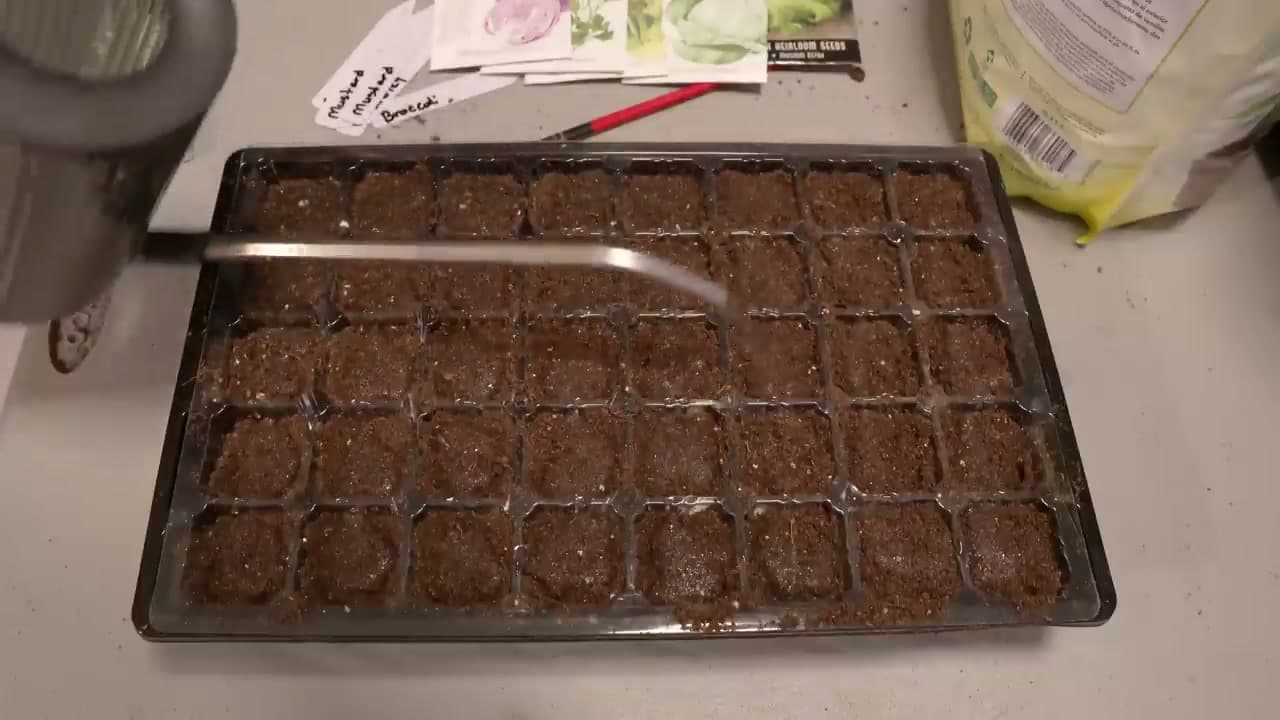
Dribble a small splash of water into each cell. Don't soak it. The mix is hydrophobic when dry, which means water beads up on top and refuses to absorb. A small amount of water primes the cells so the next round soaks in easily.

Walk away for 20 to 30 minutes. The water will slowly wick down through each cell. When you come back, the surface will look damp but not wet. That's the texture you want before you drop any seeds in.

Tip

Bottom-watering also works here. Set the cell tray inside a flat solid tray, pour a half inch of water into the solid tray, and let the cells suck it up from below for 20 minutes. Same end result, less mess on top.

5

Step 5: Add Plant Labels Before You Sow

7:05
Step 5: Step 5: Add Plant Labels Before You Sow

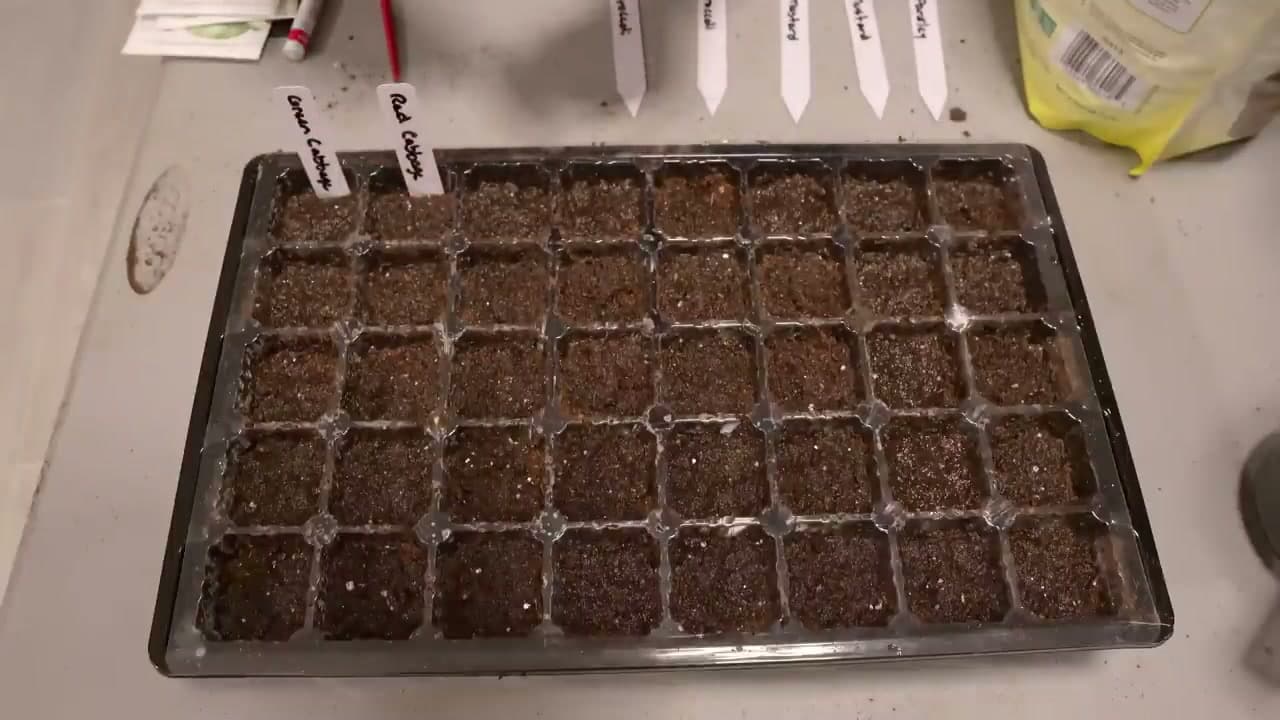
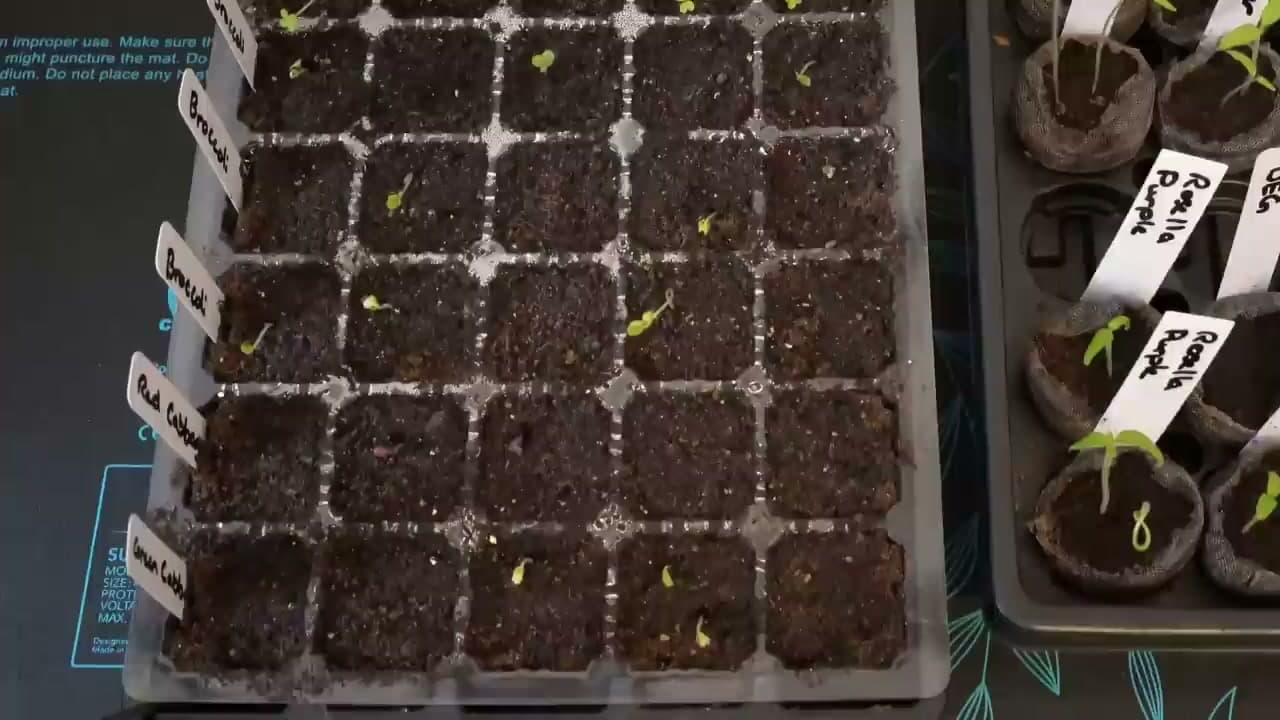
Write your variety names on the plant labels with the oil-based pen and push one label into the corner of each row you're about to plant. If you're sowing the whole tray with one crop, you only need a label or two. Mixed trays need a label per row at minimum.

Labeling now beats labeling later. Two trays of brassica seedlings look identical for the first three weeks. By the time the true leaves show up, you'll have completely forgotten which row was broccoli and which was cabbage.

Tip

If you're planting one type per row, snap a phone photo of the labeled tray before you cover the labels with the dome. That gives you a second backup if a label ever falls out or fades.

6

Step 6: Sow Two Seeds Per Cell with a Chopstick

8:45
Step 6: Step 6: Sow Two Seeds Per Cell with a Chopstick

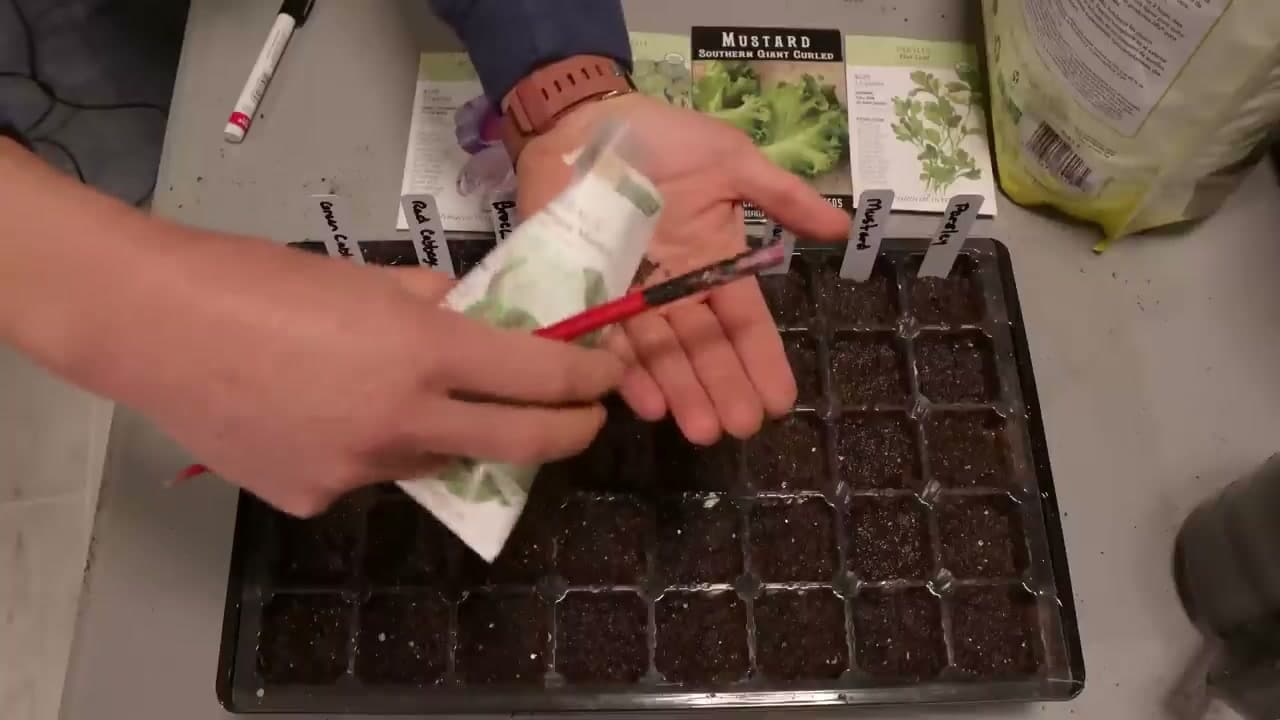
Pour a small pile of seeds into your palm. Lick the tip of the chopstick (yes, really) and touch it to a seed. The damp tip picks the seed up cleanly. Drop it into a cell. Pick up a second, drop it in the same cell. Move on.

Two seeds per cell is called overseeding. It's insurance against the 80-percent germination rate of most seed - if only one sprouts, you still have a seedling. If both sprout, you'll snip the weaker one out later with scissors.

Tip

Tiny seeds like parsley, lettuce, or mustard don't need the chopstick. Pinch a few between your fingers and sprinkle them on top. Germination rates are lower, so a small pinch of extra seed costs nothing.

7

Step 7: Cover the Seeds with About a Quarter Inch of Mix

11:10
Step 7: Step 7: Cover the Seeds with About a Quarter Inch of Mix

Refill each cell loosely with more seed-starting mix until it mounds slightly above the rim. Level it off with a flat hand. Then press down lightly one more time. That brings you back to flush with the rim, with seeds buried about a quarter inch deep.

A quarter inch is the right depth for most small vegetable seeds. Tomato, pepper, brassica, lettuce, onion - all go in around there. Larger seeds like beans or squash need an inch or so, but you won't be starting those indoors anyway.

Tip

Some growers top-dress with a thin layer of vermiculite instead of more mix. Vermiculite holds moisture against the seed and breaks easily as the sprout pushes up. It's optional but speeds germination by a day or two.

8

Step 8: Water the Top Layer Lightly

11:55
Step 8: Step 8: Water the Top Layer Lightly

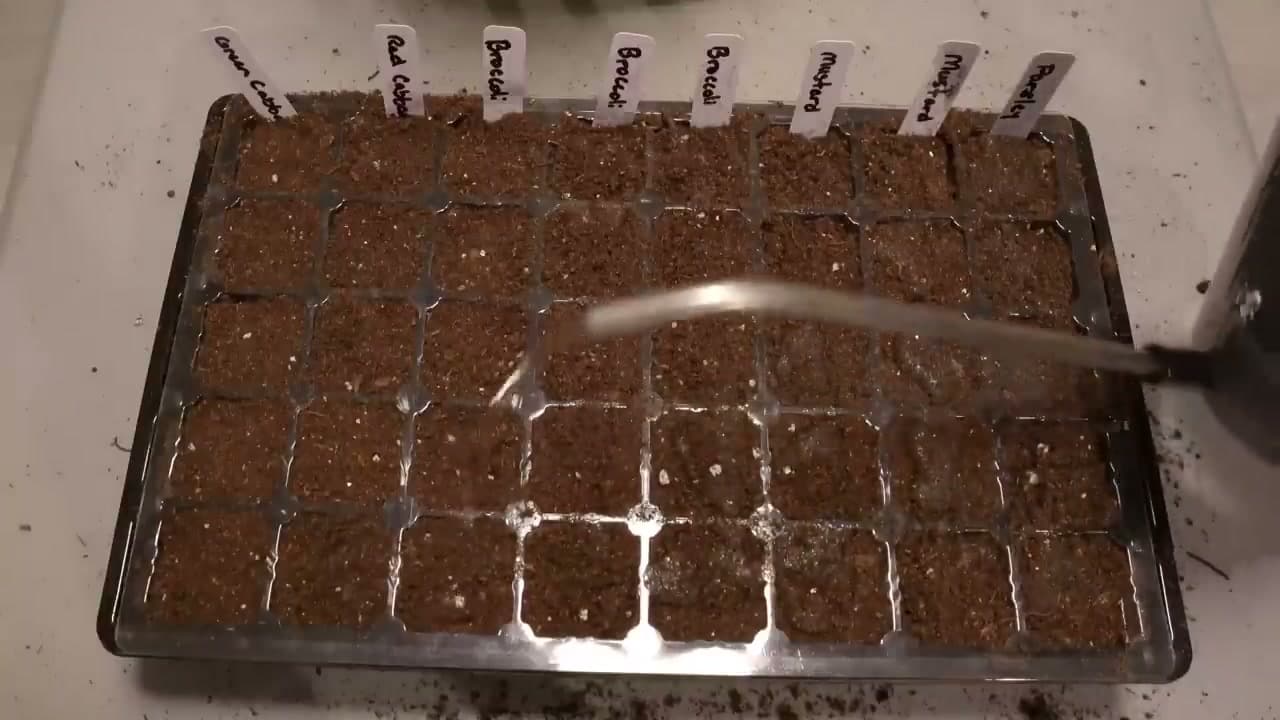
The bottom of each cell is already damp from the pre-moisten step, but the new dry mix on top needs water too. Use a fine watering can spout or a spray bottle. Drizzle slowly, side to side, until the surface looks wet but not pooled.

Don't blast it with a hard stream. You'll wash the seeds out of position or pile them at the low corner of the cell. Light and slow is the rule for the rest of the seedlings' first weeks too.

Tip

If you don't have a fine-rose watering can, put your thumb partway over the spout of a regular bottle to break up the stream. Or set the tray in an inch of water for a few minutes and let it absorb from below.

Products used in this step

9

Step 9: Set Up the Heat Mat and Thermostat

12:50
Step 9: Step 9: Set Up the Heat Mat and Thermostat

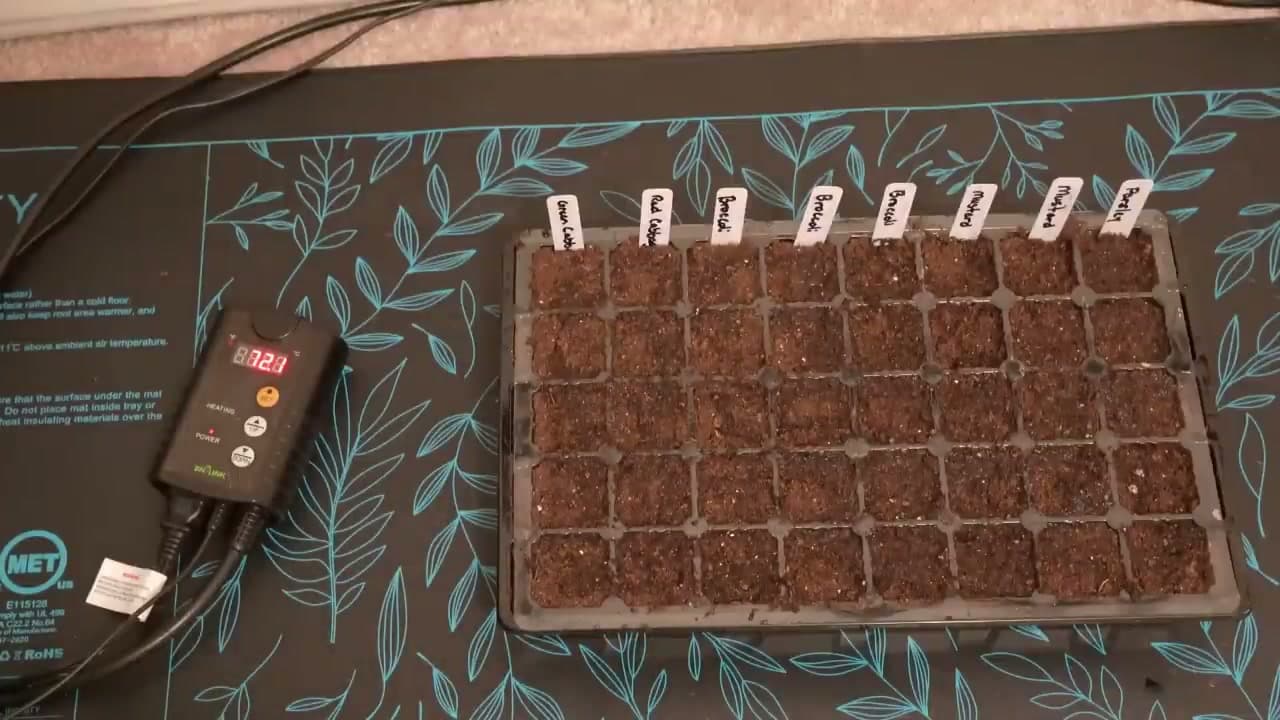
Put the heat mat on a flat surface where you can leave it for the next few weeks. Set the seed tray on top. Slide the thermostat probe under the tray so it sits against the bottom of one of the cells. Plug the mat into the thermostat, plug the thermostat into the wall, and set the target to 73 degrees Fahrenheit.

Most vegetable seeds germinate fastest in soil around 70 to 75 degrees. Without a heat mat, your basement or spare room might be in the 60s, and germination drags out to two or three weeks. With the mat, expect sprouts in two to seven days.

Tip

Don't try to mix warm-weather seeds like tomatoes and peppers with cool-weather brassicas on the same mat. The temperature ranges are different. Run a second mat or stagger trays a few weeks apart.

10

Step 10: Cover with the Humidity Dome (Vent It Slightly)

14:00
Step 10: Step 10: Cover with the Humidity Dome (Vent It Slightly)

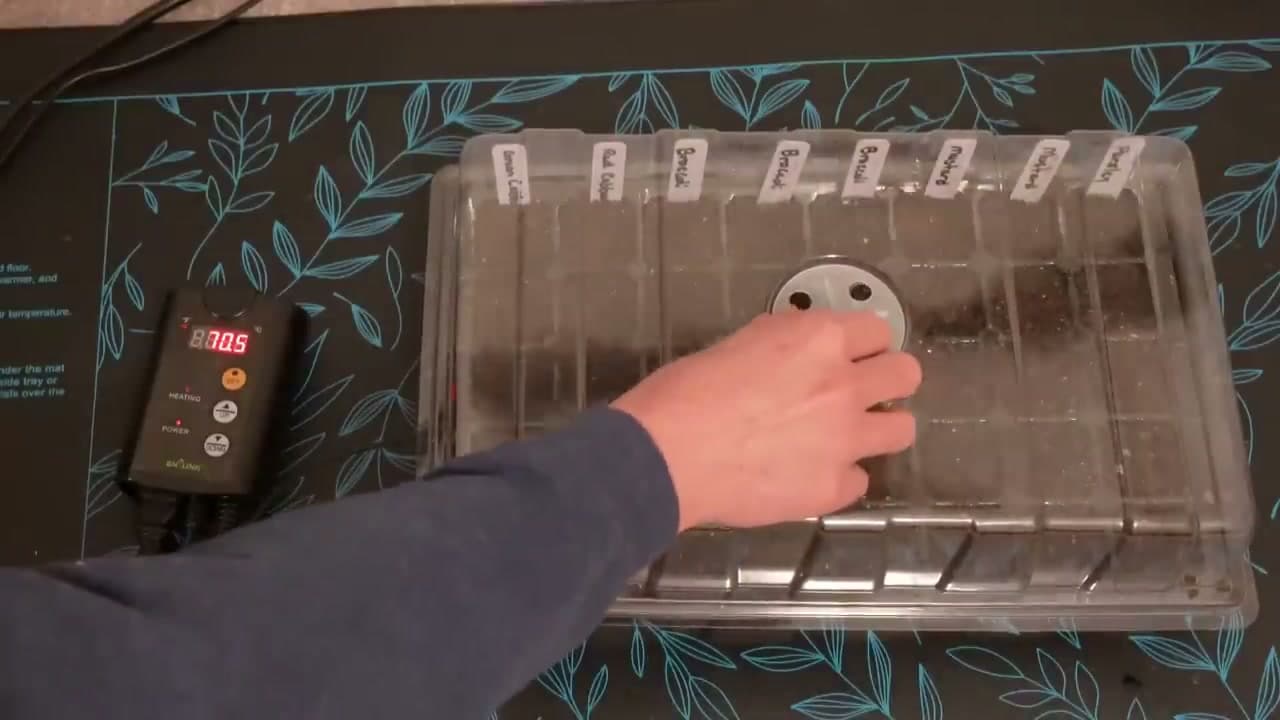
Snap the clear humidity dome over the tray. The dome traps moisture and keeps the surface from drying out before the seeds can sprout. That's the whole reason seeds in a dome germinate so much better than seeds left open.

Most domes have a small adjustable vent on top. Crack it open about halfway. You want some fresh air moving through; a sealed dome breeds mold and a fungal disease called damping-off that kills seedlings at the base.

Tip

If your dome doesn't have a vent, prop one corner up with a popsicle stick or a small block of wood. The same air-exchange rule applies.

11

Step 11: Move Seedlings Under Light as Soon as They Sprout

15:45
Step 11: Step 11: Move Seedlings Under Light as Soon as They Sprout

Check the tray every day. The surface should stay barely damp. If it dries out, drizzle on more water. If it looks soggy, vent the dome more.

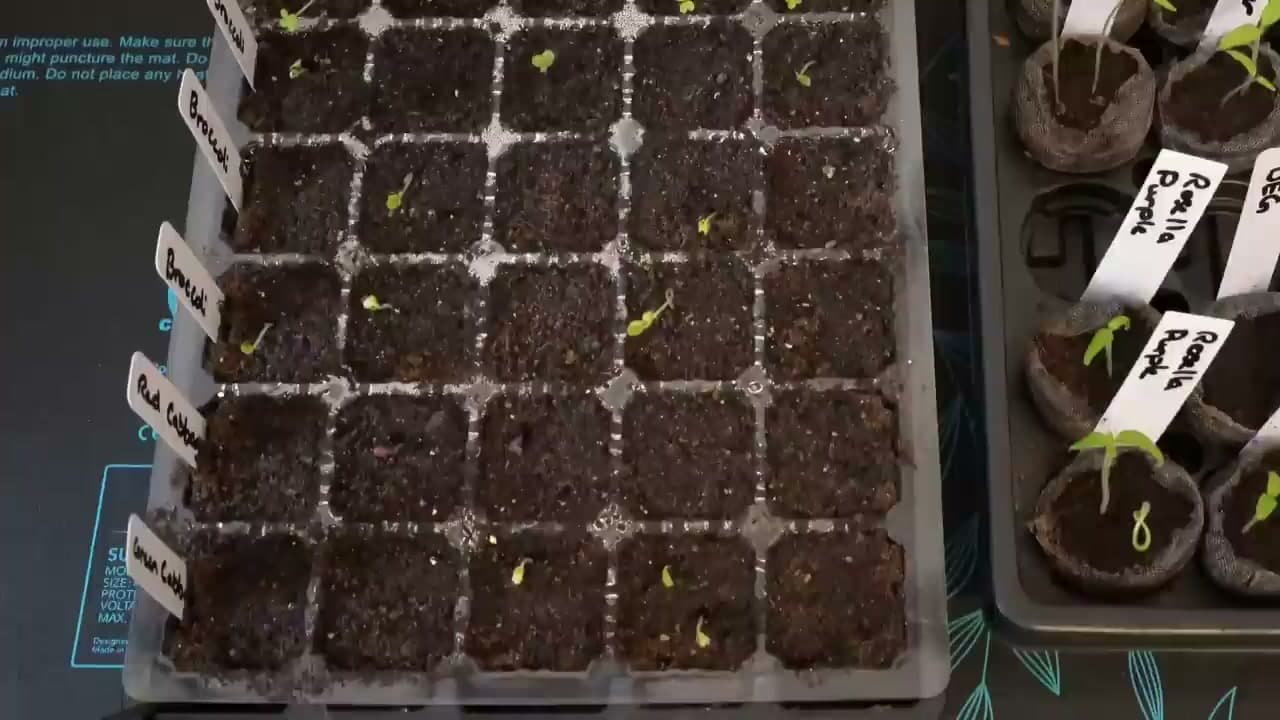
The moment you see green breaking through the soil, turn the heat mat off and move the tray under a grow light or to a south-facing window. Seedlings left on warm soil with weak light shoot up tall and floppy in 24 hours. Strong light from above is what builds short, thick stems that can survive the move outside.

Tip

A small oscillating fan blowing gently across the seedlings for a few hours a day strengthens the stems even more. It mimics outdoor wind. Plants grown with airflow transplant into the garden far better than greenhouse-soft ones. When the seedlings have a few sets of true leaves and the weather warms, move them outside gradually over a week (harden them off) before transplanting. See how to plant tomatoes for the next step.

Products Used

☐ The Checklist

How to Start Seeds Indoors (Beginner's Complete Guide)

Tools
10
Materials
4
Steps
11
Video
18 min

Your Guide

The Millennial Gardener

As an Amazon Associate we earn from qualifying purchases. Links on this page may be affiliate links - clicking them and buying doesn't change your price, but helps support ShowMeStepByStep.

Tags

Test your knowledge

Did the lesson stick? Find out in 2 minutes.

5 quick questions covering what you just read. No signup, no score saved — just a gut check.

Quick reference

Key takeaways from How to Start Seeds Indoors (Beginner's Complete Guide)

5 questions, answers, and one-line explanations. Tap to expand.

  1. 1.Why not use regular potting soil for seeds?

    Answer: Holds too much water

    Potting soil is too dense for tiny roots and holds water that rots delicate seedlings. Seed-starting mix drains fast and stays light.

  2. 2.Pre-moistening the mix solves what problem?

    Answer: Dry mix repels water

    Dry seed-starting mix is hydrophobic — water beads on top. A small pre-moisten splash primes it to absorb the next pour.

  3. 3.How many seeds go in each cell?

    Answer: Two seeds together

    Two per cell is insurance against an 80% germination rate. If one sprouts you have a plant; if both sprout, snip the weaker one.

  4. 4.Recommended soil temperature for germination?

    Answer: About 73 degrees F

    Around 73F is the sweet spot — most vegetable seeds germinate fastest at 70-75. A heat mat with a thermostat holds it steady.

  5. 5.When should you turn the heat mat off?

    Answer: Once first leaves sprout

    The moment green breaks the soil, kill the heat and move to bright light. Warm soil + weak light makes leggy floppy seedlings overnight.

What's next

Related collections

Curated theme pages that include this tutorial.

Weekly Digest

Liked this gardening tutorial?

Pick the categories you want to hear about. Weekly digest of new step-by-step tutorials. No spam, easy unsubscribe.

Send me tutorials about

We only email about new tutorials. Easy unsubscribe anytime.