How to Grow Microgreens Indoors

GardeningEasy10:317 stepsBrowse more →

By ShowMeStepByStepPublished

Based on a video by Geeky Greenhouse.

Microgreens are one of the fastest, most rewarding things you can grow indoors. No garden, no backyard, no waiting all summer. You seed a tray, keep it damp, and in a little over a week you are cutting handfuls of fresh greens for salads, sandwiches, and eggs.

This walkthrough comes from Geeky Greenhouse, who grows on a simple shelf with a grow light and a fan. She covers the whole run: the soil, the sowing, the dark germination trick, and the harvest. If you want to keep more edible plants going on that same shelf, take a look at our guide on how to grow herbs indoors too.

You only need a few things to start, and most of them get reused batch after batch. Here is how it goes, step by step.

Step-by-Step Guide

1

Step 1: Fill the Tray With Growing Medium

4:30
Step 1: Step 1: Fill the Tray With Growing Medium

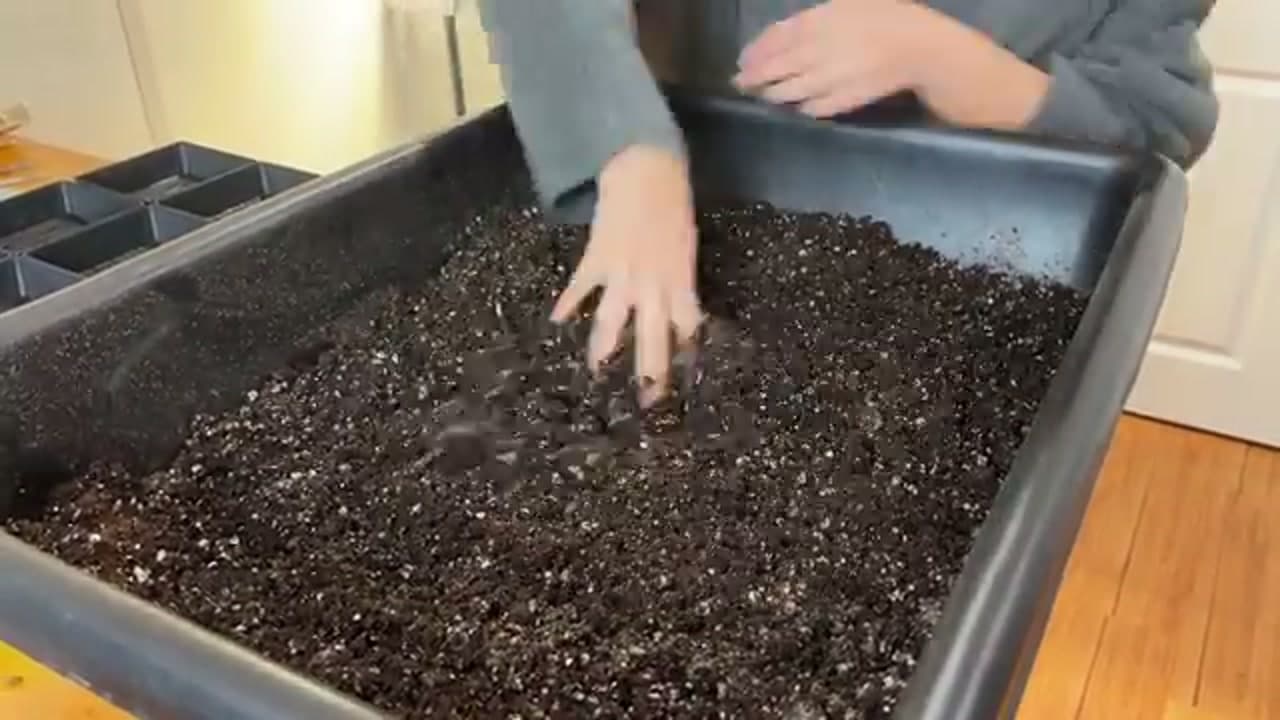
Fill your growing tray with a moist seed-starting mix or coco coir. Spread it into the corners, then press the top down so the surface sits flat and even. A level bed matters more than you would think. High and low spots make the seeds sprout at different times, which leaves you with a patchy tray. Aim for a smooth, firm surface right up to the rim.

Tip

Dampen the medium before you fill the tray. Wet soil packs down evenly and won't blow around when you sow.
2

Step 2: Sow the Seeds Thick and Even

5:00
Step 2: Step 2: Sow the Seeds Thick and Even

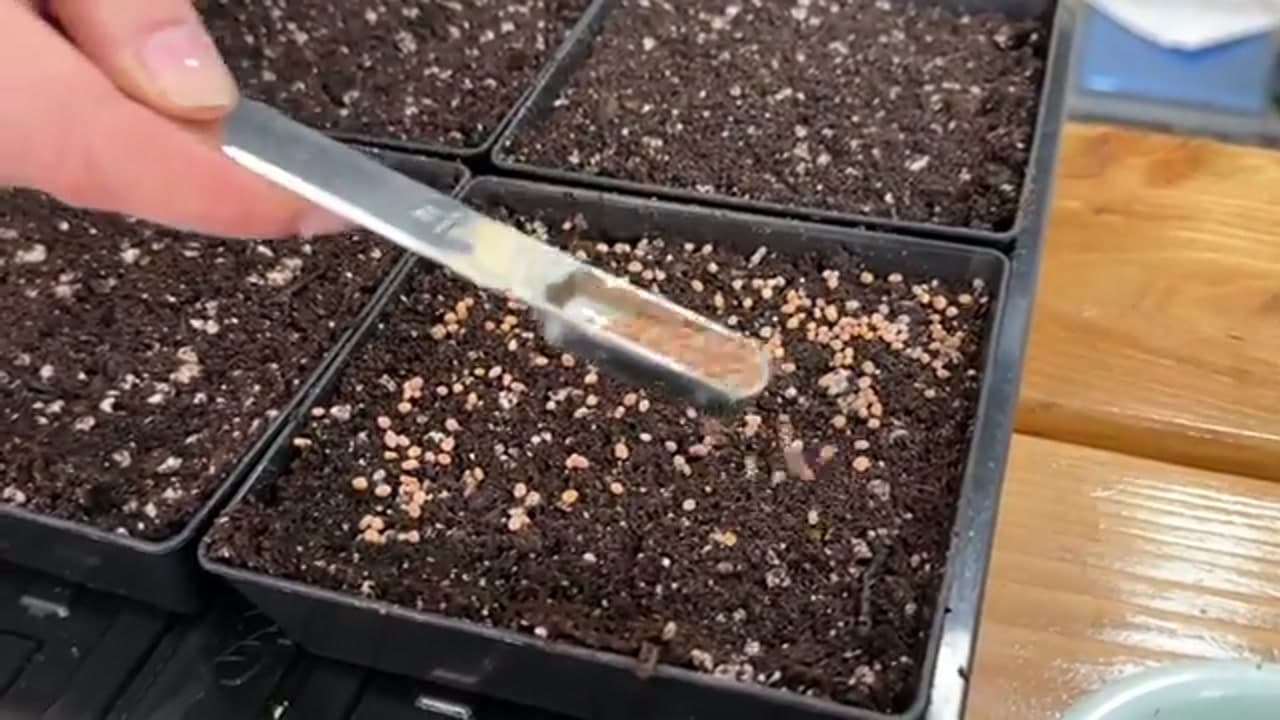
Scoop the microgreen seeds and scatter them across the soil with a small spoon. Sow them heavier than you would for regular plants. You want a dense carpet, not spaced-out rows, so the greens grow into a thick mat you can cut in one pass. Cover the whole surface and try to keep it even, with no bare patches and no big clumps piling up in one spot.

Products used in this step

3

Step 3: Mist the Seeds With Water

5:25
Step 3: Step 3: Mist the Seeds With Water

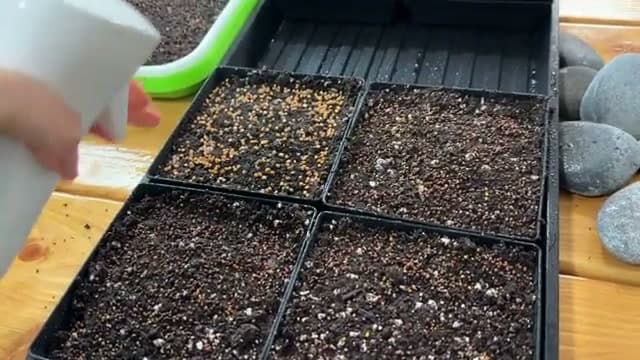
Give the seeded tray a good misting with a spray bottle until the top layer is damp all over. A gentle spray settles the seeds against the soil without washing them into piles the way a pour would. Keep going until the surface glistens. The seeds need steady moisture to swell and crack open, so don't let them dry out while they germinate.

Tip

Mist once or twice a day during germination if your room runs dry. The top can crust over fast.

Products used in this step

4

Step 4: Cover and Germinate in the Dark

5:45
Step 4: Step 4: Cover and Germinate in the Dark

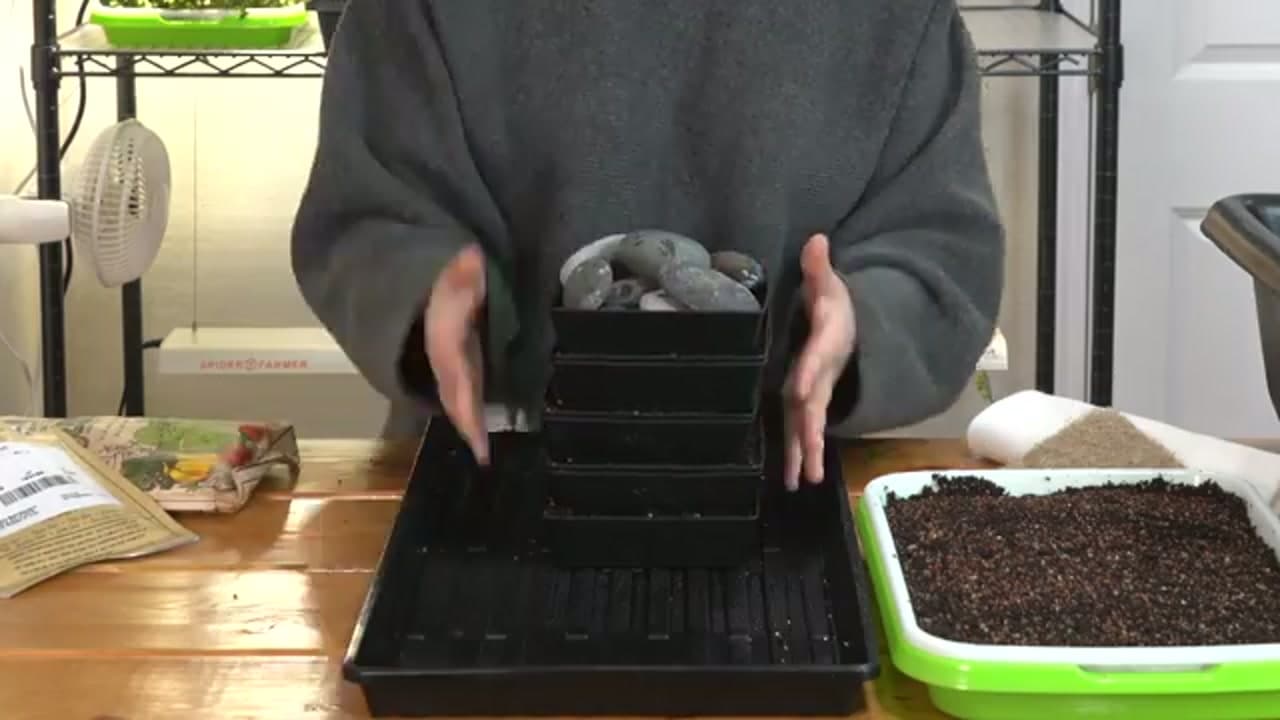
Cover the tray to block out the light. You can use a humidity dome, a second tray flipped upside down, or a stack of trays with a little weight like a few rocks or a brick on top. The dark and the gentle pressure push the seeds to root down hard instead of stretching up. Leave them covered for about three to four days, checking that the soil stays moist underneath.

Tip

That bit of weight is the trick pro growers use for strong, upright stems. Don't skip it.

Products used in this step

5

Step 5: Uncover and Move Under a Grow Light

7:15
Step 5: Step 5: Uncover and Move Under a Grow Light

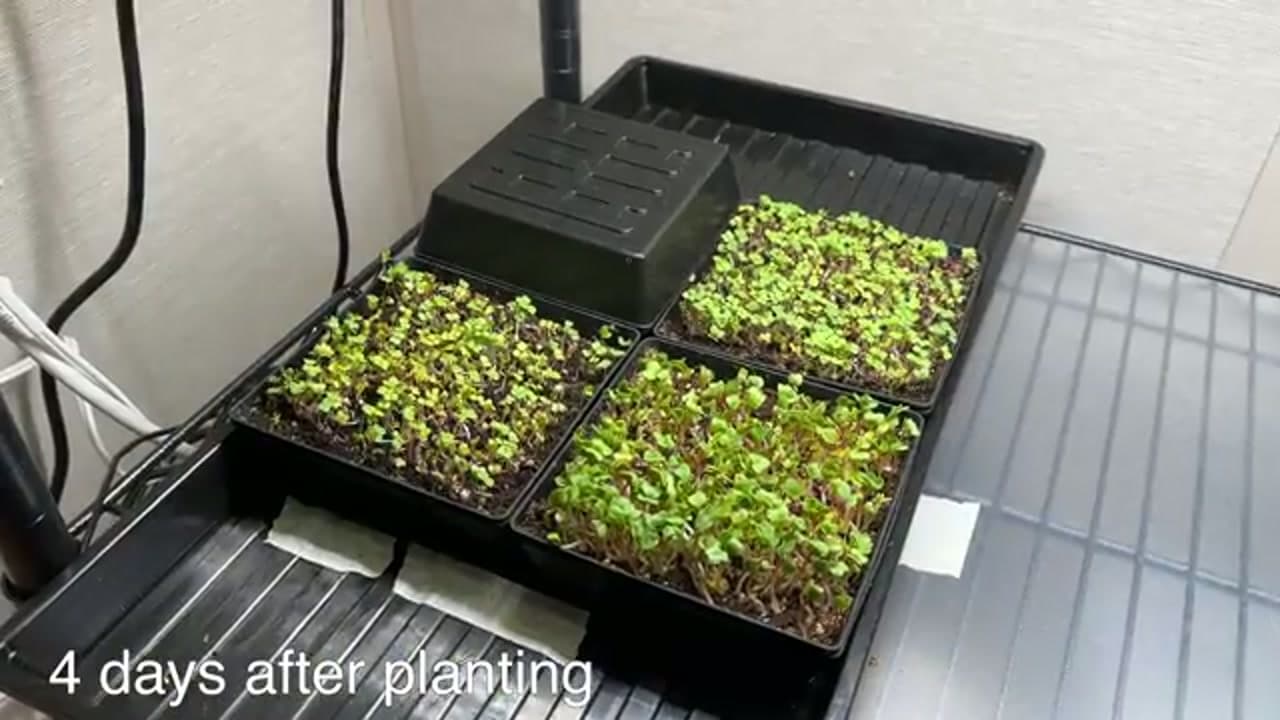
After a few days the seeds sprout and start lifting the cover off. That is your cue. Take the dome off and set the tray under a grow light. The shoots come out pale yellow, but they green up within a day or two once they catch some light. Give them a bright spot and a little airflow from a small fan to keep mold away and build sturdy stems.

Products used in this step

6

Step 6: Water Daily and Let Them Fill In

8:15
Step 6: Step 6: Water Daily and Let Them Fill In

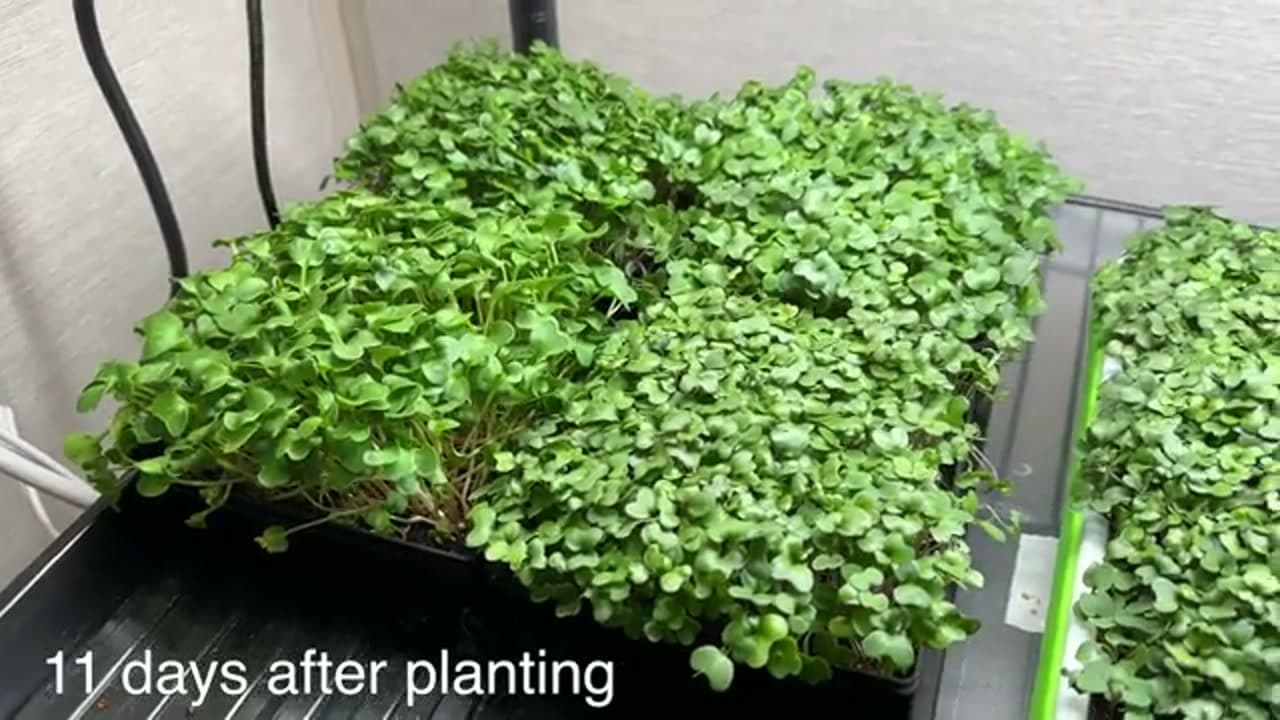
From here it is mostly watering and waiting. Add water to the bottom tray each day so the roots drink from below, which keeps the leaves dry and cuts down on mold. Watch the tray thicken up over the next week. Around day ten to twelve you will have a dense, lush mat of greens standing an inch or two tall and ready to cut.

Tip

Bottom-watering is the single best habit for microgreens. Wet leaves are what invite rot.

7

Step 7: Harvest With Scissors

9:38
Step 7: Step 7: Harvest With Scissors

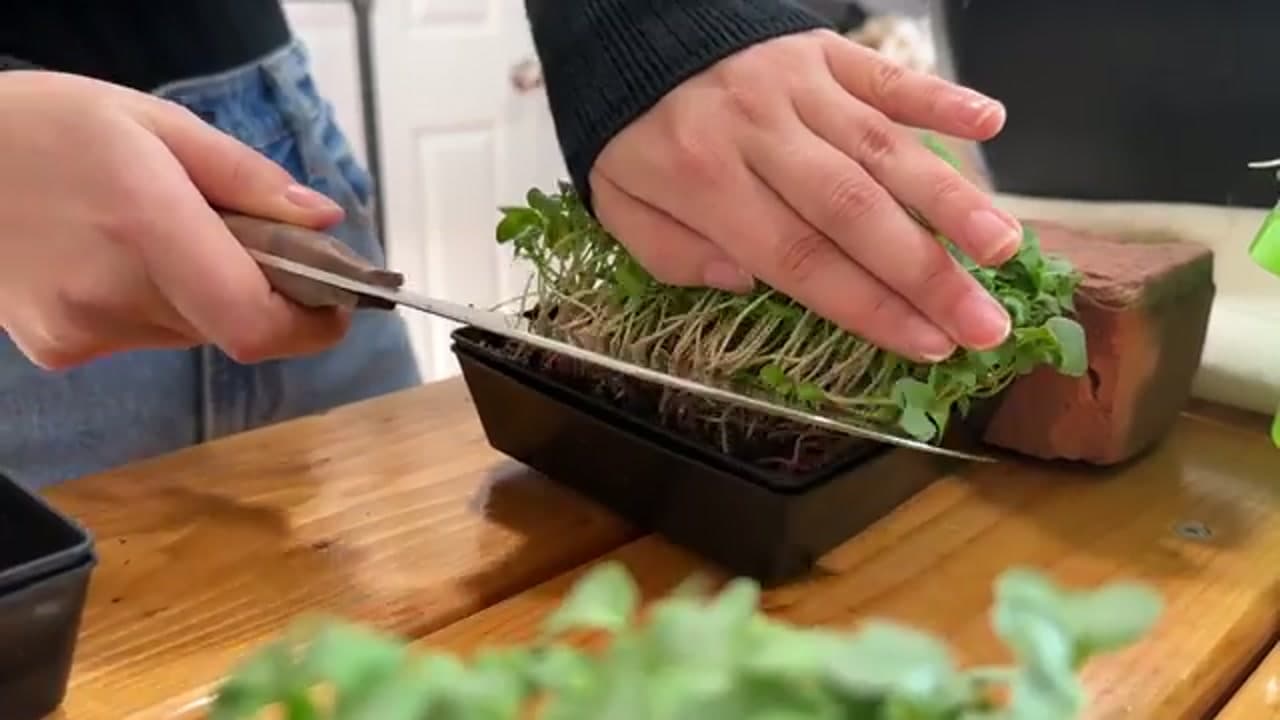
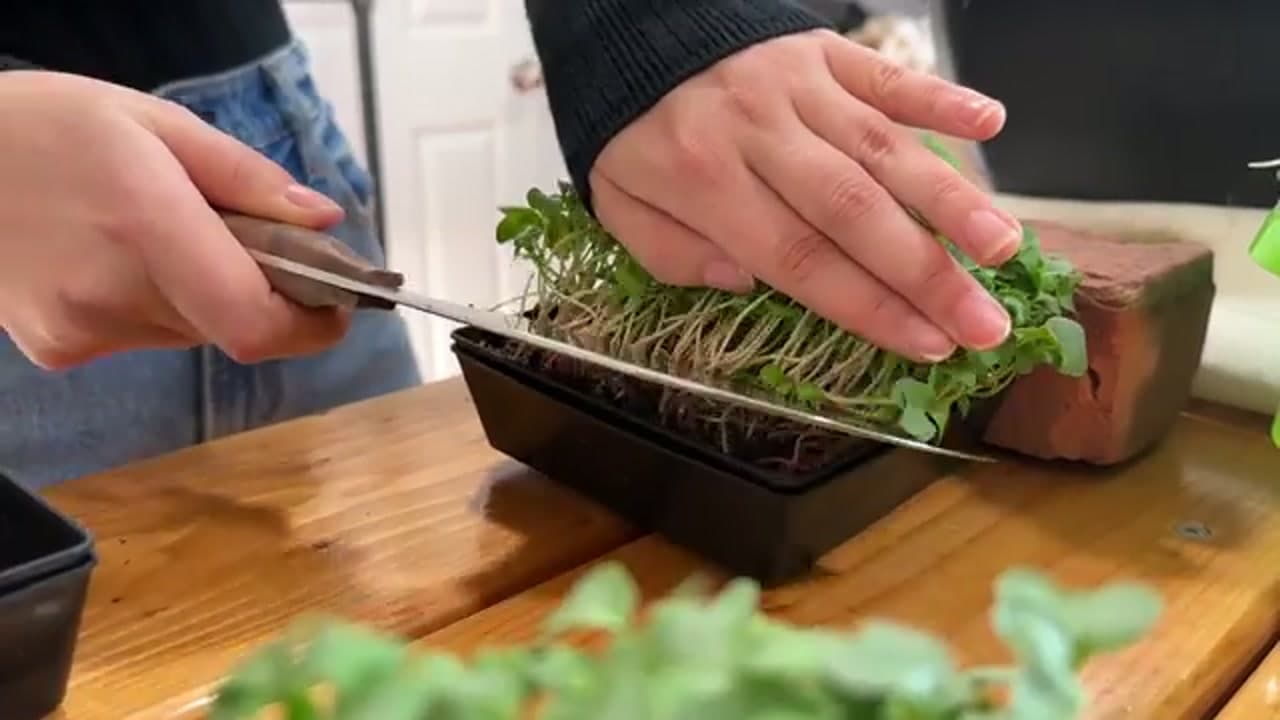
Once the greens reach one to two inches, they are ready. Gather a section in one hand and snip just above the soil line with scissors or a sharp knife. Work across the tray and collect the cuttings in a bowl. Give them a quick rinse, pat them dry, and store them in a sealed container in the fridge. They keep for several days and taste best cut fresh right before you eat.

Products used in this step

Products Used

☐ The Checklist

How to Grow Microgreens Indoors

Tools
5
Materials
2
Steps
7
Video
11 min

Your Guide

Geeky Greenhouse

As an Amazon Associate we earn from qualifying purchases. Links on this page may be affiliate links - clicking them and buying doesn't change your price, but helps support ShowMeStepByStep.

Tags

Sunday How-To

New gardening tutorials, every Sunday

One short email with the week's best step-by-step guides. Free, no spam, unsubscribe anytime.

Did this work for you?

What's next

Related collections

Curated theme pages that include this tutorial.

Weekly Digest

Liked this gardening tutorial?

Pick the categories you want to hear about. Weekly digest of new step-by-step tutorials. No spam, easy unsubscribe.

Send me tutorials about

We only email about new tutorials. Easy unsubscribe anytime.