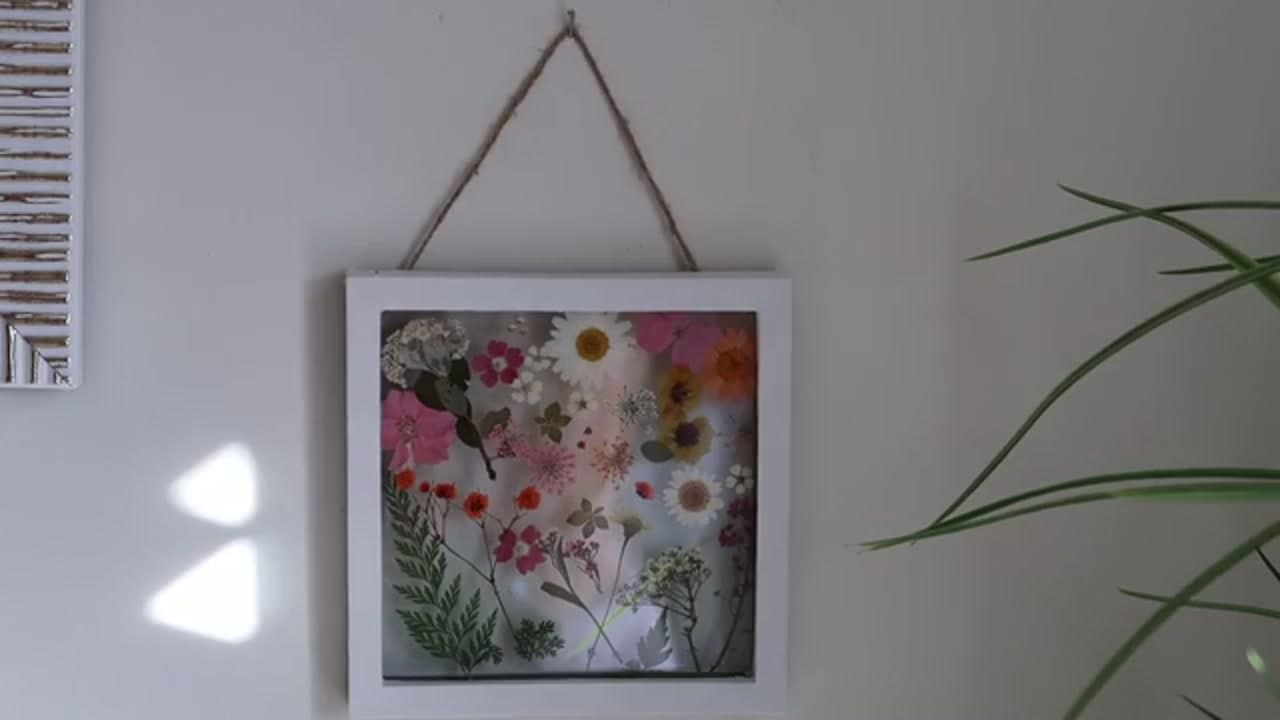
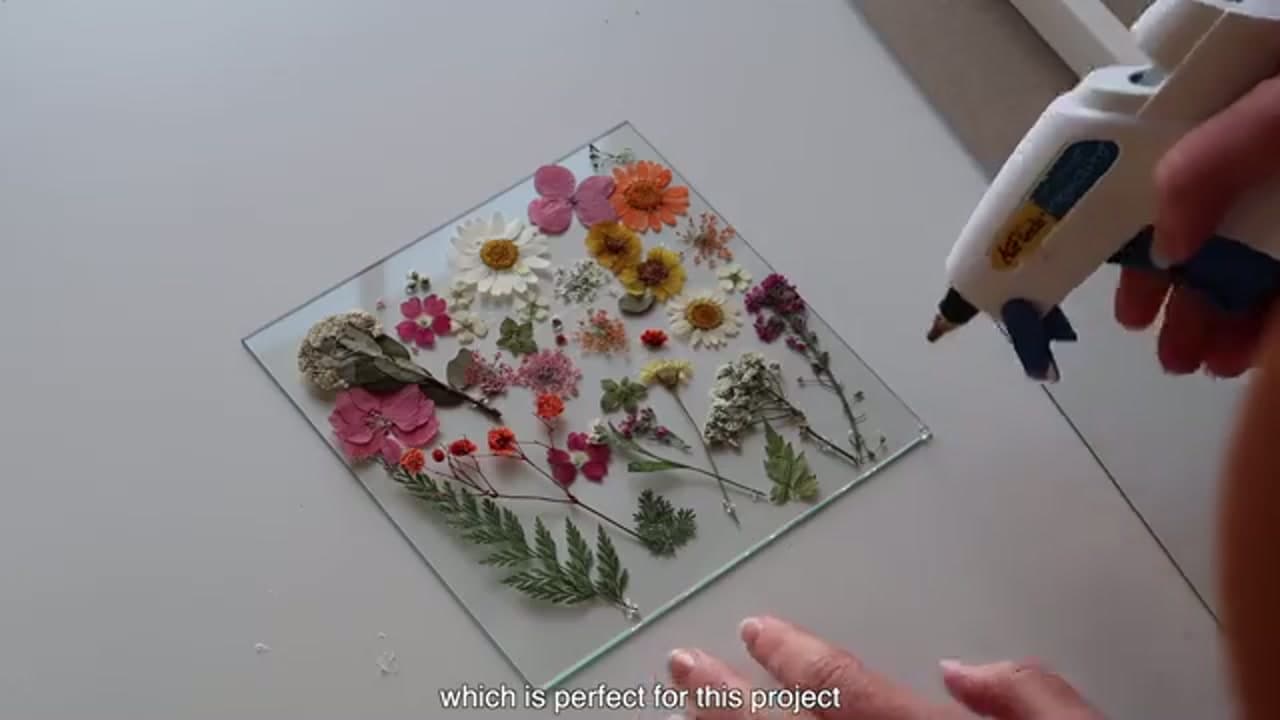
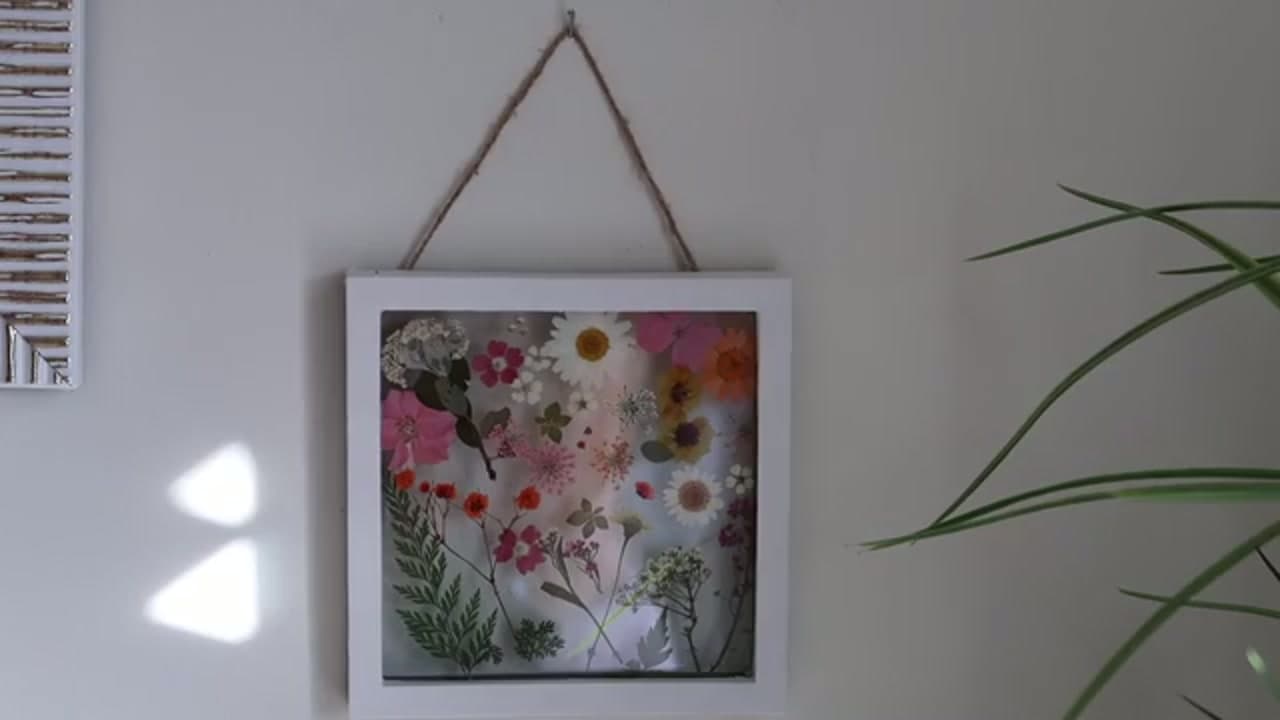
Pressed flowers between two panes of glass make some of the prettiest wall art you can hang, and it costs almost nothing to make. In this tutorial, based on a video by Jess Alexandra, you will turn a couple of dollar-store picture frames and a small pack of pressed flowers into a soft, garden-inspired hanging piece.
This project assumes your flowers are already pressed and dried. If you still need to do that part, start with our guide on how to press flowers, or compare the book, microwave, iron and flower-press options in 4 ways to press flowers, then come back here to frame them. You can also buy pre-pressed flower packs online for a few dollars, which is what Jess did.
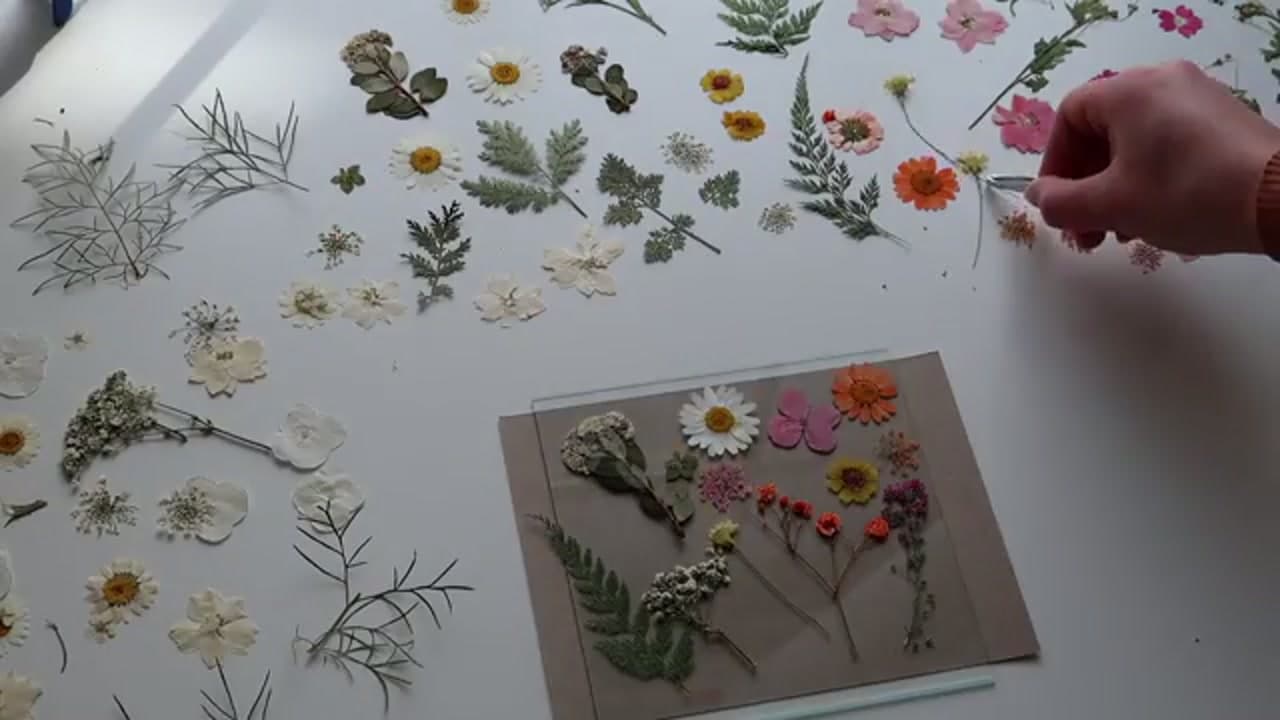
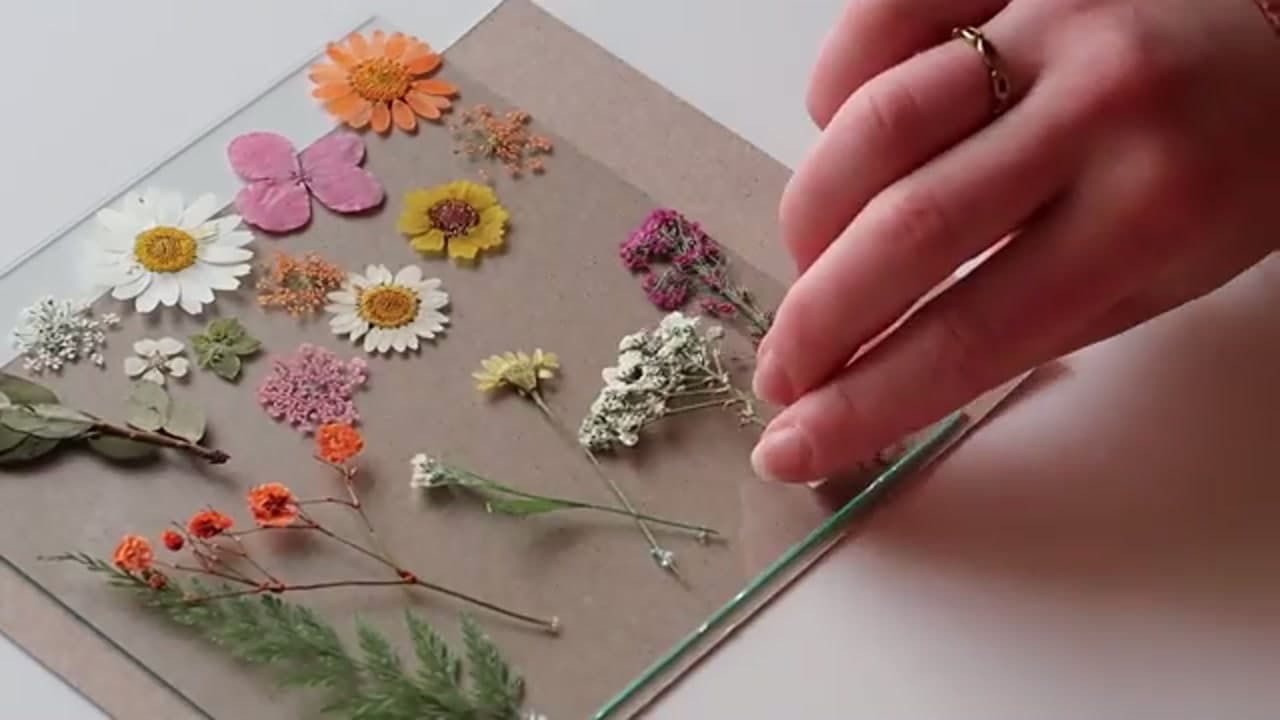
The whole thing comes together in an afternoon, and there is no wrong way to arrange the blooms.
How to frame pressed flowers
There are three common ways, and the frame decides the look.
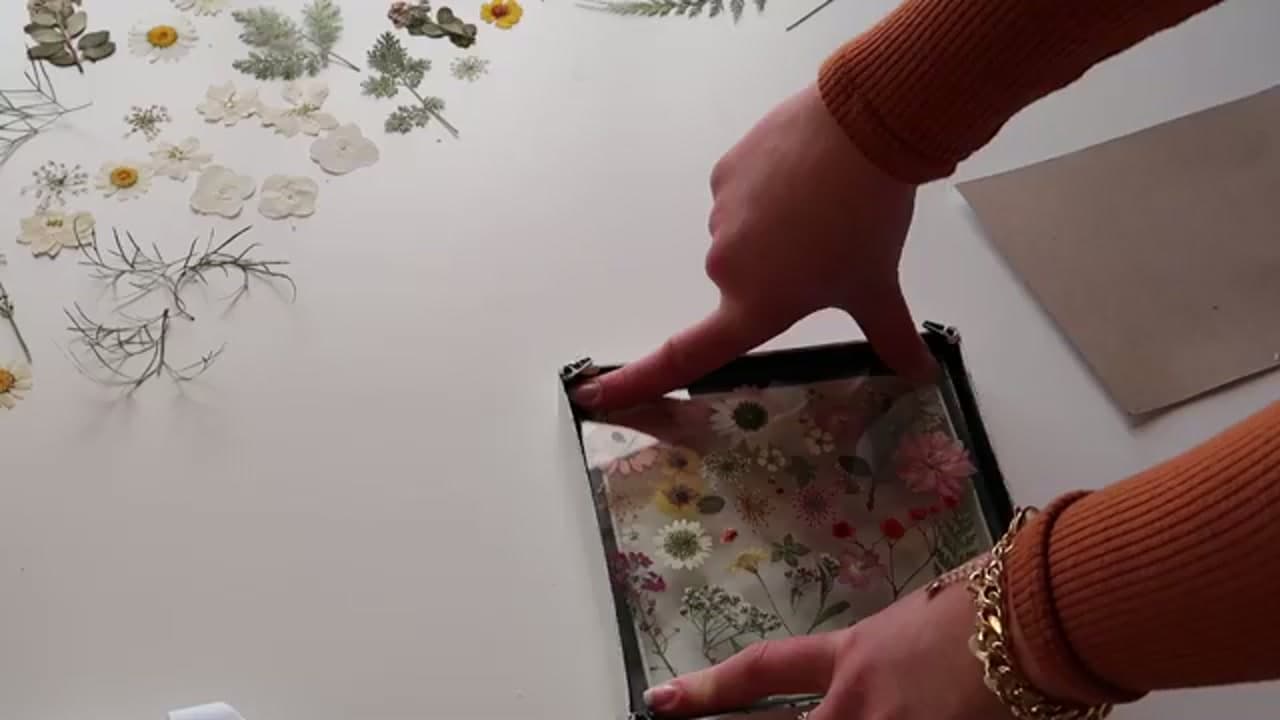
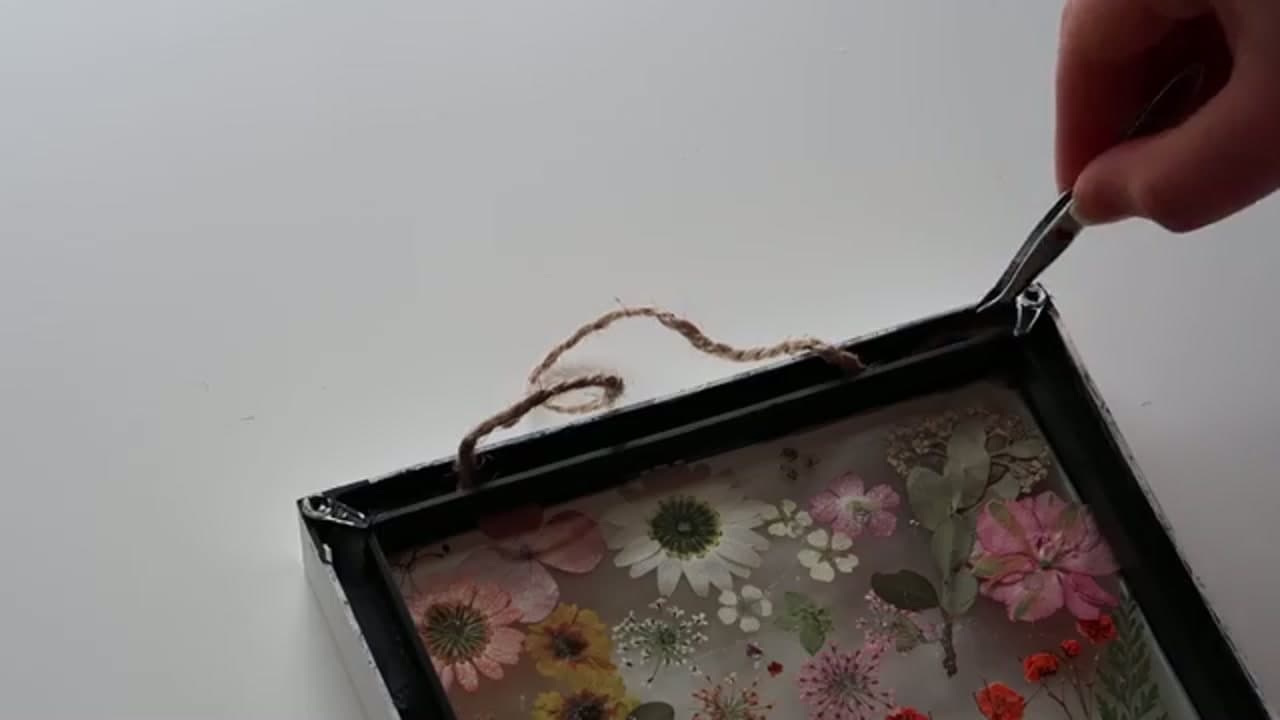
- Floating glass frame. The flowers sit between two panes with nothing behind them, so the wall shows through. This is what Jess builds, and it suits light, airy arrangements.
- Shadow box. A deep frame with space between the glass and the back. Good for thicker blooms, dried bouquets or anything that won't press flat.
- Regular frame with a mat. The flowers lie on cardstock or watercolor paper and the mat holds the glass off them. Best for botanical prints and labelled specimens.
Keeping flowers in place without glue showing
In a floating frame the glass does the work. Two panes pressed tight hold even loose petals still, so glue only the edges of the glass. On paper, use a dot of clear-drying glue on a toothpick under the thickest part of each stem, never under a petal. Thin petals go see-through wherever glue touches them.
Stopping the colors from fading
Every pressed flower fades eventually, but you can slow it down a lot. Hang the frame where it gets side light or bright shade, not direct afternoon sun. If the piece is a keepsake, swap the dollar-store glass for UV-filtering glass or acrylic. Reds and purples go brown first; yellows and ferns hold their color longest.
Pressed flower frame ideas
- A wedding bouquet keepsake, pressed the week after the wedding
- A set of three small botanical frames, one flower each, hung in a row
- Wildflowers from a trip or garden, with the date written on the backing
- Handmade gifts for Mother's Day or a birthday, using the recipient's favorite flower
If you want air-dried blooms instead of flat ones for a shadow box, see how to dry flowers.
Common mistakes
- Flowers not fully dry. Any moisture left in a thick center turns to mold behind the glass. Book-pressed flowers need two to four weeks. Go by feel: a dry flower is papery and stiff, not cool or bendy.
- Condensation in the glass. Don't hang it in a bathroom or over a kettle. Humidity gets between the panes and fogs them.
- Petals shifting when hung. If the panes aren't pressed tight, flowers slide to the bottom once the frame is upright. Check it standing up before the glue sets.
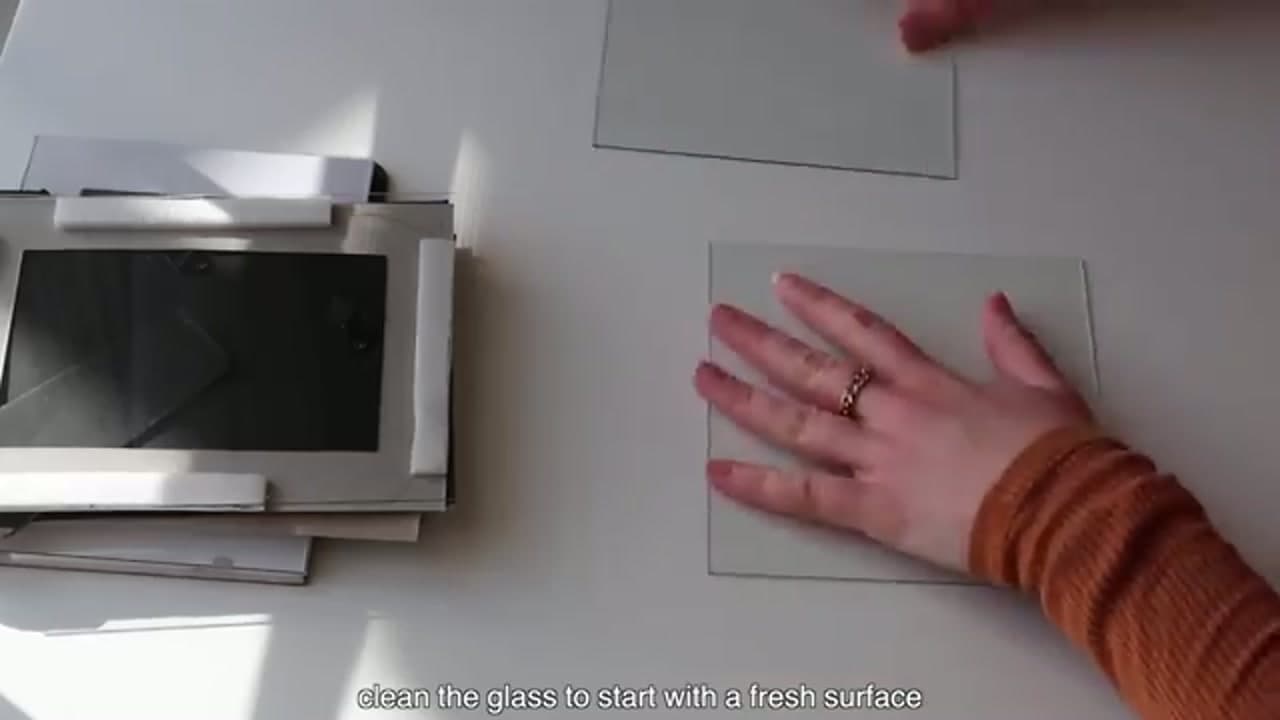
- Dust trapped inside. Clean both panes with a lint-free cloth right before you close it up.
For the same framed-nature look at a larger scale, moss wall art layers preserved moss into a frame and needs no watering or light at all.