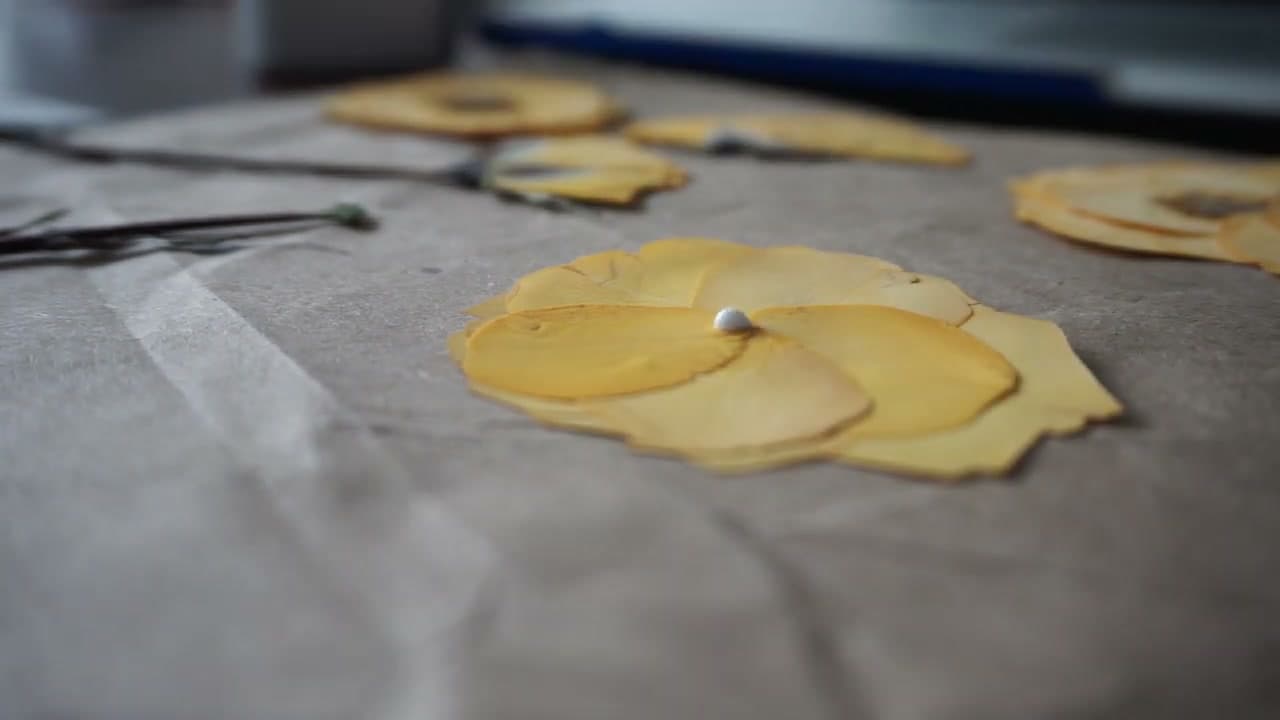
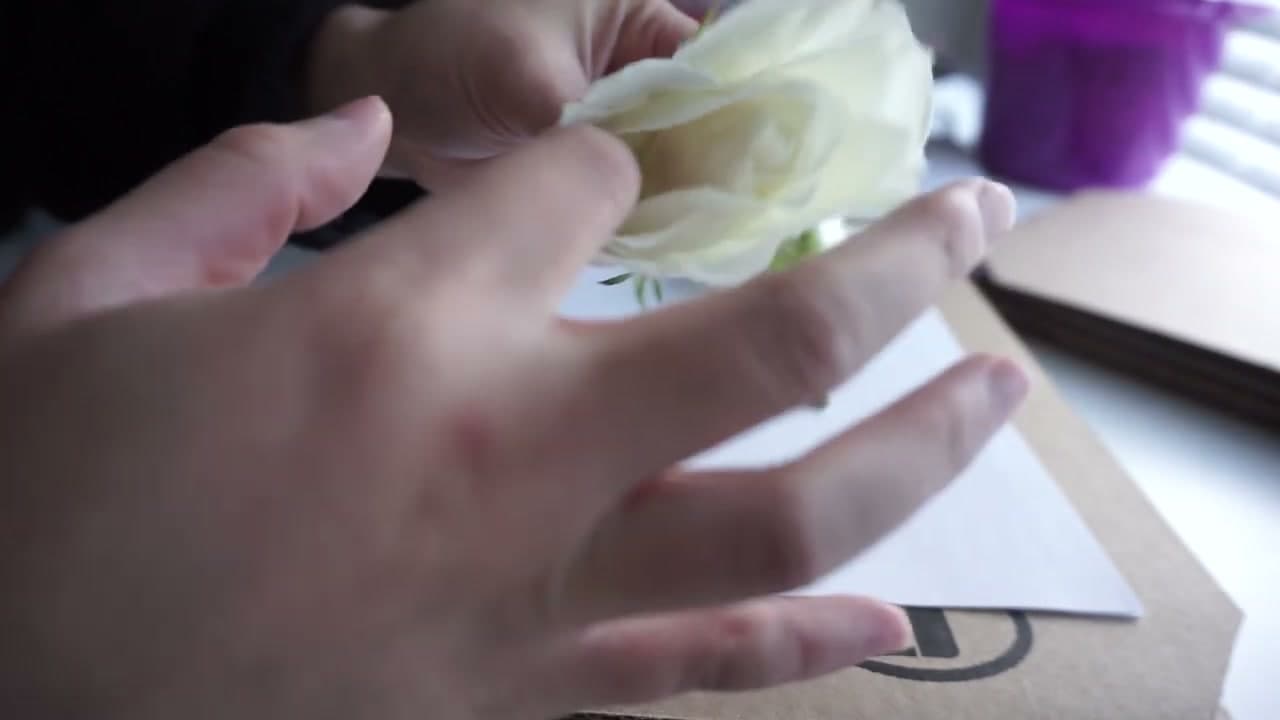
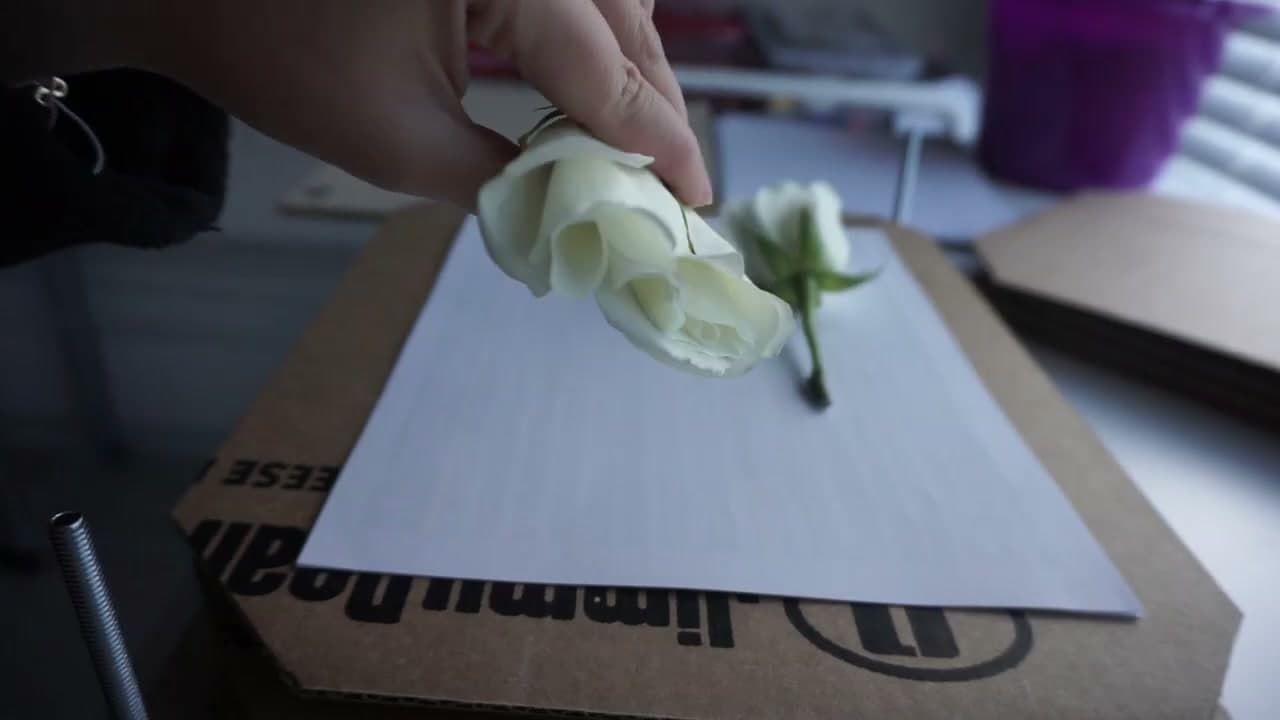
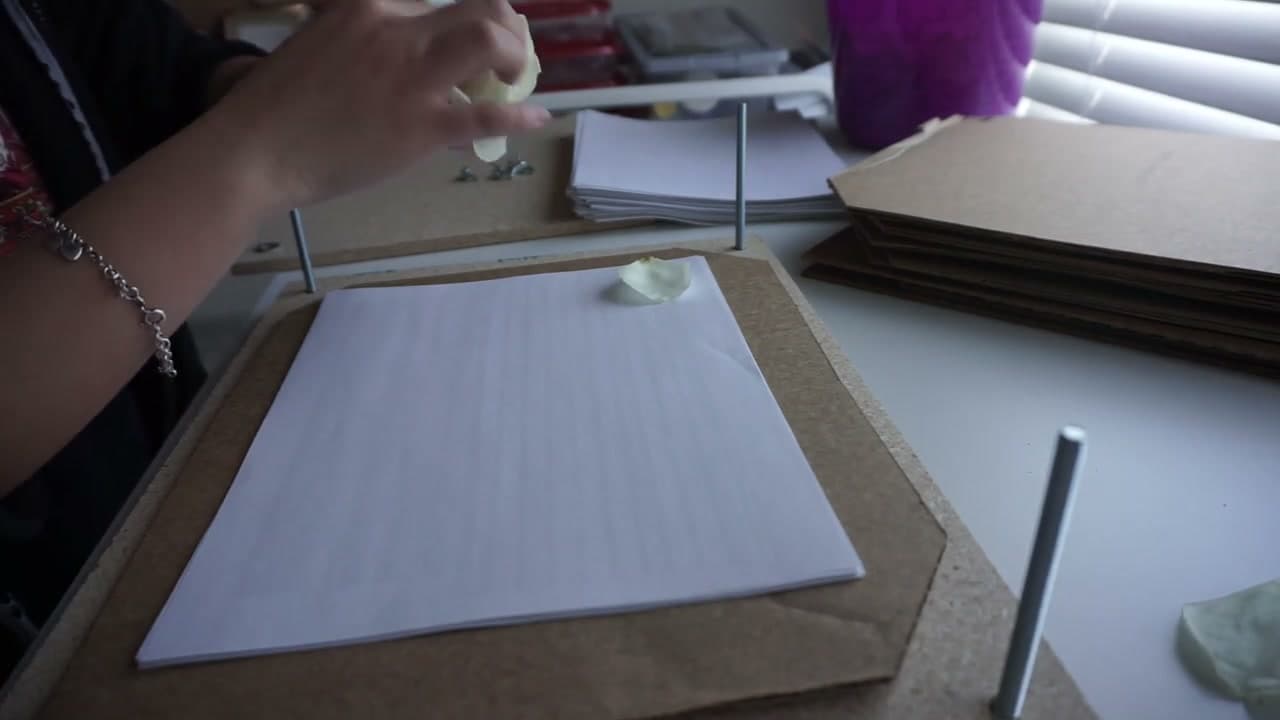
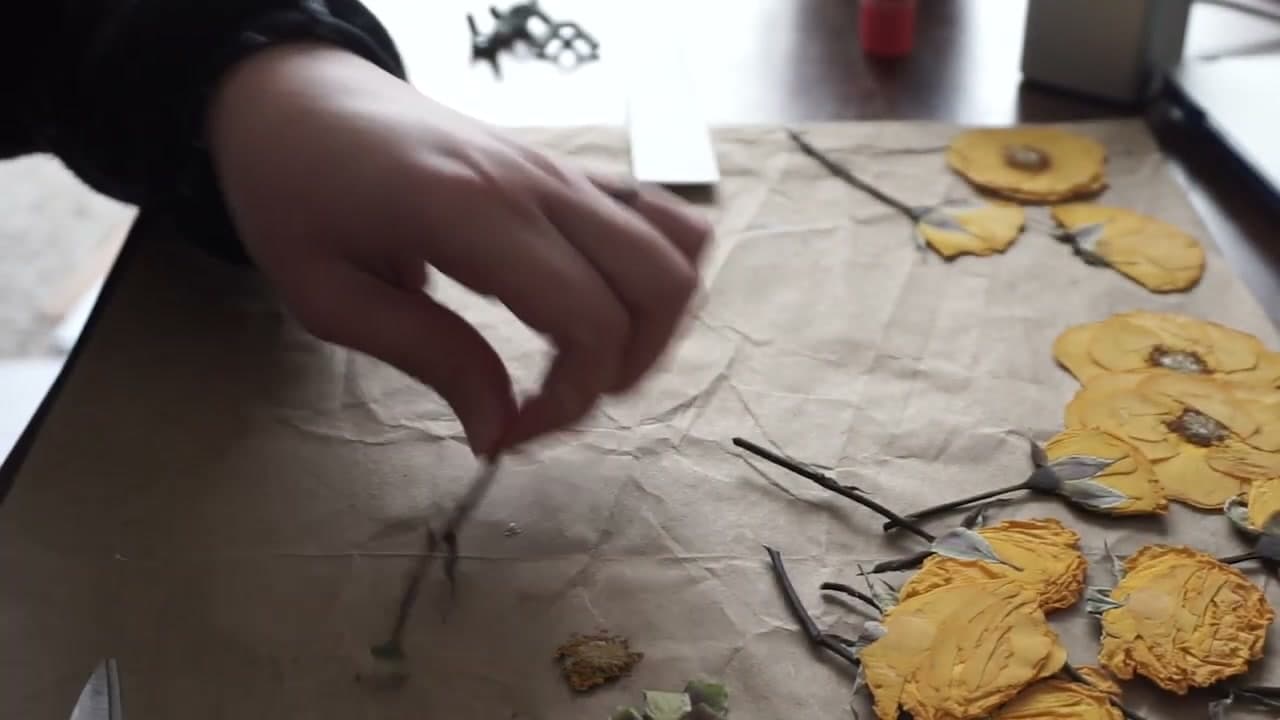
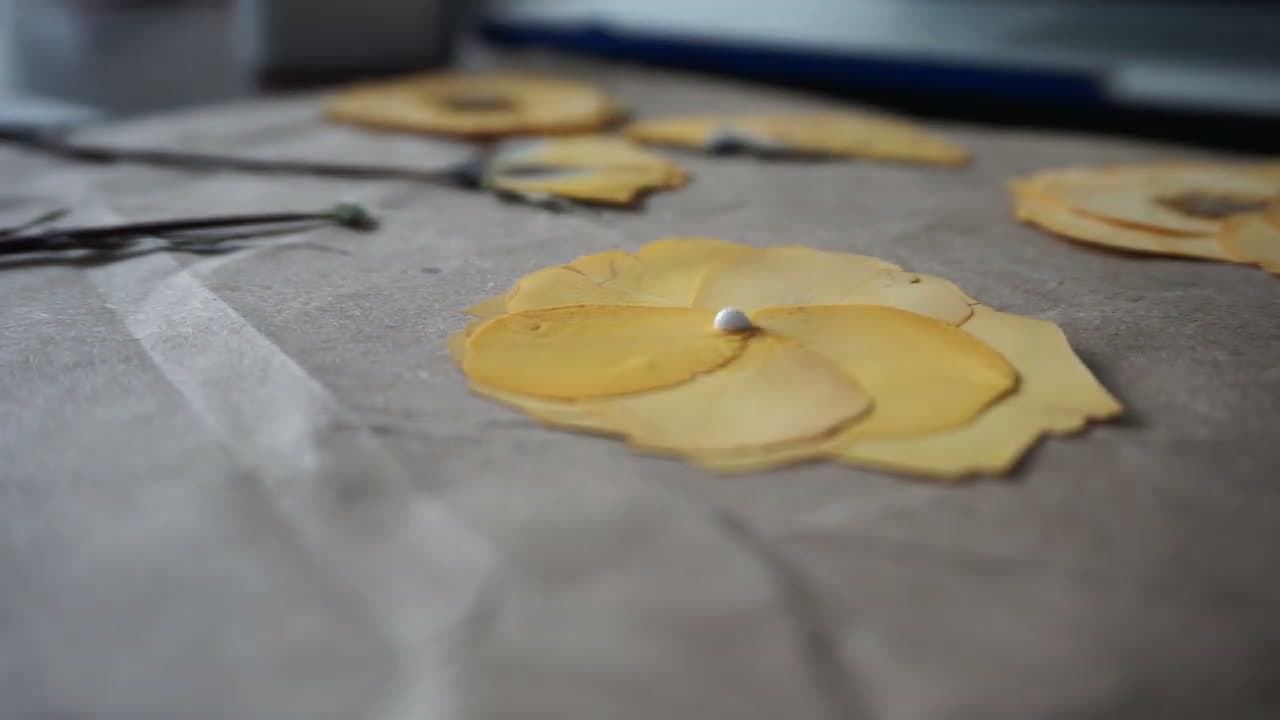
Pressing a rose is harder than pressing a pansy. A rose is a tight cup of thick, wet petals, and if you shut it in a book as it comes off the bush you get a brown, lumpy disc with mold at the center. This tutorial from Sunday Sunshine shows two ways around that: the profile press, where you open the rose up, pull out the thick center and press it whole, and the petal-by-petal method, where you press every petal on its own and glue them back into a rose once they are dry. Pressed roses end up in cards, framed art, resin crafts and candles.
Plan on two to four weeks in the press. The hands-on part is maybe twenty minutes per rose.
What you need
- Fresh roses, picked dry
- A wooden flower press or a heavy hardcover book plus extra weight
- Parchment, printer paper, coffee filters or paper towels as blotters
- Sharp scissors and tweezers
- Clear-drying craft glue and cardstock for the rebuilt rose
Profile press or petal by petal?
The profile press keeps the rose in one piece and gives you a flat silhouette. It is faster and suits cards, bookmarks and resin, where you want the whole flower readable at a glance. The petal-by-petal method takes longer, but every petal dries thin and even, so the rebuilt rose has layers and depth. That is the one for a frame or a shadow box.
Softer, older roses flex without snapping and do well whole. Stiff, glossy, fresh petals tend to crack when flattened as a cup, so take those apart.
Timing and picking
Cut mid-morning, after the dew is gone and before the sun wilts them. Water on a petal turns into a brown spot in the press. Pick blooms that are open but not shedding. A rose that has started to drop petals will fall apart on you, which is fine for method two and a mess for method one.
Other flowers and other methods
Flowers with a naturally flat face press easiest: pansies, violas, daisies, cosmos, ferns and single hydrangea florets. Thick or domed flowers like roses, peonies and ranunculus need the treatment shown here - open them up, remove the center, or split them into petals.
This page sticks to the rose. If you want a faster route, the microwave press and the iron method are covered side by side with the book and wood press in how to press flowers 4 ways. If you would rather keep a rose round, look at drying flowers instead of pressing them.
Keeping the colour
Swap the blotter paper every few days in the first week. That is when most of the water leaves, and damp paper is what causes browning. Store finished petals flat between clean paper in a dry, dark box. Sunlight fades pressed flowers fast - reds go brown and pinks go beige within months on a sunny wall. White roses tend to cream or yellow no matter what you do, so pick them knowing that.
What to make with pressed roses
A single profile rose makes a lovely card front or bookmark. Rebuilt roses look best behind glass, as in this pressed flower frame. For something you can handle every day, seal the flowers in resin. Make sure the petals are bone dry before they go in, or they will brown under the resin.
Common problems and fixes
- Mold or black spots: the rose went in damp or the paper was not changed. Start again with a drier bloom and fresh blotters every few days.
- Brown, translucent petals: too much moisture held too long. Thinner blotters and more frequent changes help.
- Split or cracked petals: too much pressure on day one. Tighten the press a little each day instead.
- Lumpy center: some of the stamens or inner petals stayed in. Pull them all for the profile press.
- Petals stick to the paper: put parchment or a coffee filter against the petals rather than textured paper towel.