Complete guide
DIY Crafts for Beginners: Your Guide to Getting Started
Published April 12, 2026
The easiest crafts for beginners to learn are hand sewing (like sewing on a button or hemming pants), crochet with a 5.5mm hook and worsted yarn, and macrame wall hangings. They need almost no setup, the materials are cheap, and you see real progress in the first hour. Embroidery and resin art come next if you want something more visual.
- Start with hand sewing — sewing a button and hemming pants teaches tension, knots, and stitch control.
- Pick up crochet — a single hook, one ball of yarn, and you can make scarves, dishcloths, and granny squares.
- Try macrame — just cord and a dowel, and four knots unlock wall hangings, plant holders, and keychains.
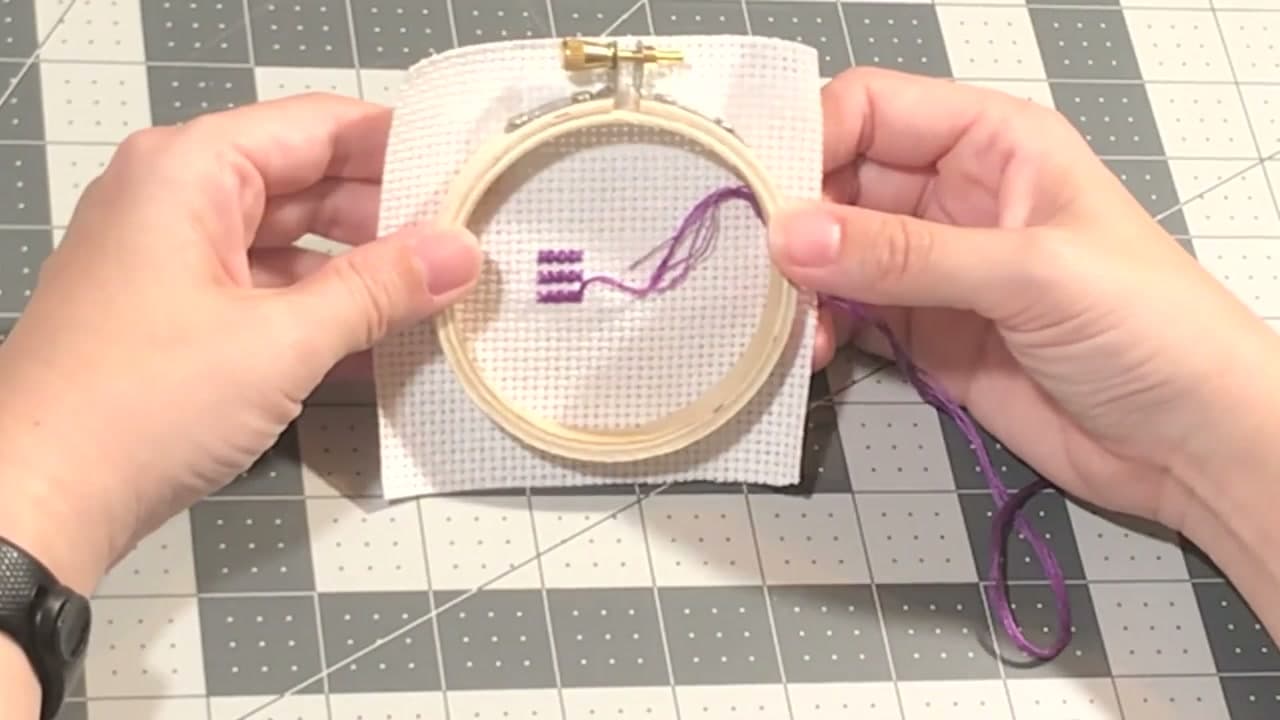
- Add embroidery stitches — back stitch, satin stitch, and French knot cover most patterns.
- Graduate to resin art — coasters, jewelry, and small pours give fast visual results.
Why Pick Up a Craft?
There is something deeply satisfying about making something with your hands. You start with a ball of yarn or a scrap of fabric, and an hour later, you have a thing that exists because you made it. No app, no subscription, no algorithm. Just you and the work.
Crafting also happens to be one of the best ways to slow down. Studies from the British Journal of Occupational Therapy found that knitting, for example, can reduce anxiety and improve mood. Sewing demands focus that pulls you out of your own head. Crochet gives your hands something to do while your mind untangles the day. These are not just hobbies. They are genuine, accessible forms of stress relief.
And then there is the practical side. A loose button does not have to mean a trip to the tailor. A pair of too-long pants does not have to sit in a donation bag. Once you learn a few basic skills, you start seeing problems you can solve yourself. That shift in perspective is worth more than any single project.
If you are browsing our crafts tutorials and feeling a little overwhelmed by the options, this guide will help you figure out where to begin.
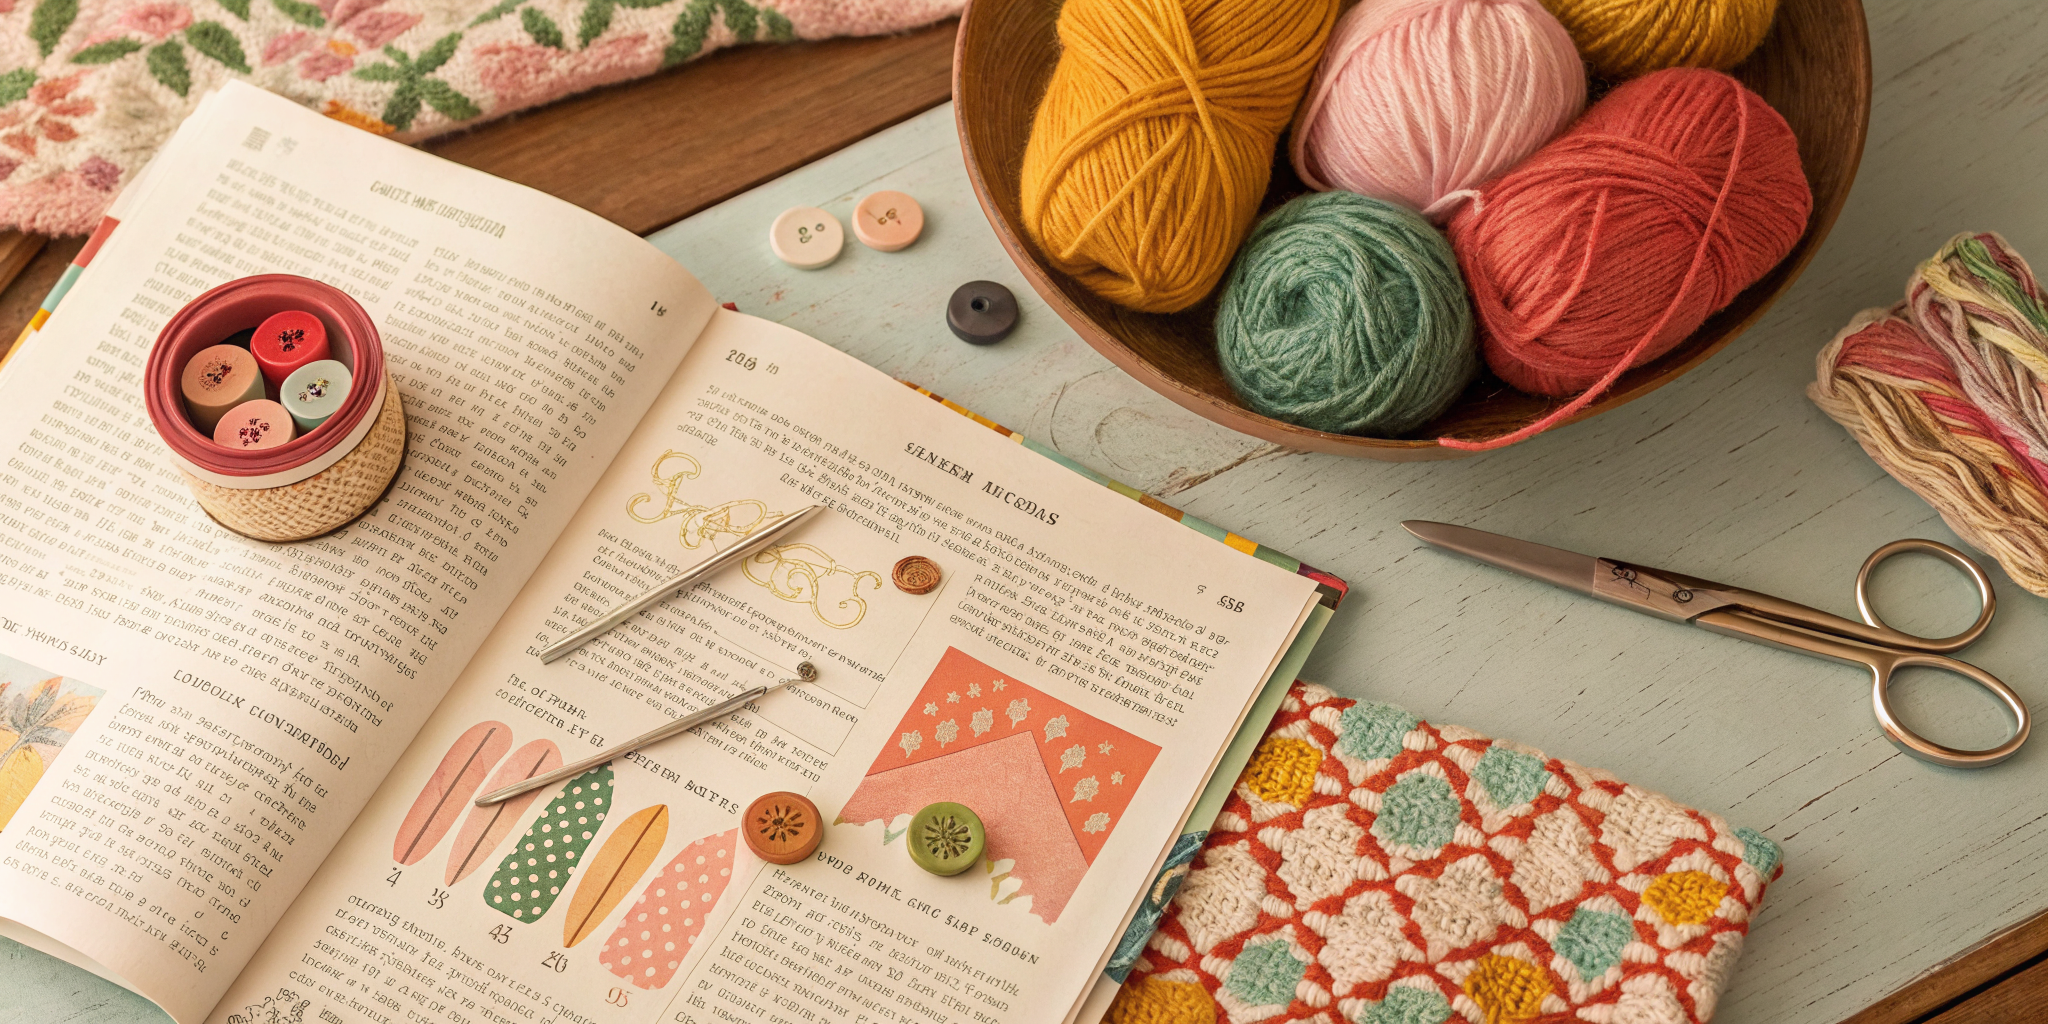
Yarn Crafts: Knitting and Crochet
Yarn crafts are a fantastic entry point for beginners. The supplies are inexpensive, the tools are simple, and you can practice while watching TV or sitting in a waiting room. The two big categories here are knitting and crochet, and while they look similar to outsiders, they feel very different in your hands.
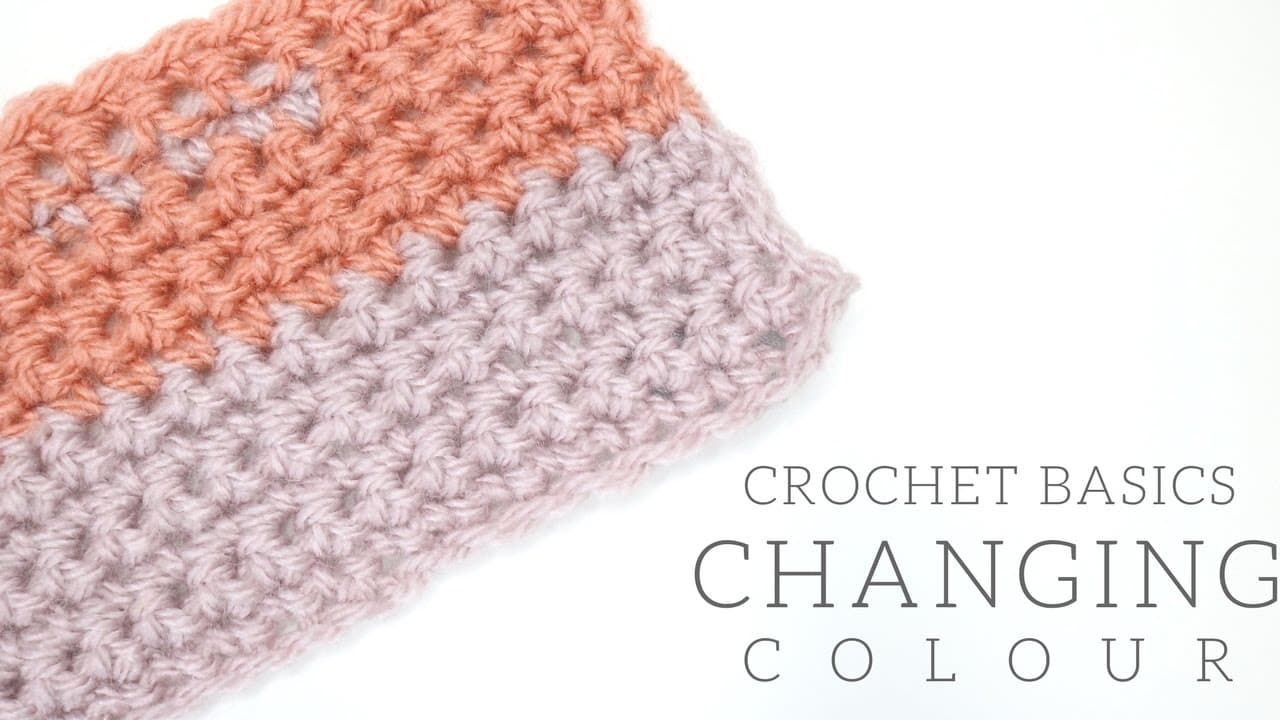
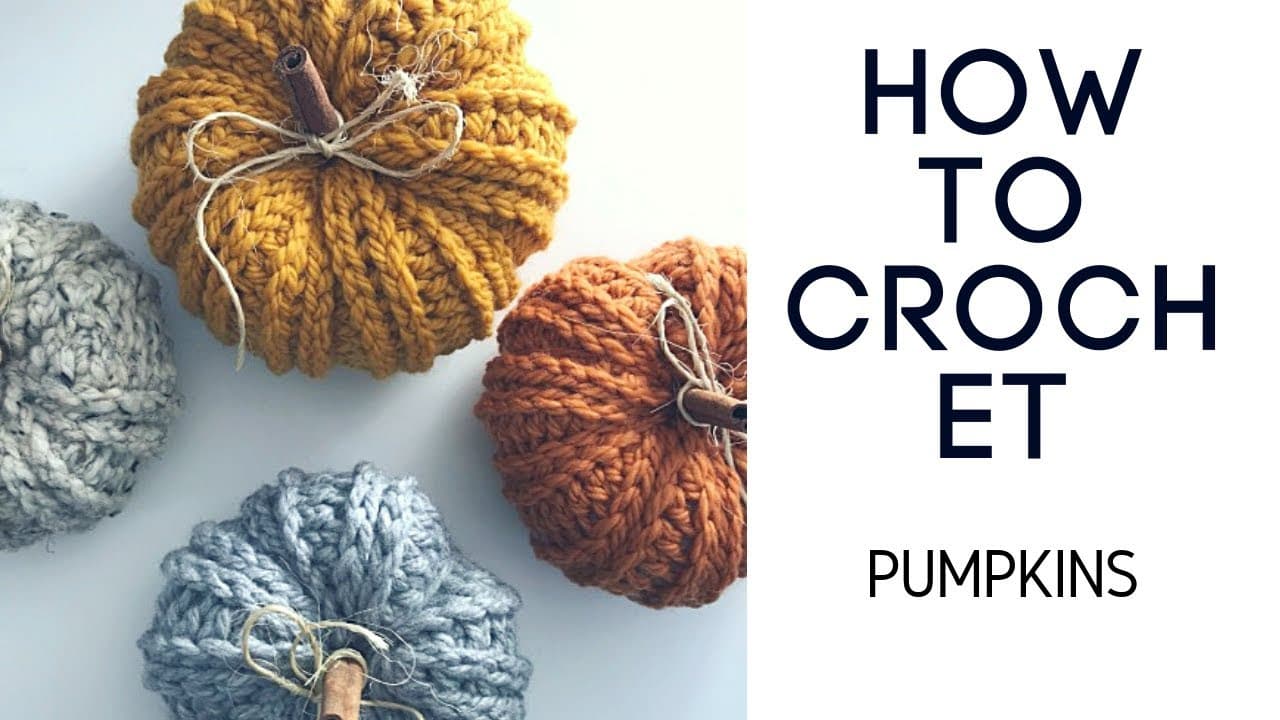
Getting Started with Crochet
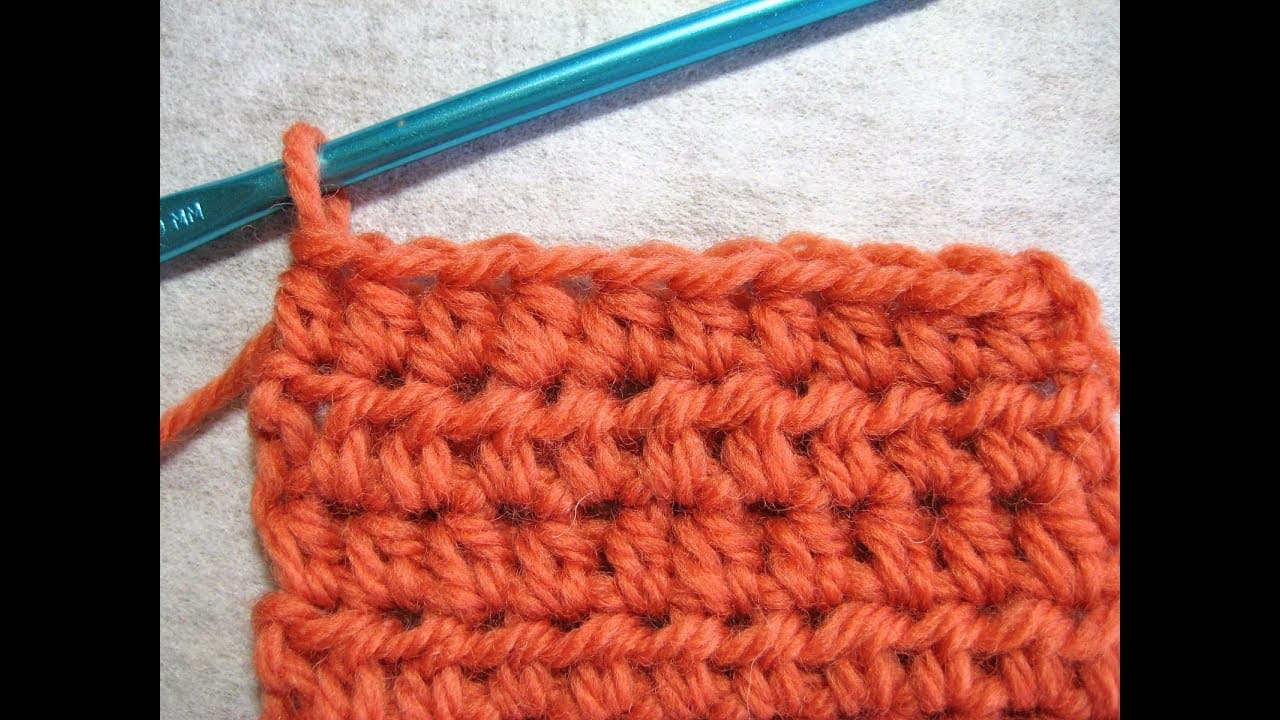
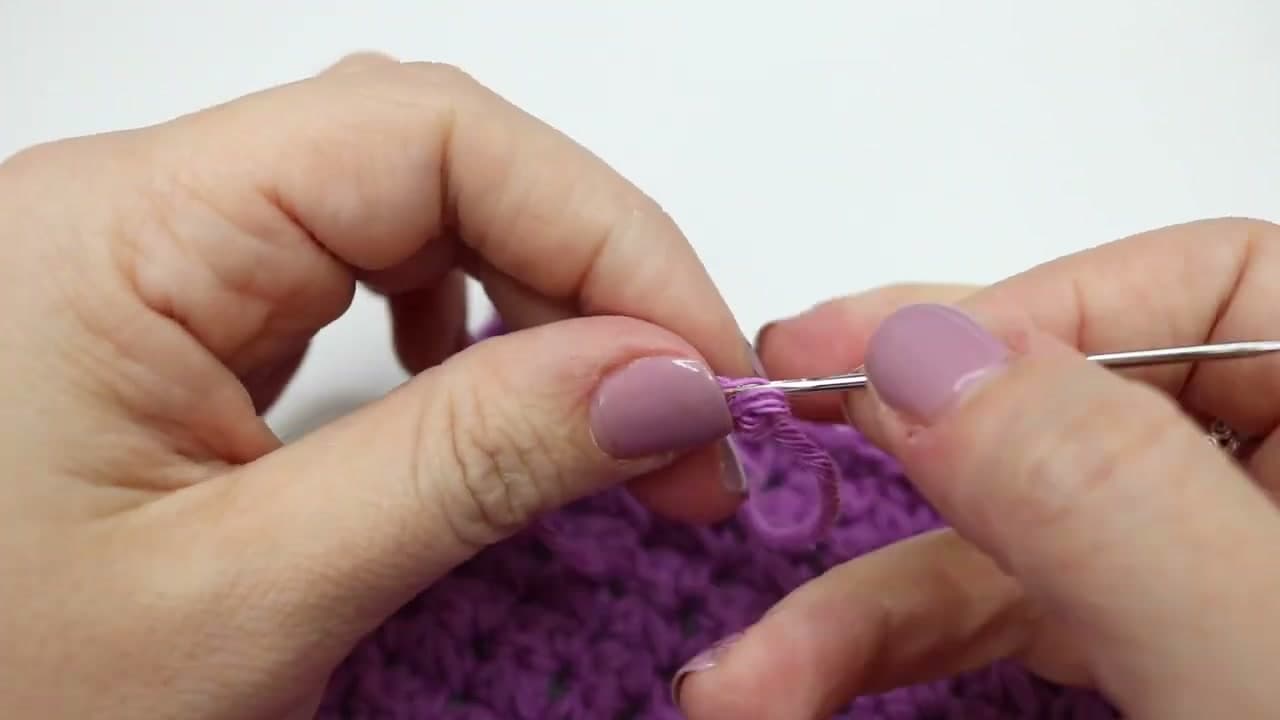
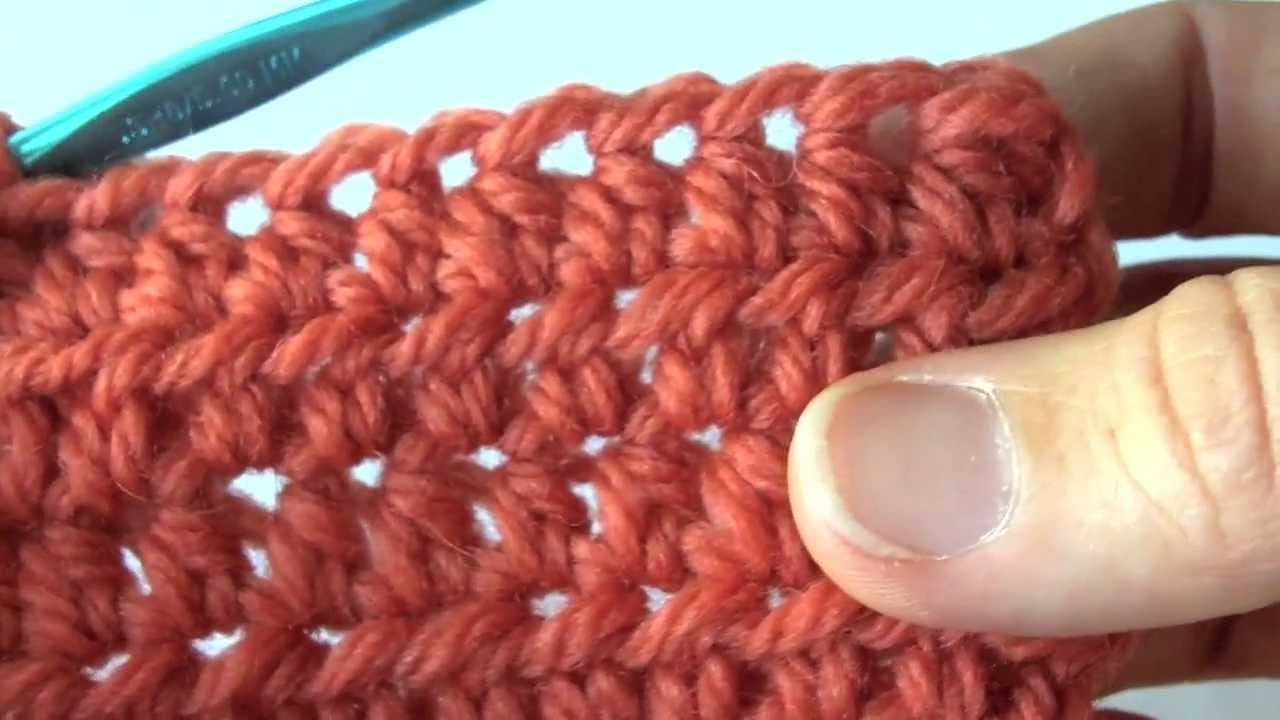
Crochet uses a single hook to pull loops of yarn through other loops. Because you only manage one active loop at a time, many beginners find it more forgiving than knitting. If you drop your work, the whole thing does not unravel the way knitted fabric can.
To get going, you need exactly two things: a crochet hook (size H/8 or 5mm is a great all-purpose starter) and a ball of medium-weight yarn in a light color. Light colors matter because you need to see your stitches clearly while you are learning. That gorgeous charcoal merino will still be there once you have your chain stitch down.
Our tutorial How to Crochet for Absolute Beginners: Part 1 walks you through the slip knot, chain stitch, and single crochet stitch with clear, step-by-step instructions. It is designed for people who have literally never held a hook before.
Common beginner mistakes in crochet:
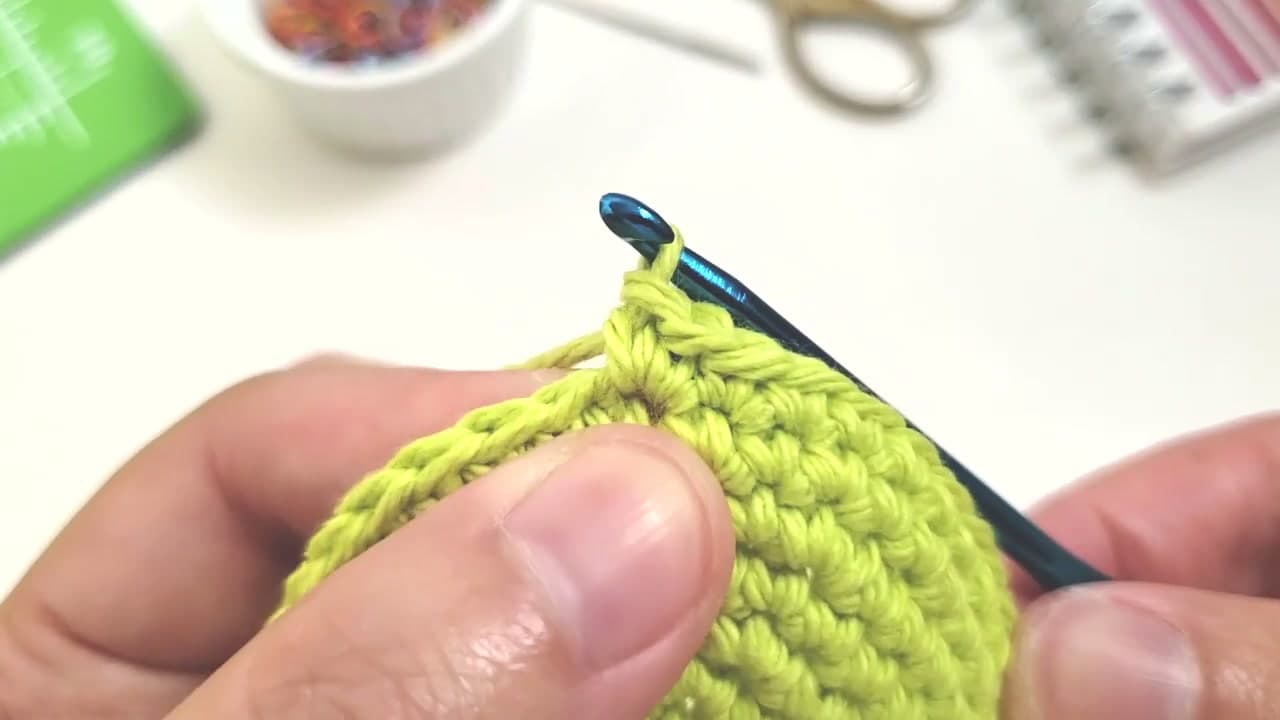
- Pulling the yarn too tight. Your hook should slide through loops without a fight. If you are wrestling with every stitch, loosen your grip.
- Skipping the first stitch of a row. This causes your fabric to shrink row by row until you end up with a triangle instead of a rectangle.
- Choosing dark or highly textured yarn. Save the fuzzy novelty yarn for later. Start with smooth, light-colored acrylic so you can actually see what you are doing.
Getting Started with Knitting
Knitting uses two needles and creates fabric by interlocking rows of loops. The resulting fabric tends to be thinner and drapier than crocheted fabric, which is why knitting is the go-to for garments like sweaters and socks. The learning curve is slightly steeper because you are managing multiple live stitches across a needle, but the payoff is enormous.
For your first project, grab a pair of size US 8 (5mm) straight needles and a ball of worsted-weight acrylic yarn. Bamboo or wooden needles are better for beginners than metal ones because the yarn grips the surface and slides less. You want that friction while you are building muscle memory.
Our How to Knit for Absolute Beginners tutorial covers casting on, the knit stitch, and binding off. Once you can do those three things, you can make a scarf, a dishcloth, or a simple headband.
Common beginner mistakes in knitting:
- Accidentally adding stitches. This usually happens when you bring the yarn to the front of the work between stitches, creating an unintentional yarn-over. Keep the working yarn behind your needles for knit stitches.
- Knitting too tightly. If you cannot slide your stitches along the needle, you are gripping too hard. Relax your hands and let the needles do the work.
- Trying to start with a complex pattern. A simple garter stitch square teaches you more than a half-finished cable-knit hat ever will.
Knitting vs. Crochet: Which Should You Try First?
Honestly? Try both. Spend an evening on each and see which one clicks. Some people love the rhythmic, meditative quality of knitting. Others prefer the speed and flexibility of crochet. There is no wrong answer. The best craft is the one you will actually sit down and do.
If you need a tiebreaker: crochet is generally faster for beginners to pick up, and mistakes are easier to fix. Knitting produces fabric that is better suited for clothing. Choose based on what you want to make first.
Sewing Basics: Your First Stitches
Sewing is one of those skills that sounds intimidating until you actually try it. The word conjures images of complicated patterns and expensive machines, but the reality is much simpler. Some of the most useful sewing skills require nothing more than a needle, thread, and ten minutes of practice.
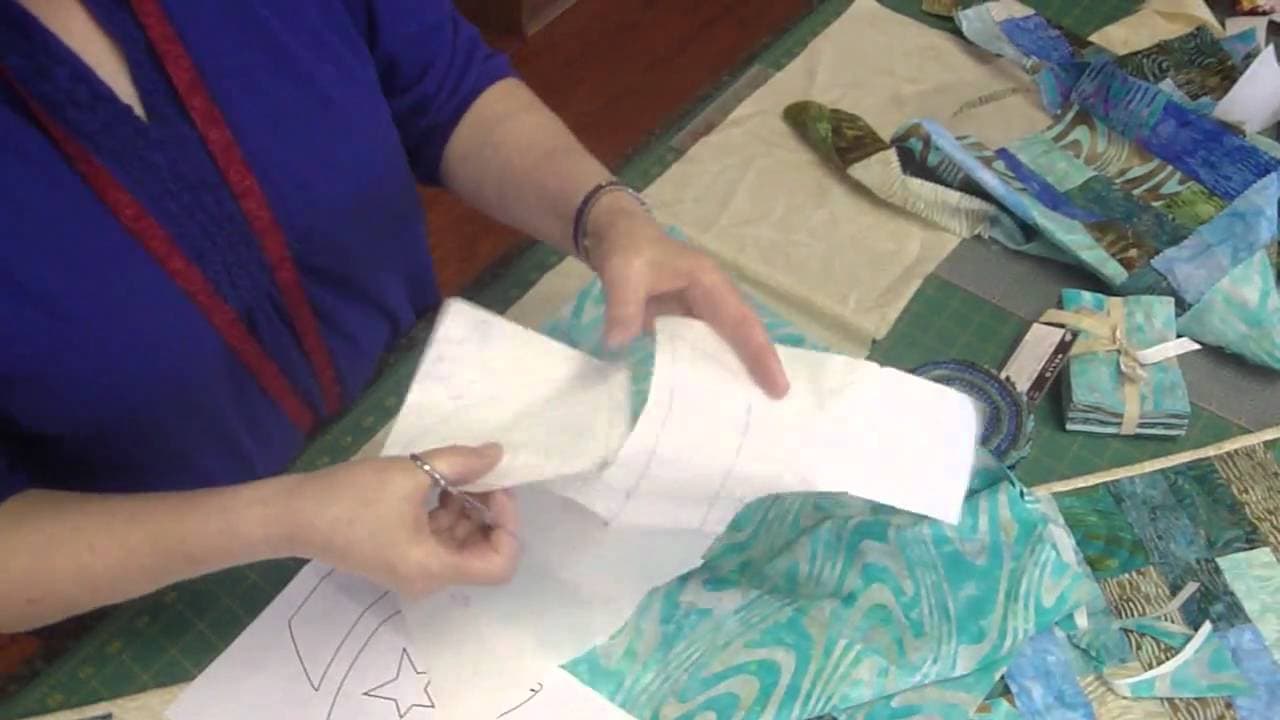
Hand Sewing Essentials
Before you go anywhere near a sewing machine, learn to sew by hand. Hand sewing is portable, quiet, and requires almost no investment. A basic hand sewing kit costs less than a coffee and fits in a drawer.
Your starter kit should include:
- A pack of assorted hand sewing needles (sharps, sizes 5-10)
- All-purpose polyester thread in black, white, and navy
- Small sharp scissors or thread snips
- A pincushion or magnetic pin holder
- A seam ripper (because everyone makes mistakes, and that is fine)
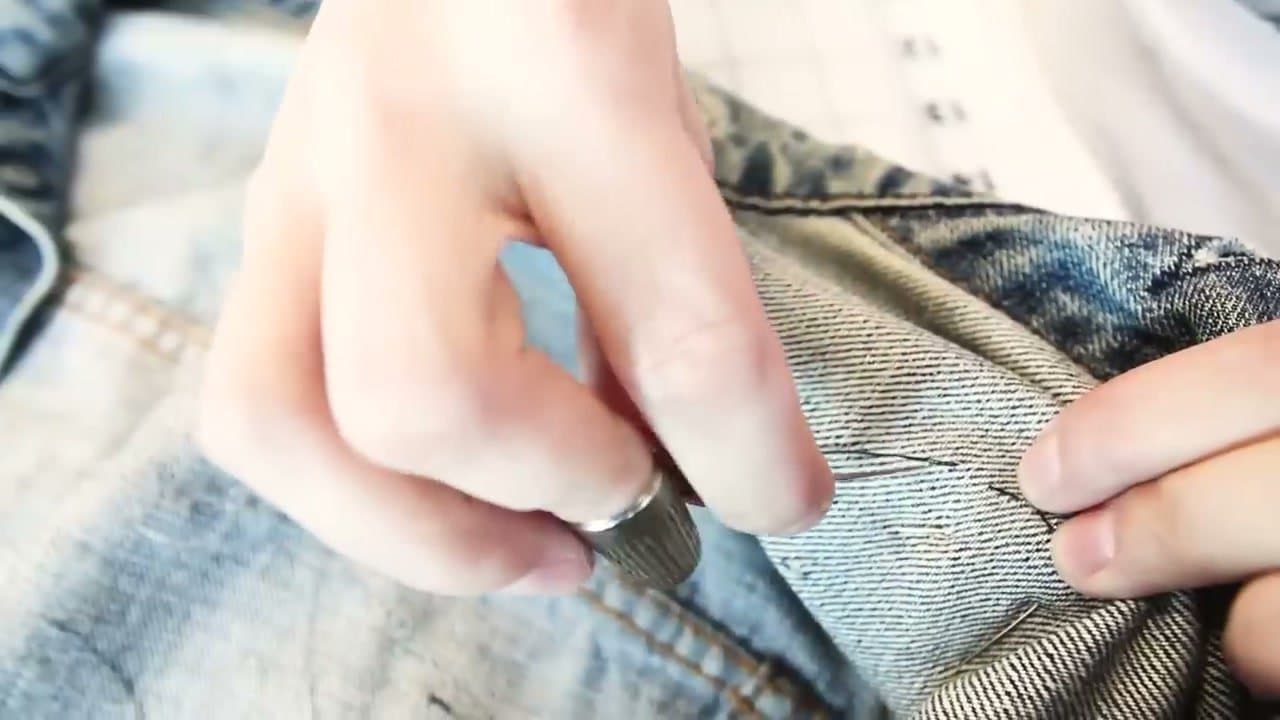
The single most practical hand sewing skill you can learn is attaching a button. Buttons come loose constantly, and replacing them takes about five minutes once you know the technique. Our tutorial How to Sew a Button by Hand breaks the process into easy steps, covering both flat buttons and shank buttons. It is the kind of skill that pays for itself the first time you save a shirt from the donation pile.
Mending and Alterations: Practical Skills That Save Money
Here is a secret that experienced crafters know: mending is the gateway skill. It is unglamorous, but it is the fastest way to see real value from your new abilities. Every pair of pants you hem yourself saves you $10-20 at a tailor. Every button you reattach extends the life of a garment. Over a year, those small fixes add up to real money.
Hemming Pants
Hemming is one of the most common alterations, and it is far simpler than most people realize. If you have access to a sewing machine, you can hem a pair of pants in about 20 minutes. Our tutorial How to Hem Pants at Home with a Sewing Machine covers measuring, pinning, pressing, and sewing a clean hem. It works for jeans, dress pants, and casual trousers.
Tips for a clean hem:
- Always press your fold with an iron before sewing. Pins alone will not give you a crisp, even line.
- Use thread that matches your fabric. Hold a single strand of thread against the fabric in natural light to check the match.
- For jeans or heavy fabrics, use a denim needle and go slowly over the thick seam allowances.
- Measure twice, cut once. Seriously. Try the pants on with the shoes you plan to wear, and have someone else mark the length if possible.
Other Beginner-Friendly Repairs
Once you have hemming and buttons down, try these next:
- Patching small holes: Iron-on patches work well for casual clothes. For a more polished look, learn to hand-stitch a patch from the inside.
- Fixing a split seam: This is just a straight stitch along the original seam line. If the fabric is not damaged, the repair is invisible.
- Replacing elastic: Pajama pants and workout clothes often outlast their elastic. Opening a small section of the waistband, threading new elastic through, and closing it up takes about 30 minutes.
Building Your Craft Space
You do not need a dedicated craft room. You do not even need a desk. Plenty of people crochet on the couch, sew at the kitchen table, and knit on the bus. But a little organization goes a long way toward keeping your new hobby sustainable.
Storage That Actually Works
- Ziplock bags for projects in progress. Toss your current crochet project, the pattern, and the remaining yarn into a gallon bag. Done. It stays clean, it stays together, and the cat cannot get to it.
- A small toolbox or tackle box for sewing supplies. The compartments keep needles, pins, buttons, and bobbins from becoming a jumbled mess.
- A tote bag or basket for yarn. Nothing fancy. Just something that keeps your yarn corralled and off the floor.
Lighting Matters More Than You Think
Poor lighting causes eye strain, headaches, and mistakes. If you are going to do any craft that involves seeing small details (so, all of them), invest in a good lamp. A daylight LED desk lamp costs around $20 and makes an enormous difference, especially for sewing and crochet where you need to see individual stitches clearly.
What to Try Next
Once you have worked through a few beginner projects, the crafting world opens up fast. Here is a rough progression that works well for most people:
- Start with one of the basics. Try crochet or knitting for yarn crafts, or hand sewing for fabric work.
- Complete a simple project. A dishcloth, a scarf, or a basic tote bag. Something you can actually use.
- Learn a repair skill. Hemming pants or replacing buttons are practical and satisfying.
- Try your second craft. If you started with yarn, try sewing. If you started with sewing, pick up a hook or needles.
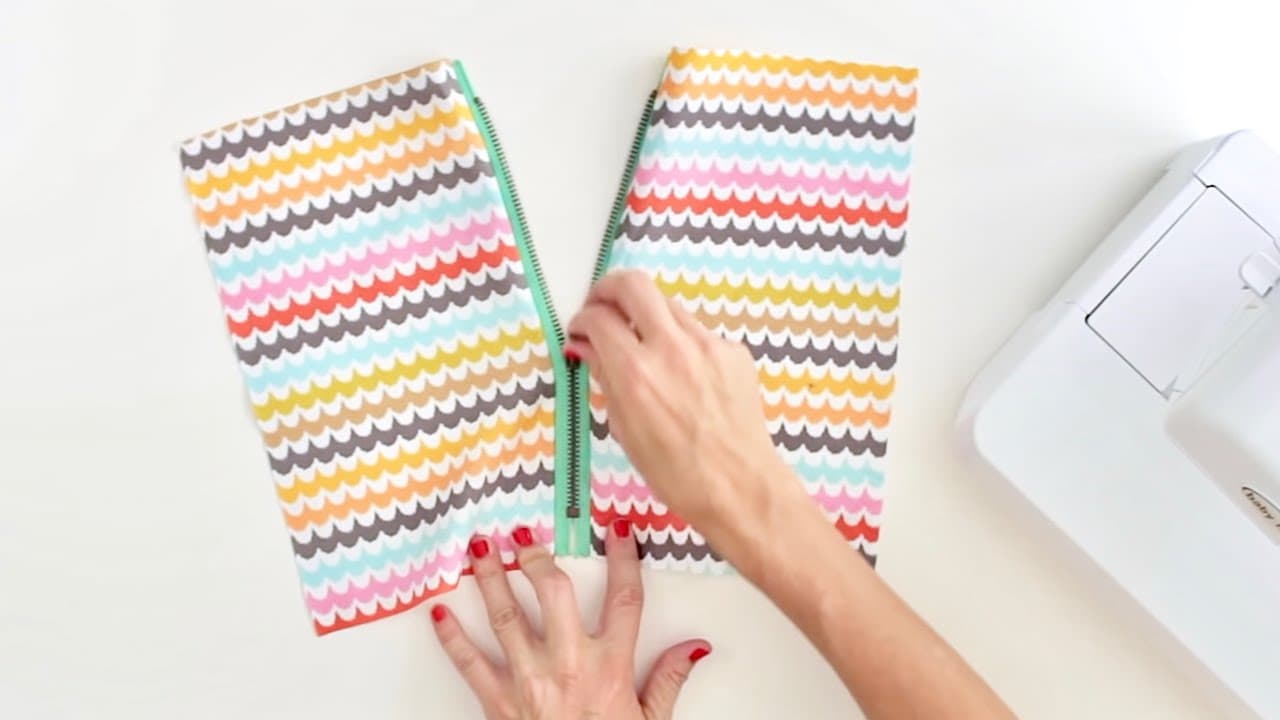
- Tackle a slightly harder project. A hat, a simple garment, a zippered pouch. Something that stretches your skills without overwhelming them.
The key is forward motion. You do not need to master anything before moving on. You just need to keep making things.
Browse all of our crafts tutorials to find your next project, and remember: every expert started exactly where you are right now, staring at a ball of yarn or a spool of thread and thinking, "Okay, what do I do with this?" The answer is simple. You start.
Frequently Asked Questions
What craft is easiest for beginners?
Tie-dyeing, simple macrame, and hand-sewing a button are the most accessible starters — each takes under an hour, costs under $15, and produces a finished piece. Crochet and knitting have a steeper first hour but the smallest tool kit (one hook or two needles, one ball of yarn).
What materials do beginners need for crafts?
The trap is buying a giant kit. Start with the smallest possible material set for the specific project you want to finish — one ball of yarn, one square of fabric, one bundle of cord. Add tools as you outgrow the basic ones. A pair of fabric scissors, a hot glue gun, a sewing needle pack, and painter's tape cover an enormous range of crafts before any specialty kit.
What craft should I learn first?
Pick the craft whose finished piece you'd actually use or display. If you want to wear it, start with knitting or crochet. If you want it on a wall, start with macrame or acrylic painting. If you want to give it as a gift, start with card-making. Motivation matters more than difficulty — a hard craft you'll finish beats an easy craft you abandon.
How long until a craft starts to feel relaxing instead of frustrating?
About ten hours of practice — roughly four sessions for most beginners. The first three sessions feel awkward because the muscle memory isn't built. Around hour ten the hands start to know what to do without your eyes watching, and the meditative quality the craft is famous for finally appears. Don't quit before ten hours.
What's the most relaxing craft to learn?
Most beginners describe knitting and hand-embroidery as the most meditative — they're rhythmic, low-mistake-cost, and forgiving of pauses. Whittling ranks high too once the cuts feel safe. The least relaxing crafts to start with are anything time-pressured (resin pours, hot-glue assemblies) — they're great later but stressful day one.
Can I make money from crafts?
Yes, but the path is narrower than craft Instagram suggests. Items that sell well on Etsy are personalized (custom names, colors), giftable (under $40), and consistent enough to make in batches. The first $1,000 takes 200+ hours and almost zero profit; after that, repeat customers and operational efficiency drive the margin. Treat the first 6 months as paid R&D.
Tutorials in This Guide
326 step-by-step tutorials

How to Make a Mosaic Side Table

How to Embroider a Lavender Stem (Beginner, 2 Stitches)

How to Fix a Dropped Knitting Stitch: 7 Step Rescue Tutorial

How to Paint a Flower
How to Crochet a Puppy (Beginner Amigurumi)
How to Paint a Beach with Acrylics

How to Crochet an Owl (Tiny Amigurumi Pattern, Step by Step)

How to Make Salt Dough Ornaments - 3-Ingredient Christmas Craft

How to Make a Paper Bag

How to Cross Stitch Letters and Alphabet

How to Make a Paper Snowflake
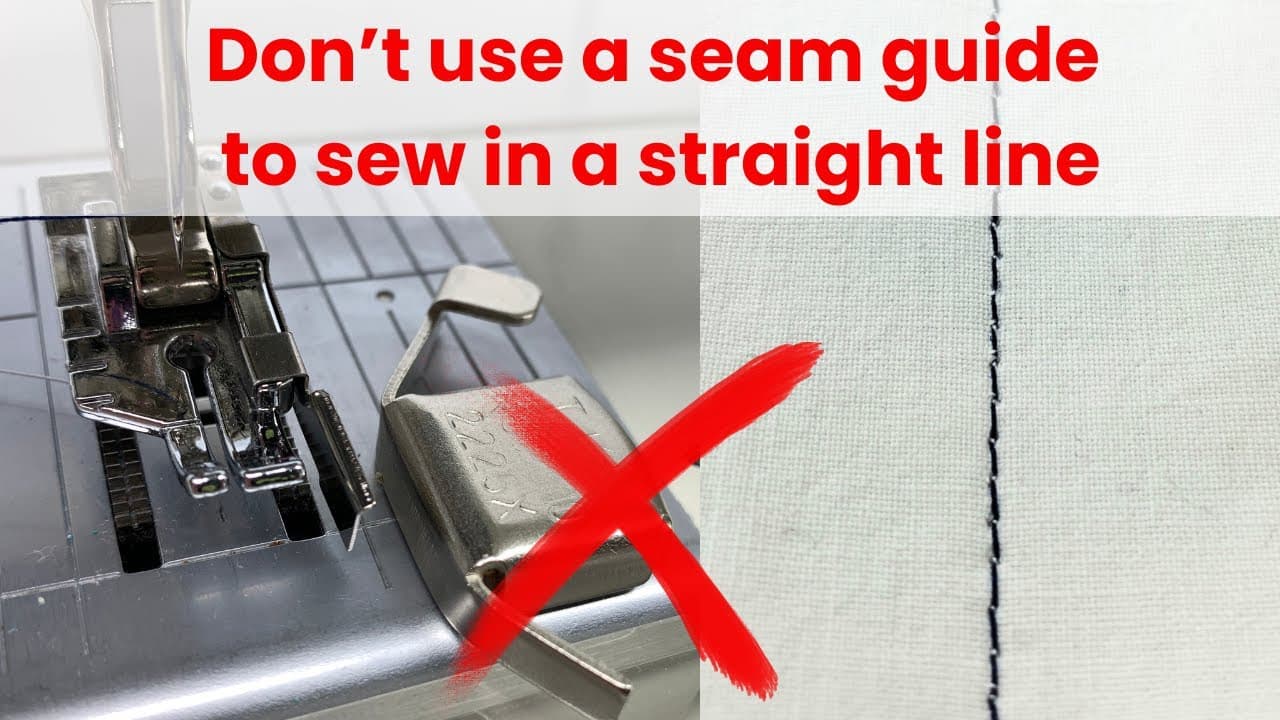
How to Sew in a Straight Line: 7 Beginner Sewing Tips
How to Soften Polymer Clay (Conditioning Hard or Crumbly Clay)

How to Use Resin Molds (Beginner Casting Guide)

How to Thread a Sewing Machine

How to Crochet a Magic Ring (Magic Circle)

How to Fold an Origami Box

How to Make a Concrete Vase (Wabi-Sabi Style, Step by Step)

How to Make a Wooden Box: 5-Step Beginner Build

How to Make a Hypertufa Planter

How to Use Air Dry Clay: Magnets and Dish in 6 Steps
How to Crochet a Strawberry - 7-Step Amigurumi Tutorial

How to Read a Crochet Pattern (Beginner Guide)

How to Make Concrete House Numbers (DIY Address Sign)

How to Paint a Sunset: 5-Step Acrylic Tutorial

How to Make a Summer Front Door Wreath

How to Make a Concrete Candle Holder

How to Draw a Horse (Step by Step Pencil Tutorial)
How to Make a Pop-Up Card with an Accordion Fan

How to Cut SVG Files with Cricut (Upload + Cut Tutorial)

How to Paint Daisies in Acrylics
How to Use a Router
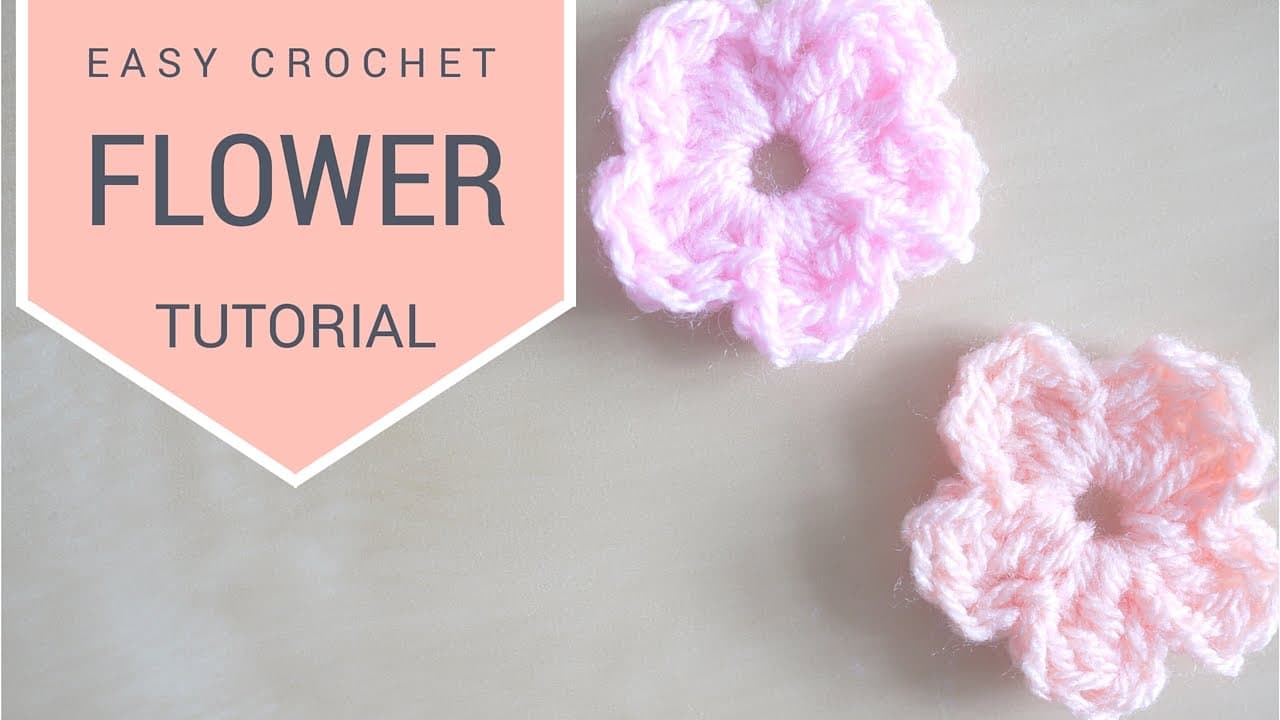
How to Crochet a Flower - 6-Step Beginner Tutorial
How to Do a Satin Stitch (Basics + Variations)

How to Make Concrete Bookends with Gold Animals
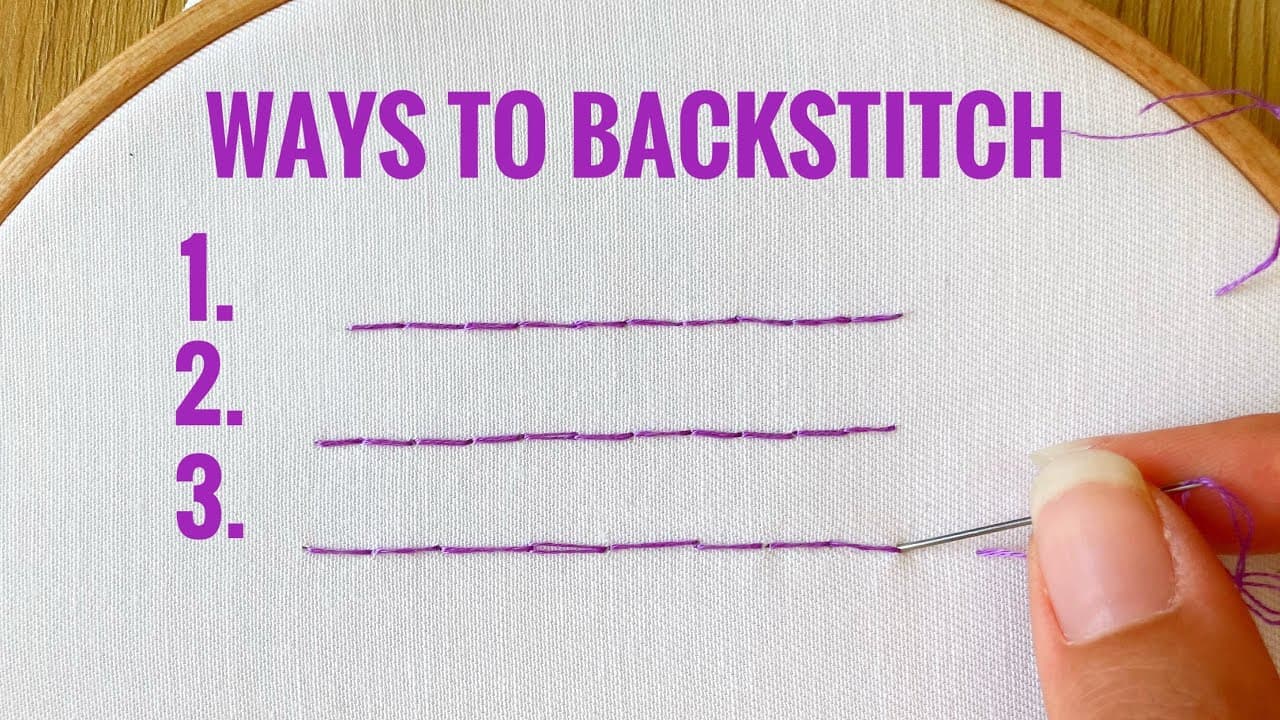
How to Backstitch: 3 Ways for Hand Embroidery

How to Make a Pressed Flower Frame

How to Draw a Fish (Step by Step Goldfish Tutorial)

How to Make a Junk Journal: Step-by-Step Beginner Guide

How to Make Concrete Coasters with Gold Leaf Edges
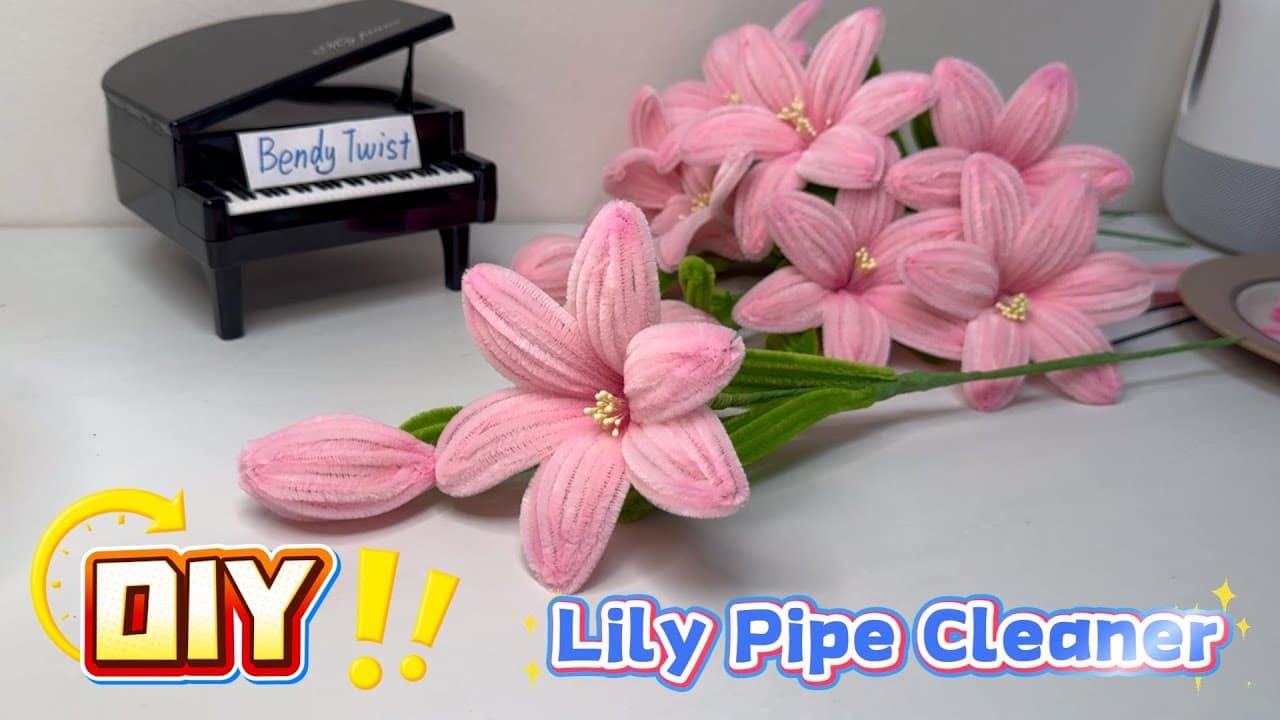
How to Make Pipe Cleaner Flowers (5 Easy Designs)

How to Make a Concrete Catchall Tray with White Cement

How to Paint the Northern Lights with Acrylics

How to Make UV Resin Flower Earrings (DIY Tutorial)

How to Make Half-Square Triangles: 6 Easy HST Methods
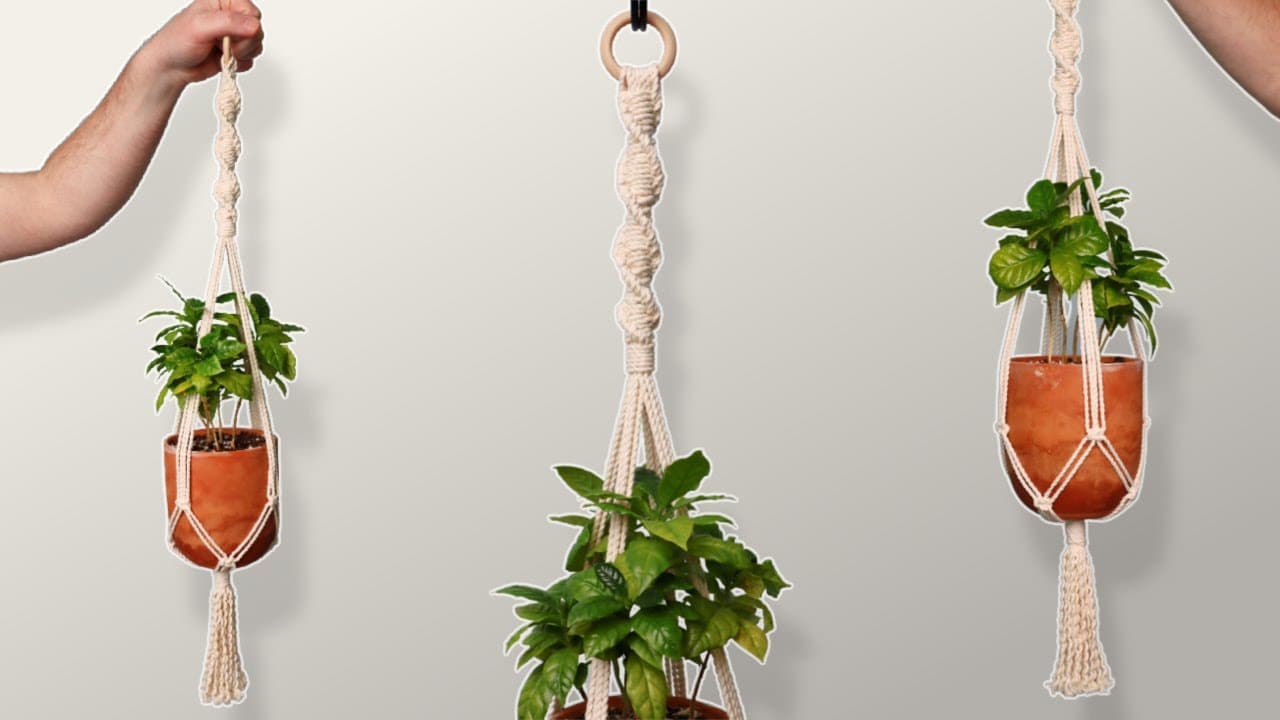
How to Make a Macrame Plant Hanger: 7 Step DIY Tutorial
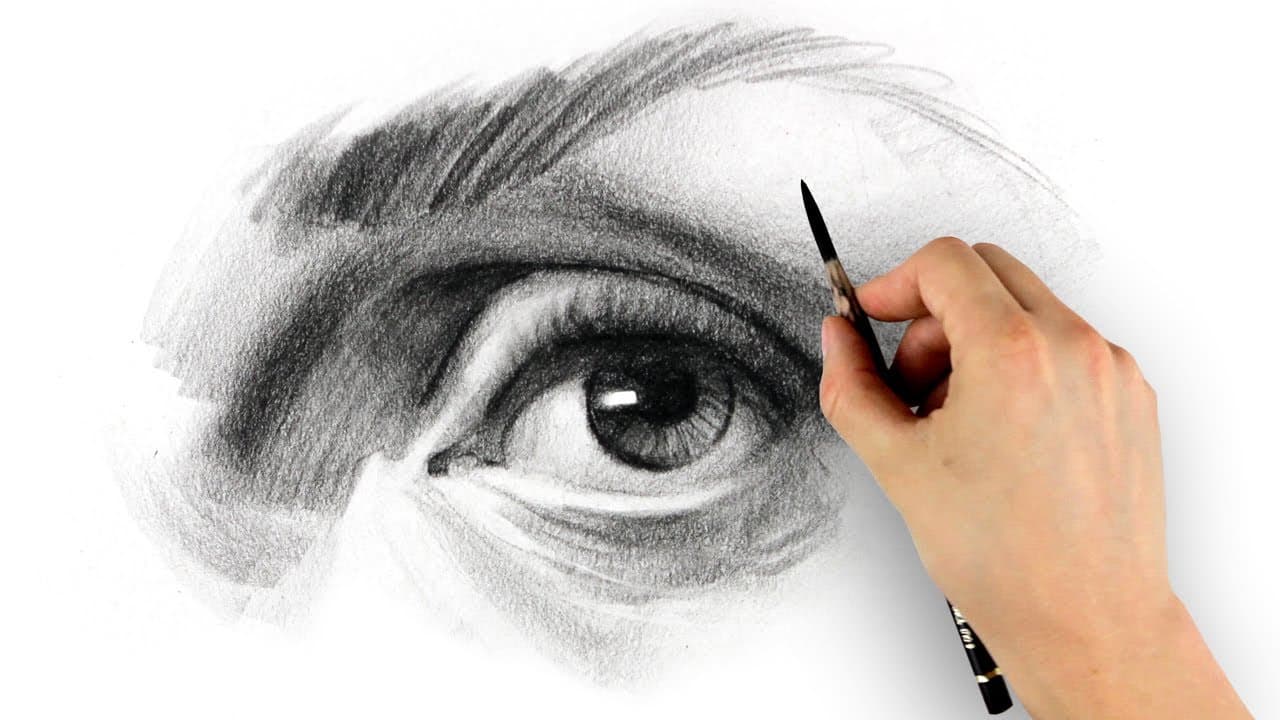
How to Draw an Eye - Step by Step

How to Paint Rocks

How to Cast On Knitting: Long Tail Method for Beginners

How to Crochet a Fox (Amigurumi Pattern, Step by Step)

How to Make Paper Flowers (Origami Rose)

How to Do a Blanket Stitch (Decorative Edging by Hand)

How to Crochet Fingerless Gloves: Easy Beginner Tutorial
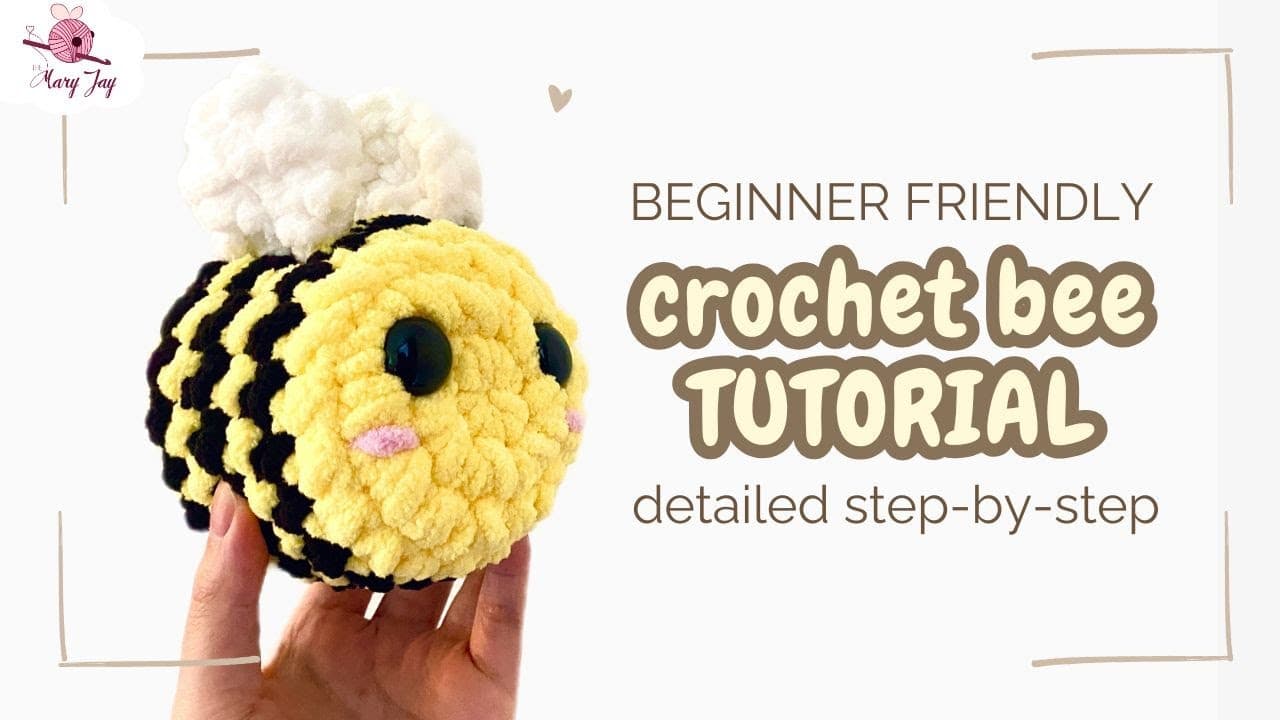
How to Crochet a Bee: Beginner Amigurumi
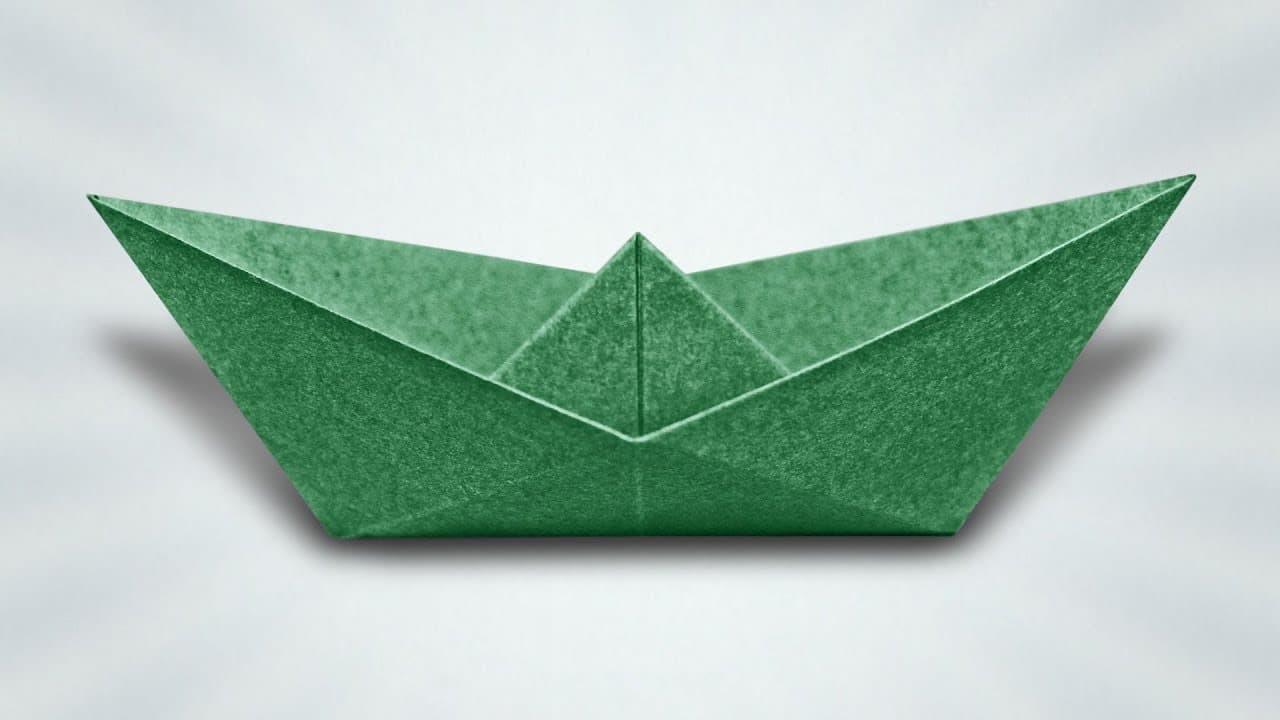
How to Make a Paper Boat (Origami)

How to Crochet a Dragon (Pocket Dragon Amigurumi, Step by Step)

How to Make Crepe Paper Flowers (Easy DIY Wall Flowers)

How to Punch Needle for Beginners
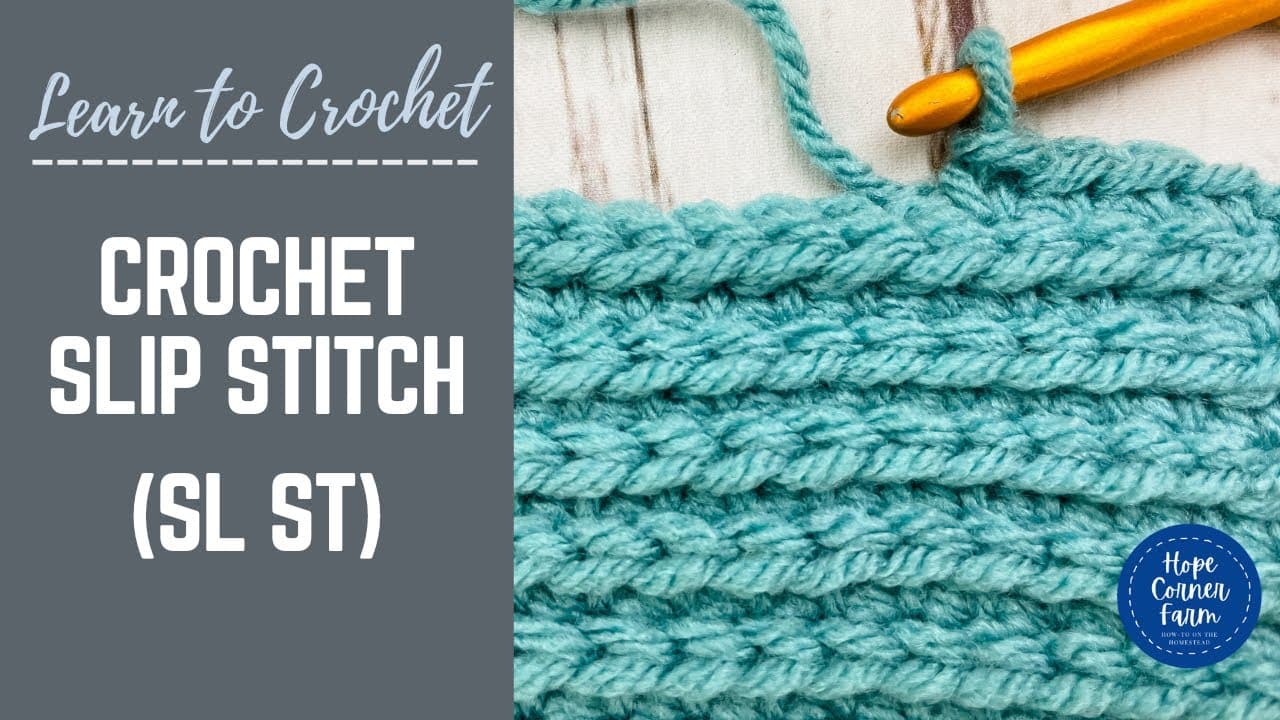
How to Slip Stitch in Crochet
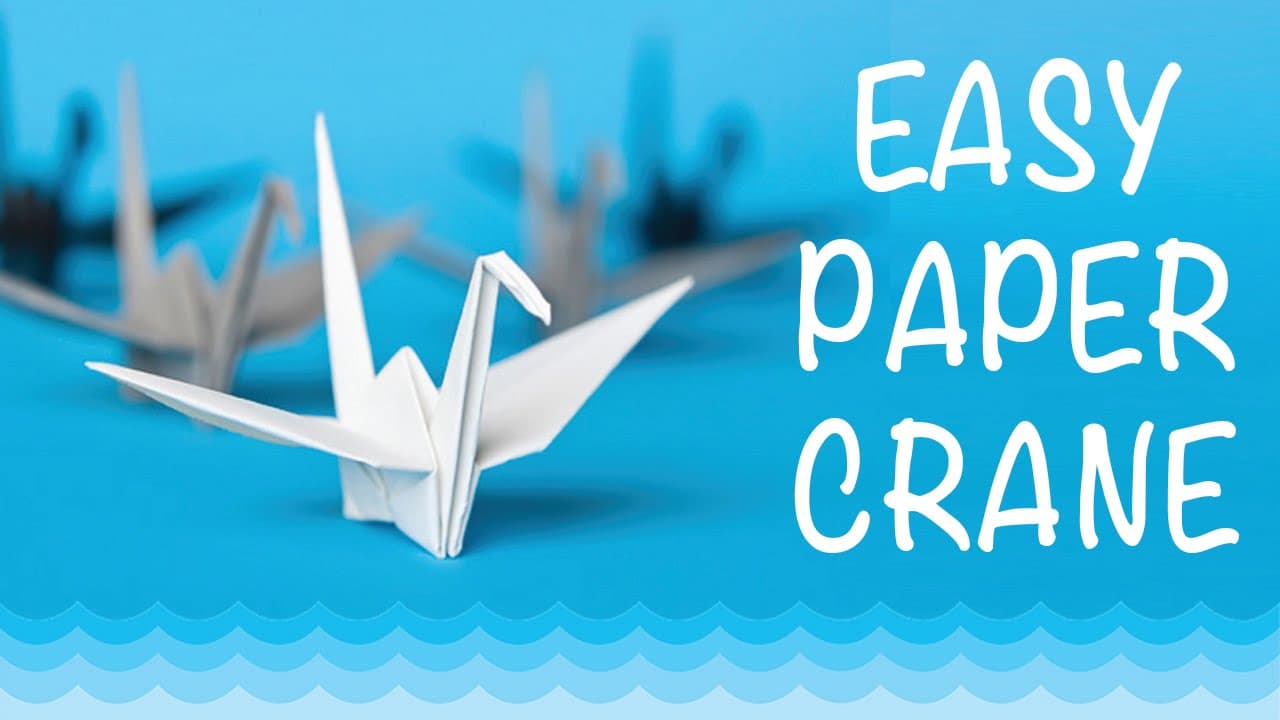
How to Fold an Origami Crane: 8 Step Beginner Tutorial
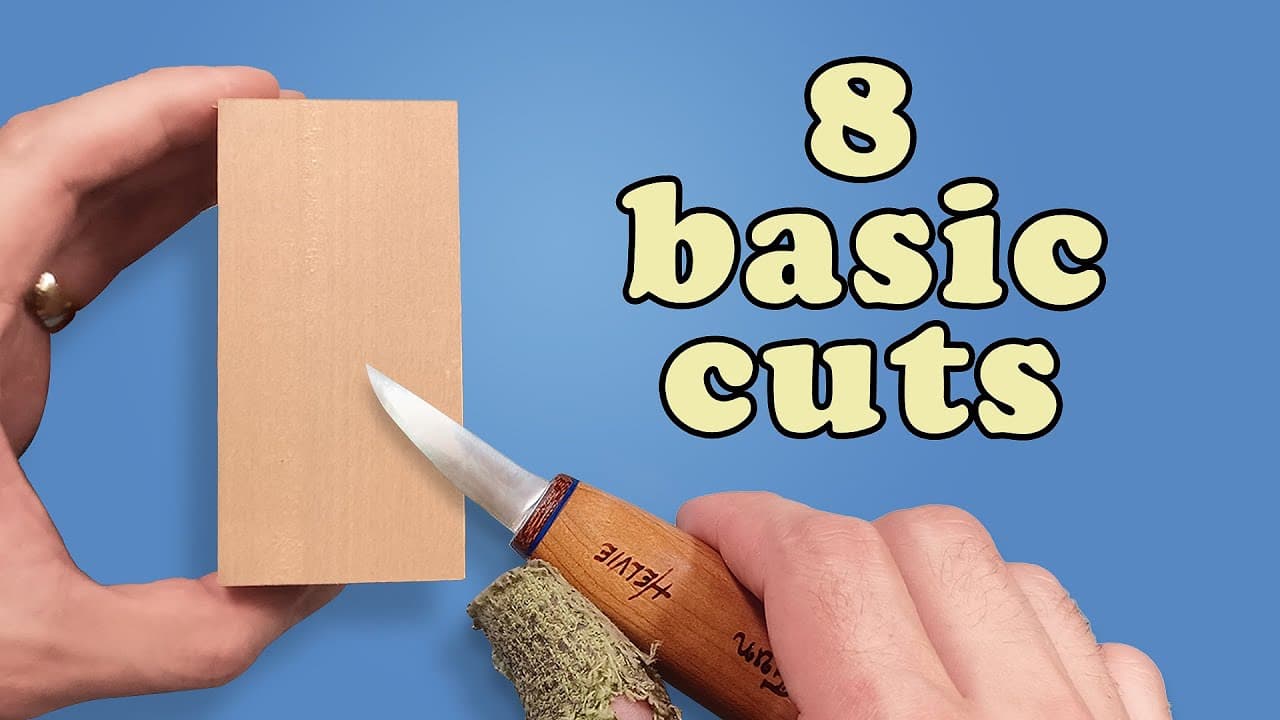
How to Whittle: 7 Basic Cuts Every Beginner Must Master

How to Make a Beaded Suncatcher

How to Paint Sunflowers in Acrylic (Step by Step for Beginners)

How to Crochet a Sphere (Beginner Amigurumi Ball)
How to Fasten Off Crochet (the Beginner-Friendly Way)

How to Make a No-Sew Cheesecloth Ghost (Floating Halloween Decor)

How to Make Resin Earrings: Beginner DIY in 9 Easy Steps

How to Draw Waves: Easy Ocean Waves Step by Step

How to Crochet a Penguin (Amigurumi Pattern, Step by Step)

How to Make Potpourri at Home in 7 Easy Steps

Resin Art for Beginners: Coaster Tutorial

How to Read a Cross Stitch Pattern

How to Attach Safety Eyes to Amigurumi

How to Finish an Embroidery Hoop (4 Backing Methods)

How to Use Mod Podge

How to Use a Circular Saw

How to Crochet an Avocado (Easy Amigurumi, Step by Step)

How to Crochet a Bear (Easy Beginner Amigurumi Pattern)

How to Crochet a Shell Stitch

How to Seal Flowers in Resin: Preserved Rose Sphere Tutorial

How to Make a Bath Bomb (Beginner Recipe + Molding Tips)
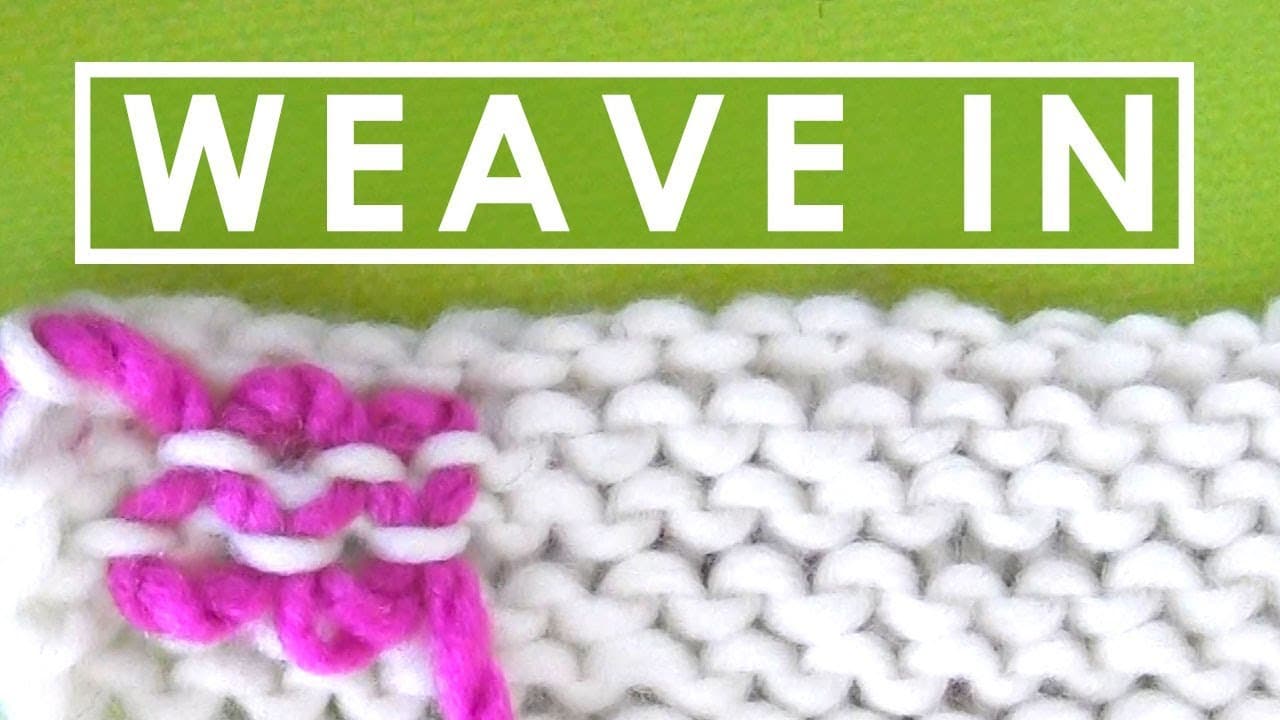
How to Weave In Ends Knitting (2 Methods for a Clean Finish)
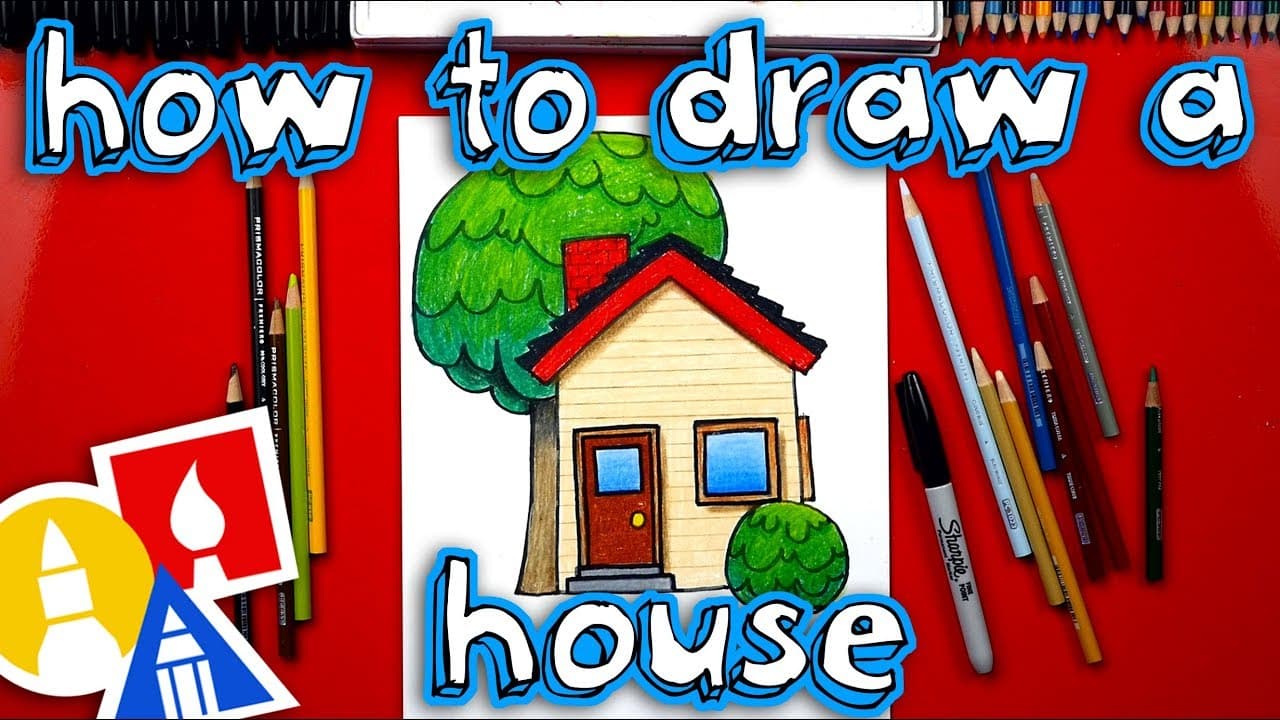
How to Draw a House: Cartoon Cottage Step by Step

How to Fold an Origami Butterfly

How to Make Paper Claws

How to Crochet an Elephant (Beginner Amigurumi Pattern)

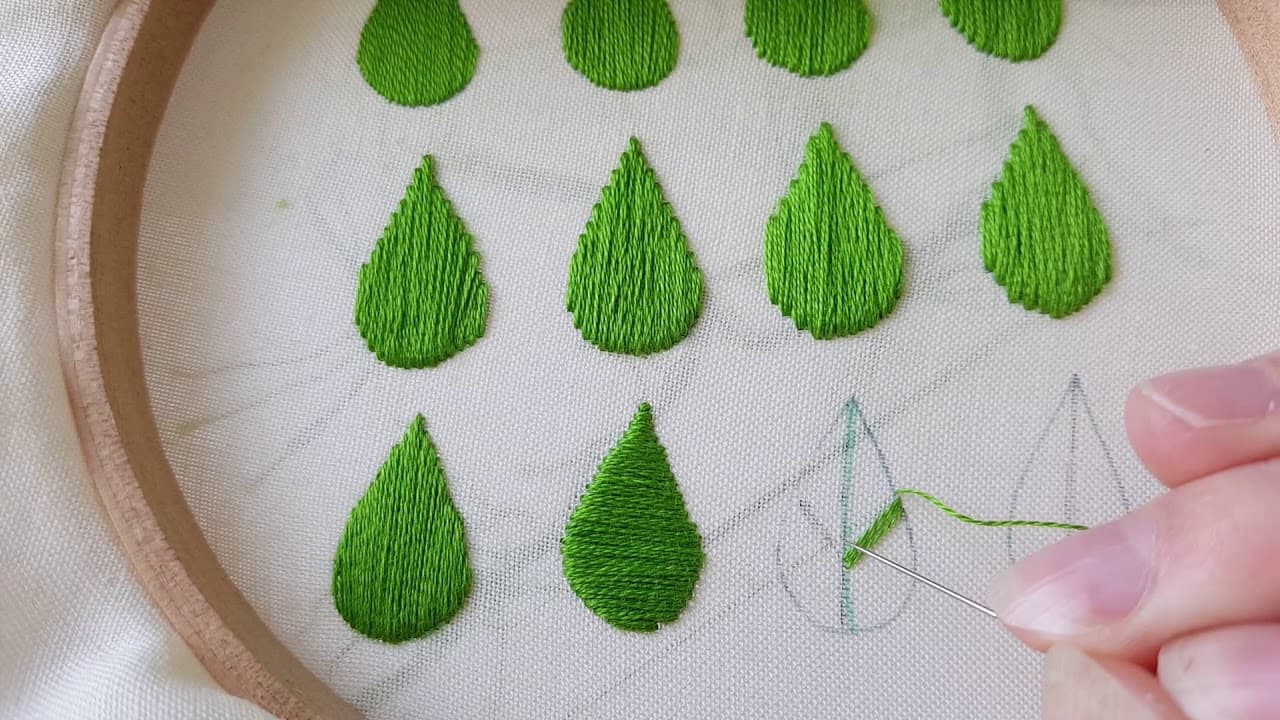
How to Embroider a Sunflower (Hand Embroidery, Step by Step)

How to Single Crochet: 7 Step Beginner Tutorial

How to Crochet a Foundation Chain: 7 Step Beginner Tutorial

How to Make a Marbled Polymer Clay Dish With Gold Leaf Edge

How to Make a Father's Day Tie Shaker Card

How to Chain Stitch: Basic + 3 Variations

How to Crochet a Granny Stripe Pillow Cover (Beginner-Friendly)

How to Paint Mountains with Acrylics

How to Purl Stitch: 7 Step Beginner Knitting Tutorial
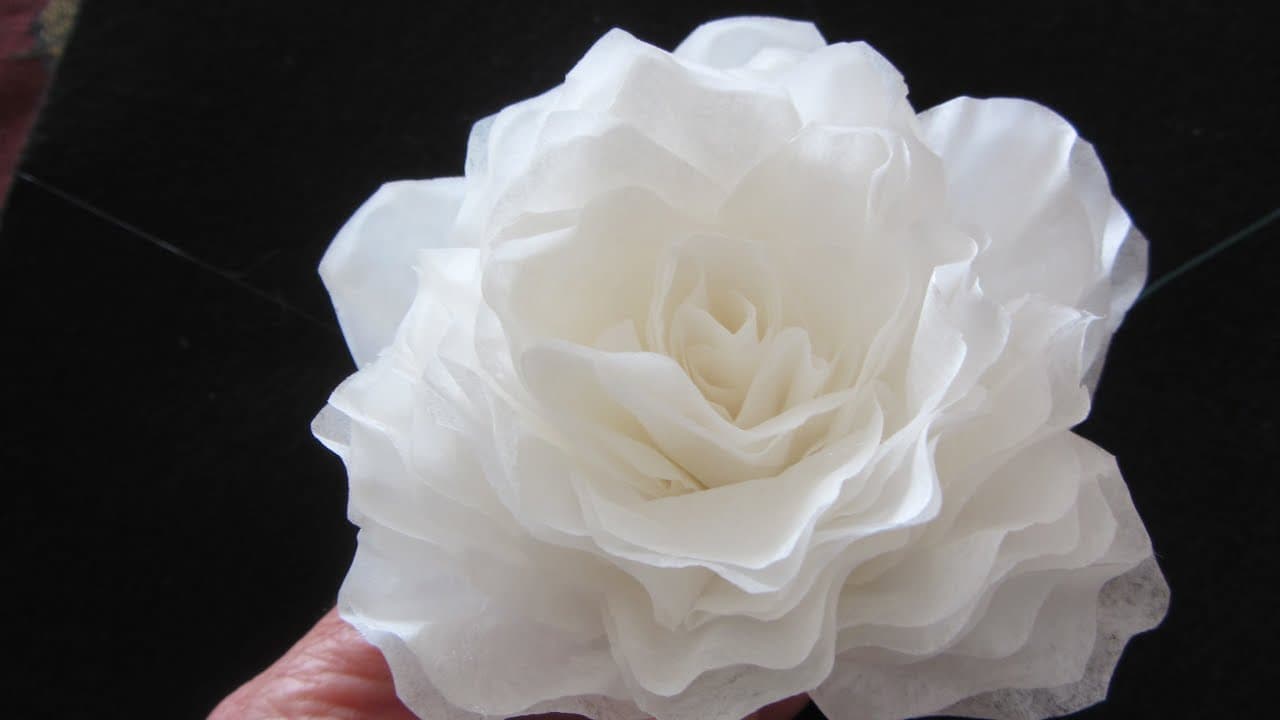
How to Make Coffee Filter Flowers (Elegant Rose Method)

How to Knit in the Round (Beginner Step-by-Step)
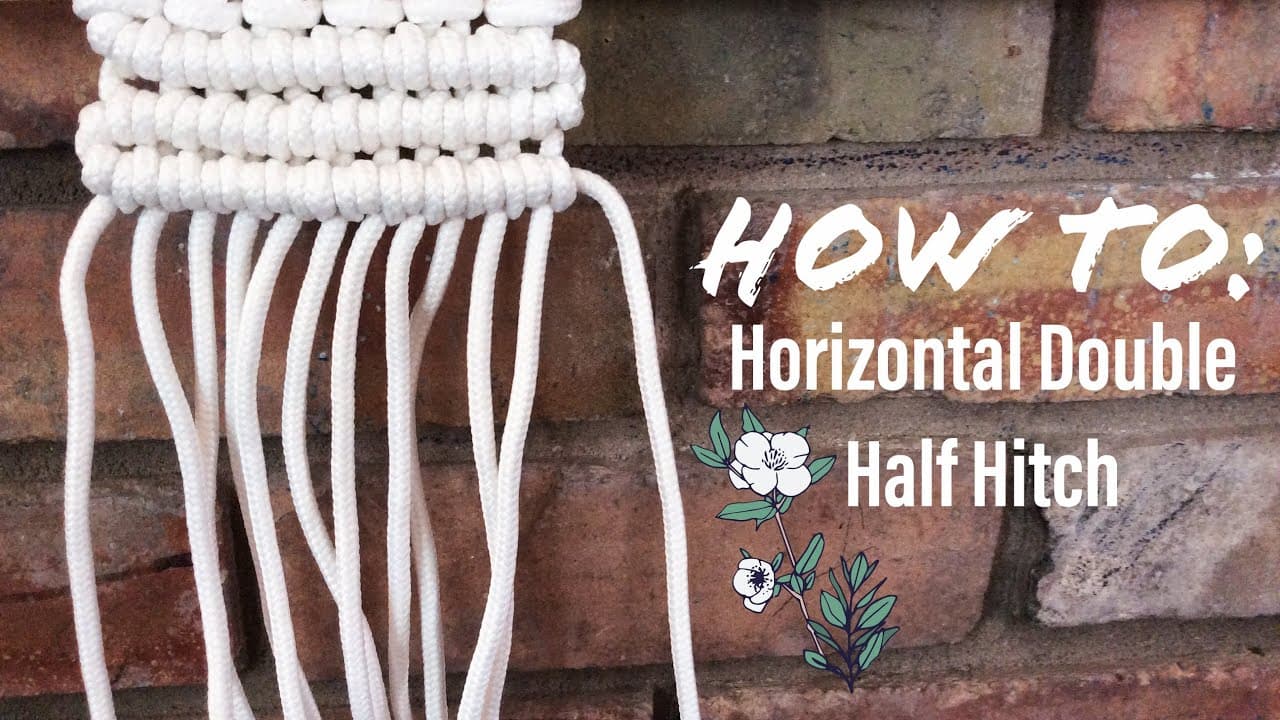
How to Tie a Half Hitch (Horizontal Double Half Hitch, 2 Methods)

How to Do a Lazy Daisy Stitch

How to Make a 3D Card (Paper Spring Pop-Up Birthday Card)

How to Crochet a Sloth (Amigurumi Pattern for Beginners)

How to Make Resin Coasters: 7 Step DIY Tutorial With Wood Inlays
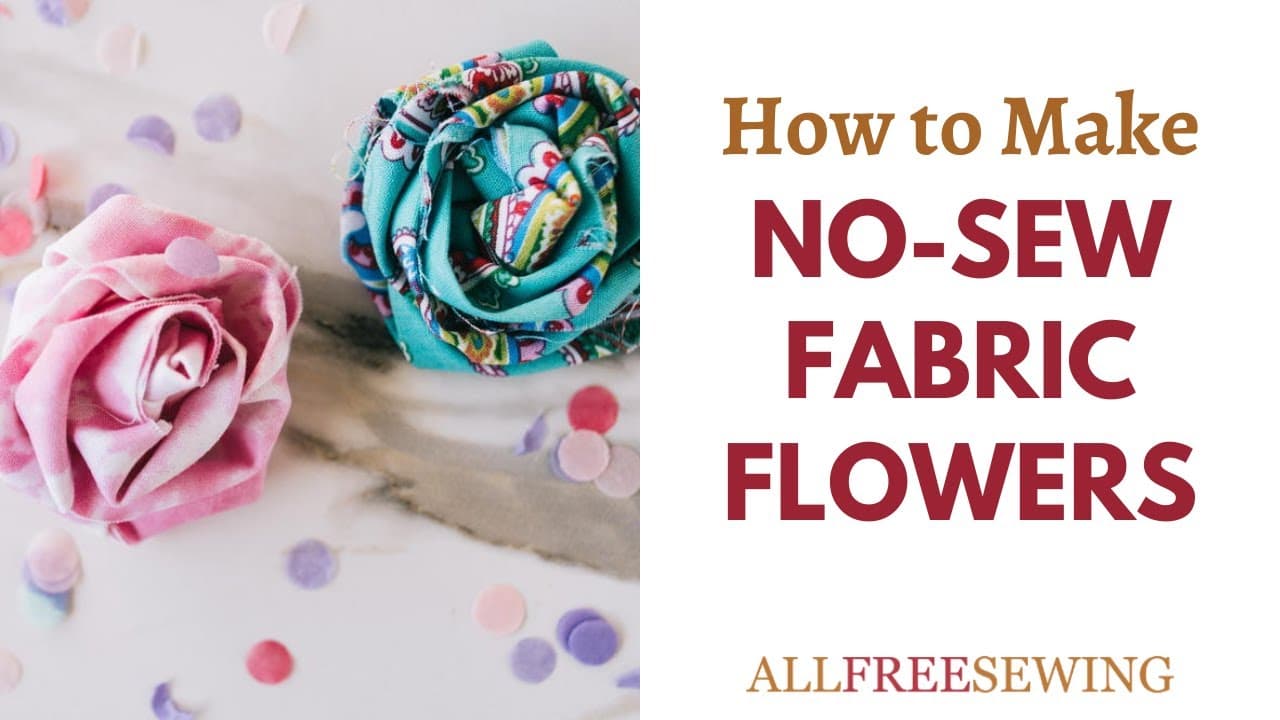
How to Make a No Sew Fabric Flower (Rolled Rose Technique)

How to Paint Poppies in Acrylics (Step by Step)

How to Crochet a Butterfly: Quick Beginner Project

How to Make a Paper Ninja Star

How to Crochet Mittens: Easy Beginner Pattern for Adults
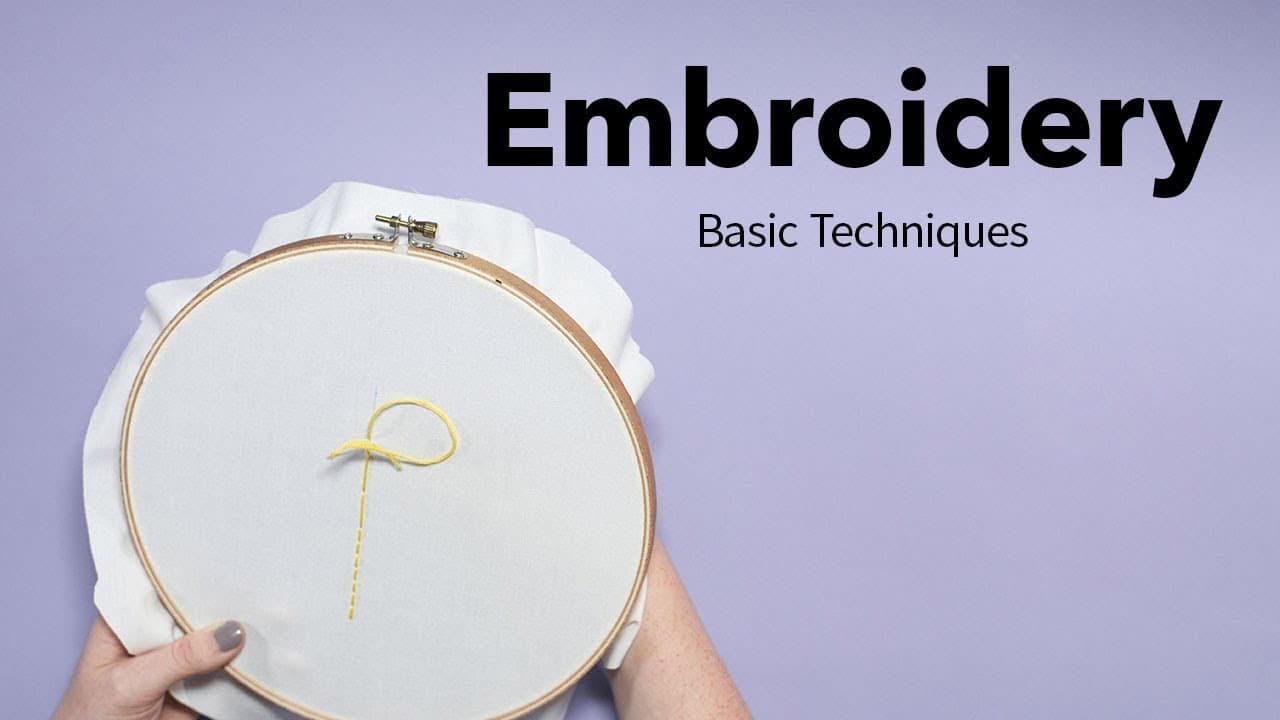
Basic Embroidery Techniques for Beginners
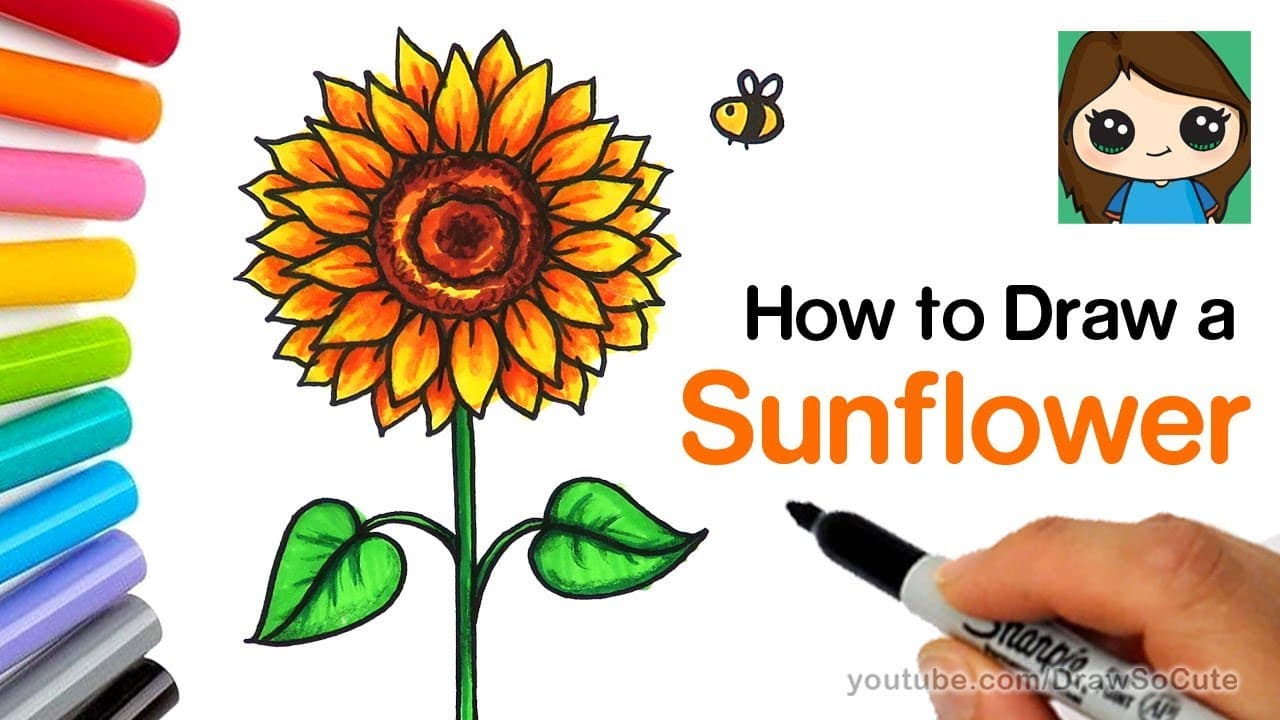
How to Draw a Sunflower: Easy & Realistic Step by Step

How to Join Granny Squares: 5 Easy Methods
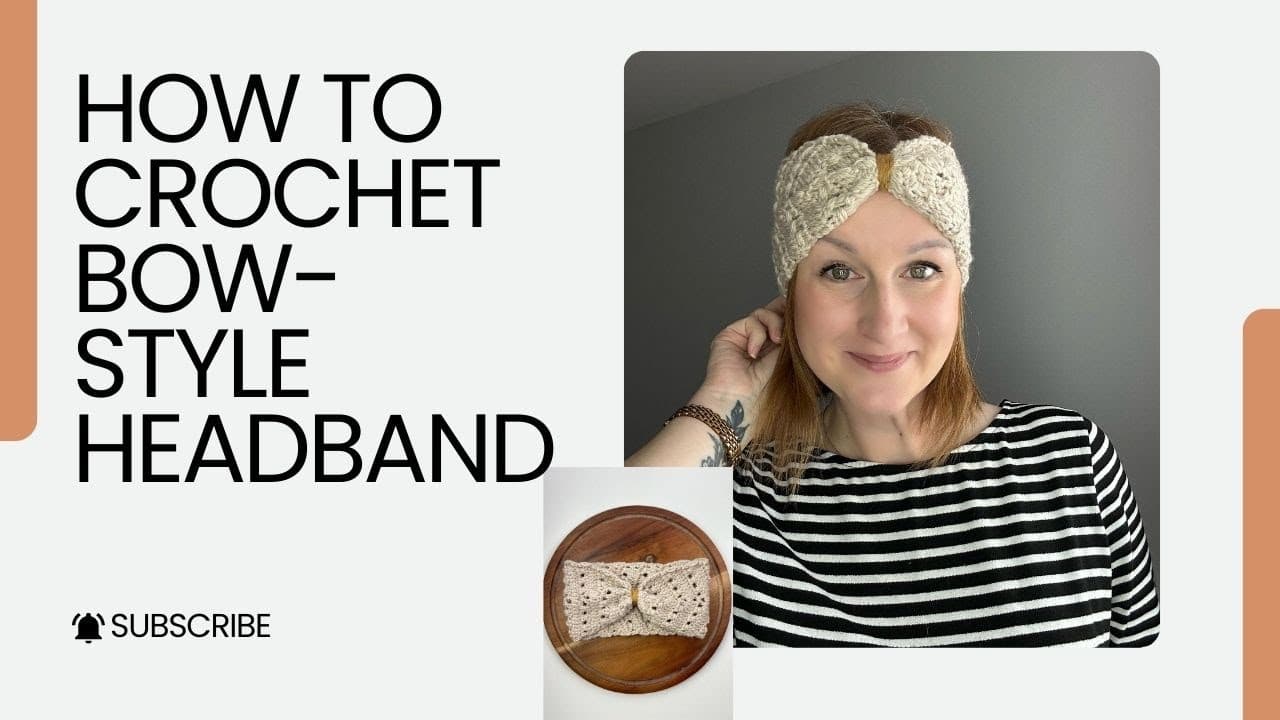
How to Crochet a Bow Headband (Beginner Ear Warmer)
How to Use a Drill

How to Embroider a French Knot: 6 Step Beginner Tutorial

How to Add Color to Resin
10 Easy Crochet Projects for Beginners (Trendy + Pinterest-Worthy)

How to Make a Concrete Hanging Planter

How to Make a Wooden Cutting Board (with Minimal Tools)

How to Bake Polymer Clay
How to Make an Origami Bookmark

How to Crackle Paint - Weathered Wood Finish in 7 Steps

What to Do With Fabric Scraps: 5 Zero-Waste Sewing Projects

How to Make a Thank You Card by Hand

How to Choose Quilting Fabric (A Quilter's Fabric Pull Walkthrough)

How to Crochet a Unicorn (Beginner Amigurumi)

How to Cut Quilt Fabric Straight (Rotary Cutter Skills)
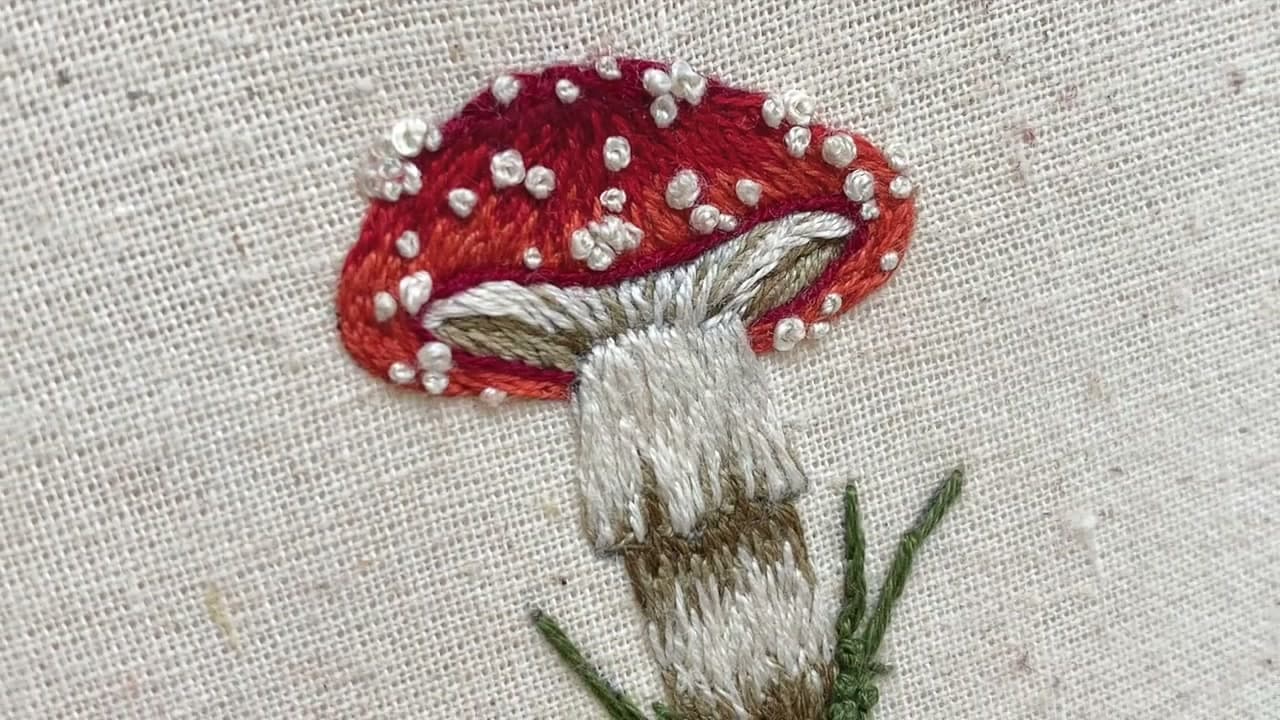
How to Embroider a Mushroom

How to Make a Heart Friendship Bracelet

How to Crochet a Heart (in About 2 Minutes)

How to Make a Fall Wreath (Easy 10-Minute Grapevine Wreath)
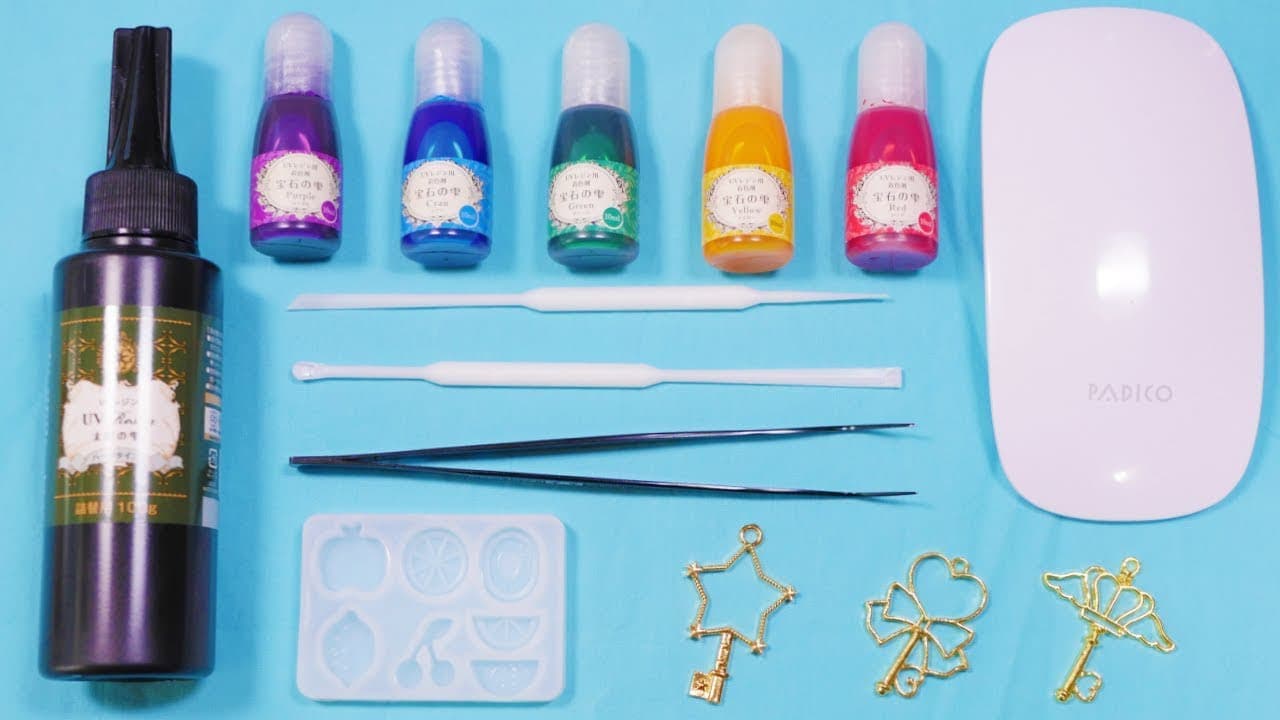
How to Use UV Resin: A Complete Beginner's Guide
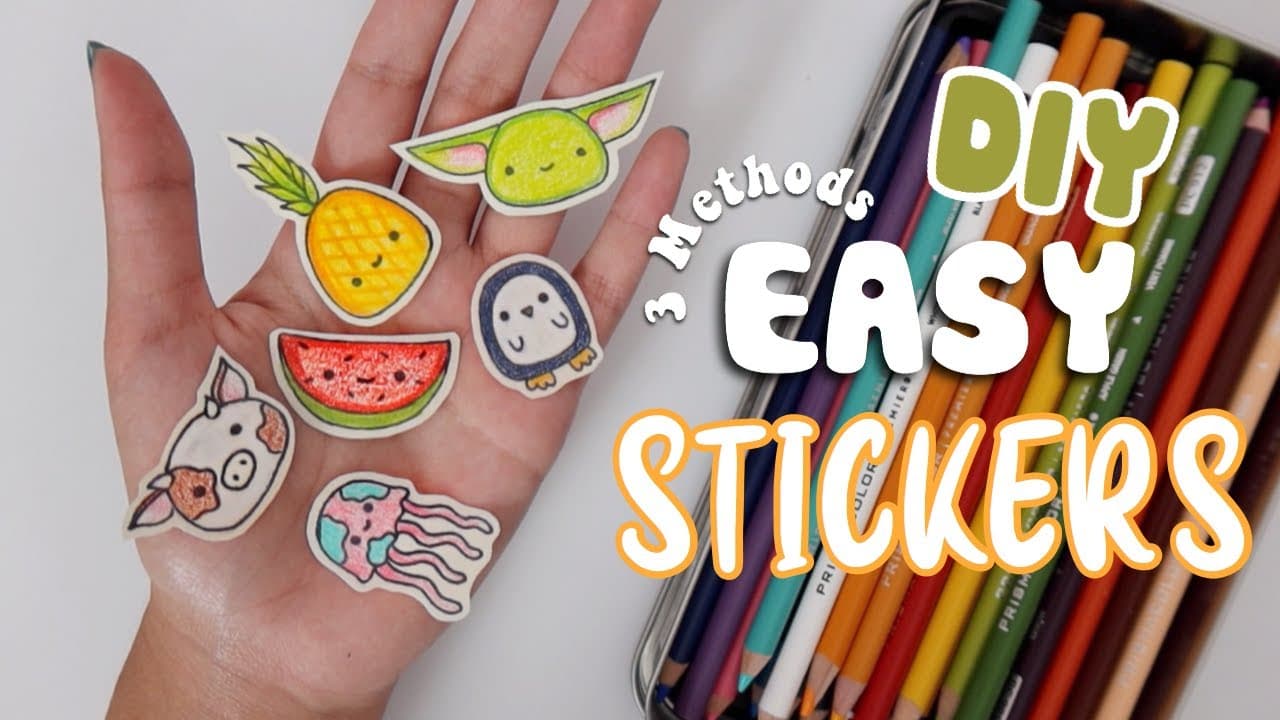
How to Make Stickers at Home

How to Embroider a Bee (Beginner Hand Embroidery, Step by Step)
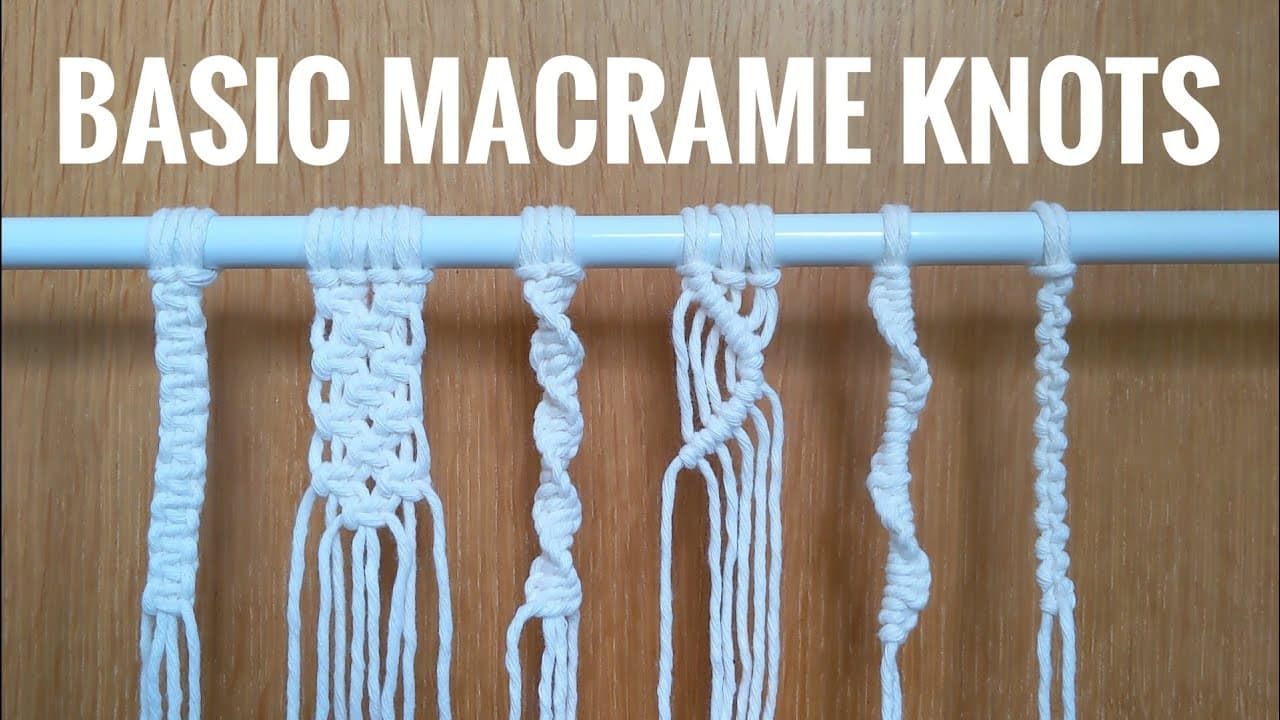
How to Macrame: 7 Basic Knots Every Beginner Must Know
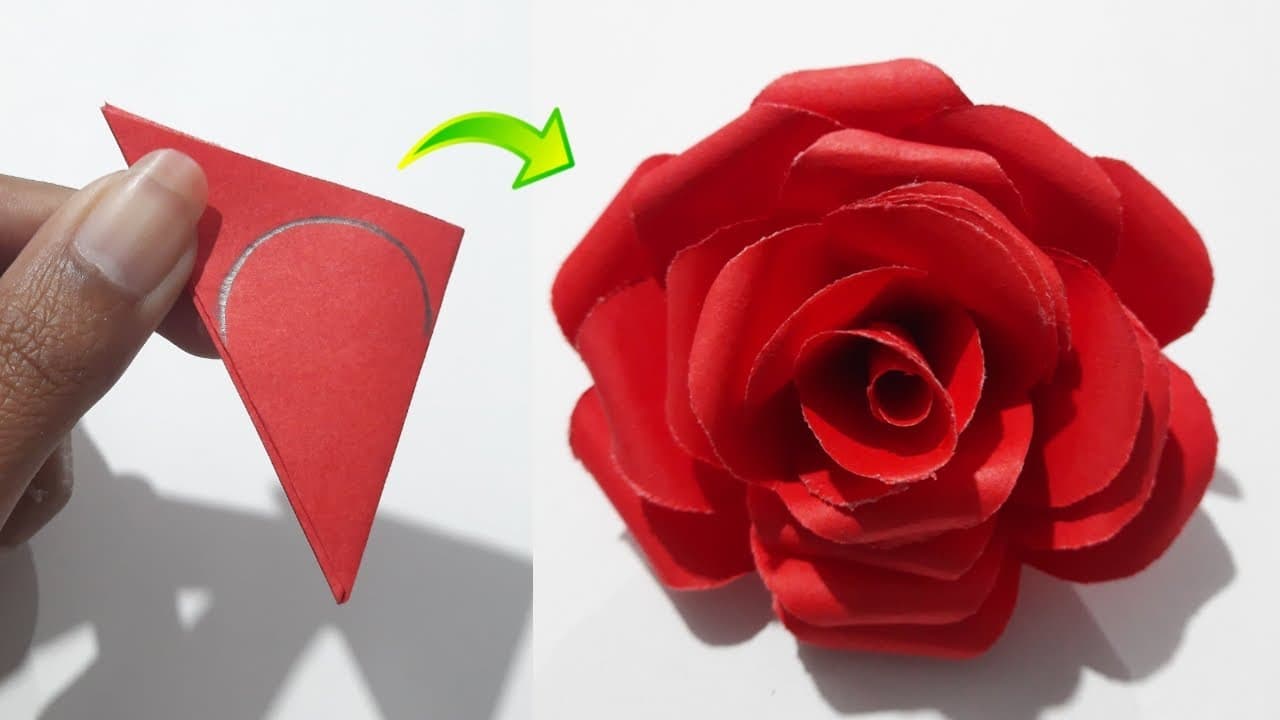
How to Make Paper Roses (Easy Layered Method)
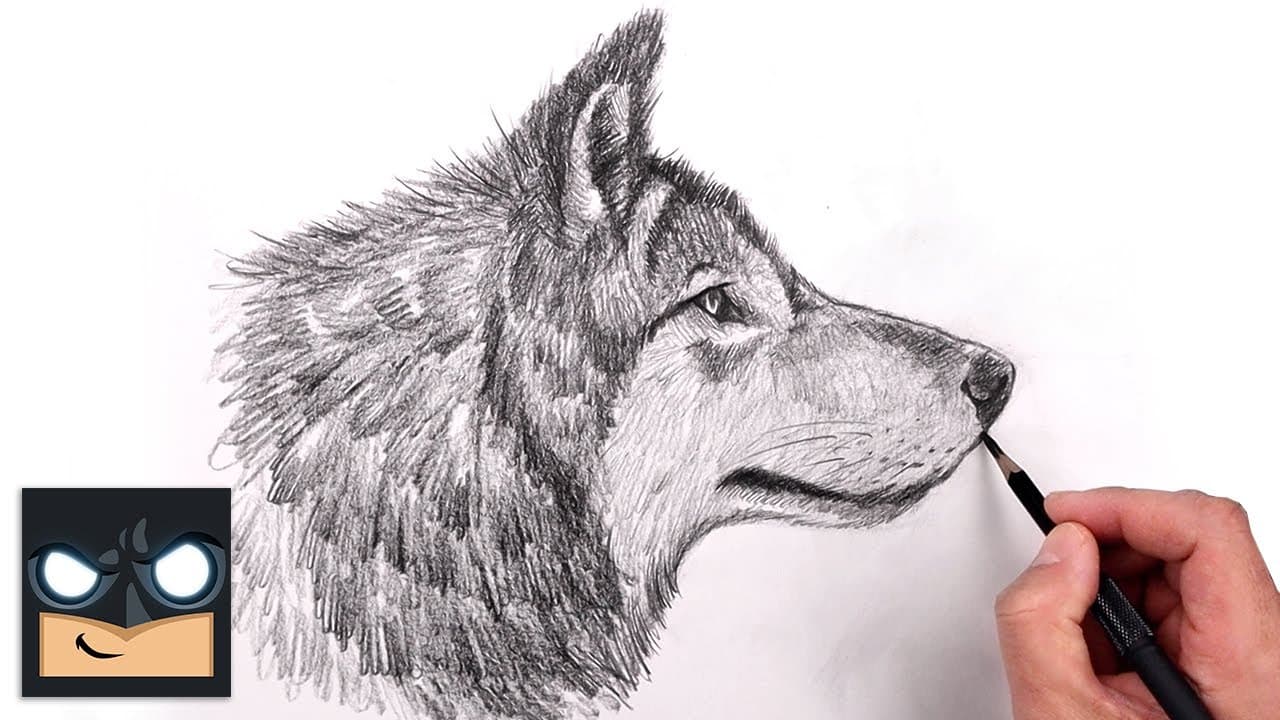
How to Draw a Wolf: 10-Step Beginner Pencil Tutorial

How to Make Sugar Scrub - Easy 3-Ingredient DIY
How to Make a Paper Fortune Teller (7 Easy Folds)

How to Make an Origami Fish (Easy for Kids)
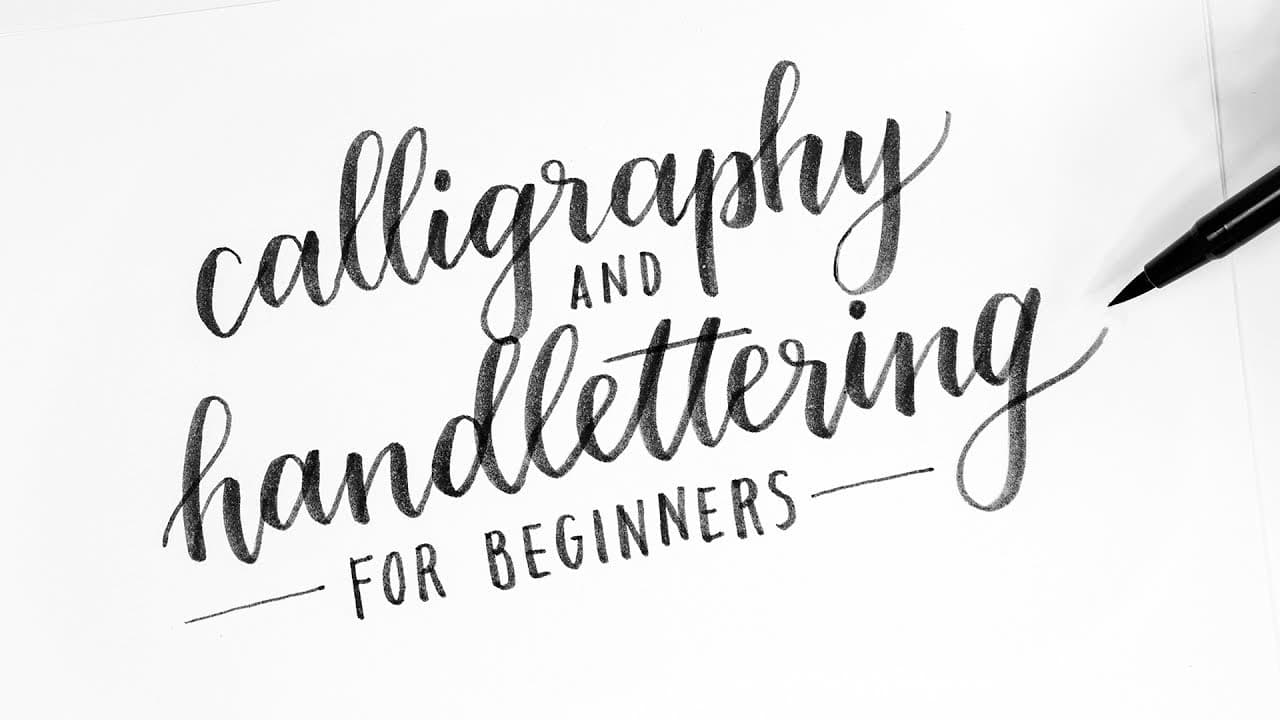
How to Do Calligraphy and Hand Lettering for Beginners
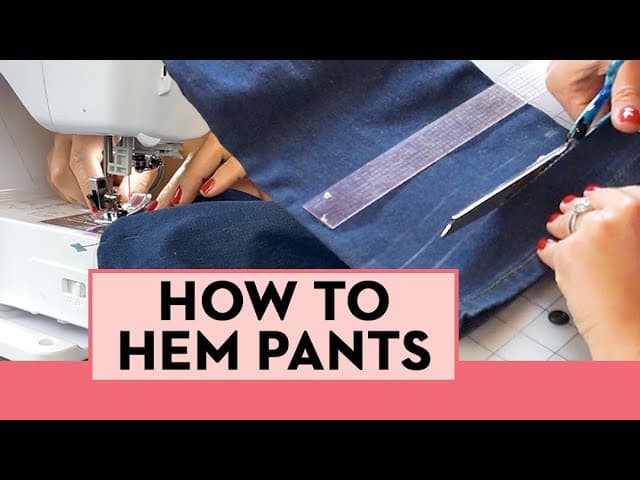
How to Hem Pants at Home with a Sewing Machine

How to Thin Acrylic Paint for Miniatures: 7 Step Guide
How to Smooth Polymer Clay (Beginner Prep Guide)

Paper Quilling for Beginners - 7 Basic Shapes and Your First Project

How to Knit Fingerless Gloves: Beginner Pattern in 7 Steps

How to Crochet a Mushroom - 7-Step Amigurumi Tutorial

How to Make a Card: Beginner's Guide to Handmade Greeting Cards

How to Join Yarn in Knitting (4 Methods: Spit Splice, Russian Join & More)

How to Make a Paper Star in 6 Easy Folds
How to Crochet a Lion (Beginner Amigurumi)
How to Crochet an Easter Bunny (Beginner Amigurumi)
How to Dry Flowers - 5 Methods Compared with Results
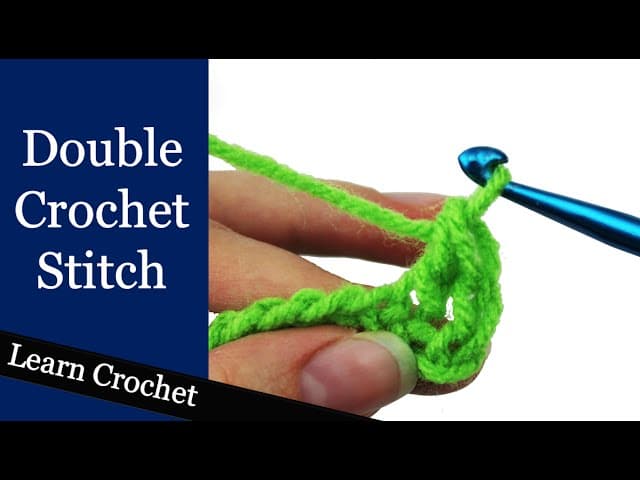
How to Double Crochet: The 5-Step Stitch Walkthrough
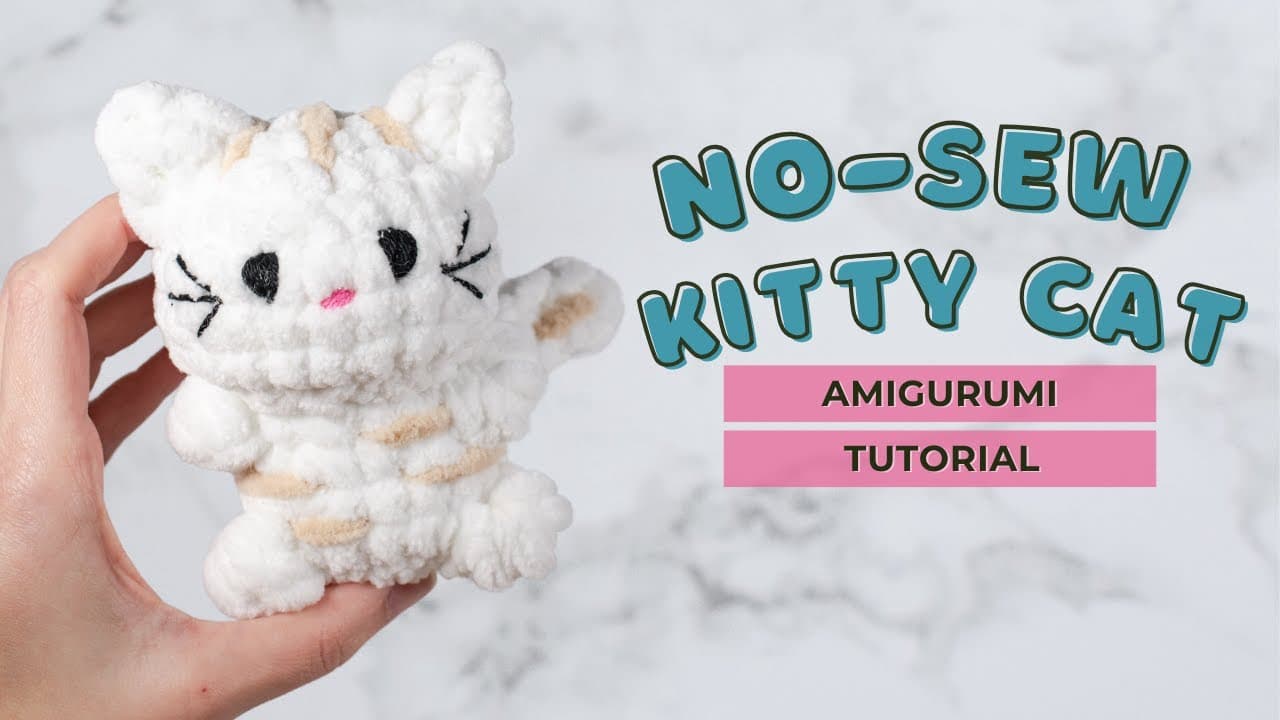
How to Crochet a Cat (No-Sew Beginner Amigurumi)
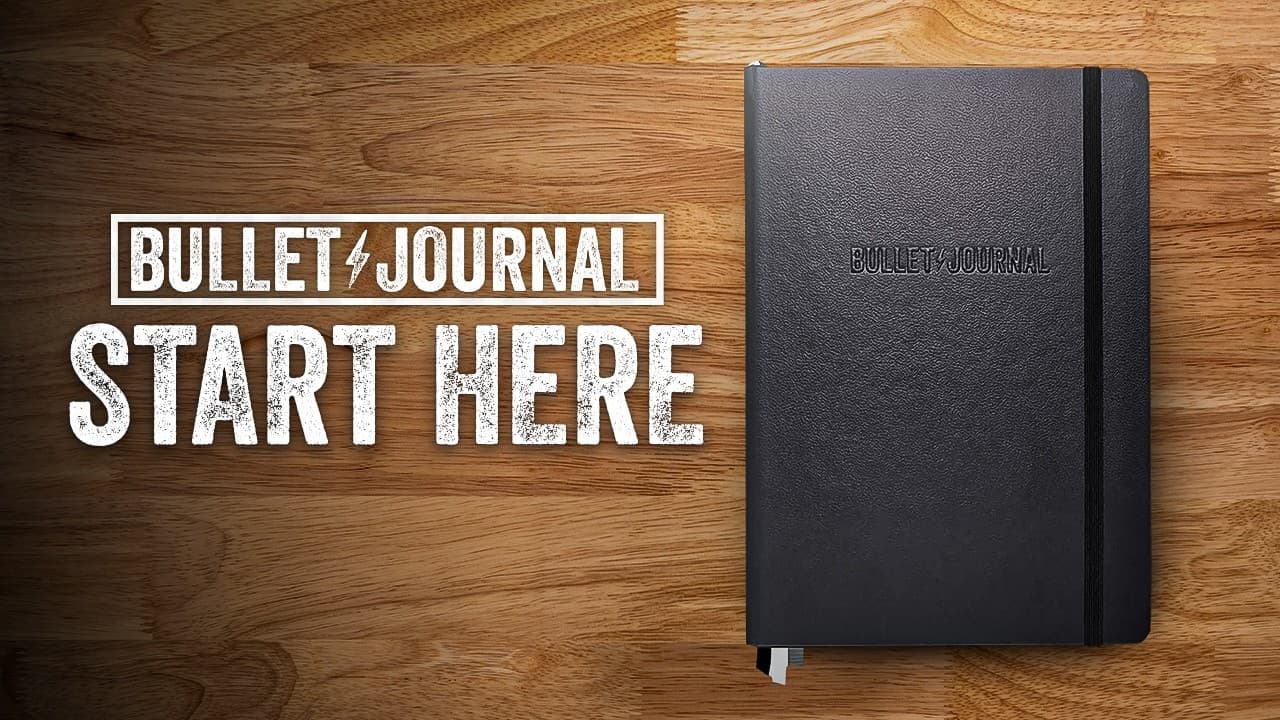
How to Start a Bullet Journal: A Beginner's Guide
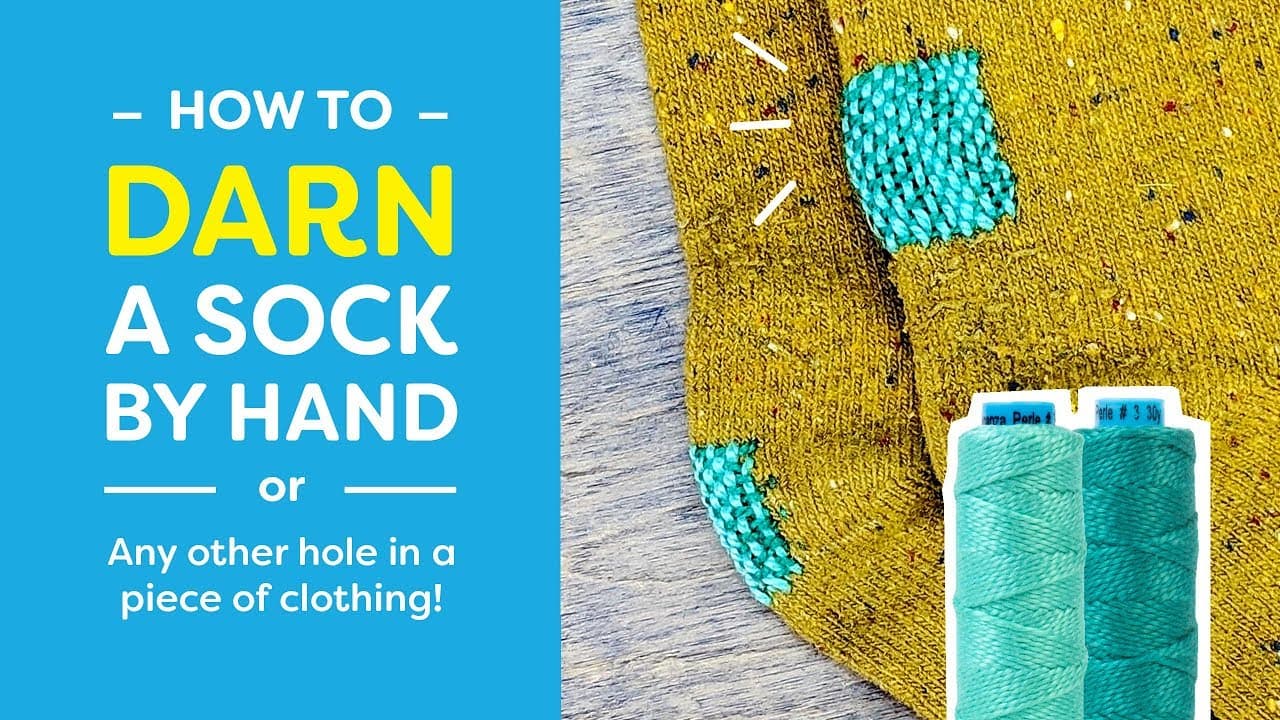
How to Darn a Sock

How to Paint a Galaxy Nebula in Acrylic

How to Knit a Blanket
How to Sew a Zipper: 7 Steps (Two Methods)

How to Make a Waterfall Card (Interactive Pull-Tab Card)

How to Baste a Quilt (Spray, Pin, and Thread Methods)
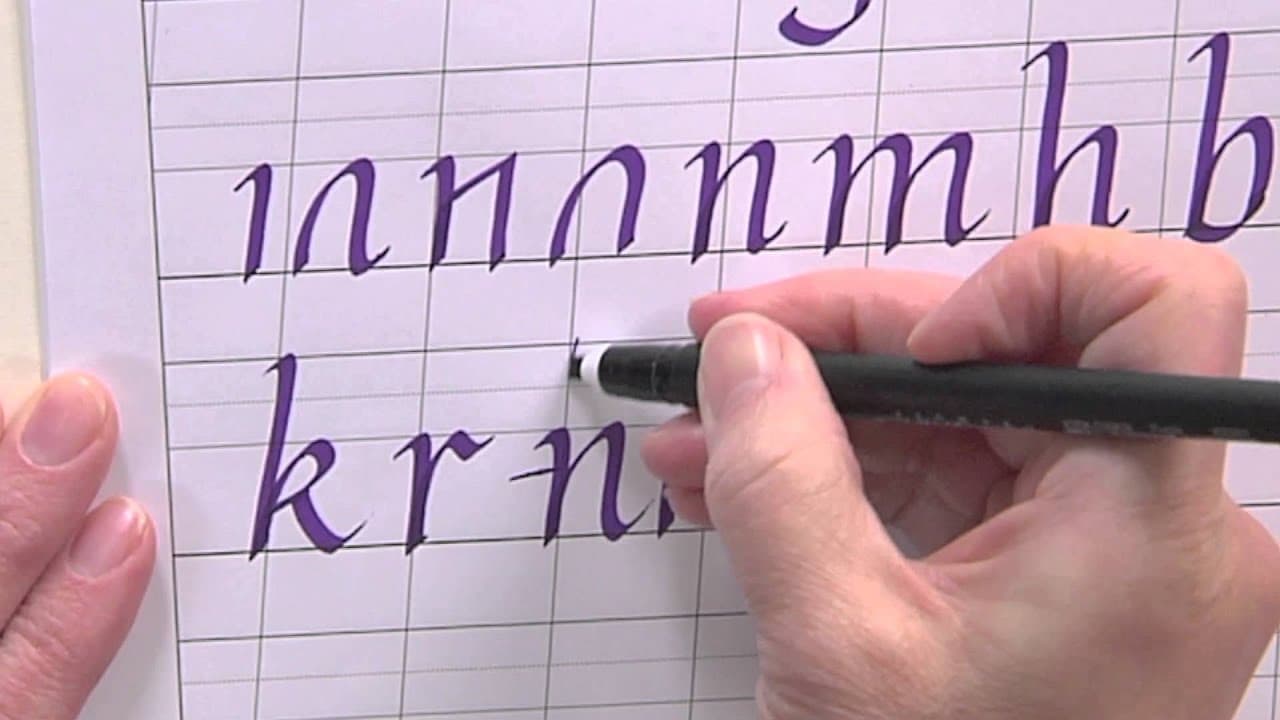
How to Write in Italic Calligraphy - Lowercase Alphabet

How to Make Giant Paper Flowers for a Wedding Backdrop

How to Mix Concrete for Crafts - Perfect Consistency Every Time

How to Make a No-Crochet Yarn Pumpkin (2 Easy Methods)

How to Make a Mosaic Picture Frame

How to Make a Paper Envelope

How to Increase in Knitting (5 Methods: KFB, YO, M1, M1L/M1R)

How to Make a Concrete Bird Bath (DIY, Step by Step)

How to Make Moss Wall Art

How to Paint a Forest with Acrylics (Beginner Step-by-Step)

How to Make Wax Melts (Strong Scent Throw)

How to Make a Father's Day Card with Bold Stencil Ink Blending
How to Crochet a Dishcloth (Cotton, Easy)

How to Decrease in Crochet (Single, Half Double, and Double Crochet)

How to Crochet an Octopus - 7-Step Amigurumi Tutorial
How to Increase in Crochet (Single Crochet Increase for Amigurumi)

How to Write in Cursive - 7 Tips for Neat Handwriting

How to Paint a Tree: 5 Acrylic Tree Techniques

How to Make a Mother's Day Card: 3 Easy Watercolor Designs
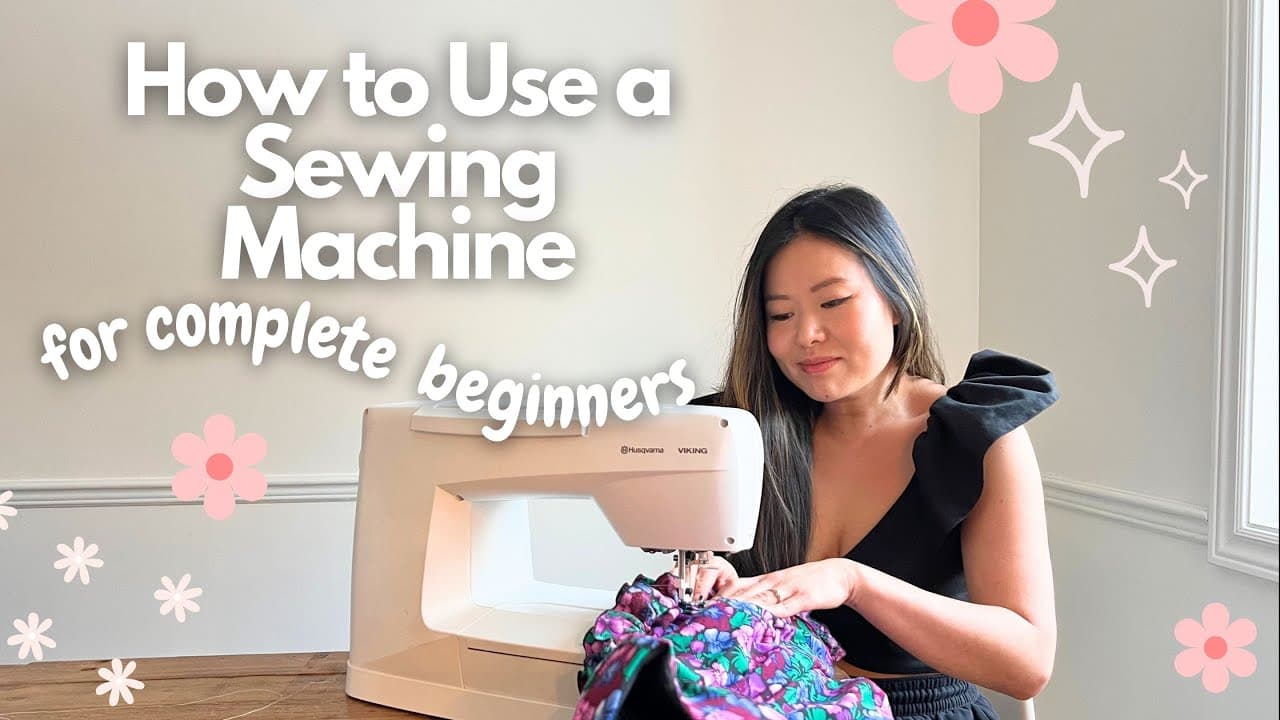
How to Use a Sewing Machine: 8-Step Beginner Walkthrough

How to Make Paper Rosettes (Accordion-Fold Medallions)
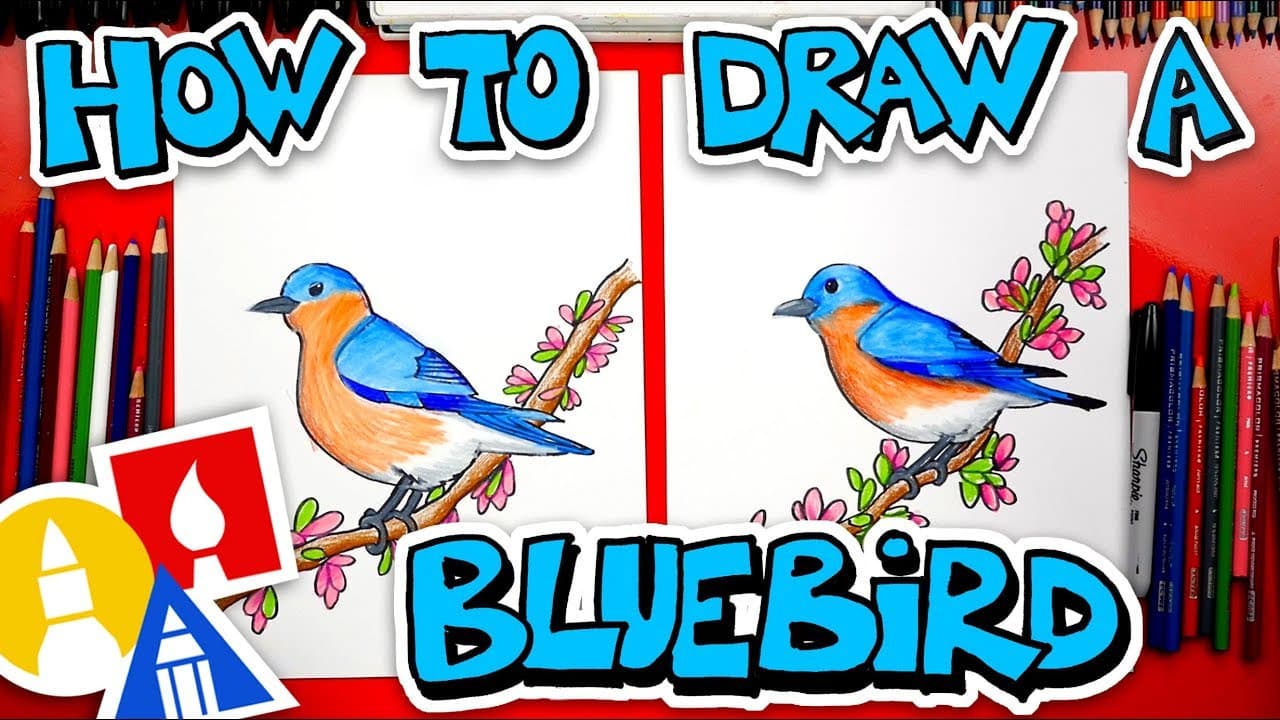
How to Draw a Bird: Step-by-Step Bluebird Drawing for Beginners

How to Make a Rag Quilt (Beginner Sewing Tutorial)

How to Crochet a Cactus (Easy Amigurumi for Beginners)

How to Make a Paracord Bracelet (Cobra Weave)

How to Make a Soy Candle at Home

How to Crochet a Mini Hedgehog

How to Crochet a Chicken (Easy Amigurumi Pattern, Step by Step)
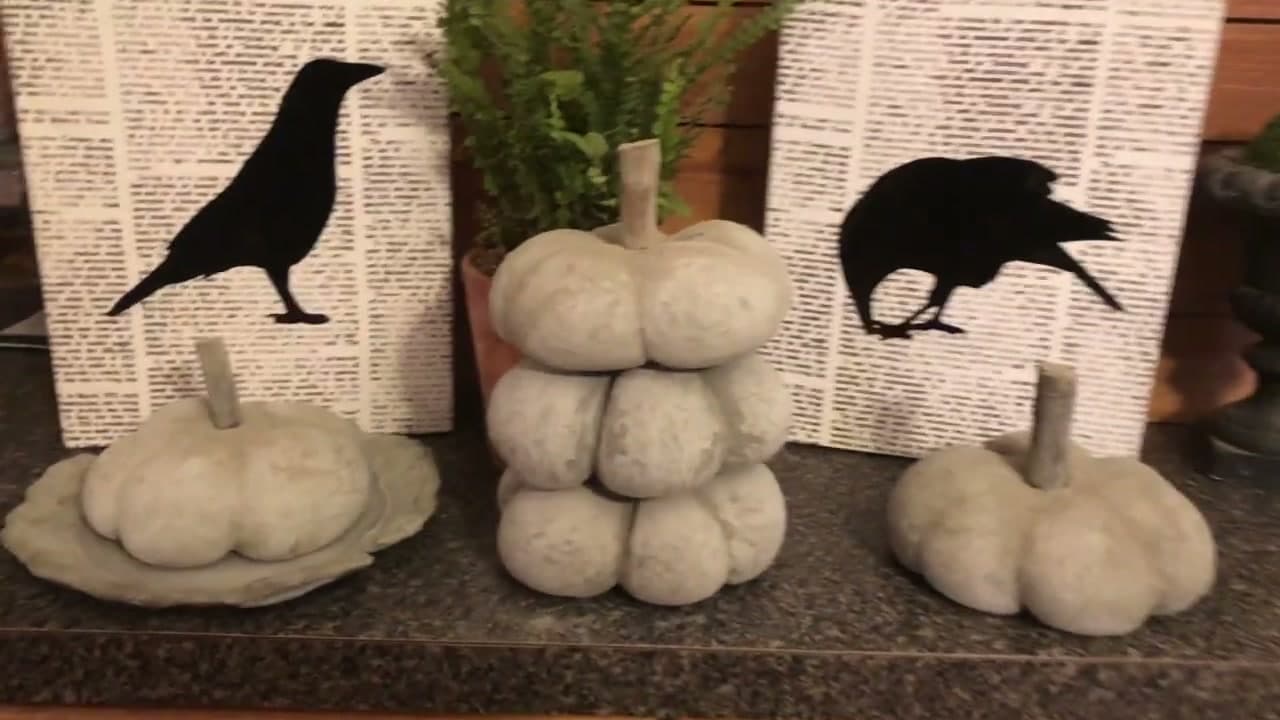
How to Make a Concrete Pumpkin (Fall Decor)

How to Crochet a Panda Plushie
How to Knit for Absolute Beginners

How to Crochet a Scrunchie (Quick Beginner Project)

How to Paint a Lavender Field with Acrylics

How to Press Flowers - 2 Methods for Roses and More

How to Make a Concrete Soap Dish (Modern DIY, Step by Step)

How to Make a Concrete Planter
How to Draw Flowers
Acrylic Painting for Beginners: 6 Essential Techniques

How to Fold an Origami Jumping Frog

How to Paint Cherry Blossoms (Easy Acrylic for Beginners)

How to Crochet a Tote Bag (Easy Beginner Market Bag)

How to Make a Concrete Bowl

How to Embroider a Butterfly (Satin-Stitch Hoop Tutorial)

How to Make Resin Bookmarks (3 Easy Techniques)

How to Make a Paper Bat (Easy Origami for Halloween)

How to Draw a Face: Beginner Proportions Guide

How to Make a Paper Sunflower (Easy Craft Tutorial)
How to Press Flowers (4 Methods: Microwave, Iron, Book, and Press)

How to Draw a Rose

How to Decorate a Graduation Cap: Simple DIY Tutorial

How to Make a Paper Bouquet (Rose Arrangement)
How to Make a Shaker Card: 7 Step Easy Tutorial With a Clear Envelope

How to Paint Ocean Waves with Acrylics

How to Do Stem Stitch - Embroidery for Beginners
How to Use a Table Saw: Rip Cuts, Crosscuts, and Safety for Beginners

How to Seal Concrete Crafts (Indoor and Outdoor Sealers)

How to Prime a Canvas with Gesso

How to Make a Magic Spinning Kirigami Card
How to Change Colors in Crochet (Last Yarn-Over Method)

How to Crochet a Blanket

How to Use a Jigsaw

How to Make Cinnamon Ornaments

How to Machine Quilt: Beginner Straight-Line Quilting
How to Draw a Dragon: Cartoon Step by Step

How to Refinish a Wood Table - 7 Steps

How to Make a Money Lei: 2 Easy Methods for Graduation
How to Sew Quilt Squares Together (Quilt-As-You-Go Method)

How to Make a Beaded Bracelet
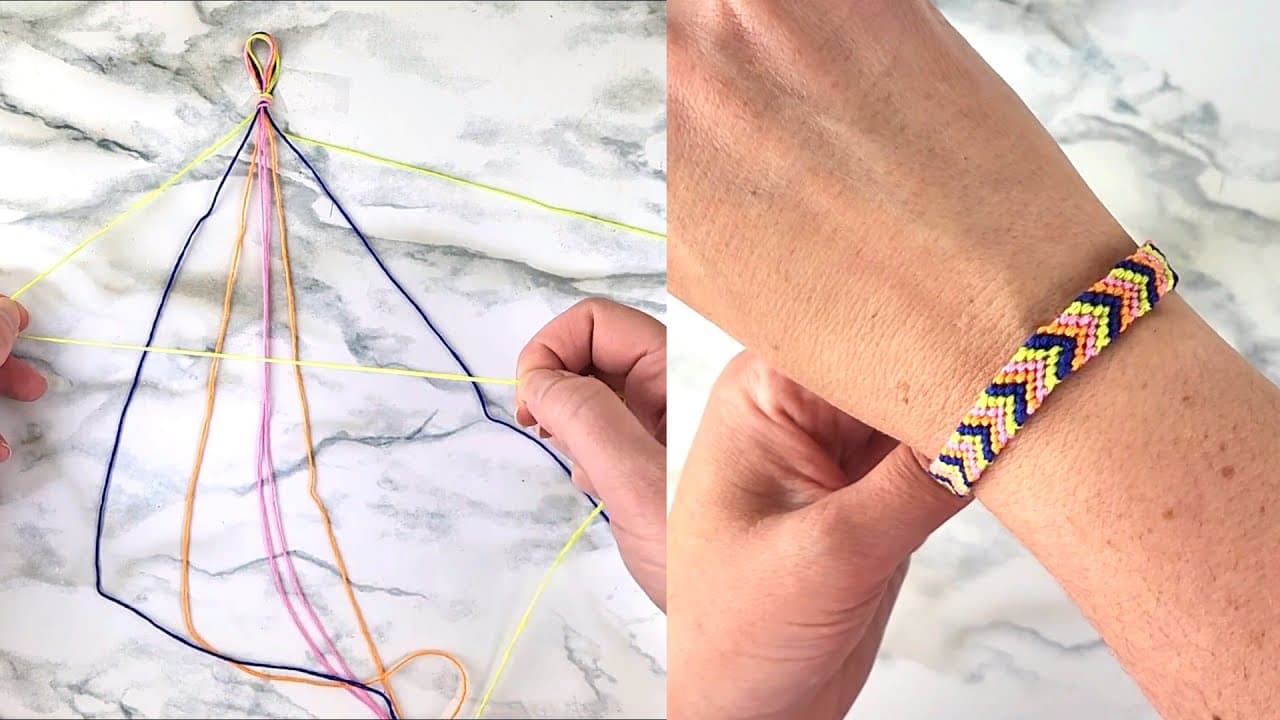
How to Make a Chevron Friendship Bracelet: 7 Step Tutorial

How to Make an Embroidered Father's Day Card

How to Paint a Waterfall with Acrylics (Step by Step)

How to Draw Clouds (Step by Step Pencil Tutorial)
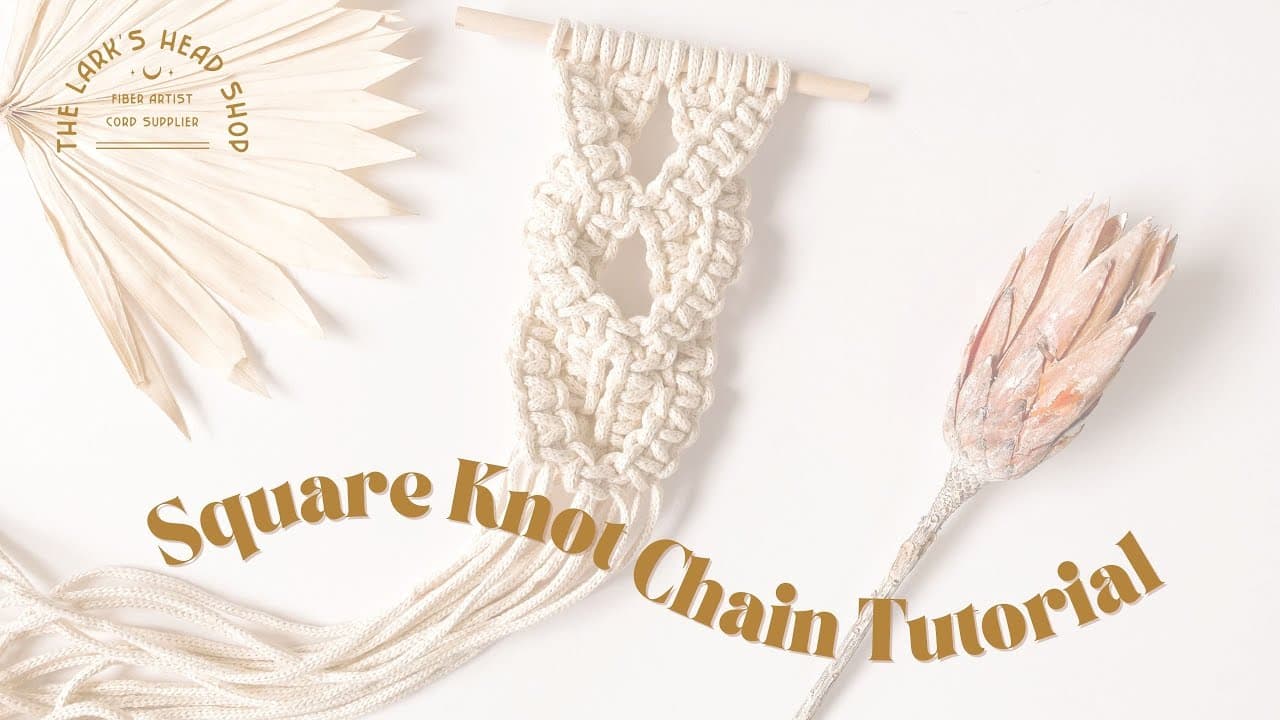
How to Tie a Macrame Square Knot

How to Make an Origami Dragon
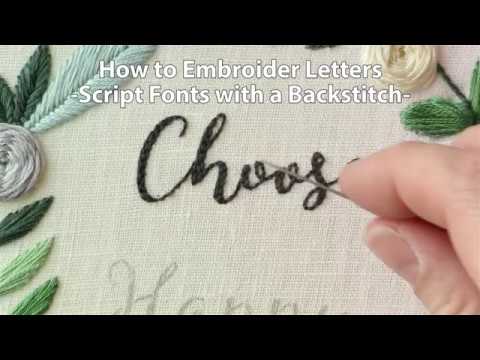
How to Embroider Letters (Backstitch Script)

How to Hand Build Pottery: 7 Step Beginner Guide (No Wheel Needed)

How to Make an Origami Lotus Flower
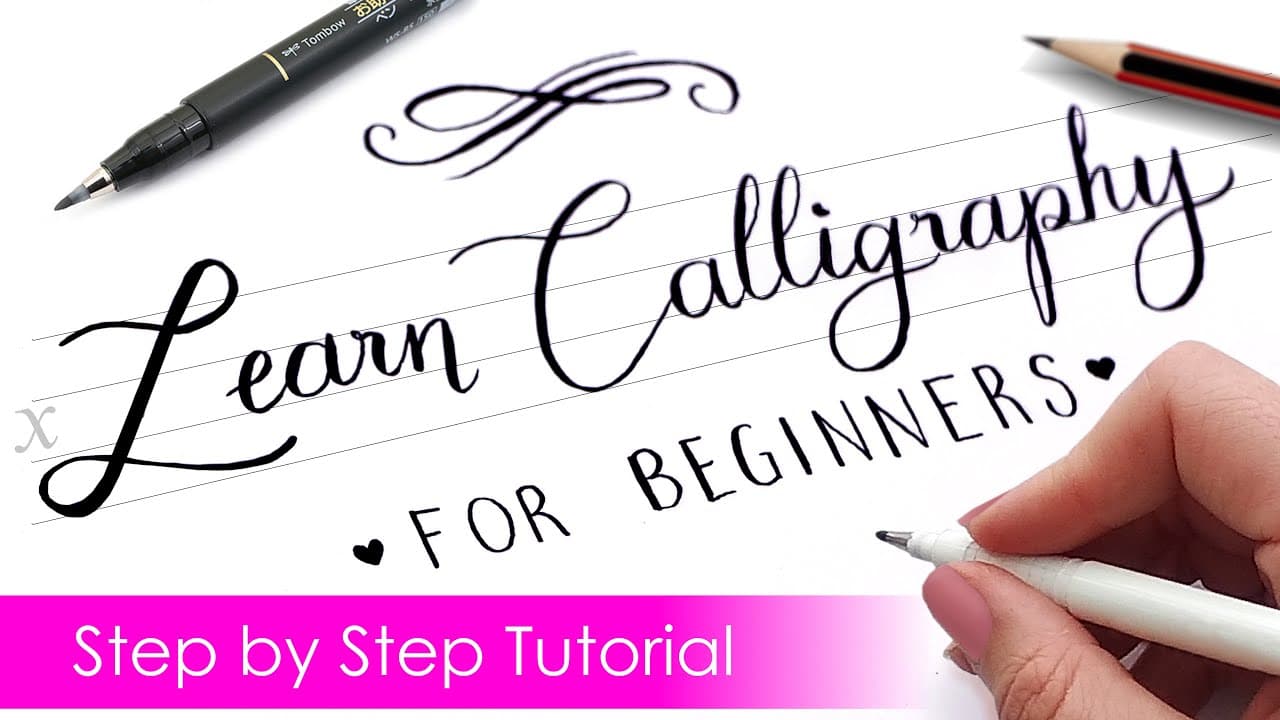
How to Write in Calligraphy - 7 Step Beginner Tutorial
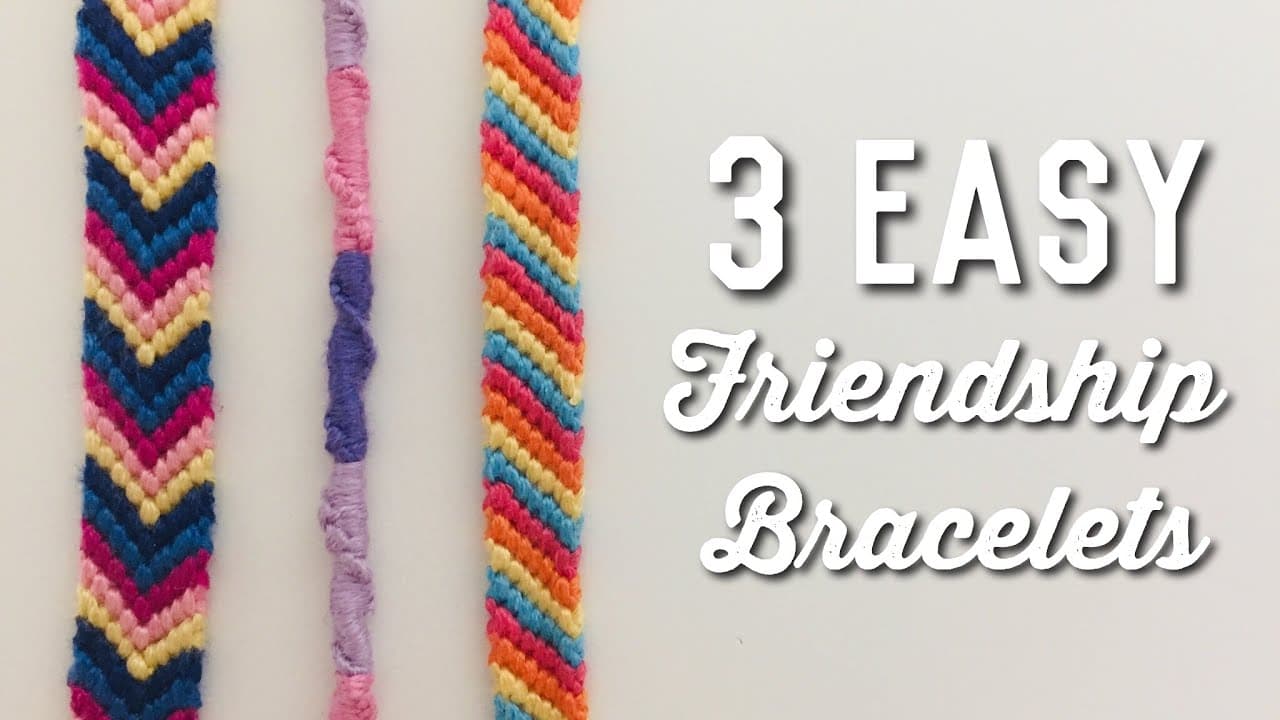
How to Make a Friendship Bracelet - 3 Easy Designs

How to Use a Cricut for Beginners (Download, Upload, Cut)
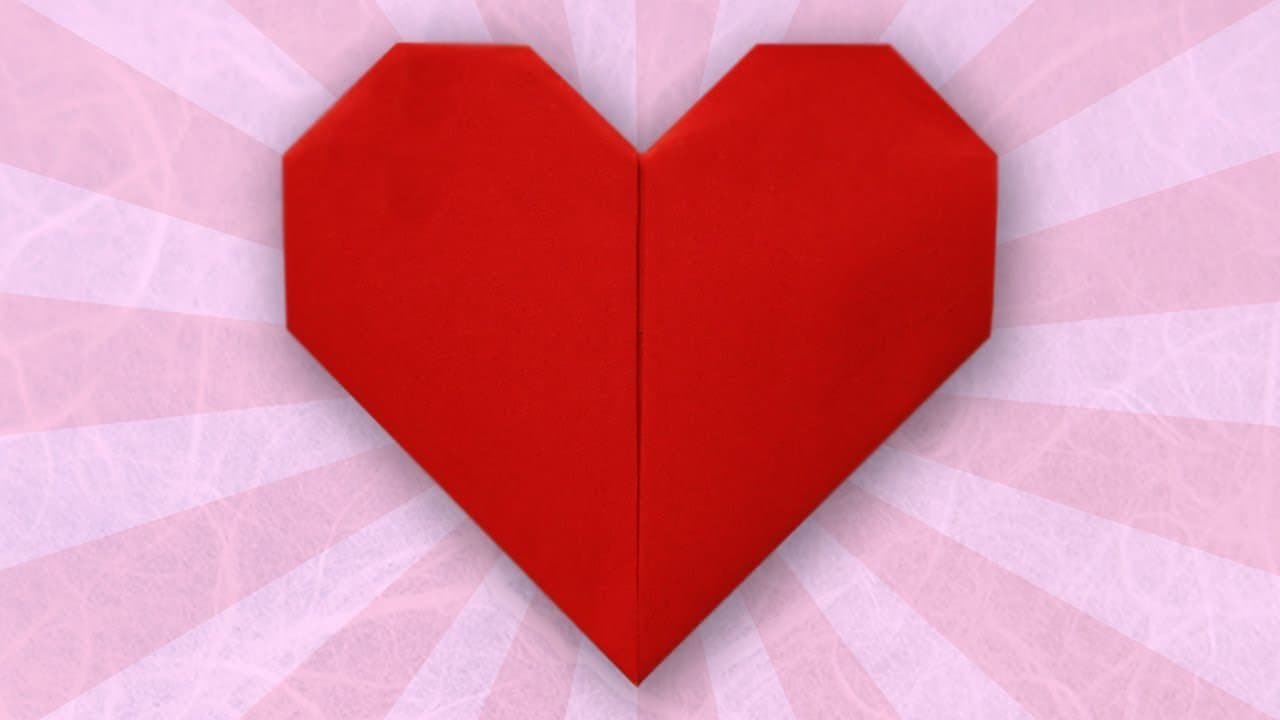
How to Fold an Origami Heart (8 Easy Steps)

How to Make a Mosaic Mirror (Broken Mirror Wall Art)

How to Make a Concrete Trinket Dish

How to Make a Paper Fan
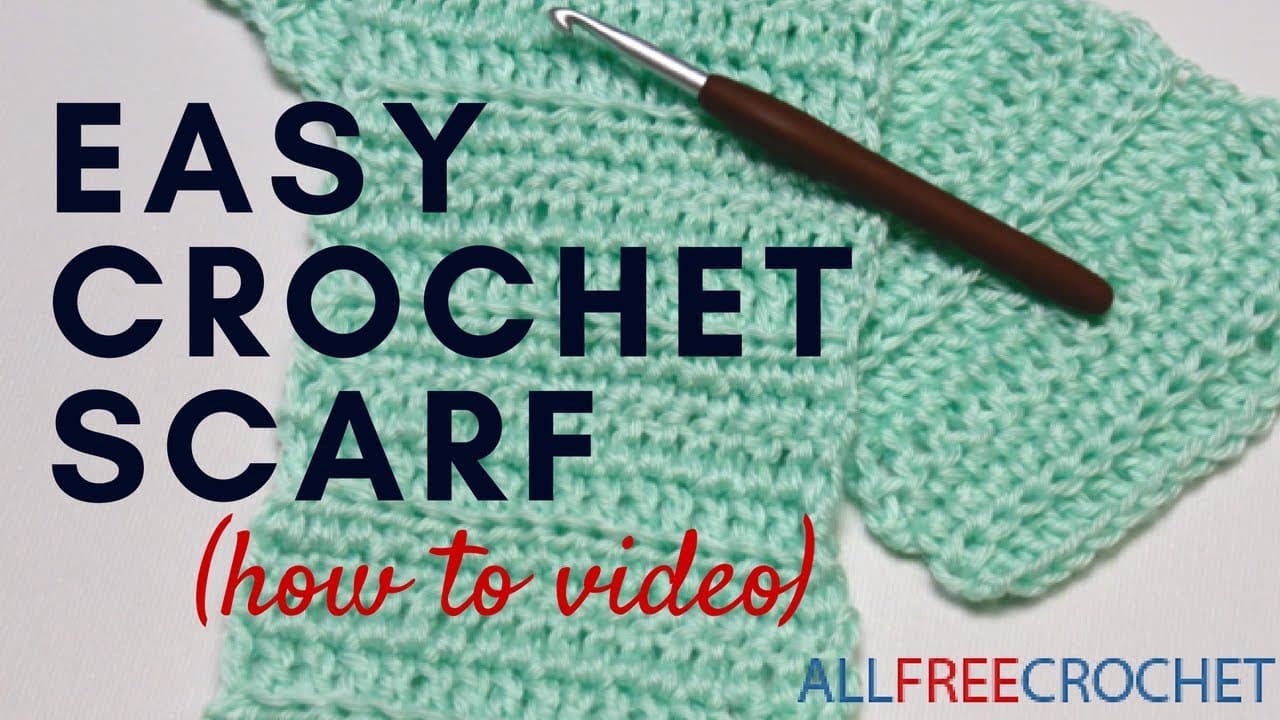
How to Crochet a Scarf
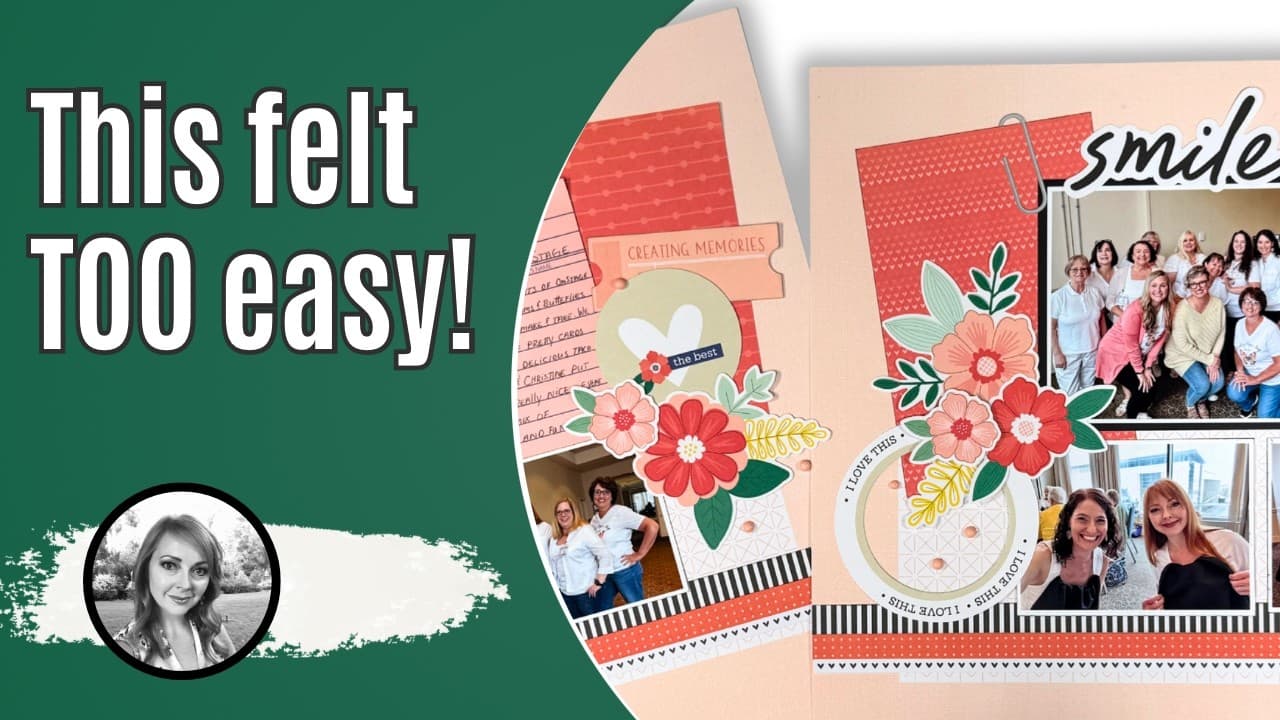
How to Scrapbook

How to Draw Hands
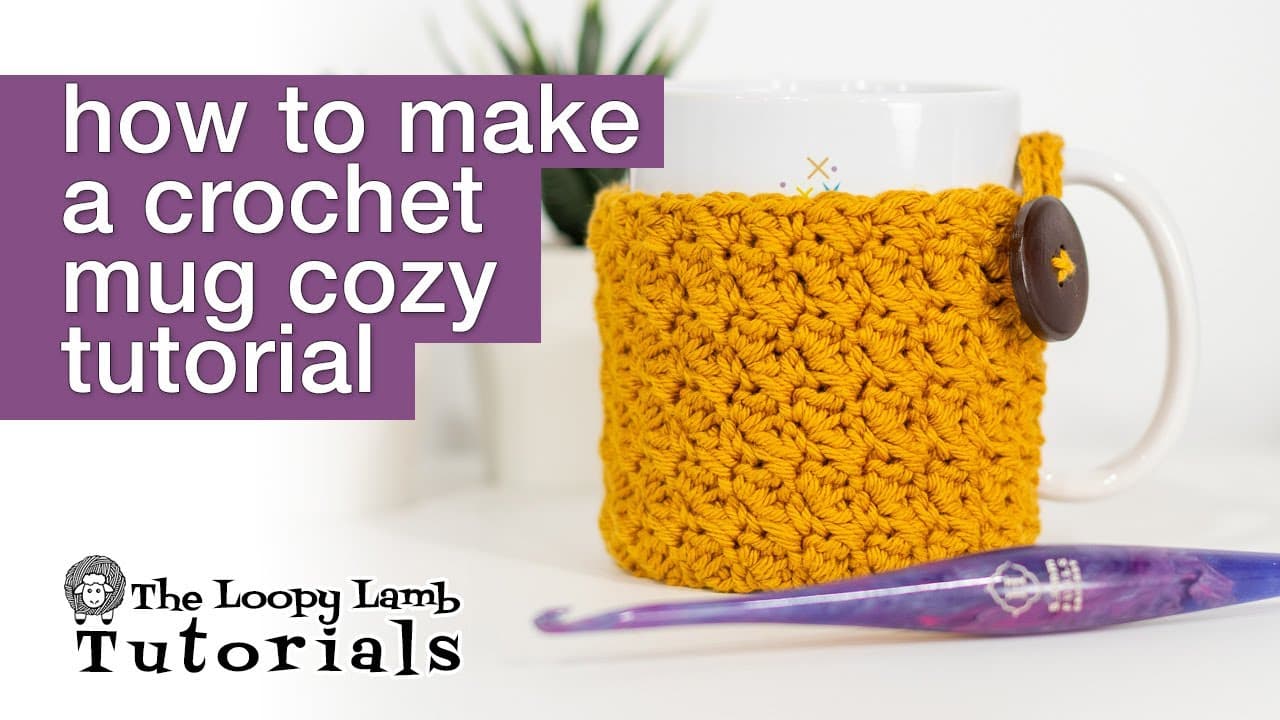
How to Crochet a Mug Cozy (1-Skein Beginner Project)
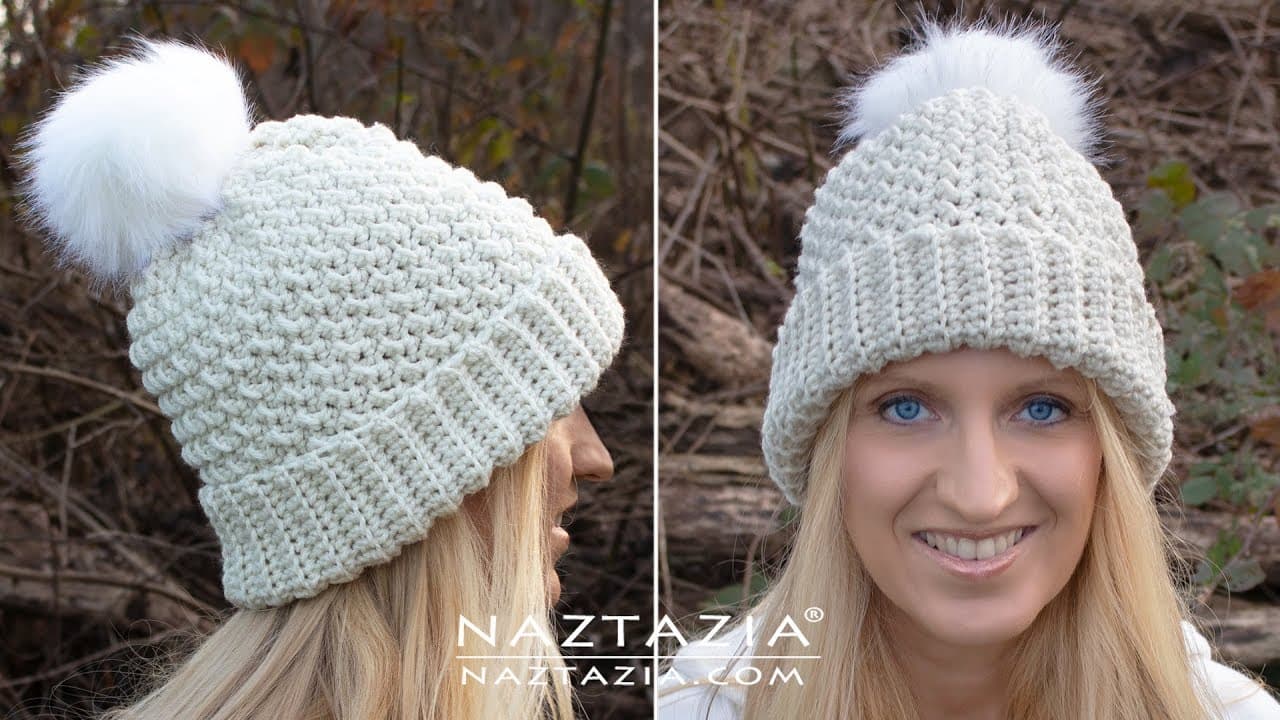
How to Crochet a Beanie (Beginner-Friendly Textured Hat)

How to Crochet a Turtle: Beginner Amigurumi

How to Crochet a Granny Square (Beginner Tutorial)
How to Treble Crochet (Triple Crochet) for Beginners

How to Crochet the Bobble Stitch
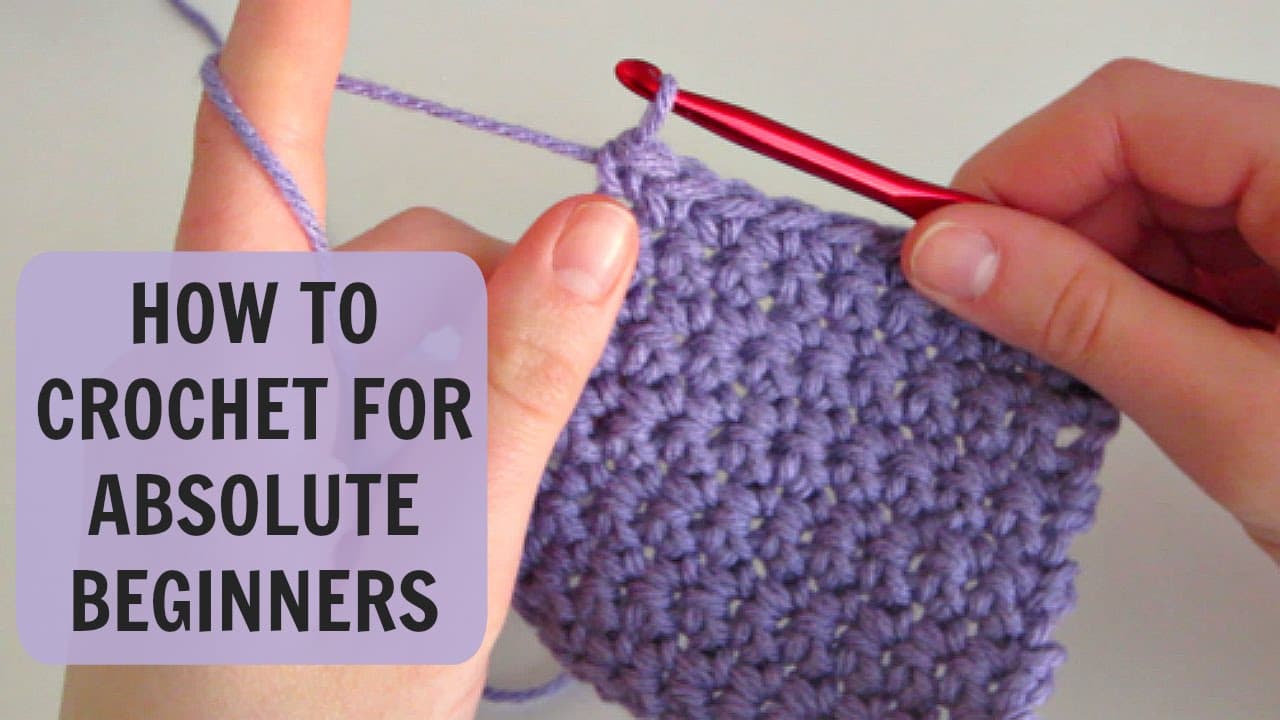
How to Crochet for Absolute Beginners: Part 1

How to Paint Fall Trees - Easy Autumn Forest in Acrylics

How to Make Origami Lucky Stars
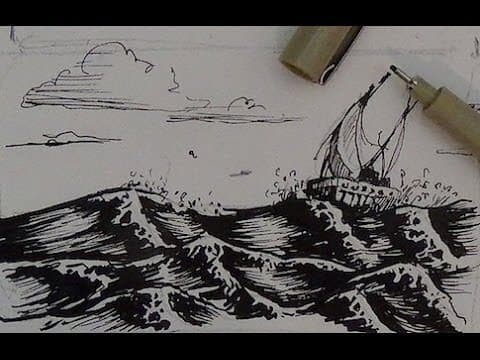
How to Draw Water in Pen and Ink (8-Step Seascape Tutorial)

How to Make a Wind Chime
How to Sew on a Patch

How to Crochet a Frog (Beginner Amigurumi Pattern)

How to Paint Birch Trees in Acrylics

How to Embroider a Rose (Easy Woven Wheel Stitch)

How to Make a Mosaic Coaster (Beginner Tile Craft)

How to Knit and Purl (Stockinette Stitch for Beginners)

How to Sew a Button by Hand
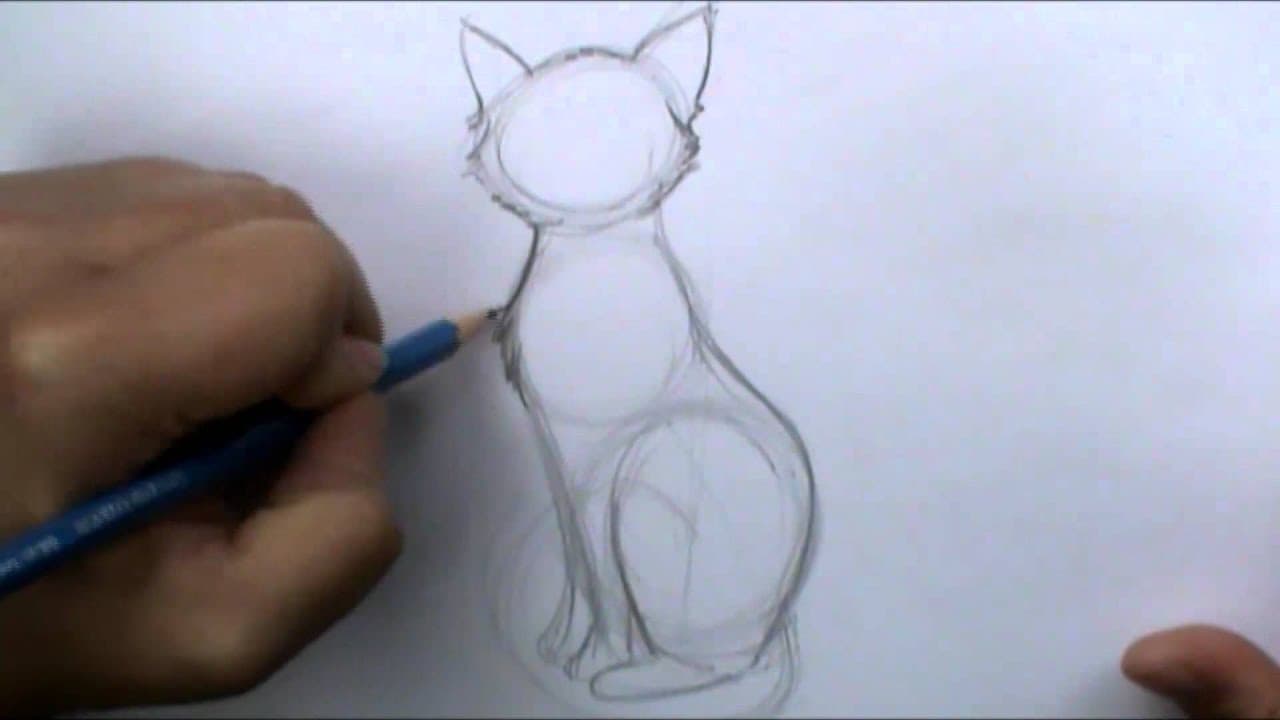
How to Draw a Cat - Gesture-Drawn Sitting Cat in 7 Steps

How to Make an Epoxy River Serving Board
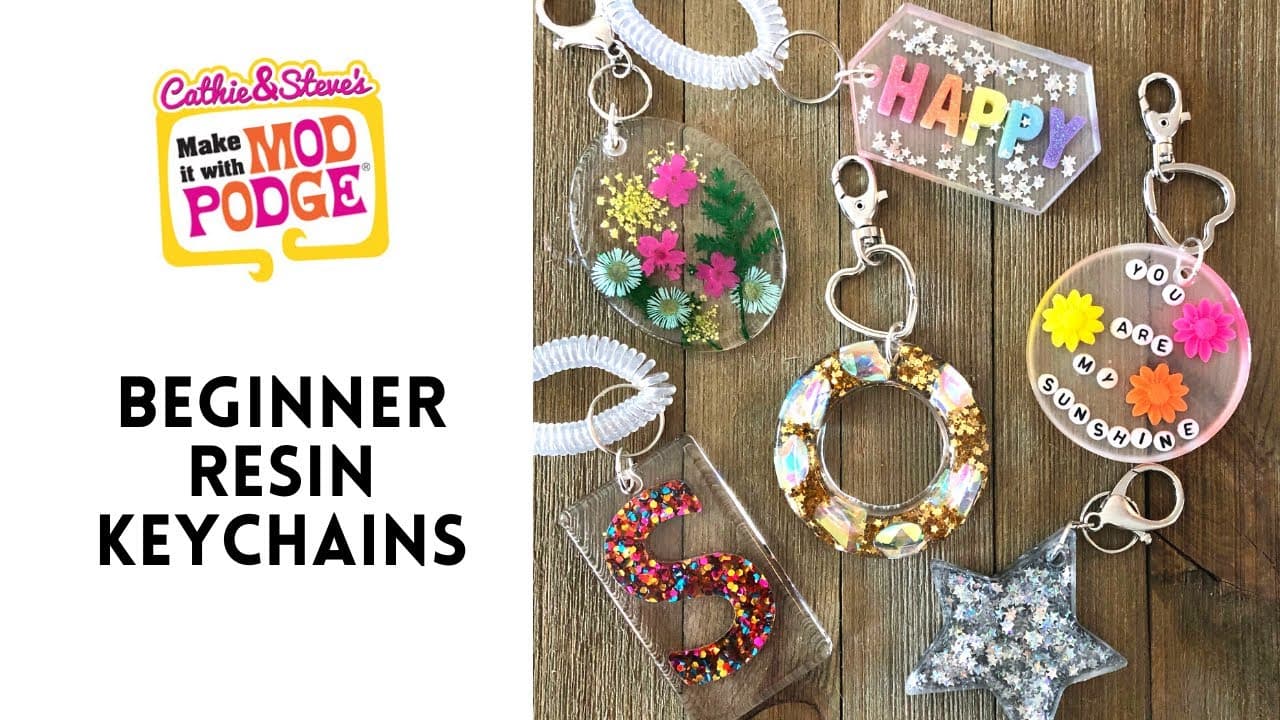
How to Make Resin Keychains (Beginner Mod Podge Resin)

How to Paint Roses in Acrylic

How to Make Tissue Paper Flowers (Easy 5-Minute Craft)
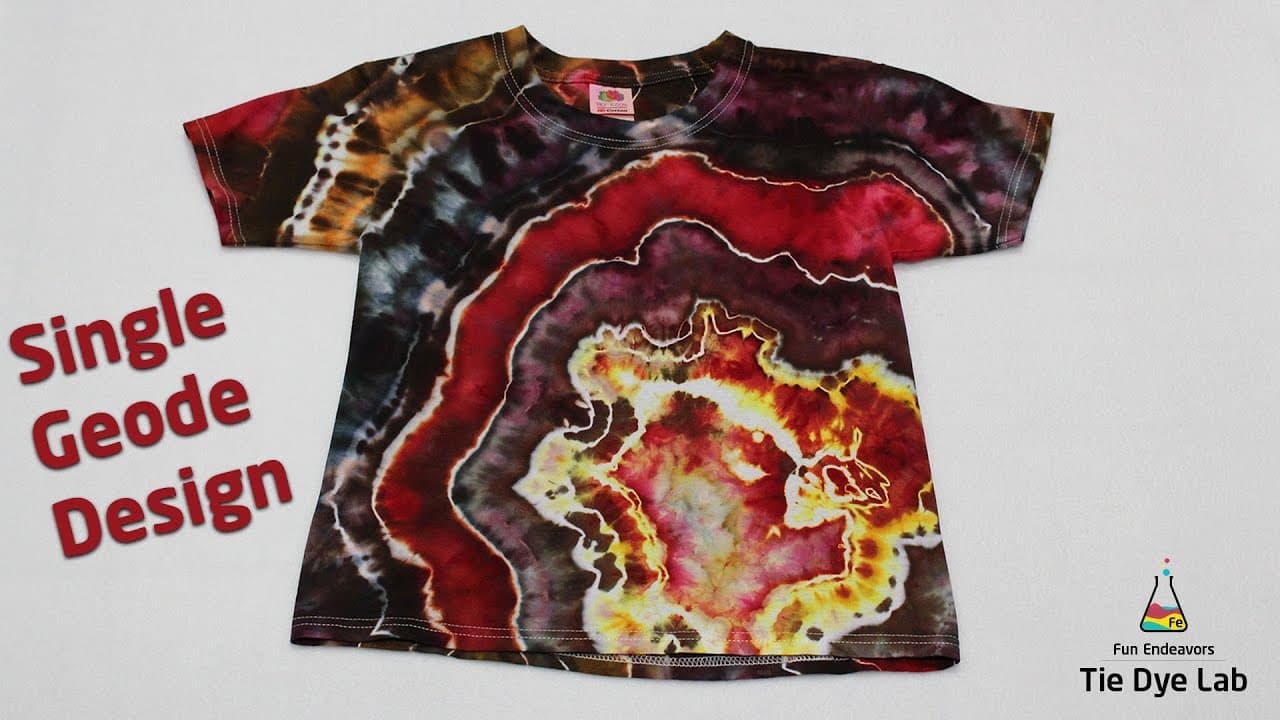
How to Ice Dye a Geode T-Shirt (Single Geode Method)

How to Use a Miter Saw

How to Draw a Tree: Step by Step

How to Paint Clouds

How to Make a Paper Crown (No Glue)
How to Half Double Crochet: 7-Step Beginner Tutorial

How to Make Polymer Clay Earrings
How to Cross Stitch: 6 Step Beginner Tutorial
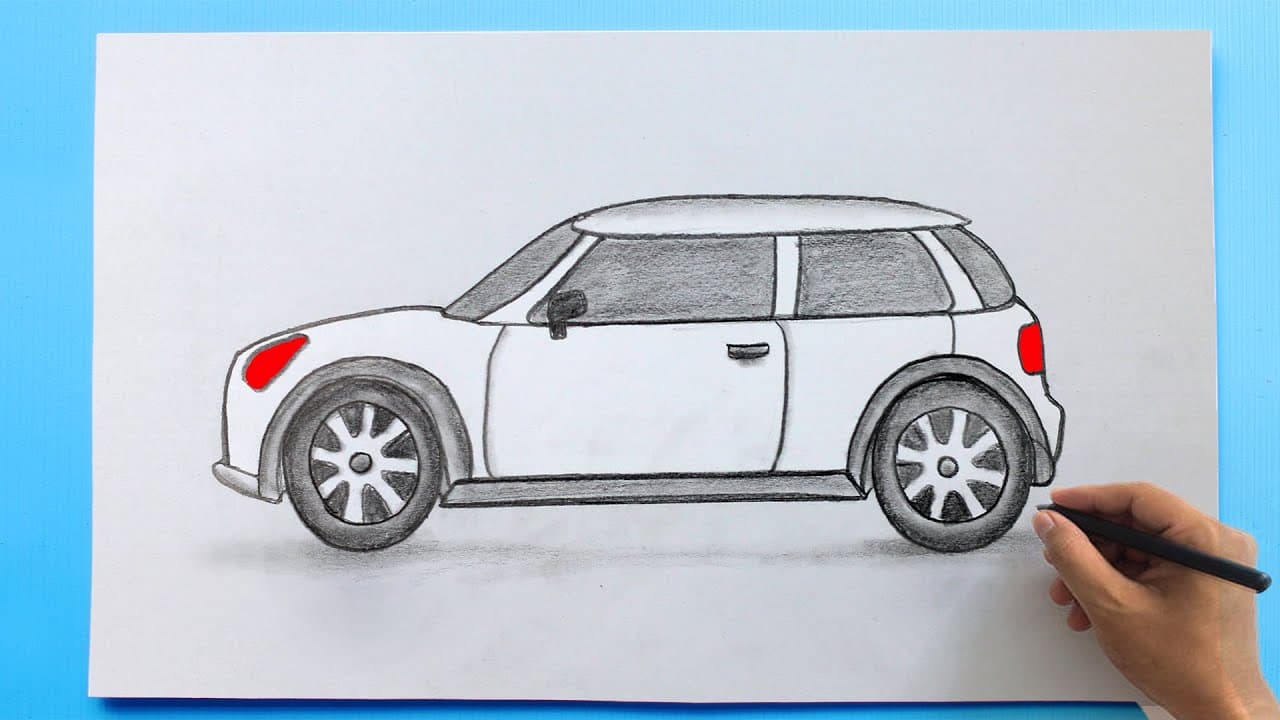
How to Draw a Car (Step by Step Pencil Drawing Tutorial)

How to Make Soap from Scratch

How to Carve a Pumpkin (Classic Jack-O'-Lantern Step-by-Step)

How to Block Crochet (Wet, Spray, and Steam)
How to Draw Mountains: Pencil Landscape Step by Step

How to Add Edging to Crochet

How to Build a Wooden Planter Box (Simple Straight-Cut Build)

How to Bind Off Knitting: 7 Steps for Total Beginners

How to Make a Paper Hat
How to Crochet a Farmhouse Pumpkin (Fall Decor)

Easy Macrame Wall Hanging for Beginners

How to Make an Origami Swan
How to Applique - Easy Iron-On Method for Quilts

How to Tie Dye a Shirt - 4 Easy Designs for Beginners

How to Make Paper Pom-Poms (Tissue Paper, Step by Step)

How to Make Origami: 5 Paper Animals for Beginners

How to Tie a Lark's Head Knot (Macramé Mounting Knot)
How to Make a Paper Airplane (Concorde Style)

How to Crochet in the Round: Foundational Technique

How to Make a Book Vase - Hidden Flower Display in 7 Steps
How to Draw the Female Figure: 7-Step Beginner Guide

How to Crochet Amigurumi: 5 Beginner Skills That Make Any Plushie

How to Transfer an Embroidery Pattern (4 Easy Methods)

How to Mix Epoxy Resin (Beginner's Step-by-Step)

How to Slip Stitch in Knitting (Purlwise vs Knitwise)

How to Paint a Pumpkin (No-Carve Halloween Decor)

How to Make a Mosaic Flower Pot

How to Make a Concrete Air Plant Holder
How to Make Paper Butterflies (Wall Decor)
How to Crochet a Dinosaur: No-Sew Beginner Amigurumi

How to Learn Calligraphy: 7 Step Beginner Tutorial With Just a Pencil

How to Make a Macrame Wall Hanging - Beginner Pattern

How to Make a Mosaic Stepping Stone

How to Make a Pinch Pot - Beginner Pottery in 7 Steps
How to Read a Knitting Pattern (Beginner's Guide)

How to Draw a Dog - Step-by-Step Puppy Sketch

How to Make a Graduation Pop-Up Card (Easy Fun Fold)

How to Crochet a Coaster
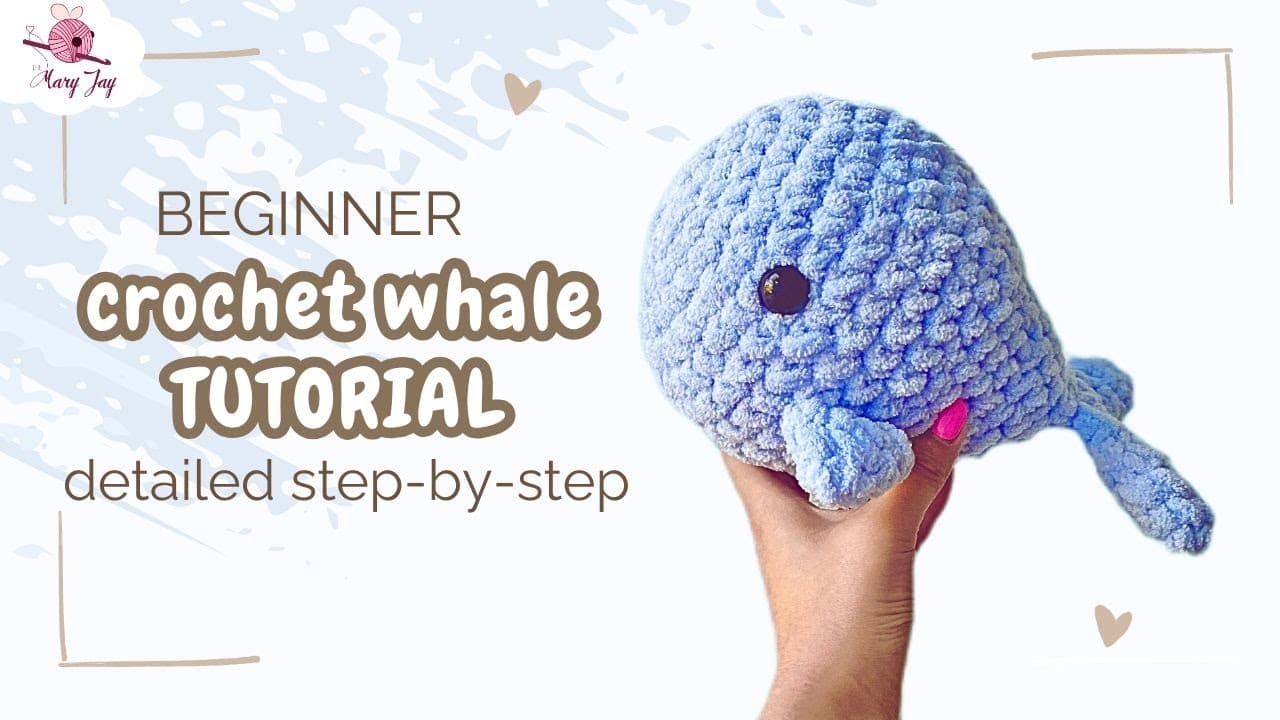
How to Crochet a Whale: Beginner Amigurumi

How to Do Brush Pen Calligraphy - 7 Step Beginner Guide

How to Crochet a Spider Web (Halloween Decor)
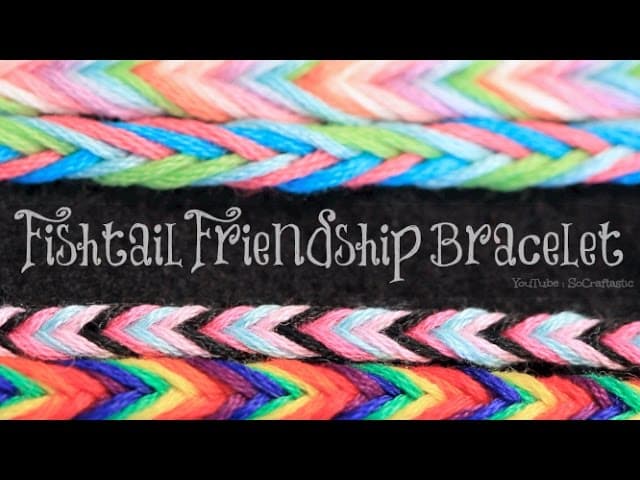
How to Make String Bracelets - Easy Fishtail Pattern

How to Weave in Ends (Crochet and Knitting Method That Never Comes Undone)
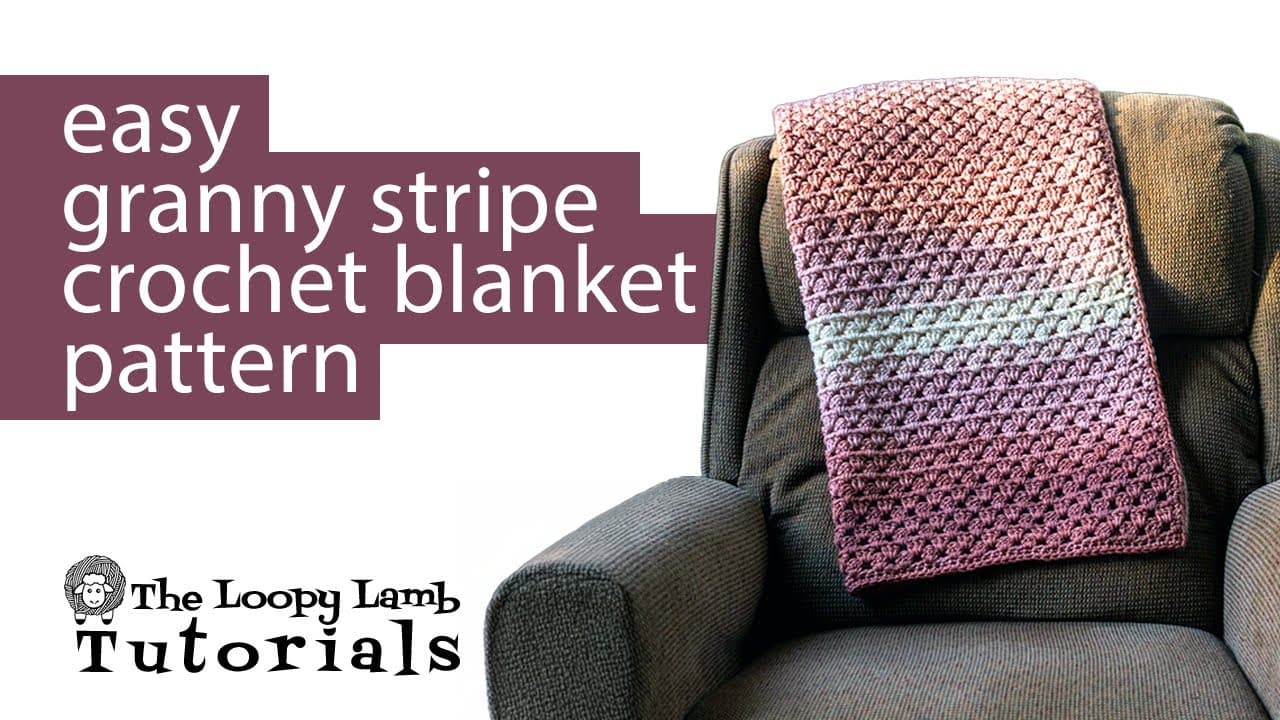
How to Crochet a Granny Stripe Blanket (Beginner)

How to Crochet a Star (No Magic Circle Method for Beginners)

How to Paper Quill a Daisy

How to Make a Letter Bead Friendship Bracelet
