How to Crochet for Absolute Beginners: Part 1

CraftsEasy8:368 steps
Crochet is one of those skills that feels impossible for about the first 20 minutes, and then something clicks and you wonder why you waited so long to try it. This tutorial from simplydaisy on YouTube covers every single thing a total beginner needs to know to make their first swatch. She uses a 5.5mm hook and basic acrylic yarn, and walks through each step slowly enough that you can actually follow along. By the end you will know how to make a chain, do single crochet across multiple rows, and finish off cleanly. That is genuinely enough to start real projects.

Step-by-Step Guide

1

Gather Your Materials

0:40
Step 1: Gather Your Materials
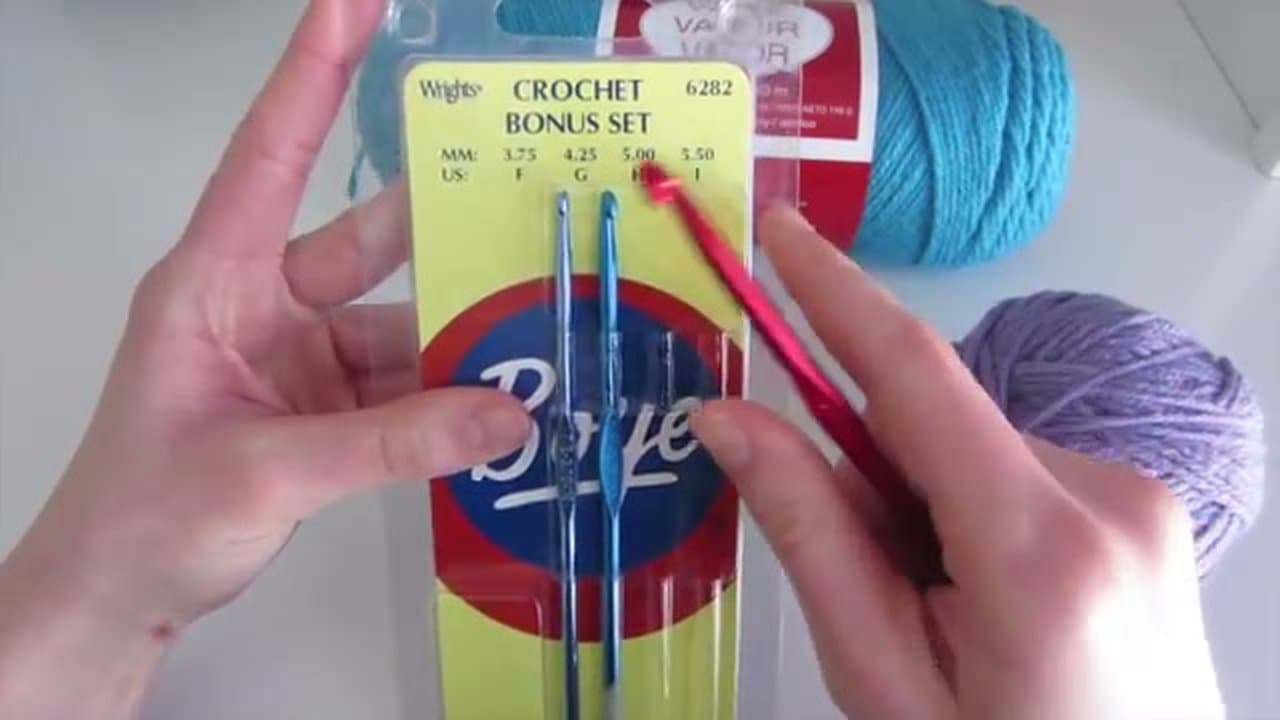
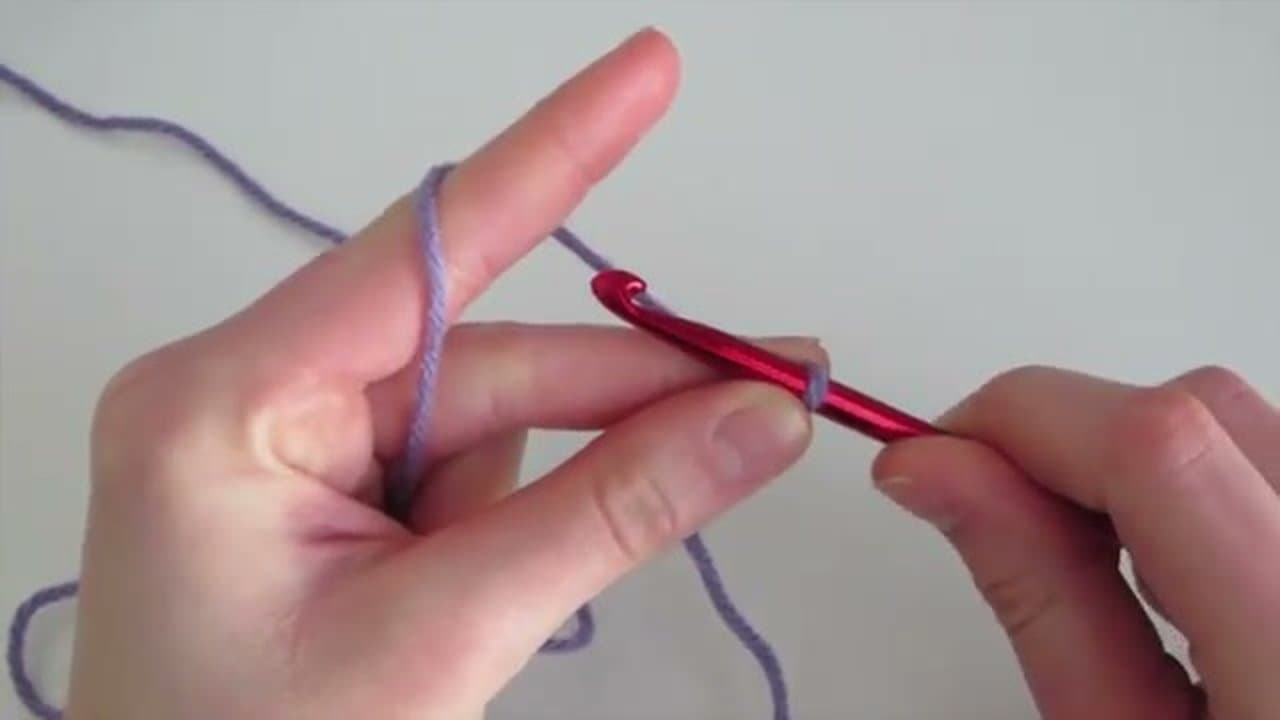
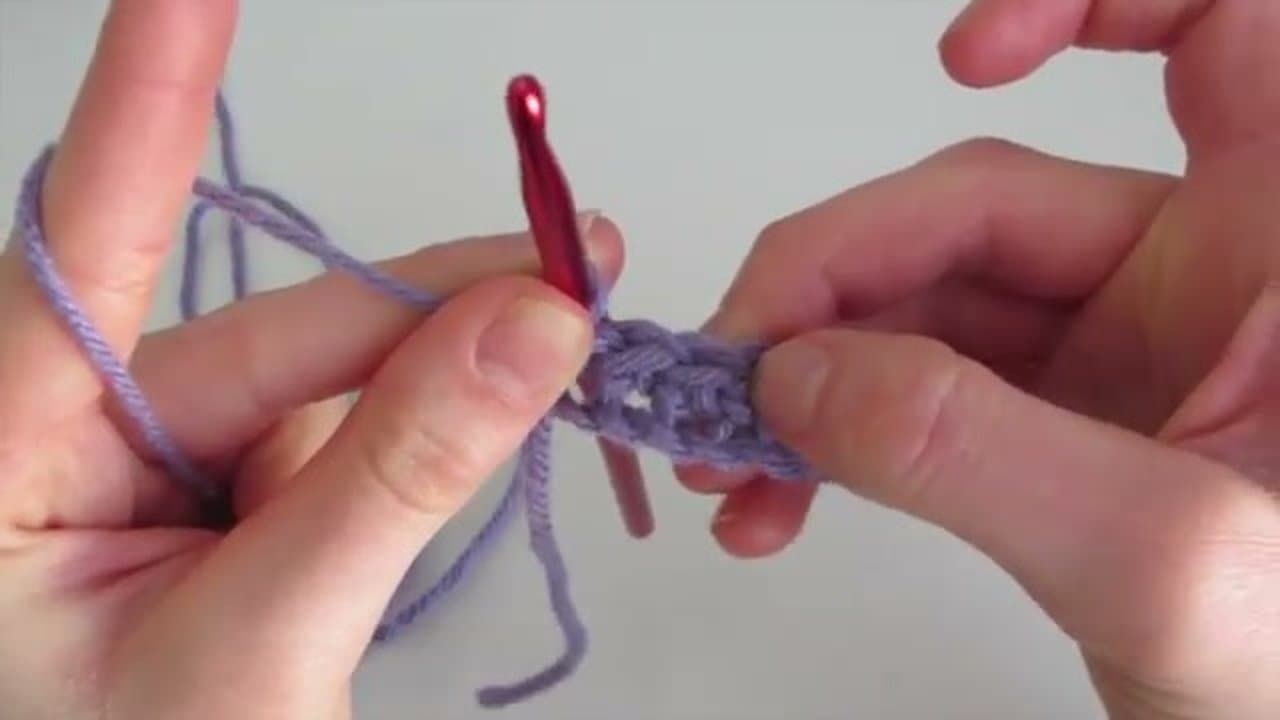
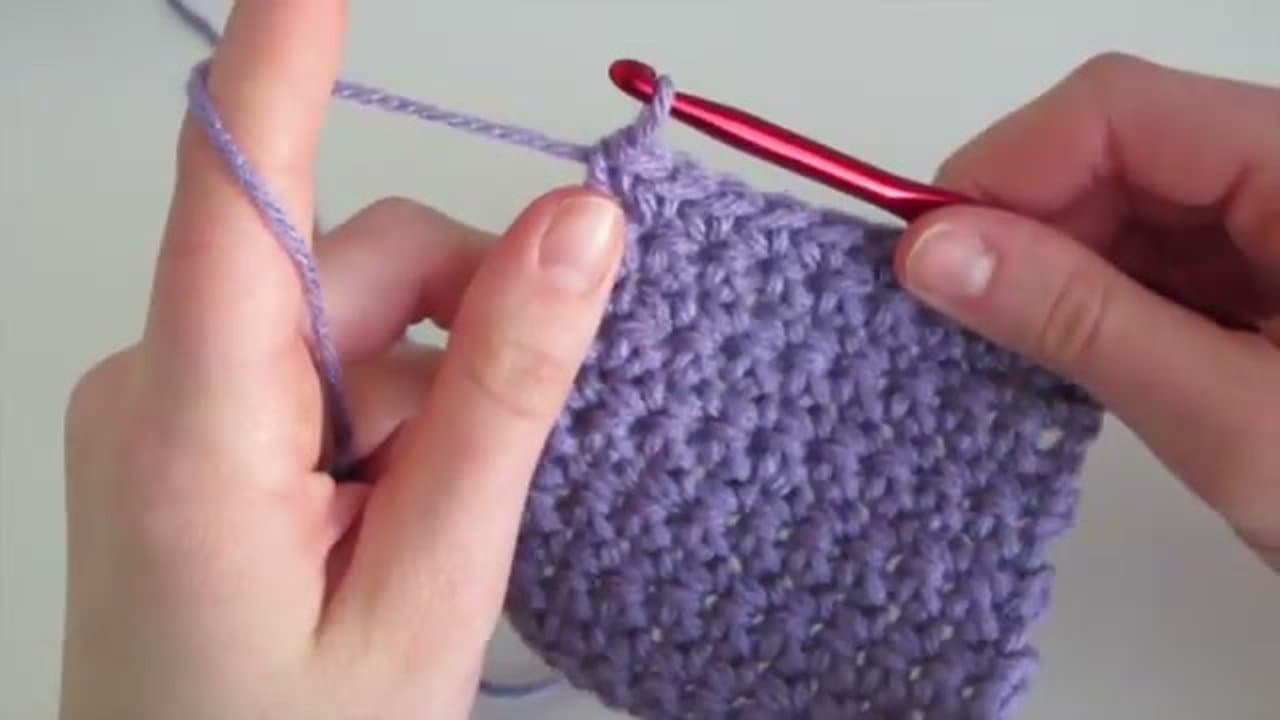
You only need two things to start: yarn and a crochet hook. Any basic acrylic yarn works fine for learning, since it is easy to work with and inexpensive. For the hook, a set of aluminum hooks in sizes 3.75mm to 5.5mm will cover most beginner projects. The tutorial uses a 5.5mm hook, which is a good middle-ground size that is not too fiddly.

Tip

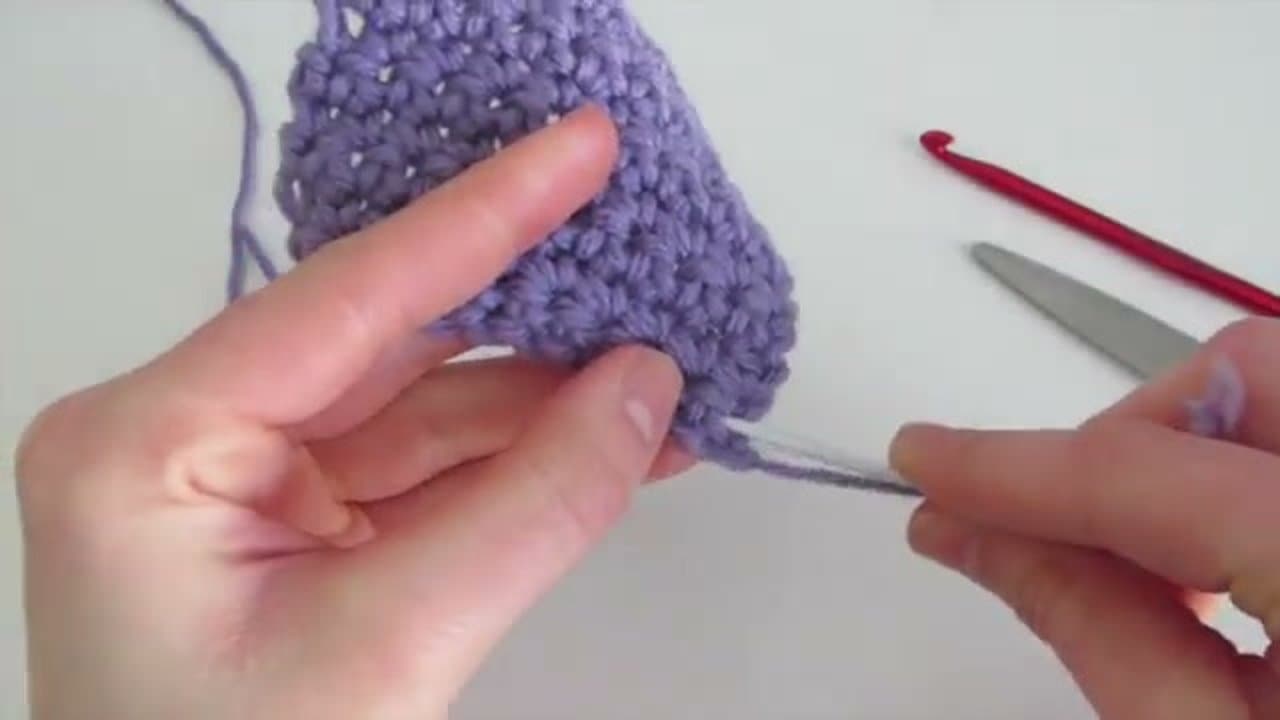
100% acrylic yarn is the best choice for beginners because it does not split as easily as wool and holds its shape well while you are learning the movements.

Products used in this step

Aluminum Crochet Hook Set
Acrylic Yarn
2

Make a Slip Knot

1:20
Step 2: Make a Slip Knot
Hold the yarn with your index finger pointing down. Twist the yarn upward to form a loop, then put your thumb through that loop. Grab the tail end of the yarn with your index finger and thumb and pull it through, creating a new loop. Slide your crochet hook into that loop and pull the yarn to tighten it snugly around the hook. The loop should be firm but still able to slide along the hook.

Tip

The slip knot should be snug but not tight. If you cannot slide it easily along the hook, loosen it a little before you start chaining.

3

Hold the Hook and Yarn

2:00
Step 3: Hold the Hook and Yarn
Hold the crochet hook in your right hand using your thumb and fingers, resting on the indent on the hook handle. Hold it like you would hold scissors. With your left hand, thread the yarn through your fingers with your index finger pointing out and the yarn wrapped around it. Grip your work with your left middle finger and thumb. Bring both hands together so you have control of the tension.

Tip

There is no single correct way to hold the yarn. This method is just one approach. Try a few different ways and go with whatever feels comfortable and gives you even tension.

4

Learn the Yarn Over

3:20
Step 4: Learn the Yarn Over
The yarn over is the fundamental motion behind every crochet stitch. Start with the hook facing away from you. Place it on the left side of the working yarn. Rotate the hook toward you and then slightly toward your left hand. Pull downward and draw the yarn through the loop on your hook. That is one chain stitch. The yarn over is just: face away, go left, turn toward you, pull through.

Tip

Keep your tension consistent as you yarn over. If you pull too tight the loop will be hard to work into later. Too loose and your work will look messy.

5

Crochet a Foundation Chain

4:20
Step 5: Crochet a Foundation Chain
Repeat the yarn over and pull through motion to build your chain. Each chain looks like a V shape with a top loop and a bottom loop. For practice, chain 11. Count the Vs as you go: skip the loop on your hook when counting. The chain gives you the foundation row that your single crochet stitches will work into.

Tip

Count your chains out loud as you make them. It is very easy to lose count when you are focused on the hand movements. Getting to exactly 11 is good practice for keeping stitch counts later.

6

Work Your First Single Crochet

5:20
Step 6: Work Your First Single Crochet
Skip the first chain (that is your turning chain) and insert your hook into the second V from the hook. Yarn over by going behind the working yarn and pull through, so you have 2 loops on your hook. Then yarn over again and pull through both loops. That is one single crochet. Insert into the next chain and repeat all the way across. You should end up with 10 single crochet stitches across the row.

Tip

Make sure you are inserting under both the top and bottom loops of each V when working back into existing rows. If you only catch one loop you will end up with a different texture than intended.

7

Build More Rows

6:20
Step 7: Build More Rows
When you reach the end of a row, do one chain stitch and then flip your work over. Now work back in the other direction, inserting your hook under both loops of each V stitch. Do 10 single crochet per row. Keep going until you have as many rows as you want. The tutorial does 12 rows to make a square swatch. If you make a mistake, just pull out your hook, tug the yarn to unravel back to where you went wrong, and reinsert the hook.

Tip

Your tension will probably get tighter or looser as you go, and that is normal when you are learning. Try to relax your grip. The more relaxed your hands are, the more even your stitches will be.

8

Finish Off and Weave in the Ends

7:40
Step 8: Finish Off and Weave in the Ends
When your swatch is done, do one final chain stitch. Pull the crochet hook out of the loop. Cut the yarn leaving a few inches of tail. Pull the tail through the last loop and tug tight to secure. Thread that tail onto a tapestry needle with a large eye. Weave the needle in and out of several stitches along the back of your work to hide the end. Trim the leftover yarn with scissors. Do the same for the starting tail.

Tip

Weave the tail in at least a few inches in two directions so it does not work loose over time. A single pass is usually not enough, especially on acrylic yarn.

Products used in this step

Tapestry Needle
Scissors

Products Used

Aluminum Crochet Hook SetAcrylic YarnTapestry NeedleScissors

Your Guide

simplydaisy

Tags

Related Tutorials