How to Knit for Absolute Beginners

CraftsEasy14:527 steps

Knitting looks complicated from the outside, but the basic knit stitch is one motion repeated over and over. Once you get that down, you can make a scarf. From there it builds.

Shandie from Expression Fiber Arts breaks it down for people who have never held a needle before. She covers everything from the slip knot to binding off, including what to do when you inevitably drop a stitch (it happens to everyone, and it is fixable).

Step-by-Step Guide

1

Grab Your Yarn and Needles

0:31
Step 1: Grab Your Yarn and Needles

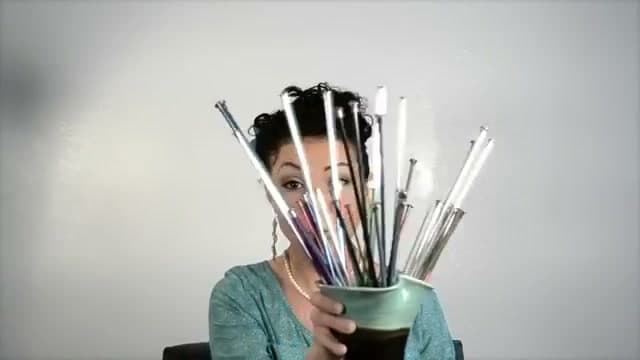
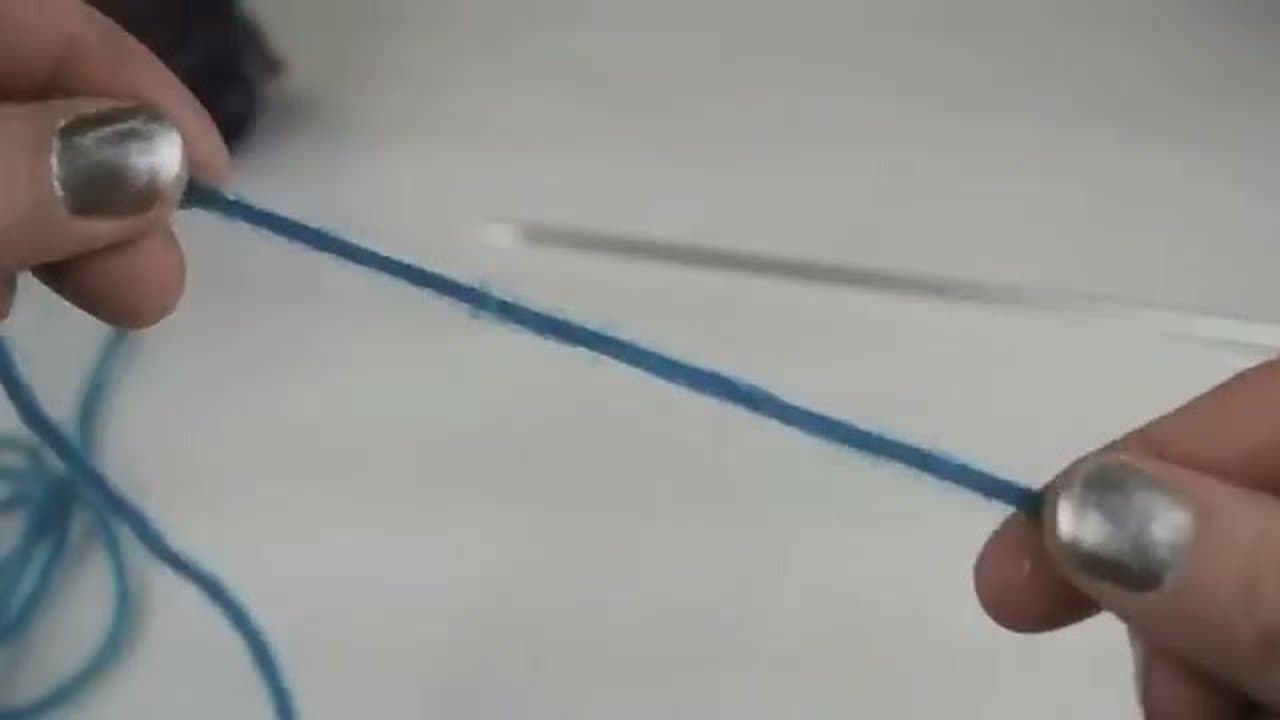
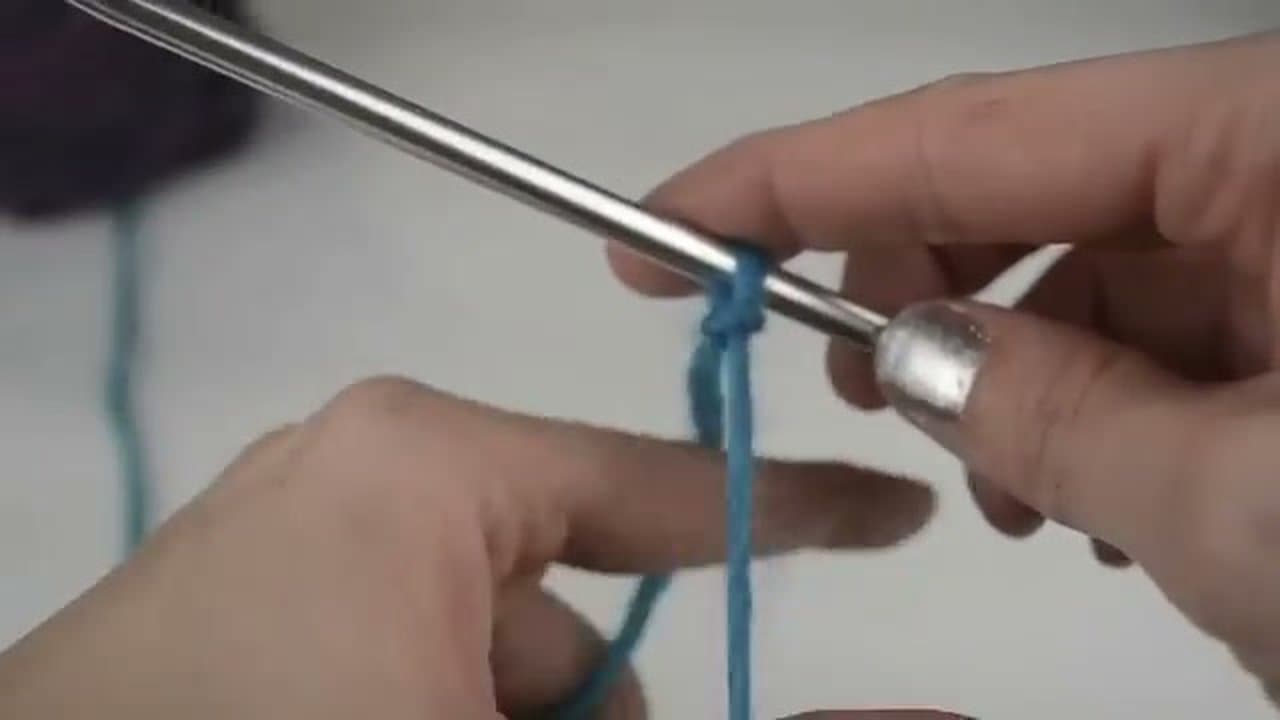
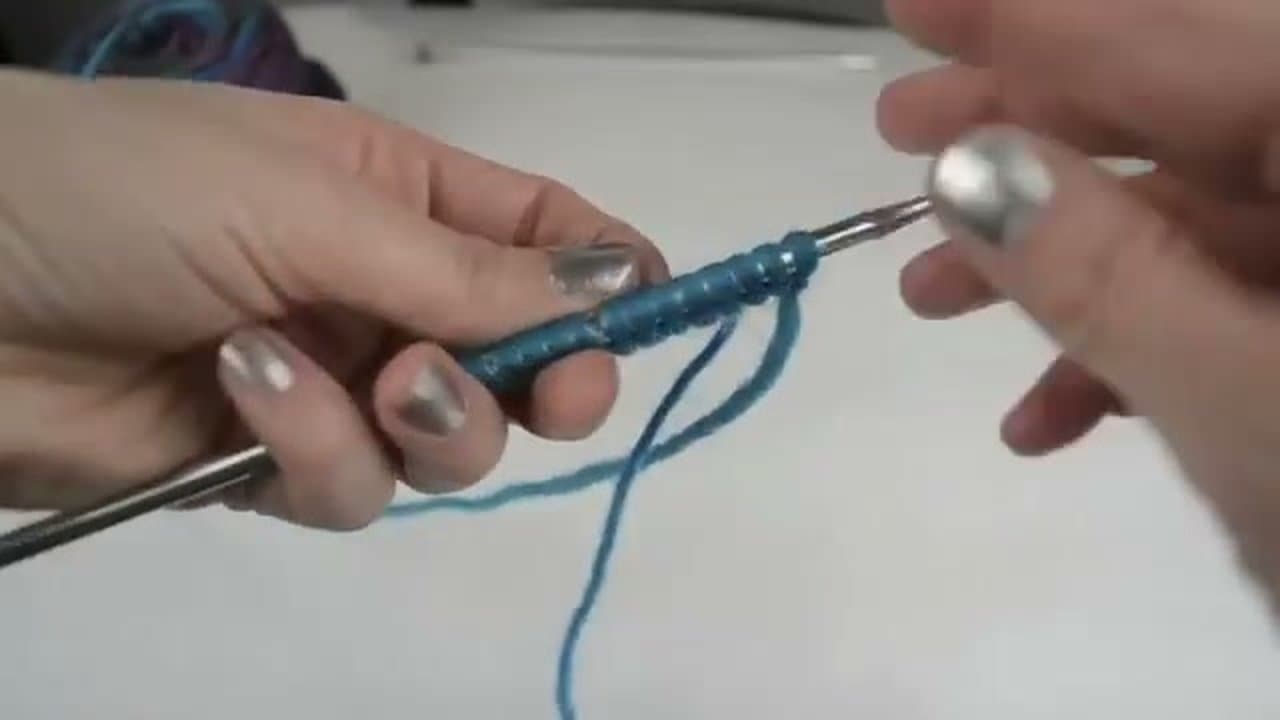
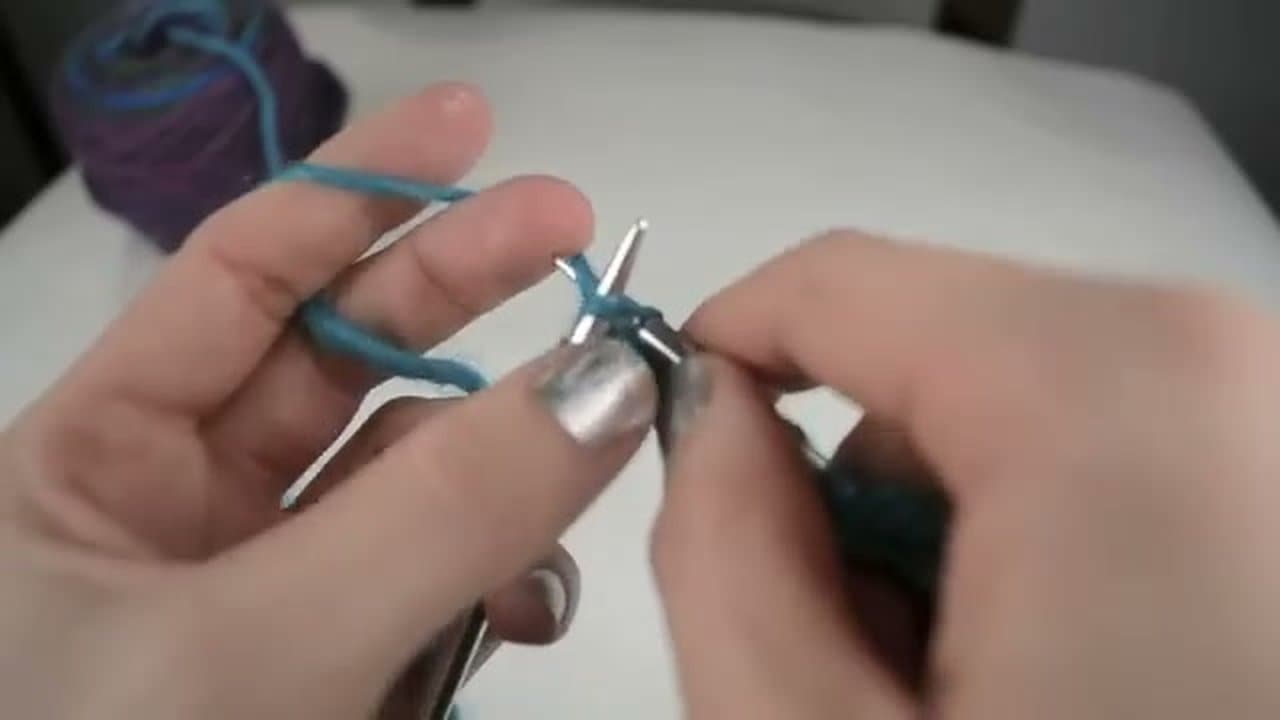
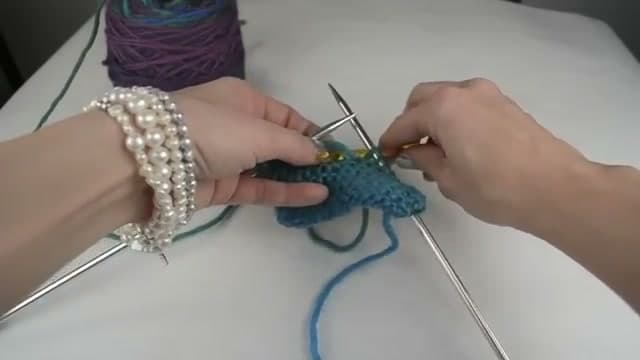
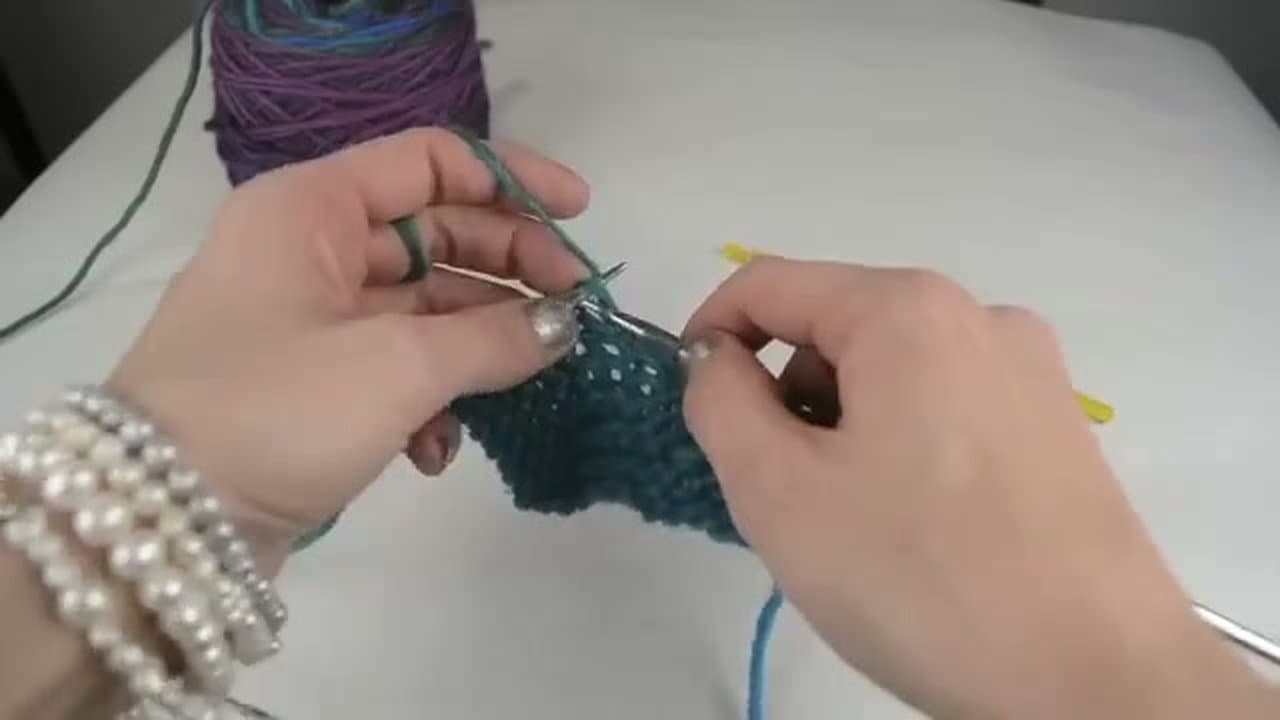
You need two things to start: a ball of yarn and a pair of knitting needles. Size 9 needles are a solid starting point for beginners. Go with wooden or plastic needles at first because the yarn grips them and stays put. Metal needles are slippery and work better once you have the rhythm down.

For yarn, pick something in a light color so you can see your stitches. Worsted weight is thick enough to be easy to work with.

Products used in this step

Knitting Needles (Beginner Set)
Yarn Skein (Worsted Weight)
2

Make a Slip Knot

1:12
Step 2: Make a Slip Knot

Pull about 15 inches of yarn from the ball. Make a loop, reach through the loop, grab the yarn and pull up a new loop. That is your slip knot.

Slide one needle through the loop and cinch it snug onto the needle. Not too tight - you need to be able to slide it along the needle later.

Products used in this step

Yarn Skein (Worsted Weight)
3

Cast On Your Stitches

1:50
Step 3: Cast On Your Stitches

The long tail cast on is the standard beginner method. Hold both the working yarn and the tail with your bottom three fingers. Stick your thumb and pointer finger between the two strands and spread them apart.

Take the right needle under the closest loop on your thumb, over the strand on your index finger, and back through the thumb loop. Pull it snug (not tight) on the needle. Repeat until you have 15 stitches. That is enough for a practice swatch.

Tip

If your cast-on stitches are too tight, you will struggle to knit the first row. Keep them snug but loose enough to slide on the needle.

Products used in this step

Knitting Needles (Beginner Set)
4

Work the Knit Stitch

3:42
Step 4: Work the Knit Stitch

Turn your work so the needle with stitches is in your left hand. Insert the right needle into the first loop on the left needle from left to right. Wrap the working yarn under and over the right needle tip. Pull up a new loop through the stitch, then slide the old loop off the left needle.

That is one knit stitch. Keep going across the row. It is the same motion every time.

Products used in this step

Knitting Needles (Beginner Set)
Yarn Skein (Worsted Weight)
5

Keep Knitting Rows

6:30
Step 5: Keep Knitting Rows

When you reach the end of a row, flip the needle to your left hand and start the next row. Every row is the same knit stitch across. Use your left middle finger to hold the first stitch so it does not slide off the needle.

It will feel clumsy at first. Your first swatch will probably look lumpy. That is normal. The muscle memory kicks in after a few rows and it gets smoother fast.

Tip

You can hold the working yarn in your right hand (English style) or left hand (Continental style). Try both and see which feels more natural. Neither is wrong.

6

Fix a Dropped Stitch

10:00
Step 6: Fix a Dropped Stitch

If a stitch slips off the needle, grab it before it unravels further. If it does drop a row or two, use a crochet hook to pick it back up. Insert the hook from behind the dropped stitch, catch the loose strand above it, and pull it through. Slip the rescued stitch back onto the left needle.

Dropped stitches are not a crisis. They happen to everyone and they are always fixable.

Products used in this step

Tapestry Needle Set
7

Bind Off and Finish

11:11
Step 7: Bind Off and Finish

To get the stitches off the needle, knit two stitches onto the right needle. Insert the left needle into the first stitch on the right needle and pull it up and over the second stitch and off. Knit the next stitch and repeat all the way across.

Keep the bind off loose so the edge is not pinched. When one stitch remains, pull the yarn tail through it. Weave in the tail with a darning needle and you are done.

Products used in this step

Tapestry Needle Set

Products Used

Knitting Needles (Beginner Set)Yarn Skein (Worsted Weight)Tapestry Needle Set

Your Guide

ExpressionFiberArts

Tags

Related Tutorials

Learn More