Resin Art for Beginners: Coaster Tutorial

CraftsMedium13:119 steps

Resin coasters are one of the most popular first projects for anyone getting into resin art. They are small enough to be forgiving, and the results look impressive even on your first try.

Nadia from Summer Girl Designs walks through the whole process from workspace setup to the final gold trim. She makes a mix-and-match set of four coasters using different color combinations in each mold, so you get to see several pouring techniques in one tutorial.

Step-by-Step Guide

1

Prep Your Workspace

0:25
Step 1: Prep Your Workspace

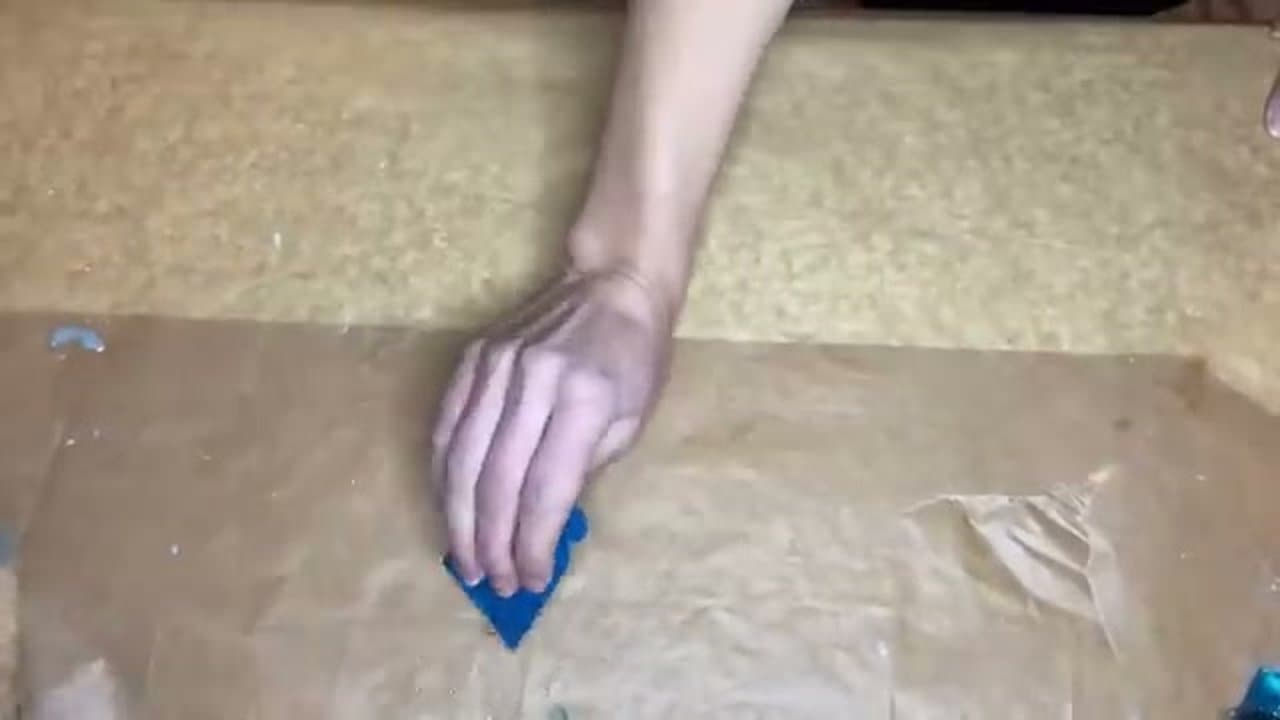
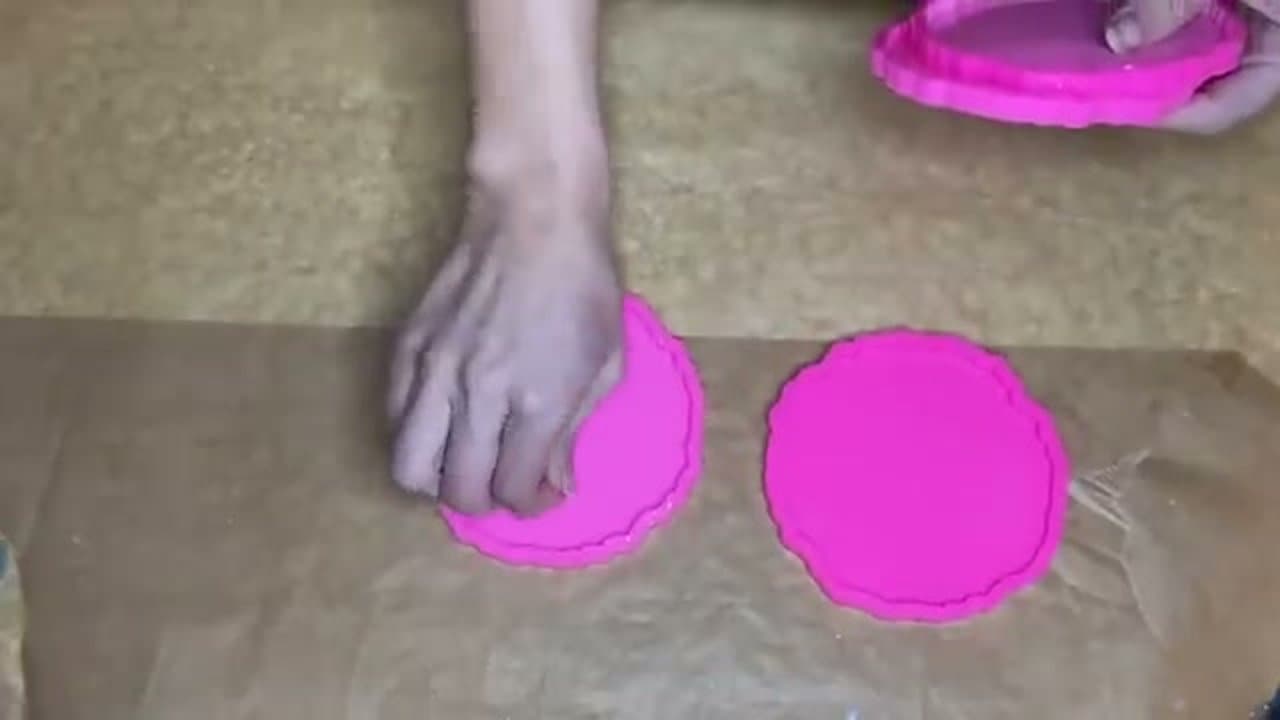
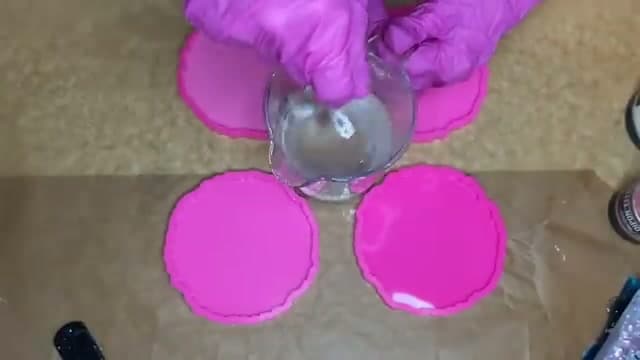
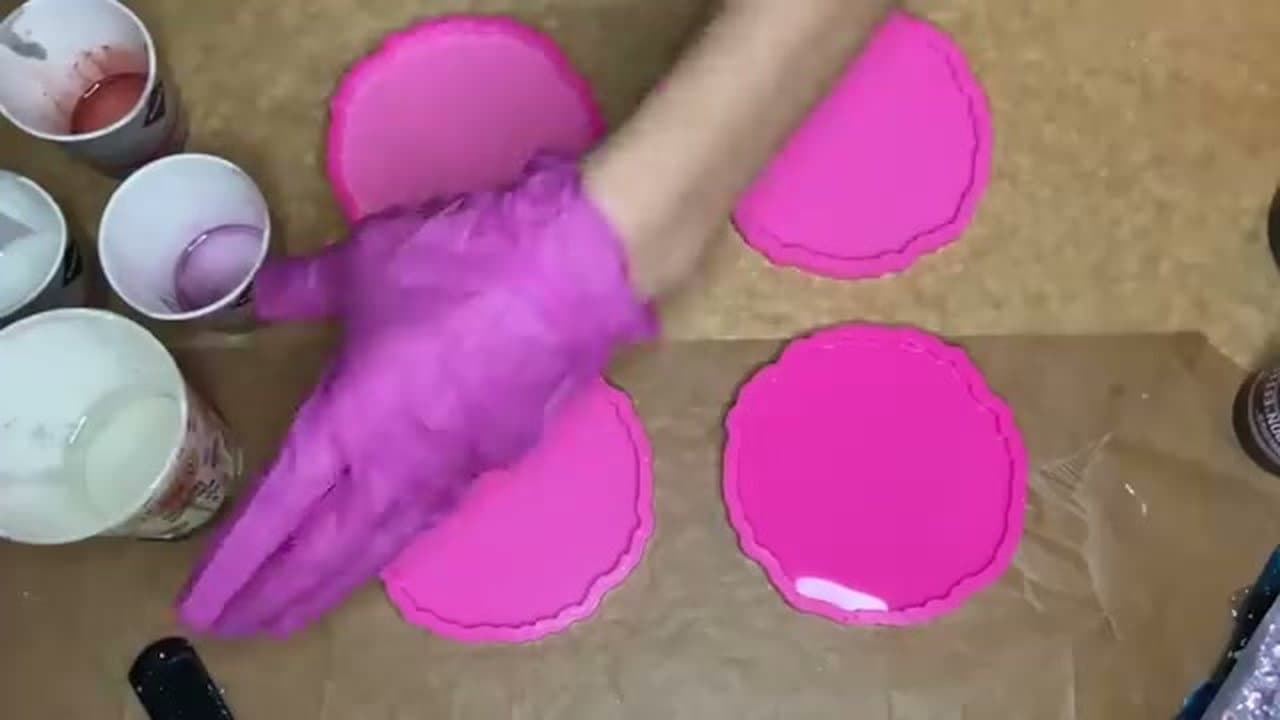
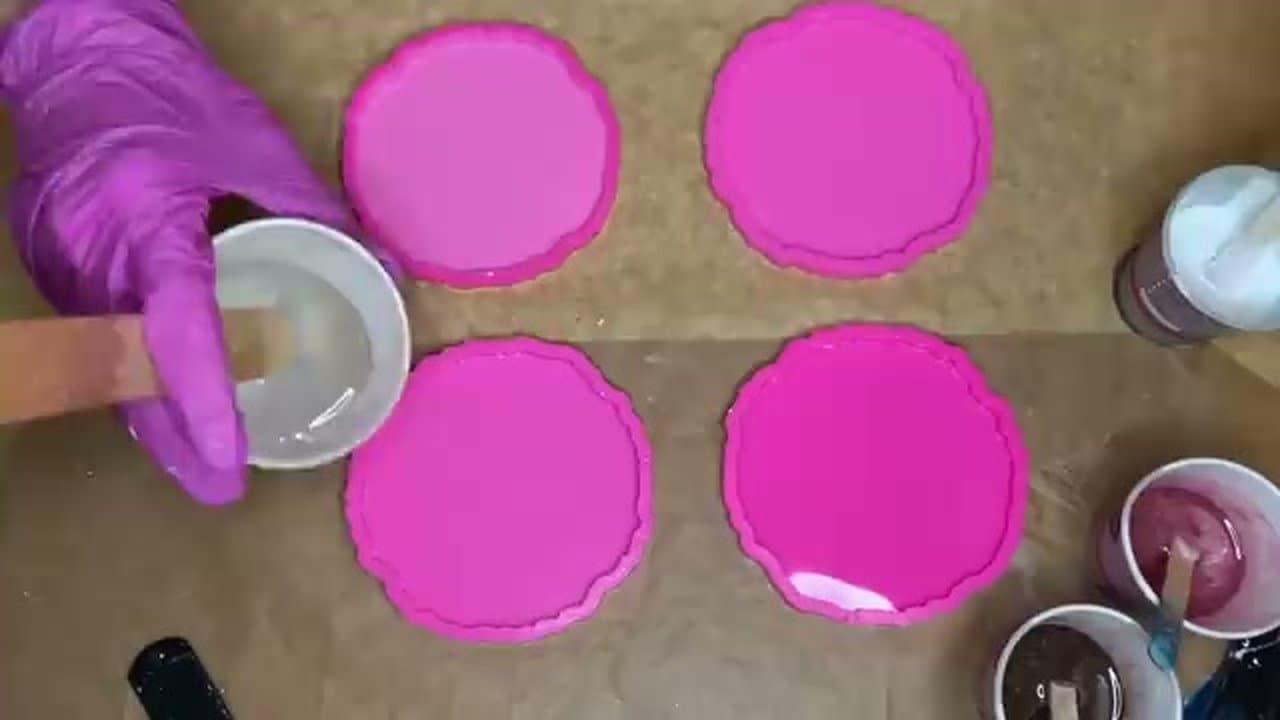
Cover your work table with baking paper. Resin drips peel right off of it, and it protects the surface underneath. Use a small scraping tool to clean any old resin off the paper.

Check that your table is level. Resin is self-leveling, so a tilted surface means lopsided coasters. Have all your supplies within reach before you start mixing.

2

Put on Safety Gear

0:55
Step 2: Put on Safety Gear

Wear 100% nitrile gloves for skin protection. Regular latex gloves do not provide enough barrier against epoxy resin. Use a respirator mask to avoid breathing in fumes.

A full face respirator with built-in goggles is more comfortable for longer sessions and protects your eyes too. Do not skip this step - resin fumes are not something you want in your lungs.

Products used in this step

Nitrile Gloves
3

Prep Your Molds

1:40
Step 3: Prep Your Molds

Clean the inside of your silicone coaster molds by pressing tape into them and peeling it off. This picks up any dust, fibers, or particles that would show up in the cured resin.

Set up a small kitchen scale if your resin is measured by weight. Read the ratio on your resin bottle - this one uses a 2:1 ratio by weight.

Products used in this step

Silicone Coaster Molds
4

Mix the Resin

2:08
Step 4: Mix the Resin

Measure Part A and Part B into a cup according to your ratio. For four coasters, about 225 ml total is enough. Stir with a mixing stick for several minutes until the mixture is completely clear with no visible streaks or lines.

Under-mixed resin will not cure properly and stays tacky. Take your time with this step.

Products used in this step

Epoxy Resin Kit (16 oz)
Mixing Cups and Stir Sticks
5

Add Pigments and Colors

3:34
Step 5: Add Pigments and Colors

Split the mixed resin into smaller cups and add a different pigment to each one. Color shift pearls, pigment pastes, and glitter all work. Use a wooden stick to mix each color in thoroughly. Keep one cup of clear resin for the base pour.

Gold leaf flakes added to a cup of clear resin make a great metallic accent. The more color cups you prepare, the more variety you get in your pour.

Products used in this step

Resin Pigment Set
6

Pour into the Molds

4:52
Step 6: Pour into the Molds

Start by pouring clear resin as a base layer into the first mold. Then circle colored resin around the edges in rings. Layer different colors by alternating cups as you pour. Drop gold leaf flakes into the center for accent.

Each coaster can use a different color order. That is how you get a mix-and-match set from a single batch of resin.

Products used in this step

Silicone Coaster Molds
7

Pop Bubbles and Let Cure

5:02
Step 7: Pop Bubbles and Let Cure

Pass a torch gun quickly over the surface of each mold to pop air bubbles. Move fast - holding the flame in one spot will burn the resin or melt the silicone mold. A quick sweep is all it takes.

Cover the molds with a box or dome to keep dust and fibers out while the resin cures. Leave them completely undisturbed for at least 24 hours.

Products used in this step

Heat Gun for Resin Bubbles
8

Demold and Clean the Edges

8:15
Step 8: Demold and Clean the Edges

Pop the cured coasters out of the silicone molds. Check both sides - sometimes the bottom has a better finish than the top. Scrape any lifted or uneven edges with an X-acto knife or deburring tool.

For geode-style wavy edges, the X-acto knife gives more control. For straight edges, a deburring tool is faster.

9

Apply a Protective Top Coat

9:17
Step 9: Apply a Protective Top Coat

Paint liquid latex on the bottom of each coaster to protect it from drips. Prop them up on cups so the top surface is accessible. Mix a fresh small batch of clear resin and pour it over the top, spreading it to the edges with a silicone brush.

Let it cure another 24 hours. Peel the latex off the bottom when done. You can add a gold edging marker around the rim for a finished look.

Products used in this step

Epoxy Resin Kit (16 oz)

Products Used

Nitrile GlovesSilicone Coaster MoldsEpoxy Resin Kit (16 oz)Mixing Cups and Stir SticksResin Pigment SetHeat Gun for Resin Bubbles

Your Guide

Summer Girl Designs

Tags

Related Tutorials