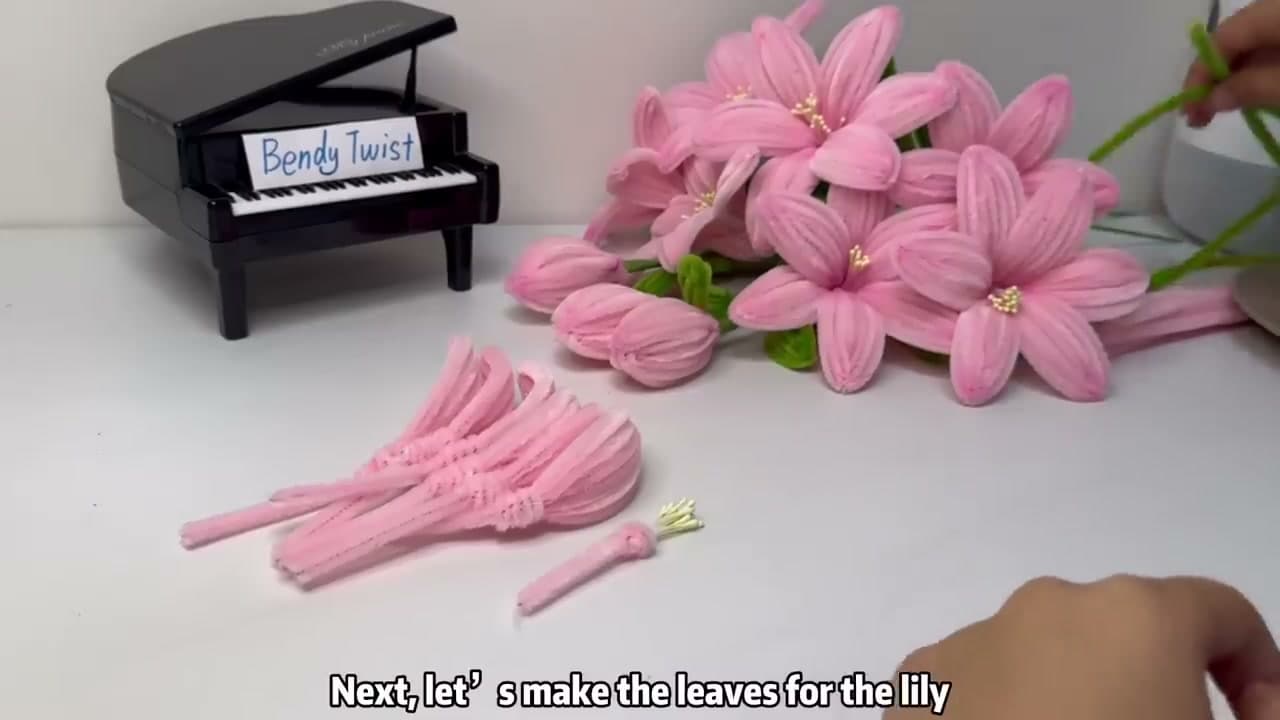
Step 1: Cut and Twist the Pink Petals
1:00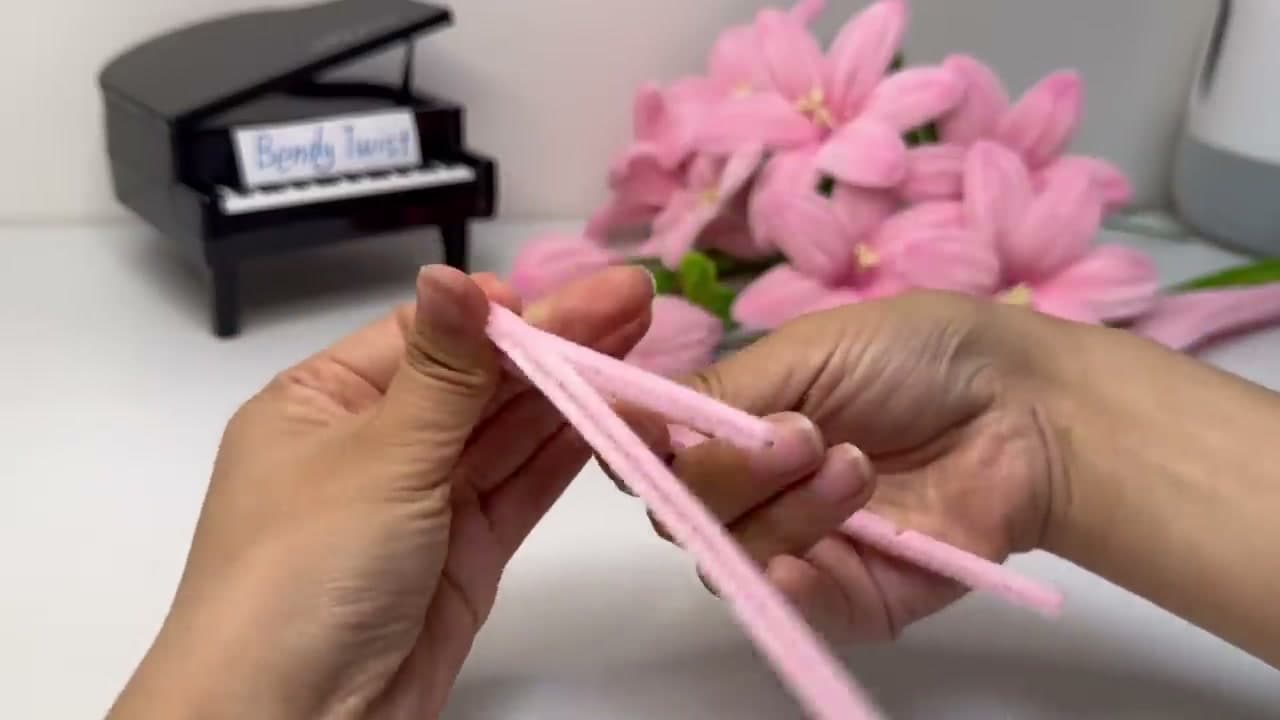
Lay out a stack of pink pipe cleaners. For a single lily you need twelve - that gives you six petals, two strands per petal for body. Lay the metal ruler across a pipe cleaner and snip at the 10 cm mark. Repeat until you have twelve 10 cm pink strands.
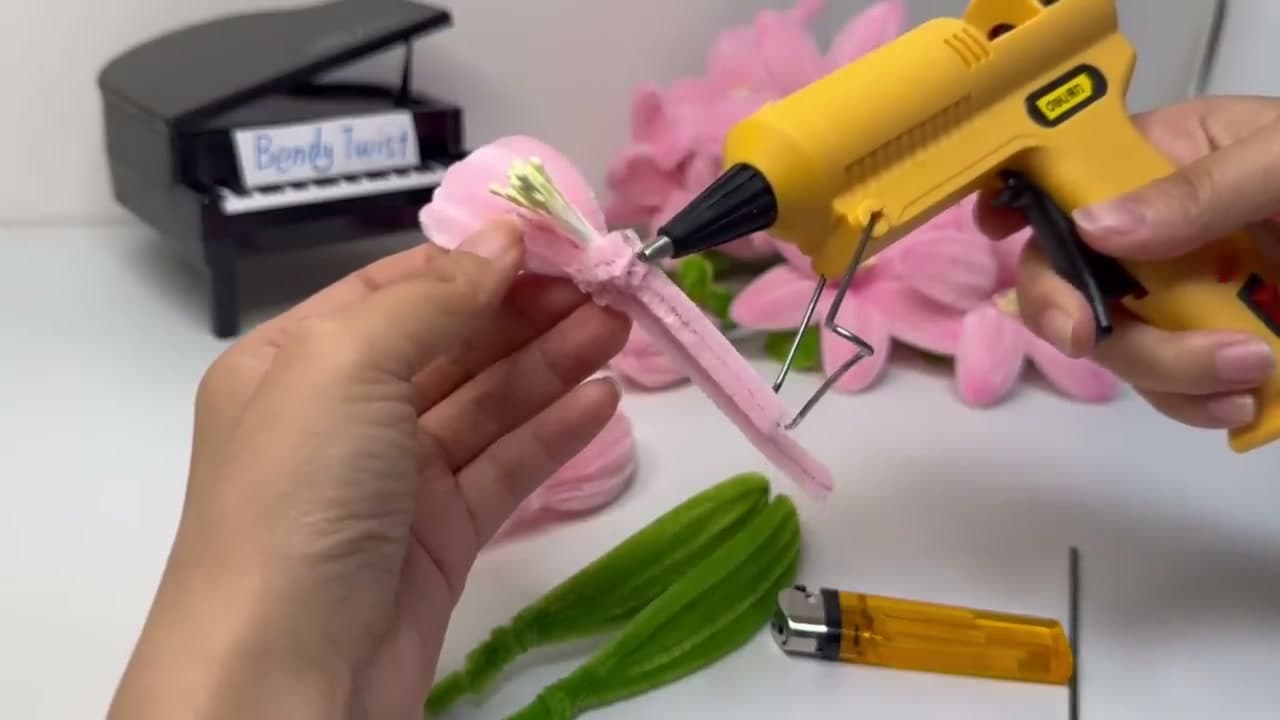
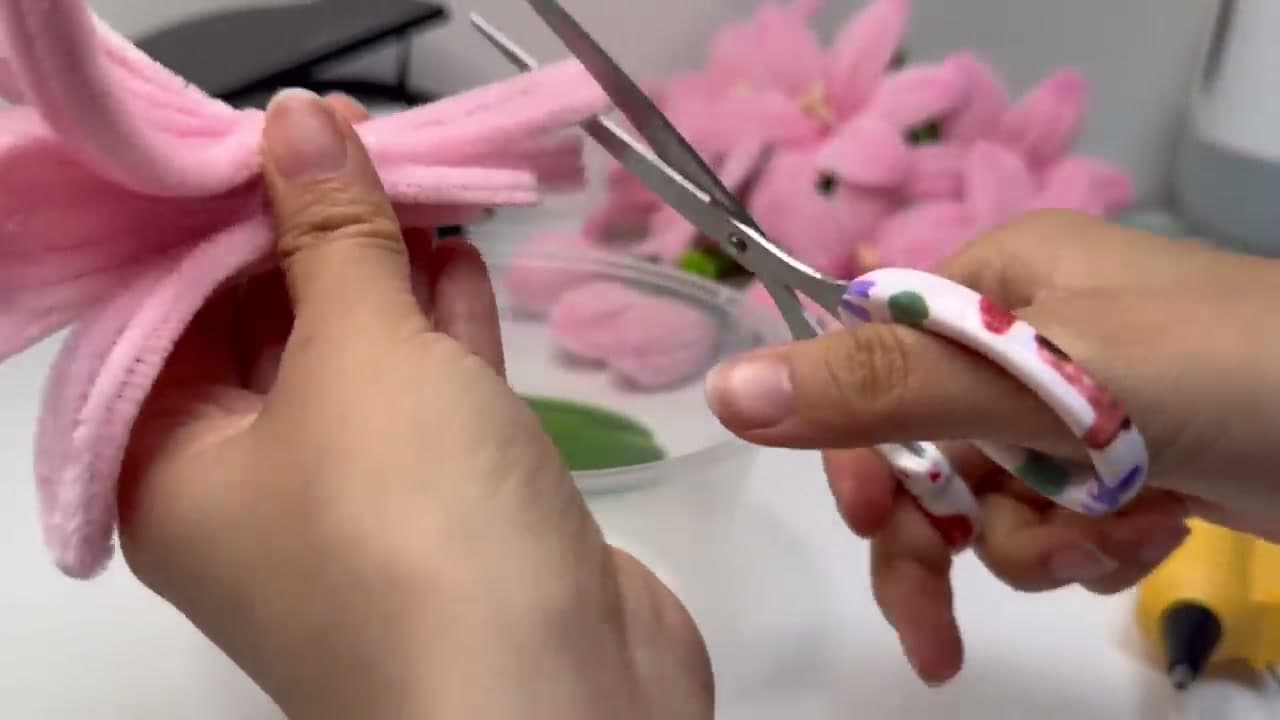
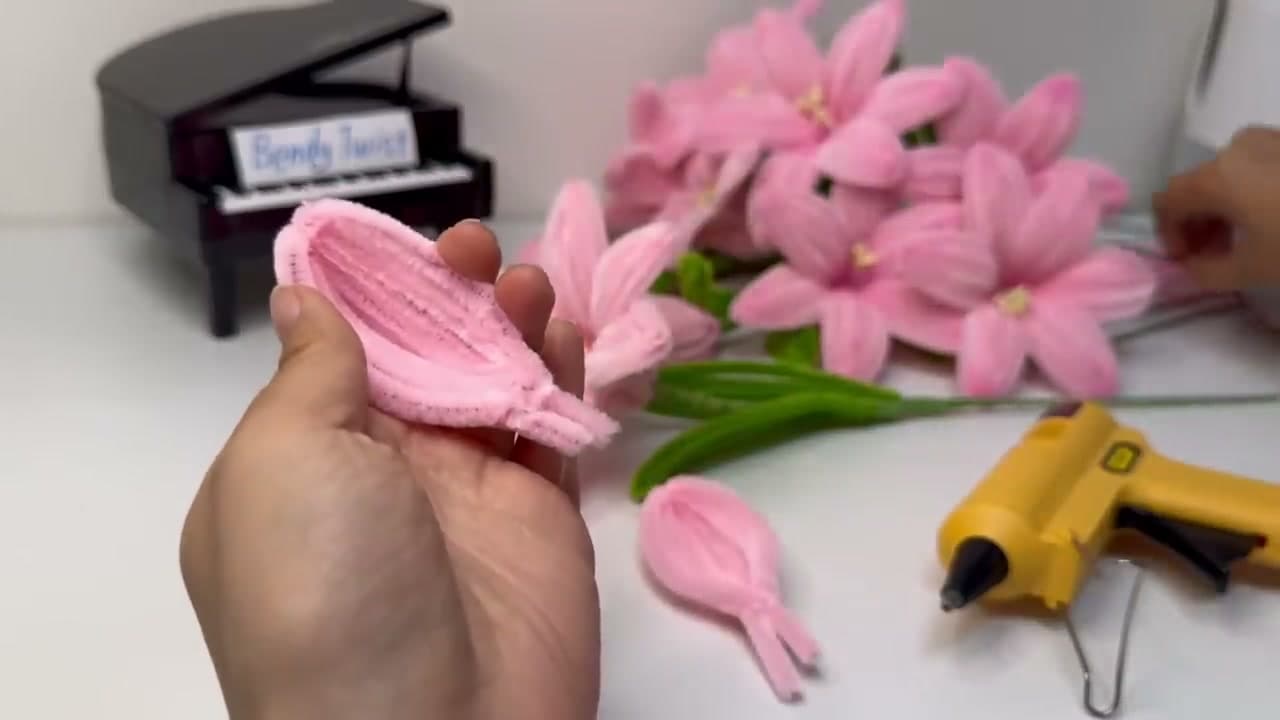
Pair the strands up. Hold two together, fold the doubled pair in half, and twist the loose ends a couple of turns so they bind. That doubled-up twist is what gives the petal its ribbed, full-bodied look once it gets shaped - a single strand looks thin and floppy.
If you can find them, longer or extra-fluffy chenille stems (often labelled jumbo or premium) make a softer petal than the standard craft-store pack. Both work, but the premium ones photograph better.
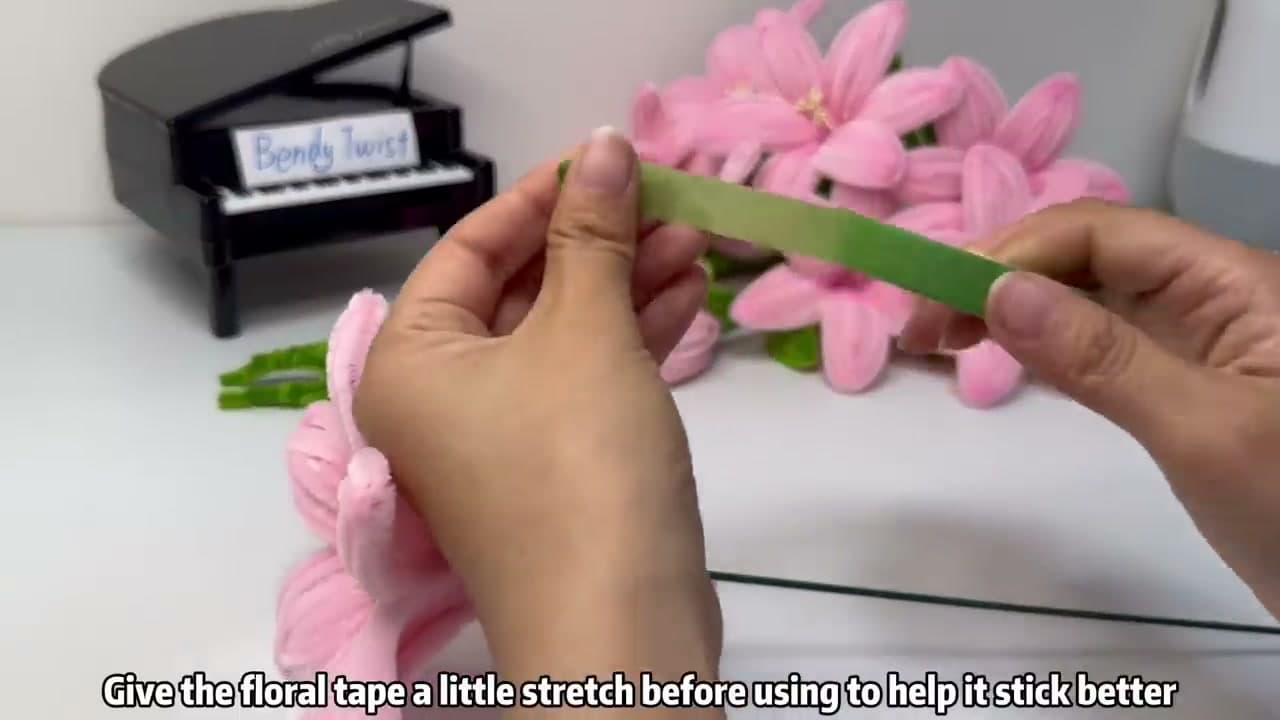
Tip
Cut a few extra strands the first time you try this. The first two or three petals are practice, and you'll want spares.