1
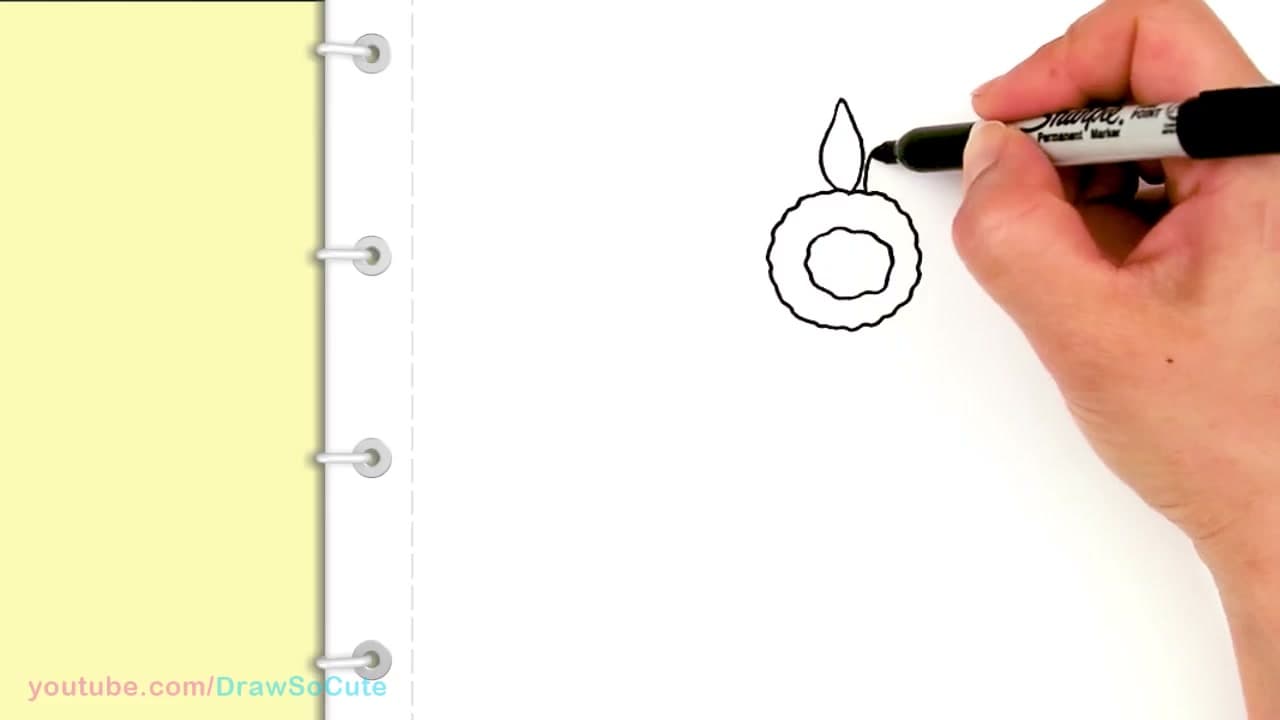
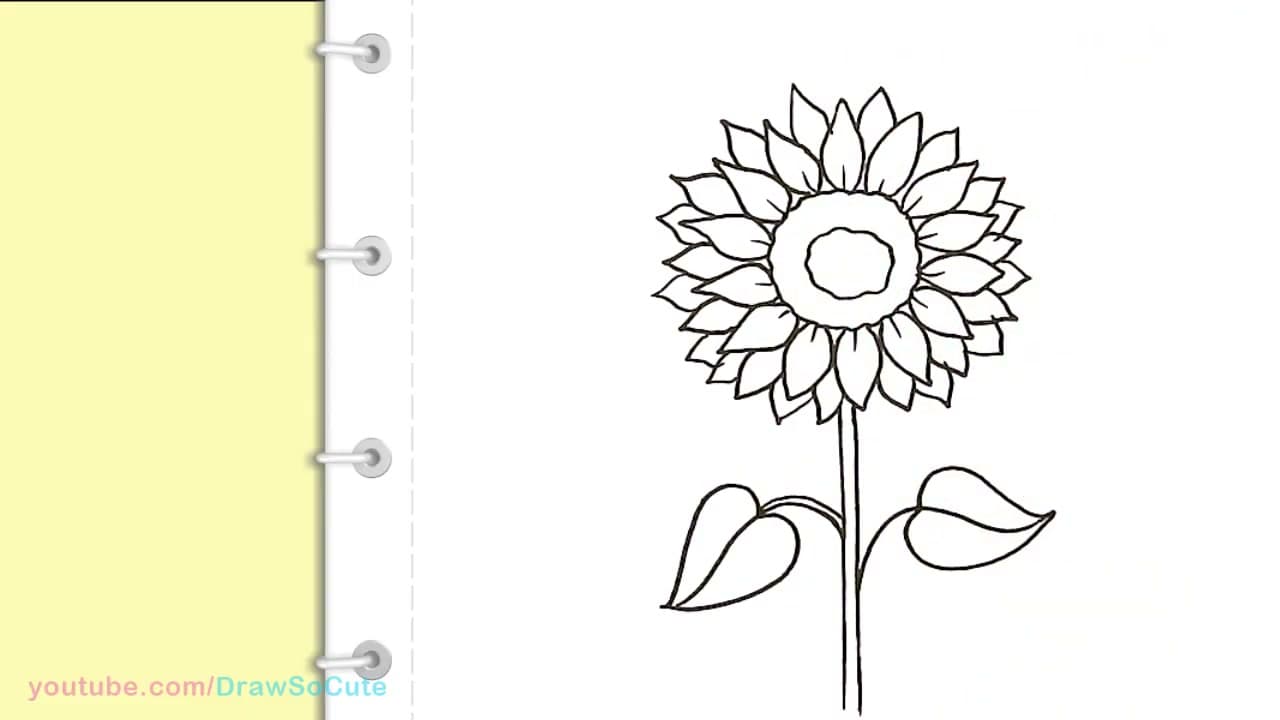
Draw the Center Disc with Two Wobbly Circles
0:45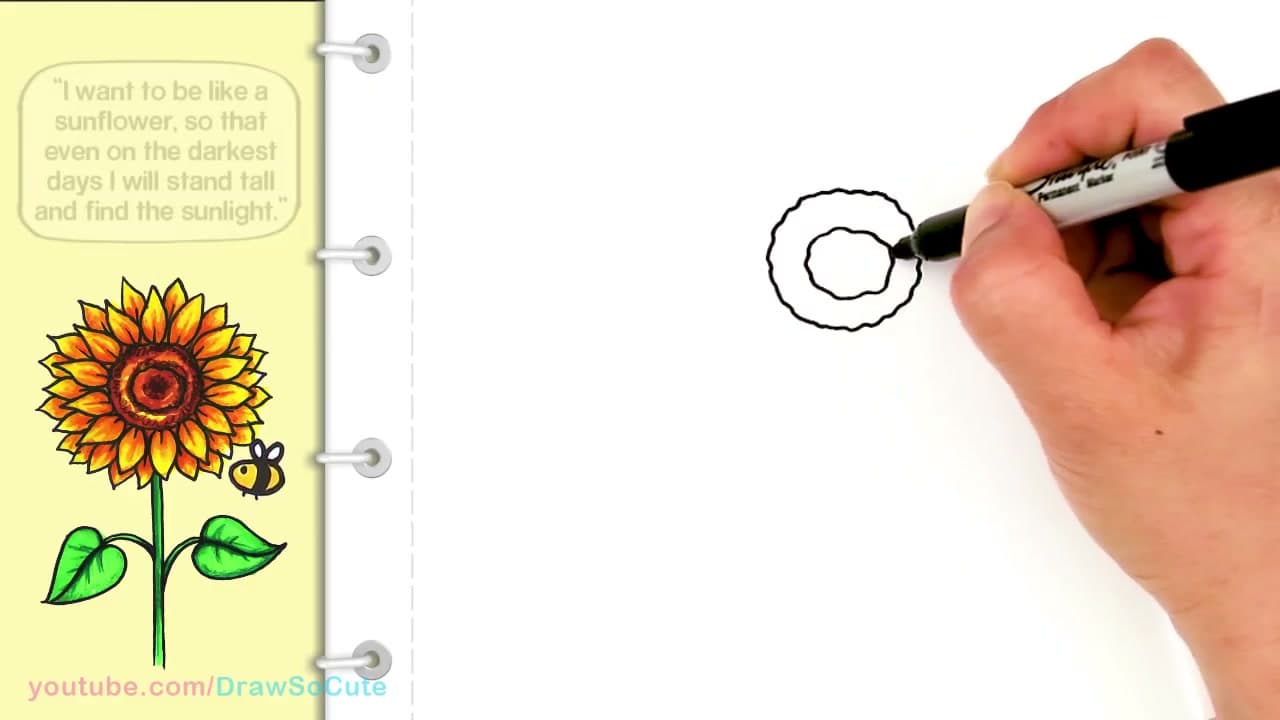
Start with the center of the sunflower. Use your black marker to draw a small wobbly circle - bumpy, not smooth. Then draw a second slightly larger wobbly circle around it. The bumpy line is what gives the center its seed-packed texture, so lean into the wobble instead of fighting it.
Tip
If your circle ends up oval or off-center, leave it. Real sunflower centers are never perfect circles, and the petals around it will balance everything out.