1
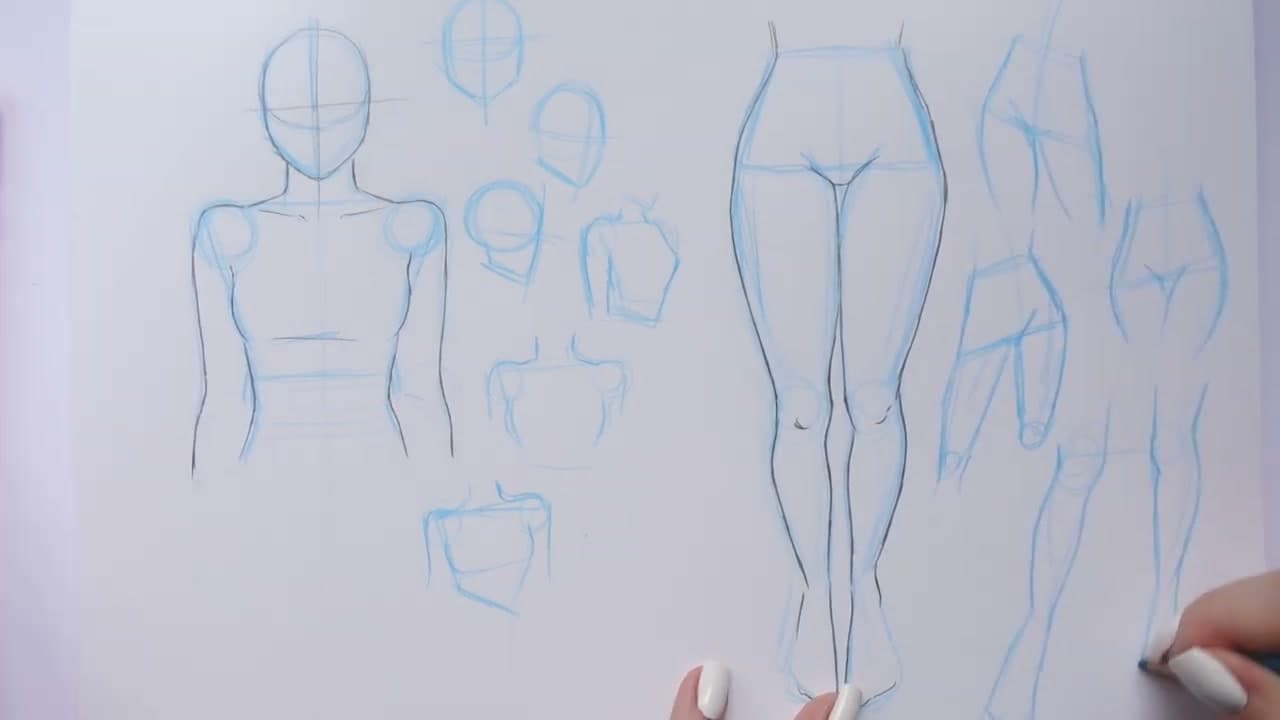
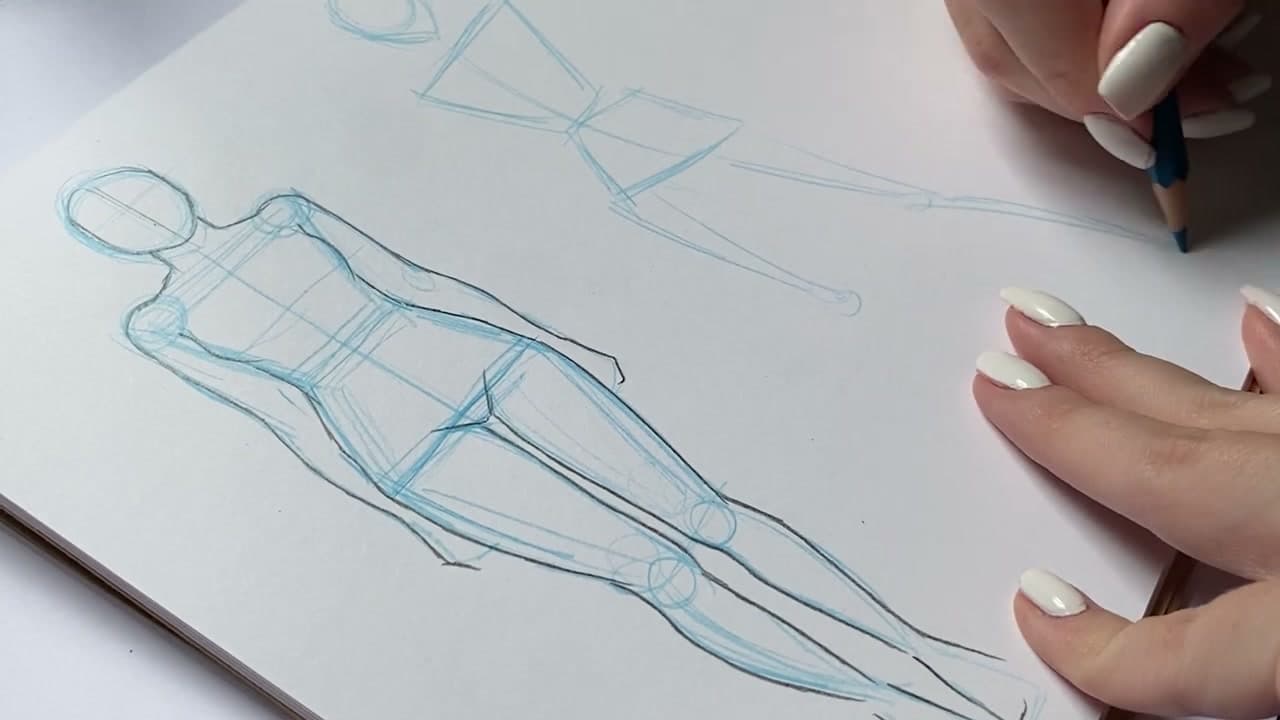
Step 1: Block the Body with Simple Shapes
6:45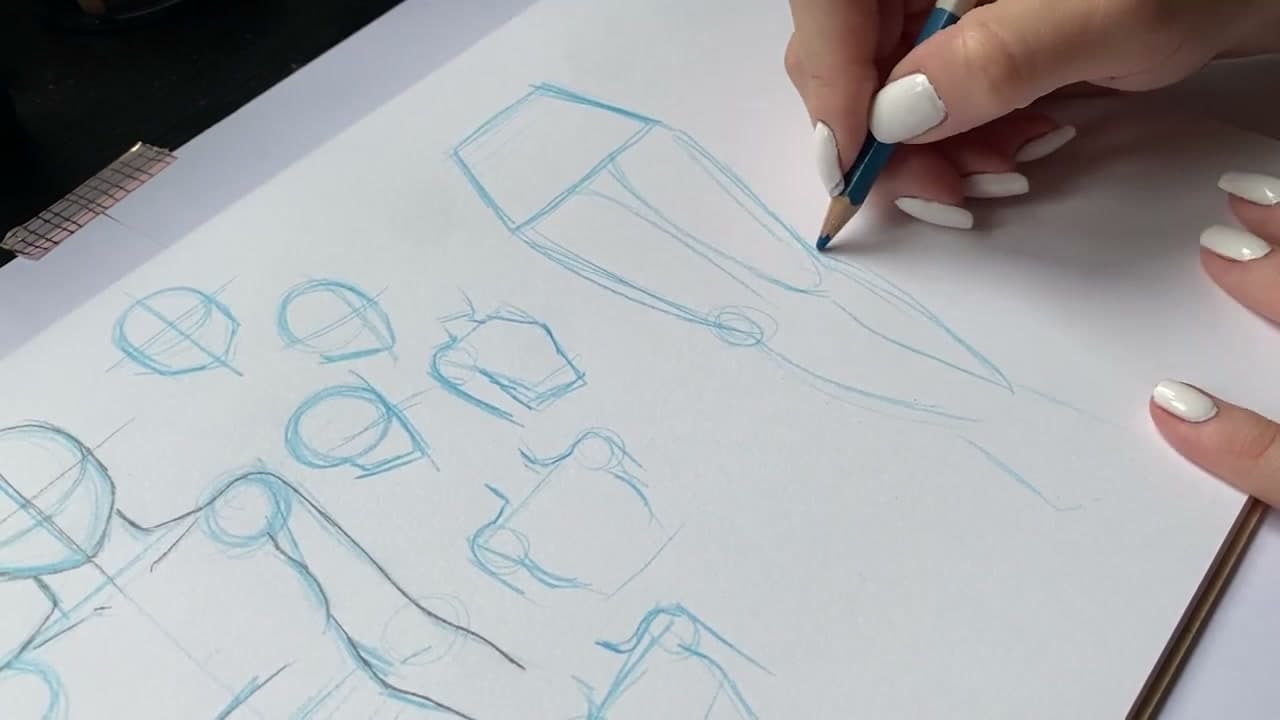
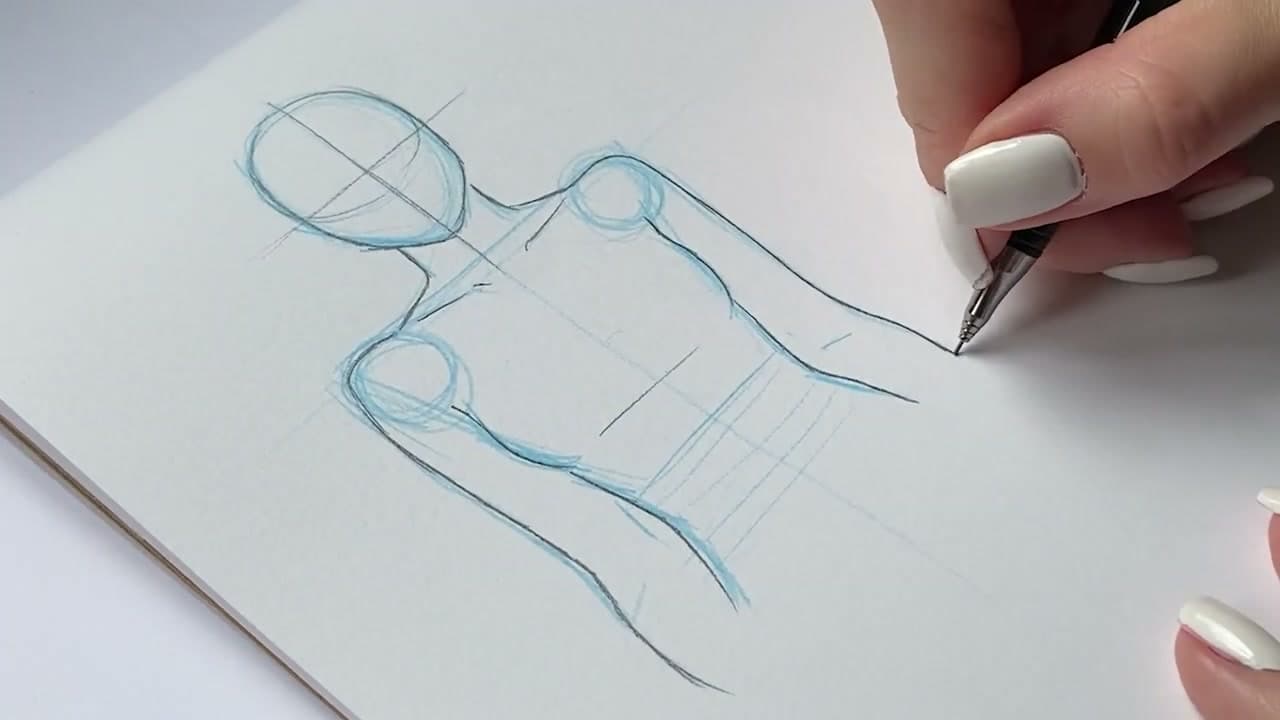
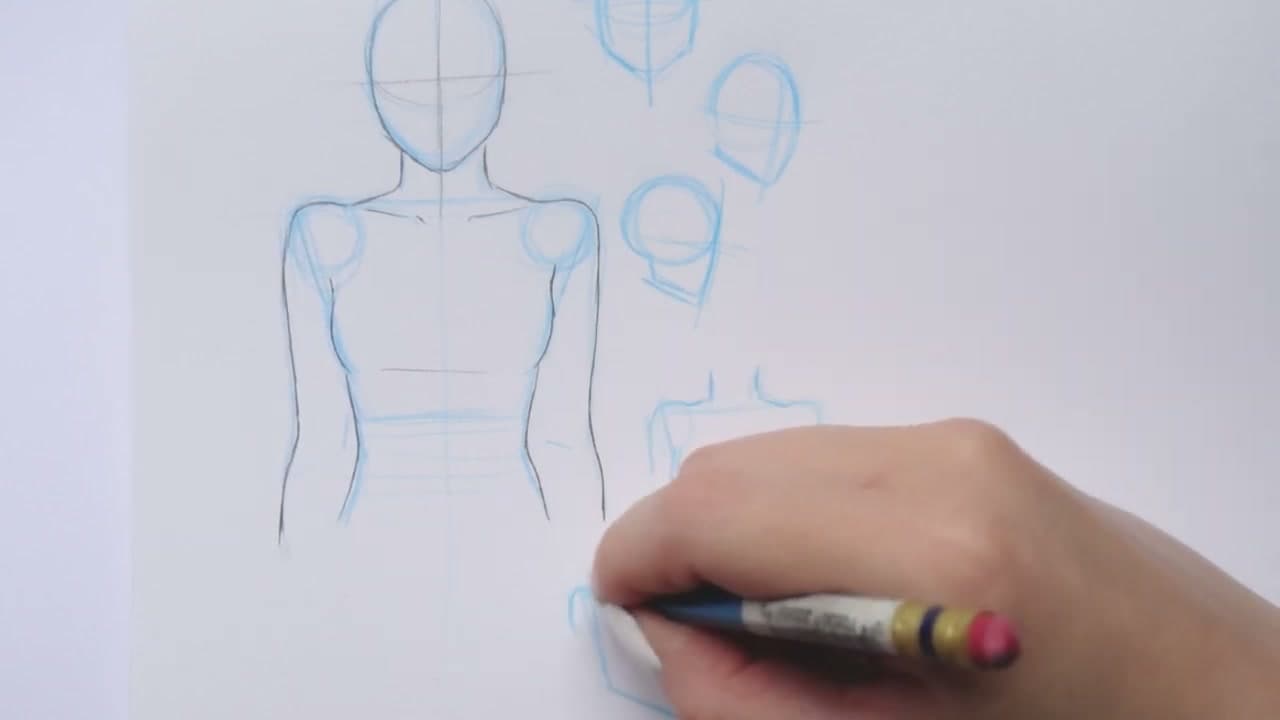
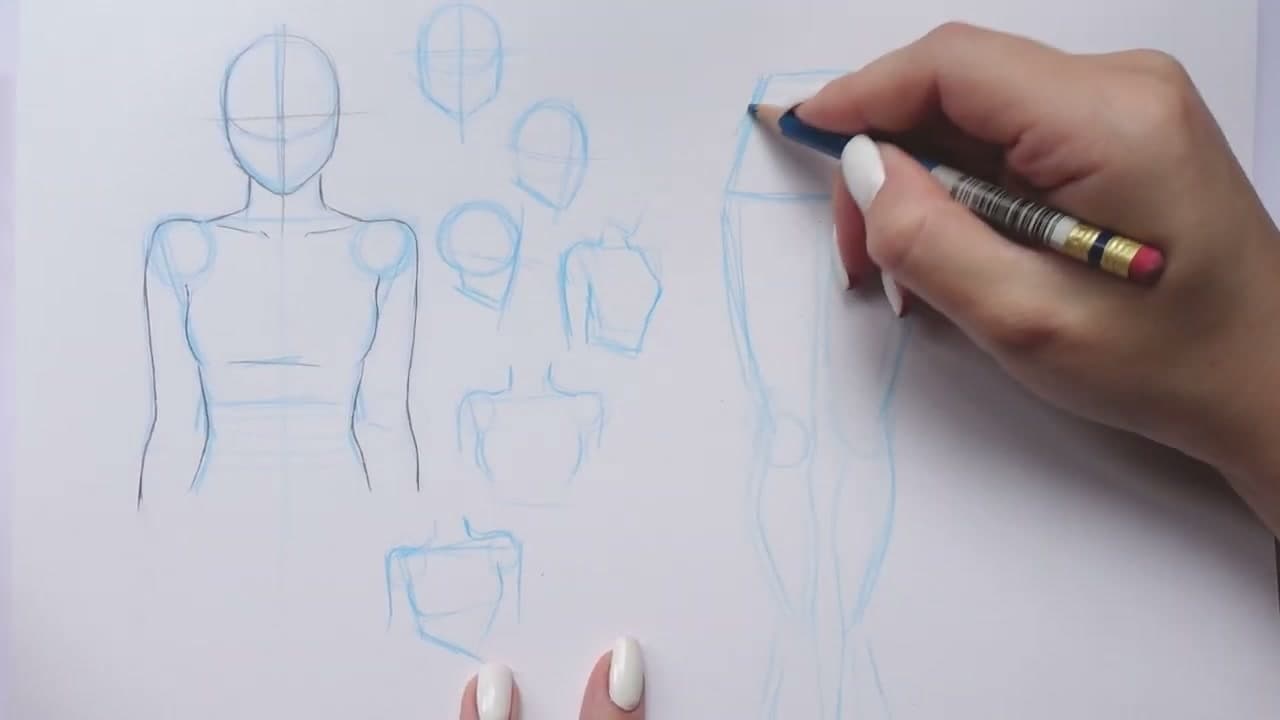
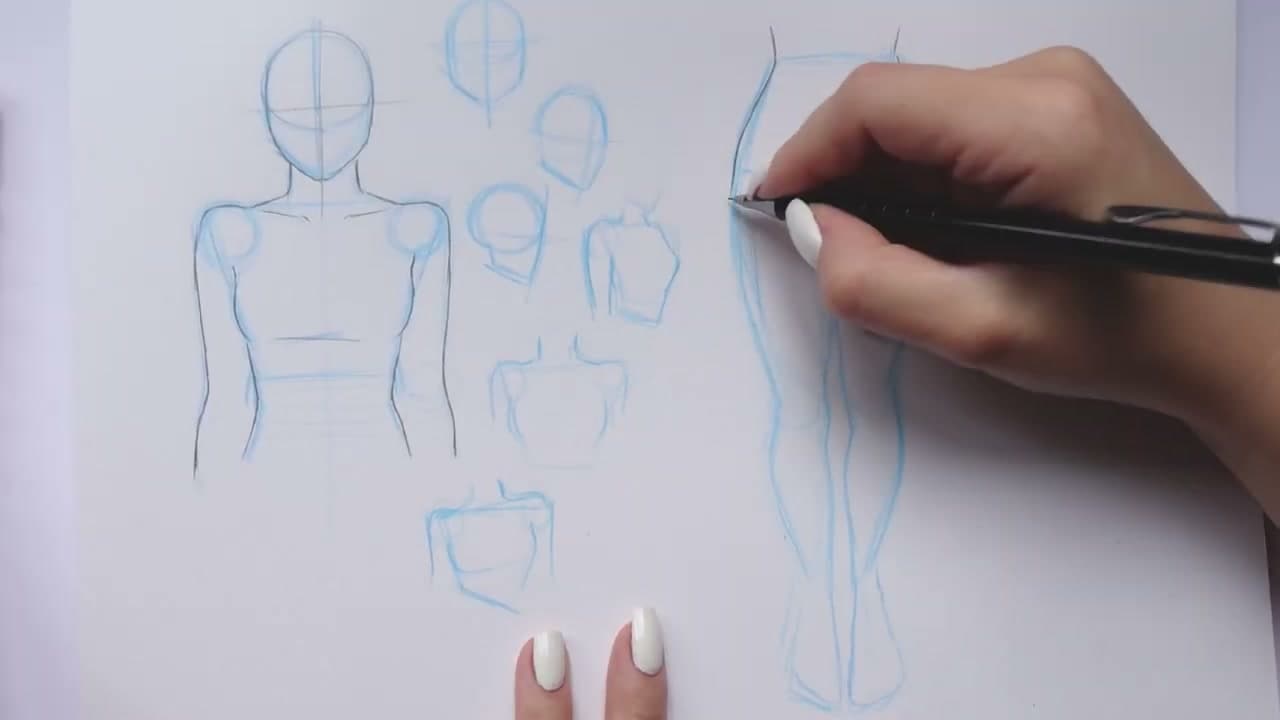
Before any detail, get the bones of the pose on the page using basic geometry. Oval for the head. Trapezoid for the torso, wider on top. Circles for the shoulder, elbow, and knee joints. Lines for the arms and legs.
Practice each shape on its own first, then combine them. The point of working in shapes is that you can shift the figure into any pose - standing, walking, leaning - and the proportions still hold up. Detail comes later, on top of this scaffold.
Tip
Use a light blue pencil or a hard graphite pencil (HB) for these guidelines. They need to disappear later under the final outline.