How to Replace a Car Battery (Step by Step)

AdultingMedium4:437 stepsBrowse more →

By ShowMeStepByStepPublished Updated

Based on a video by AutoZone.

Your car will not start, the dash lights are flickering, or the engine cranks slow and sounds like it is dragging. The battery is dead. Most auto-parts stores will test it for free, and if the test confirms it is gone, you can swap in a new one yourself with a wrench and a pair of gloves. No shop visit, no tow truck.

Safety first. Always turn off the engine and remove the key before starting. Negative terminal disconnects first; positive connects last. Lift the battery with both hands - it is heavy (30 to 50 lbs). Do not let any metal tool touch both terminals at the same time. Wear gloves so corrosion does not get on your skin.

Group size matters. Car batteries come in standard group sizes (24, 35, 65, and so on) that dictate the physical dimensions and post layout. Check your owner's manual for your vehicle's group size before you buy, otherwise the new battery may not fit the tray or supply the right cranking amps.

This walkthrough from AutoZone's Tiffany covers the whole job in under 20 minutes: disconnect the negative cable, then positive, remove the hold-down bracket, lift the old battery out, clean the terminals, set the new one in, and connect positive then negative. Same routine works on almost every car on the road.

While you are getting comfortable under the hood, also worth knowing: how to properly jump-start a car, how to check your oil, and how to change a car tire.

Step-by-Step Guide

1

Step 1: Gather Your Tools and Gear Up

0:16
Step 1: Step 1: Gather Your Tools and Gear Up

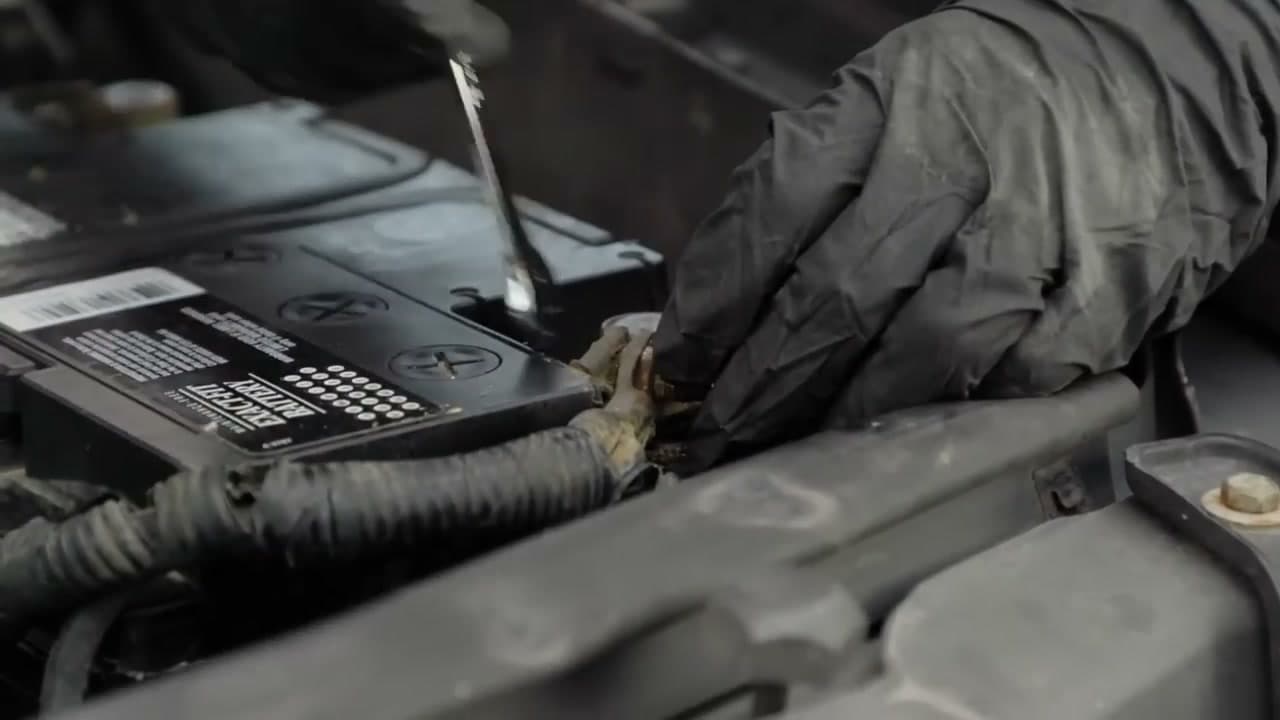
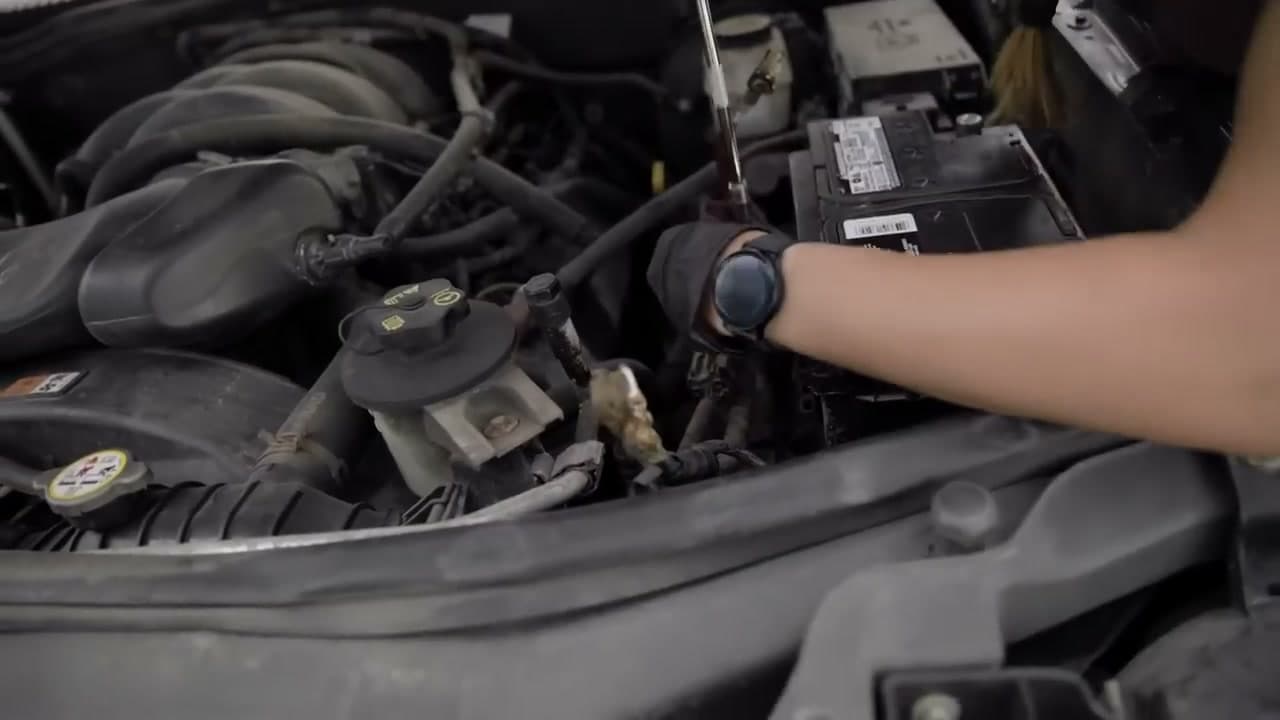
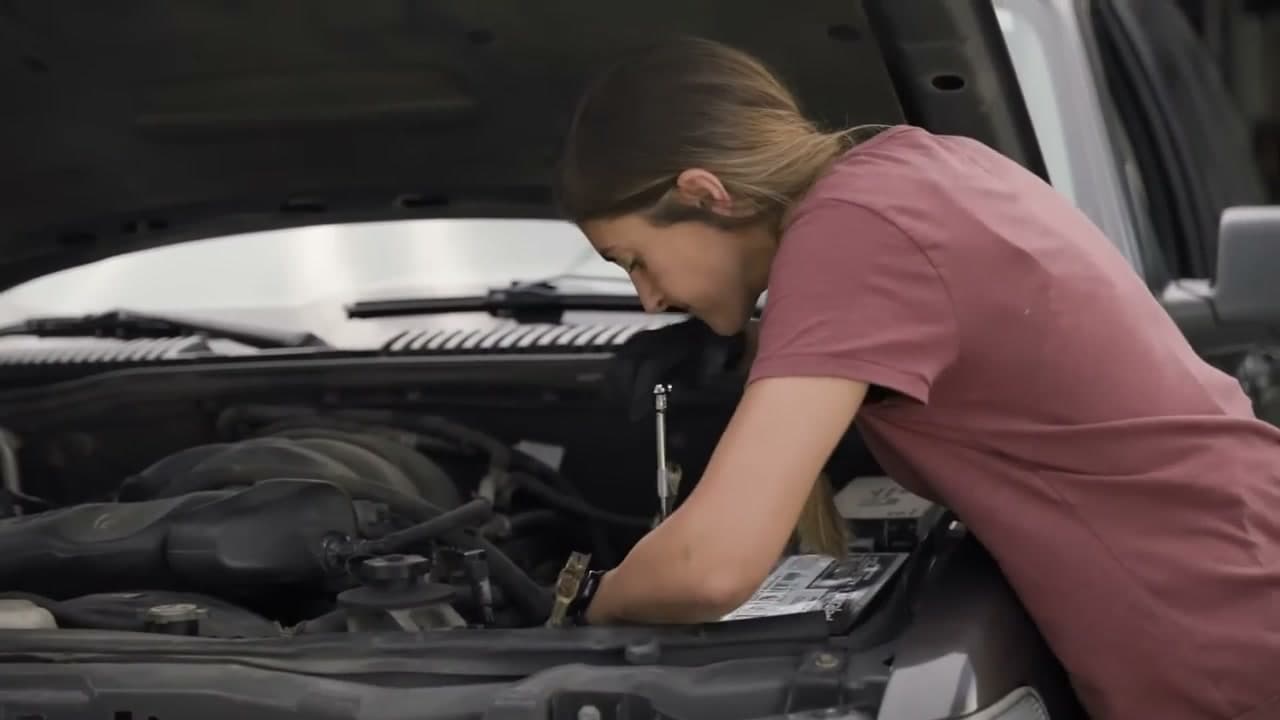
Set up before you start turning bolts. You need the new battery (matched group size from your owner's manual), a pair of nitrile or work gloves, and a socket wrench or adjustable wrench that fits your terminal bolts - usually 8mm, 10mm, or 13mm. A wire brush or battery terminal cleaner helps too.

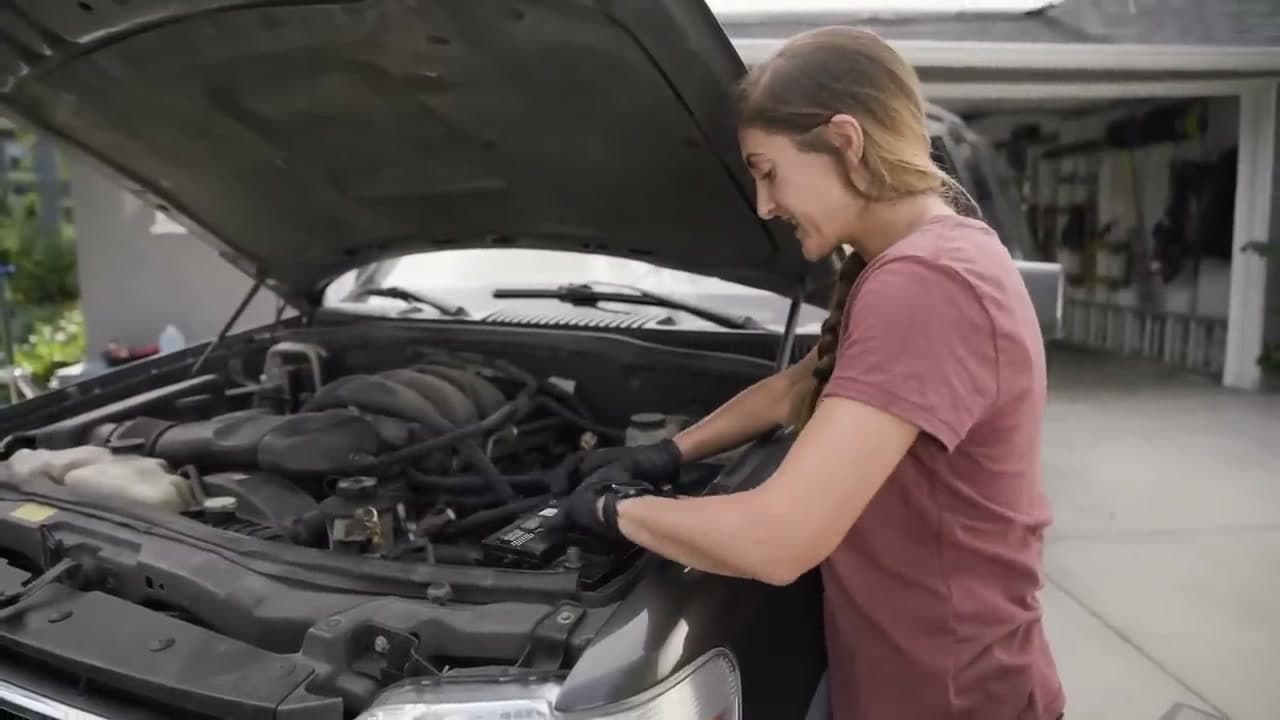
Park on flat ground, turn the engine off, and pull the key out of the ignition. Pop the hood and locate the battery. Gloves matter here because old terminals carry corrosion that you do not want on your skin or in a cut.

Tip

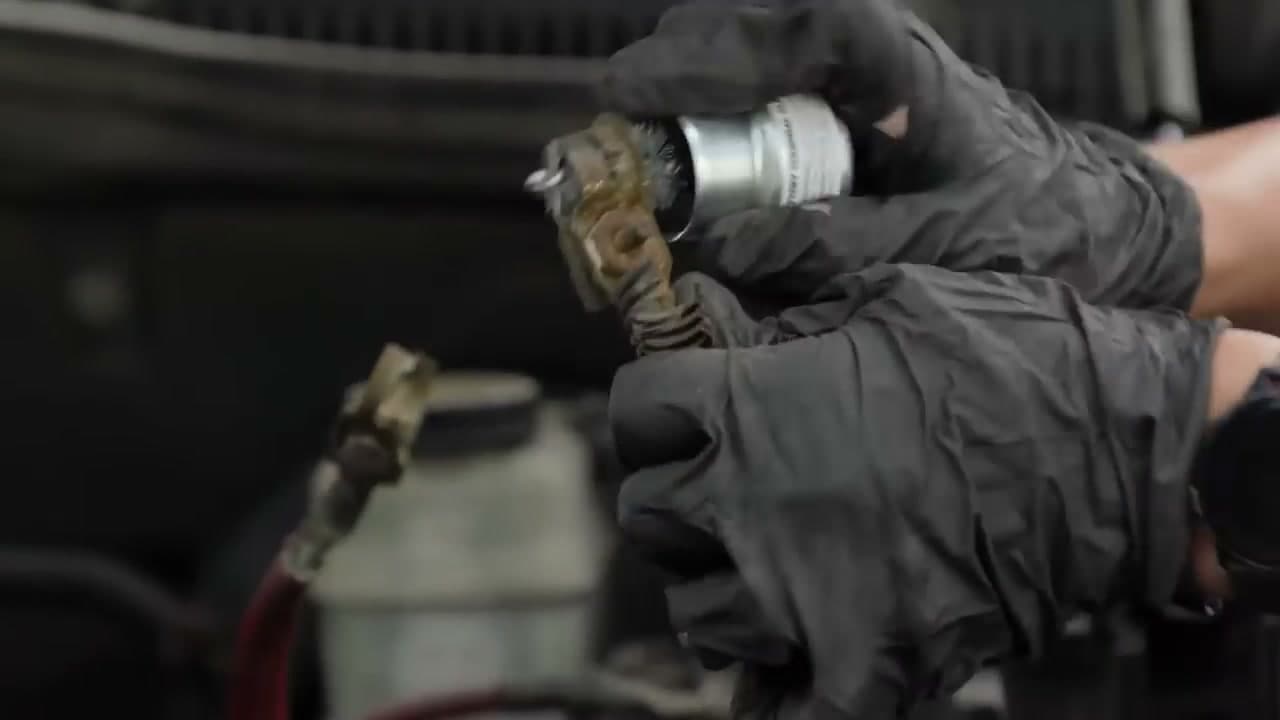
Take a phone photo of the battery and cable layout before you touch anything. If a wire comes loose later you have a reference for how everything was connected.

2

Step 2: Disconnect the Negative Terminal First

0:38
Step 2: Step 2: Disconnect the Negative Terminal First

Always start with the negative cable. It is the one marked with a minus sign and usually wrapped in a black cover. Loosen the bolt with your wrench, lefty-loosey, until the clamp is loose enough to lift off the post.

Pull the cable up and tuck it off to the side where it cannot fall back and touch any metal. Disconnecting negative first cuts the ground path, so even if your wrench bumps the frame later, nothing will short out.

Tip

If the clamp is stuck on the post from corrosion, twist it side to side gently or pry it with a flat screwdriver. Do not yank straight up with the cable - that can damage the post.

3

Step 3: Disconnect the Positive Terminal

1:04
Step 3: Step 3: Disconnect the Positive Terminal

Now move to the positive cable, marked with a plus sign and usually covered in red. Loosen the bolt the same way you did on the negative side. Lift the clamp straight up off the post.

Rest the cable somewhere it cannot swing back onto the battery or touch the negative clamp. Keep the two cables apart from each other and away from any metal until the new battery is in place. The terminals may look corroded, that is normal - you will clean them in step 5.

Tip

Do not let your wrench touch the positive post and any metal part of the car at the same time. The battery is still live and you will throw sparks.

4

Step 4: Remove the Hold-Down Bracket and Lift the Old Battery Out

1:27
Step 4: Step 4: Remove the Hold-Down Bracket and Lift the Old Battery Out

Every battery is held in place with a bracket or hold-down strap, usually across the top or at the base. Find yours and unbolt it. Pay attention to how it comes apart so you can reverse it later. Set the hardware in a small dish so nothing rolls away into the engine bay.

Lift the old battery straight up with both hands. These weigh 30 to 50 pounds because they are half lead inside, so use your legs and brace your back. If it feels too heavy or awkward, grab a battery carry strap or ask for help. Set the old battery somewhere flat and out of the way.

Tip

AutoZone, O'Reilly, and most auto-parts stores take your old battery for free recycling and give you a core credit (usually $15 to $25). Hand it in when you go to buy the new one.

5

Step 5: Clean the Terminal Clamps

2:10
Step 5: Step 5: Clean the Terminal Clamps

Before the new battery goes in, clean any corrosion off the cable clamps with a battery terminal brush. The brush has two ends: a wire brush for the inside of the clamps and a tapered scoring side for the new battery posts. Work each clamp until you see clean metal.

A few minutes here pays off later because a corroded connection robs voltage and makes your car cranky on cold mornings. Spray a coat of anti-corrosion spray or smear a thin layer of terminal grease on each clamp after reinstall to keep the new connection clean longer.

Tip

Heavy corrosion looks like white, blue, or green crusty powder around the clamp. Brush it off carefully and avoid breathing it in - battery corrosion is mildly toxic. Wipe up any chunks that fall into the engine bay.

6

Step 6: Set the New Battery In and Connect Positive First

2:55
Step 6: Step 6: Set the New Battery In and Connect Positive First

Lower the new battery into the tray in the same orientation as the old one, with the positive and negative posts on the matching sides. Reinstall the hold-down bracket and snug it down so the battery cannot shift while you drive.

Reverse the order from removal: positive cable first. Slide the clamp down onto the positive post and tighten the bolt until the clamp is firm. Do not crank it past tight or you can crack the post - just tight enough that the clamp does not wiggle by hand.

Tip

Match the new battery's group size to what your owner's manual specifies. The number on the old battery's label (like 35, 65, H6) tells you what to ask for at the parts store if the manual is missing.

7

Step 7: Connect the Negative Cable and Start the Car

4:05
Step 7: Step 7: Connect the Negative Cable and Start the Car

Last connection is the negative cable. Drop the clamp onto the negative post, make sure it seats all the way down, and tighten the bolt the same way you did the positive. Give both clamps a wiggle test - they should not rotate at all by hand.

Close the hood, get in, and turn the key. The engine should crank crisp and start right up. If it cranks slow or does nothing, wait a minute and check the clamps for a tight, clean connection before trying again. Sometimes the dash needs a moment to re-sync after the power cut.

Tip

Your radio presets, clock, and sometimes the powertrain learning may reset after the disconnect. The clock is a one-minute fix; the powertrain re-learns over the next few drives. If a warning light stays on, drive 10 to 20 miles and it usually clears on its own.

Products Used

☐ The Checklist

How to Replace a Car Battery (Step by Step)

Tools
4
Materials
2
Steps
7
Video
5 min

Your Guide

AutoZone

As an Amazon Associate we earn from qualifying purchases. Links on this page may be affiliate links - clicking them and buying doesn't change your price, but helps support ShowMeStepByStep.

Tags

What's next

Weekly Digest

Liked this adulting tutorial?

Pick the categories you want to hear about. Weekly digest of new step-by-step tutorials. No spam, easy unsubscribe.

Send me tutorials about

We only email about new tutorials. Easy unsubscribe anytime.