How to Make Sushi Rolls at Home

CookingMedium6:186 steps

Sushi looks intimidating but the technique is pretty straightforward once you see it done. This video from Kikkoman walks through two types of rolls - a traditional norimaki with pickled vegetables and a California roll with avocado and surimi. The whole thing comes down to getting the rice right and keeping your hands wet so nothing sticks.

Step-by-Step Guide

1

Season the Sushi Rice

0:58
Step 1: Season the Sushi Rice
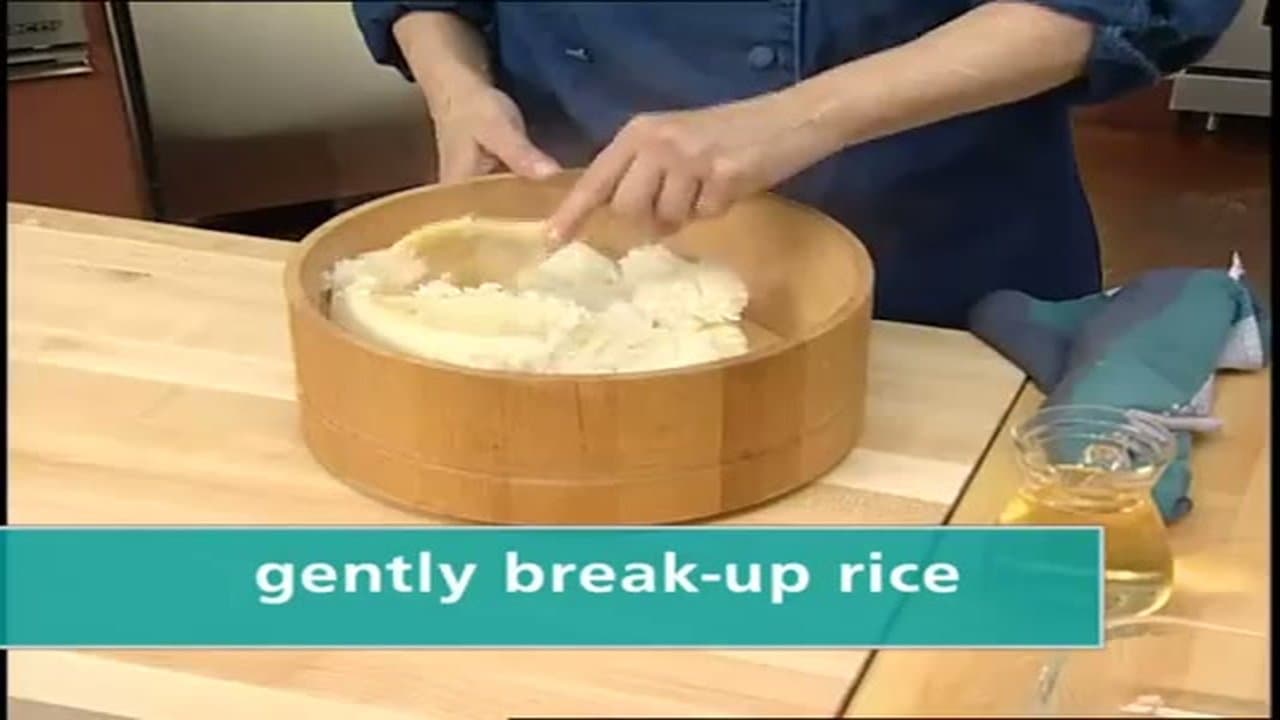
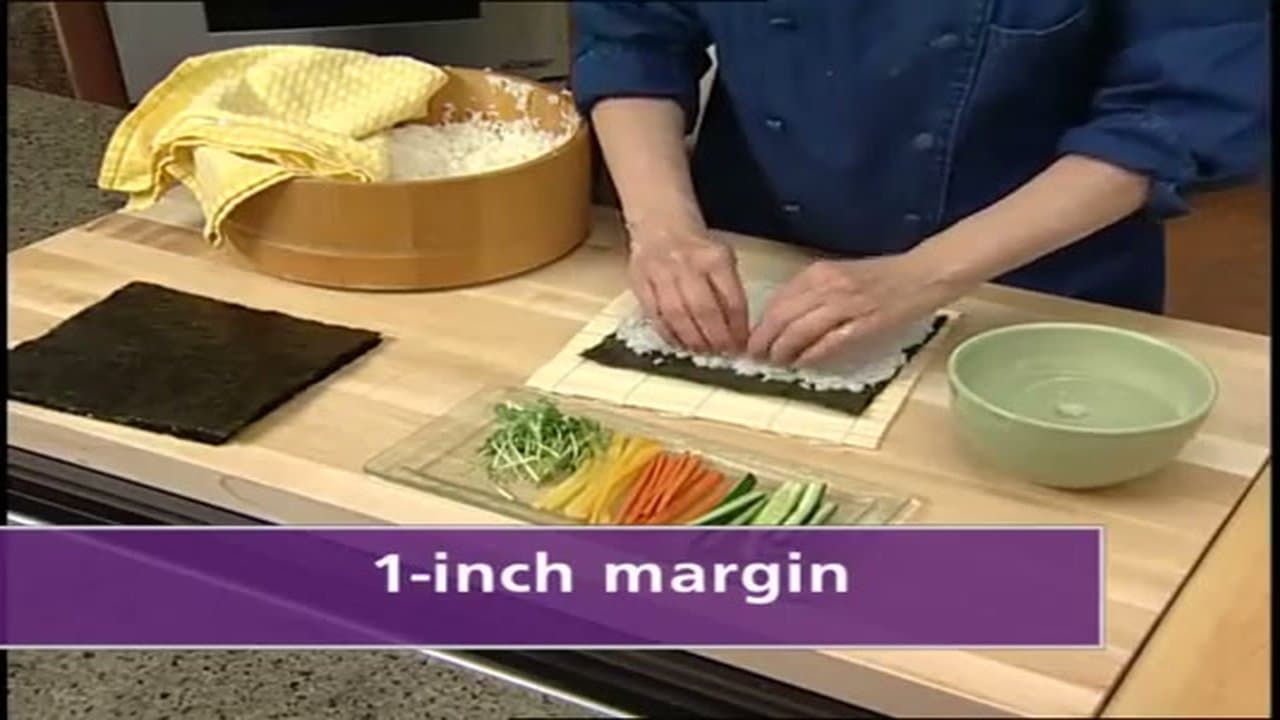
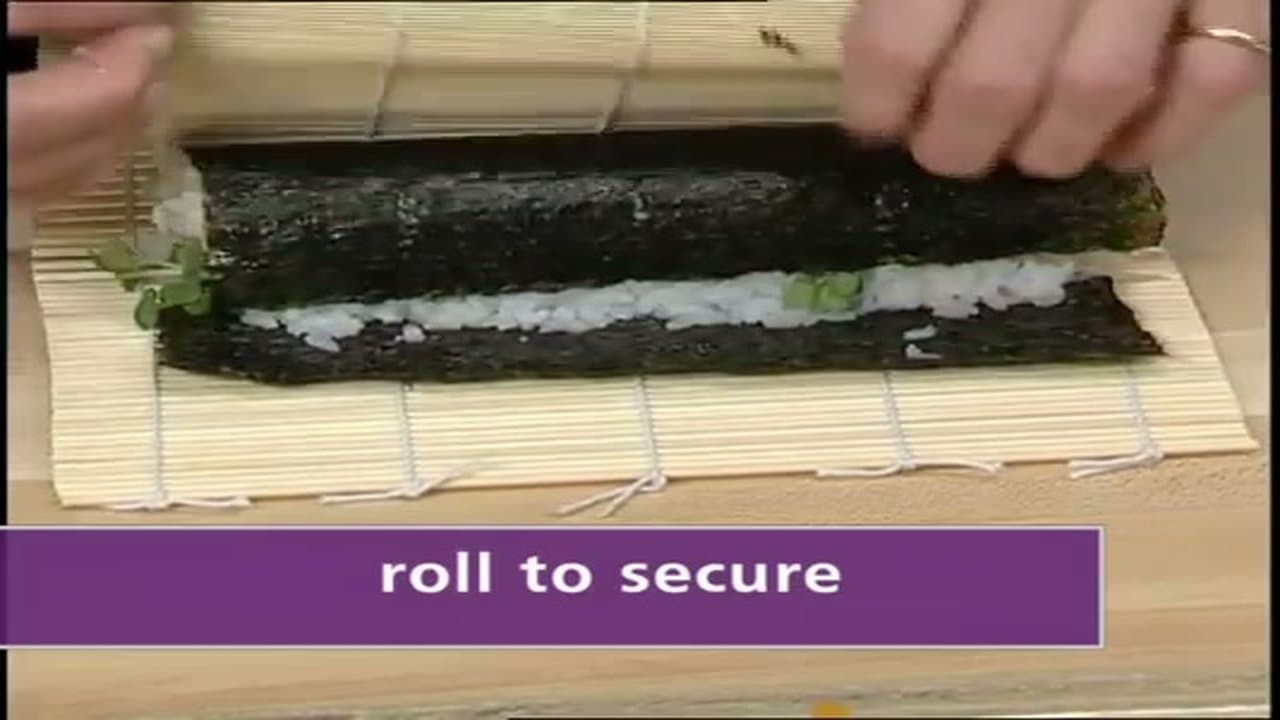
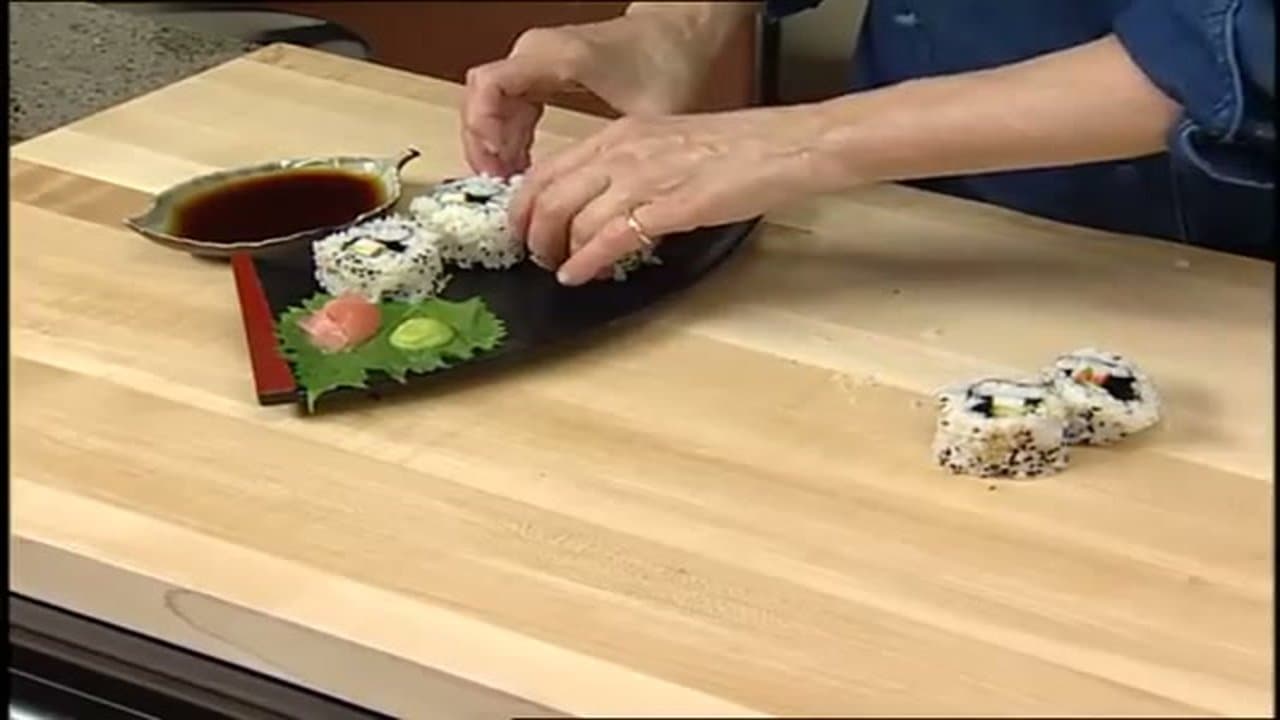
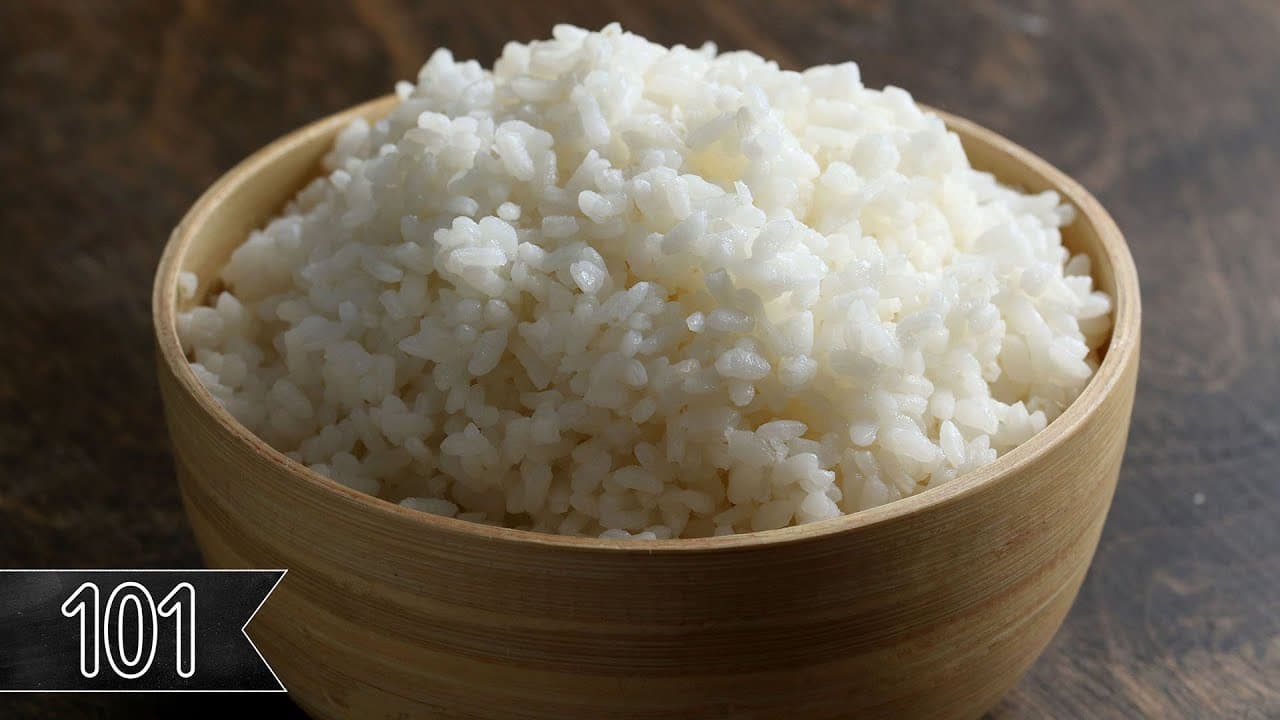
Cook short or medium grain sushi rice according to the package. Transfer it to a wide shallow bowl. Drizzle seasoned rice vinegar over the rice and cut through it with a paddle or spatula, folding it over gently. Fan the rice to cool it between additions of vinegar. Keep going until all the vinegar is in and the rice hits room temperature. You want each grain coated without being mushy.

Tip

Cover the finished rice with a damp towel to keep it from drying out. Don't put it in the fridge.

Products used in this step

Sushi Rice
Rice Vinegar
Rice Paddle
2

Spread Rice on the Nori

2:28
Step 2: Spread Rice on the Nori
Lay a sheet of nori shiny side down on your bamboo sushi mat, long edge toward you. Dip your hands in water so the rice doesn't stick to them. Grab about a cup of rice, shape it into a rough log, and set it on the nori. Spread it out evenly to three edges, leaving about an inch of bare nori on the far side. That bare edge is what seals the roll.

Products used in this step

Nori Sheets
Bamboo Sushi Mat
3

Add the Filling

3:05
Step 3: Add the Filling
Line up your filling ingredients in a strip across the center of the rice. For a traditional roll, try pickled daikon, cucumber, and sprouts. Don't overload it. Less filling makes a tighter roll, and you want the pieces spaced evenly so every bite is consistent.

Tip

Cut your fillings into long thin strips so they sit flat and roll cleanly.

4

Roll and Shape

3:30
Step 4: Roll and Shape
Lift the near edge of the mat up and over the filling. Use your fingers to tuck everything in as you go. Keep rolling until only the bare nori strip is showing, then seal it. Pull the mat back and roll again to tighten things up. Give the roll a few gentle squeezes through the mat to set the shape.
5

Slice the Roll

3:50
Step 5: Slice the Roll
Use a sharp wet knife to cut the roll in half first, then each half into three pieces. Wipe the blade with a wet towel between cuts so the rice doesn't stick and tear the roll apart. Six pieces per roll is standard.

Tip

A dull or dry knife will crush the roll instead of cutting it. Keep wiping.

Products used in this step

Sharp Knife
6

Plate and Serve

6:00
Step 6: Plate and Serve
Arrange the pieces on a plate with pickled ginger and a small mound of wasabi on the side. Serve with soy sauce for dipping. For a California roll, the process is the same but you flip the nori after spreading the rice so the rice is on the outside. Sprinkle sesame seeds on the rice before flipping, then fill with avocado, surimi, and cucumber.

Products used in this step

Soy Sauce
Pickled Ginger
Wasabi

Products Used

Sushi RiceRice VinegarRice PaddleNori SheetsBamboo Sushi MatSharp KnifeSoy SaucePickled GingerWasabi

Your Guide

KikkomanUSA

Tags

Related Tutorials