1
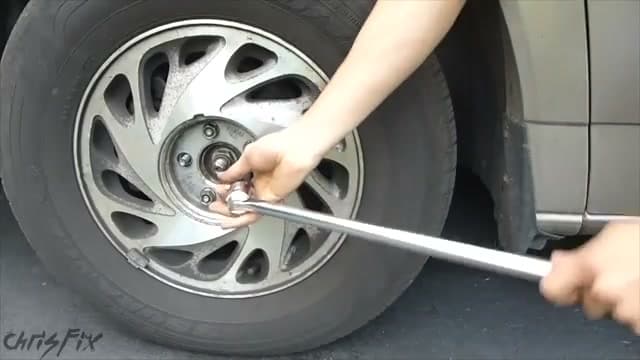
Block the Wheels and Set the Parking Brake
0:48
Put the car in park (or first gear for a manual) and pull the parking brake. Place wood blocks or wheel chocks in front of and behind a rear tire to prevent the car from rolling while the front is lifted.
This takes 30 seconds and prevents the car from rolling off the jack.