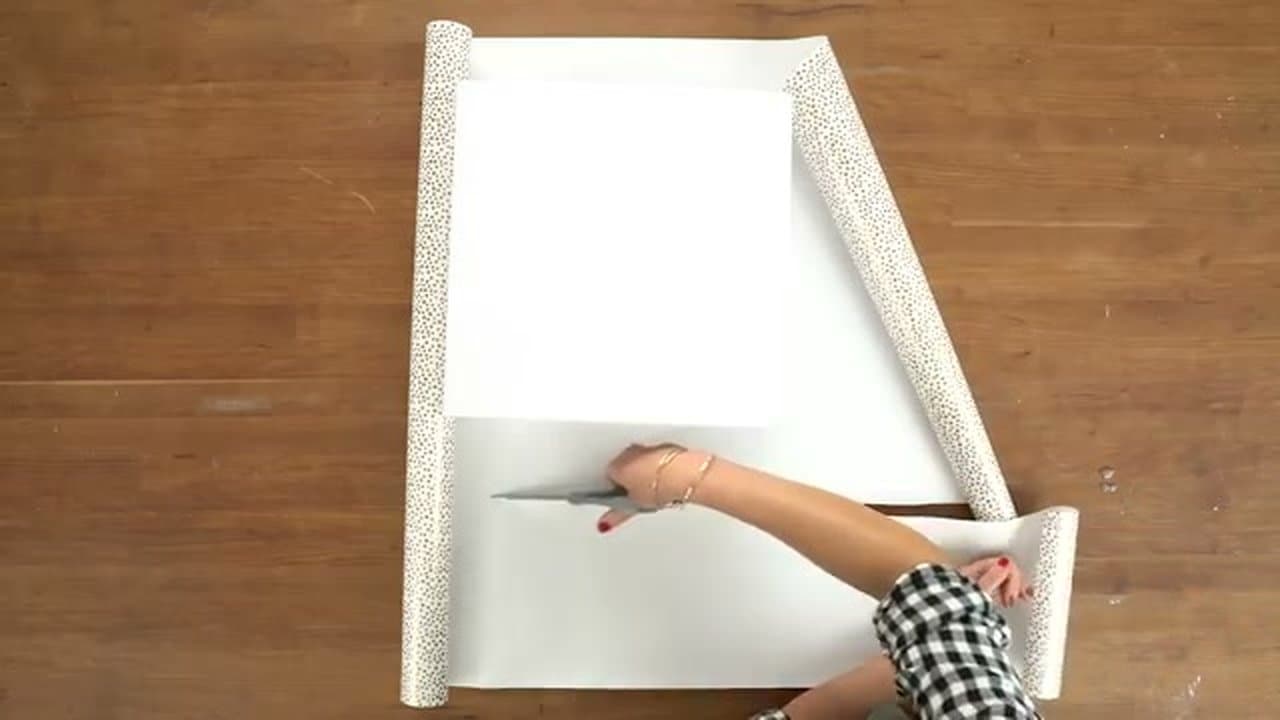
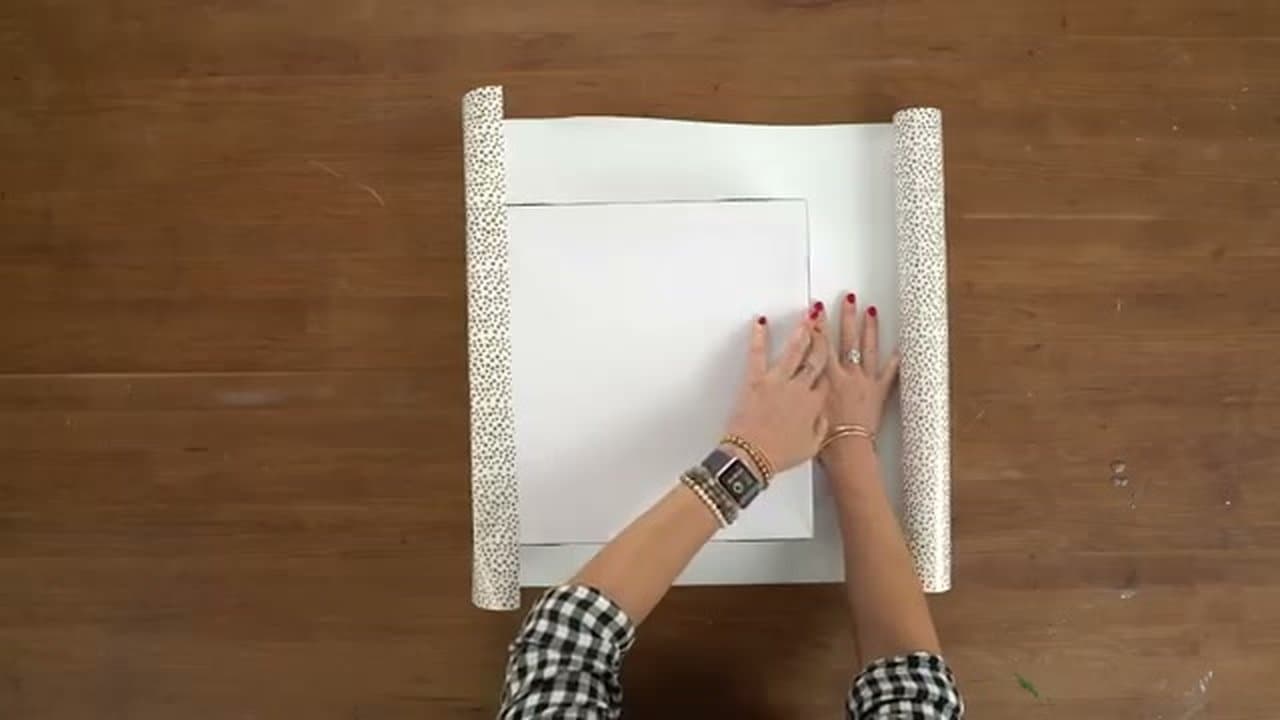
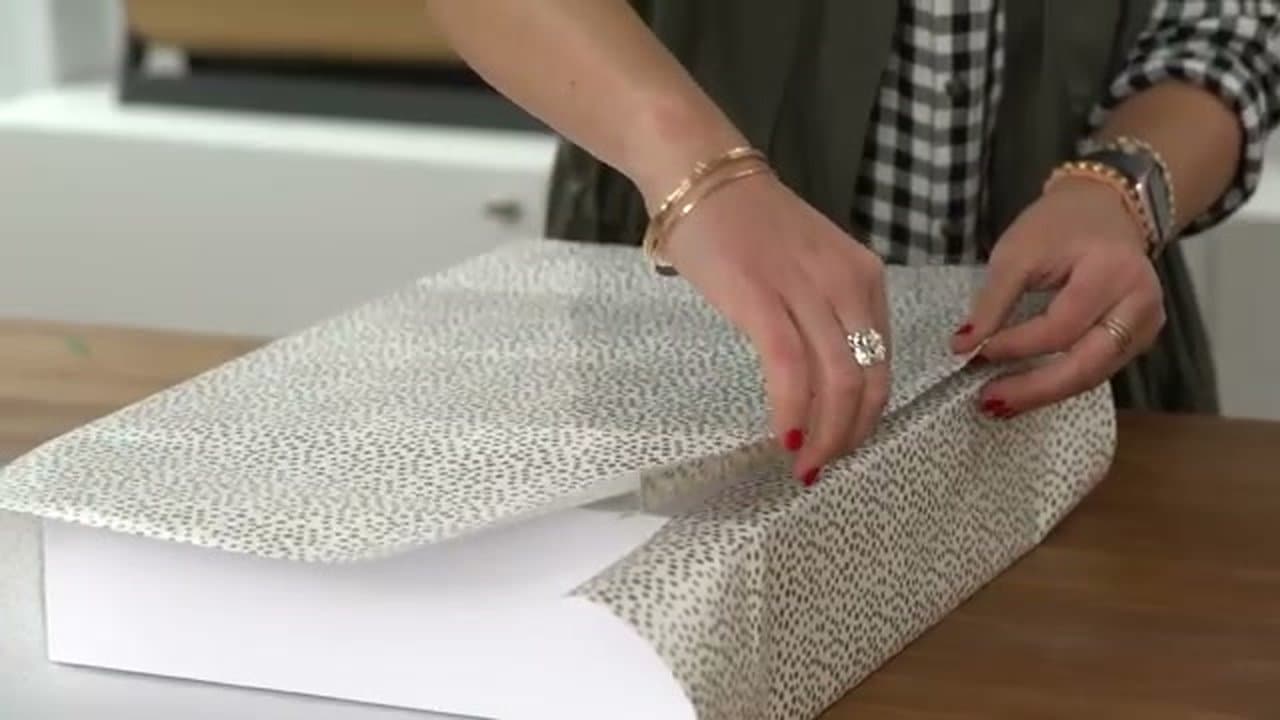
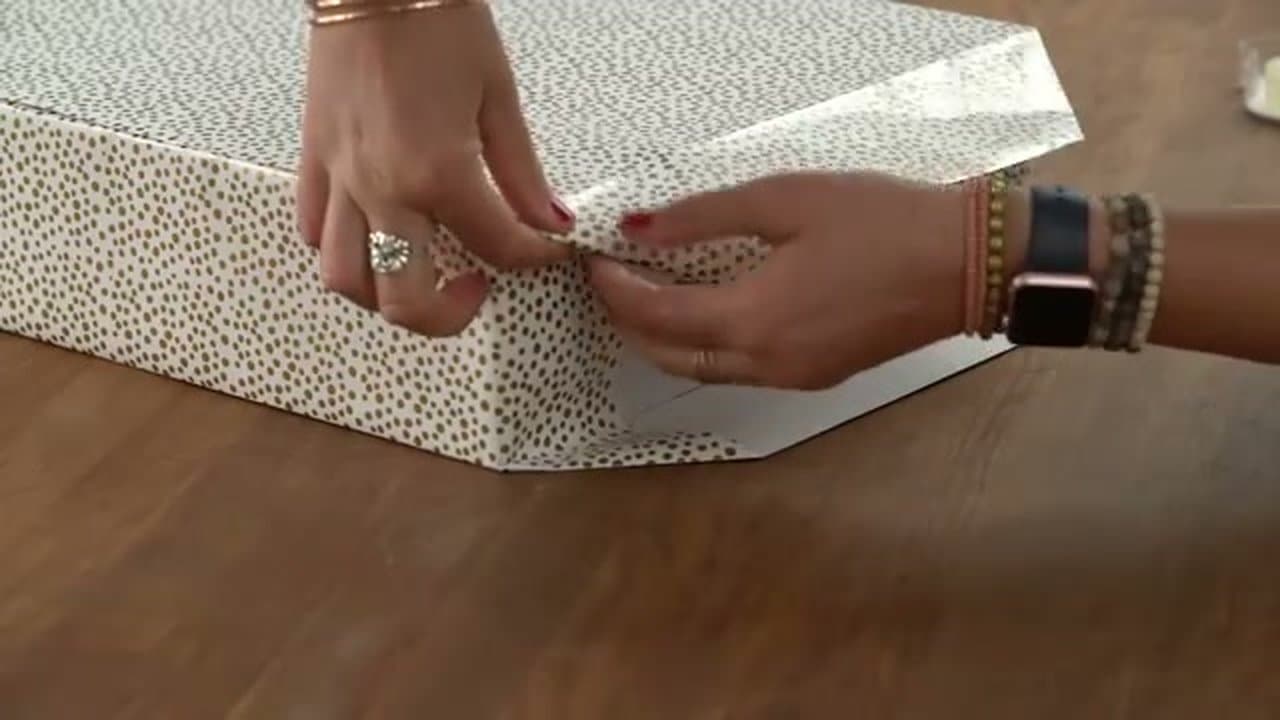
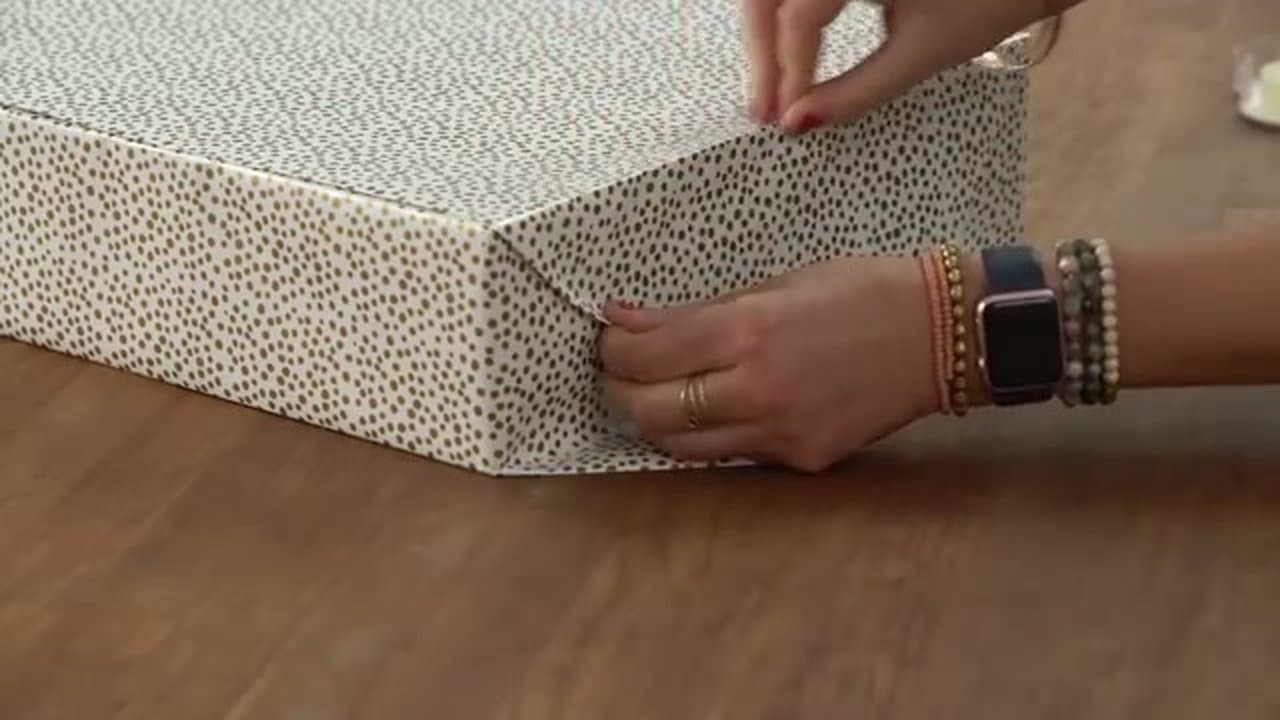
Most people just slap tape on and hope for the best. This tutorial from Jenny at HGTV Handmade shows you the trick to getting department-store-level wrapping with stuff you already have at home. The secret is double-sided tape and taking the time to crease each fold before you secure it.
Variations by shape and material
Cylinders and round shapes. Wine bottles, candles, posters. Cut a paper rectangle long enough to wrap around with about an inch of overlap, then twist both ends like a hard-candy wrapper and tie with ribbon. The twist hides the lack of folded ends and reads as deliberate rather than improvised.
Oddly shaped gifts with no box. Always box first if you can — pick up a few flat-pack mailer boxes from a craft store and keep them on hand. If you can't box it (a stuffed animal, a basketball), use a gift bag instead of trying to fold paper around the shape. Wrapping paper does not flex around curves cleanly and the result always looks rushed.
Soft items (sweaters, scarves, blankets). The "soft wrap" method skips the box. Lay the item flat in the center of the paper, fold the long sides in to meet over the item, then fold up both ends and tape underneath. Without rigid corners the wrap stays neat because you're shaping paper around fabric, not around an edge.
Furoshiki (fabric wrap). A square of fabric (45 to 70 cm depending on gift size) replaces paper entirely. Diagonal-knot the corners over the gift, and the fabric becomes part of the present. Works well for reusable gifting, holiday gifts that get unwrapped slowly, or anyone trying to cut down on single-use paper.
Newspaper or kraft-paper wrap. Cheaper, more eco-friendly, and reads as intentional when paired with twine and a sprig of pine or eucalyptus. Use the financial pages or a gift-relevant section as a deliberate touch (the comics for a kid's gift, a recipe page for a cookware gift). The crease-and-tape technique from the main tutorial works identically; the paper is just thinner so go gently on the fold creases or it'll tear.
Common questions about gift wrapping
What's the easiest way to wrap a gift if I'm bad at it?
Use double-sided tape and a hard-edged box. Double-sided tape hides under the paper so the wrap looks seamless even with sloppy edges, and a hard-edged box gives you a flat surface that holds creases on the first try. The single biggest upgrade in pro-looking wraps is switching from regular tape to double-sided; the second is always boxing the gift before wrapping. If a gift is small or soft, drop it in a gift bag with tissue paper and skip the wrap entirely.
How do you wrap a gift without tape showing?
Double-sided tape (also sold as "tape runners" or "ATG tape" by scrapbookers) is the answer. Stick one side to the underside of each paper flap before folding, so the tape ends up sandwiched between paper layers. From the outside, no tape is visible. A second trick: where regular tape is unavoidable, use matte-finish washi tape that color-matches the paper. It blends in instead of glaring like clear plastic tape.
What kind of paper is best for gift wrapping?
Heavier paper (above 70 gsm) creases sharper and tears less. The thin dollar-store paper is fine for small gifts but tears at corners and won't hold a tight crease. Look for paper labeled "matte" or "thick" or sold in single rolls rather than multi-packs. For oddly-shaped or large gifts, kraft paper from a craft store comes in a 10-pound roll that's heavier and more forgiving than gift paper.
How do you wrap a really big gift like a bike or chair?
Don't wrap it whole — too much paper to manage, too many seams that won't sit flat. Either drape a single sheet over the gift and tie a big ribbon around it like a present-shaped gift bag, or hide a small wrapped clue (a photo of the bike, a key, a note) inside a normal-sized box. The reveal moment is better when the recipient gets to discover the big gift after opening the small box anyway.
Can you wrap a gift without scissors?
Yes — tear the paper along a folded crease and it tears cleanly along the line. Fold the paper where you want it to cut, press the crease hard with your thumbnail, then pull. The fiber tears at the crease and gives you a straight edge as clean as scissors. Works best on lighter wrapping paper; kraft paper tears jagged so you'll want scissors for that.