How to Properly Jump Start a Car

By ShowMeStepByStepPublished Updated

Based on a video by ChrisFix.

Dead battery. It happens to everyone eventually. You leave the headlights on overnight, or the battery is old and gives out. Knowing how to jump start a car means the difference between getting home and calling a tow truck.

ChrisFix walks through the right way to do it - the cable connection order matters for safety, and most people get the last connection wrong. This takes about five minutes once you know the process.

Step-by-Step Guide

1

Position the Cars and Find the Batteries

0:31
Step 1: Position the Cars and Find the Batteries

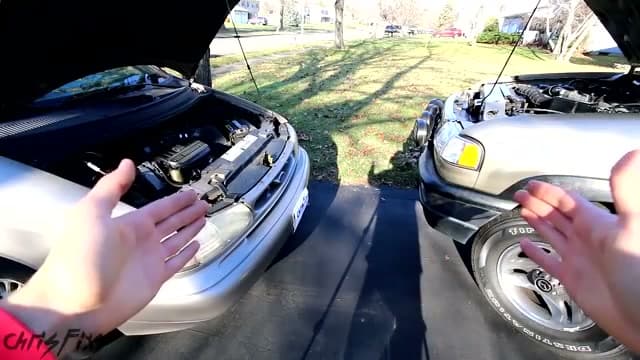
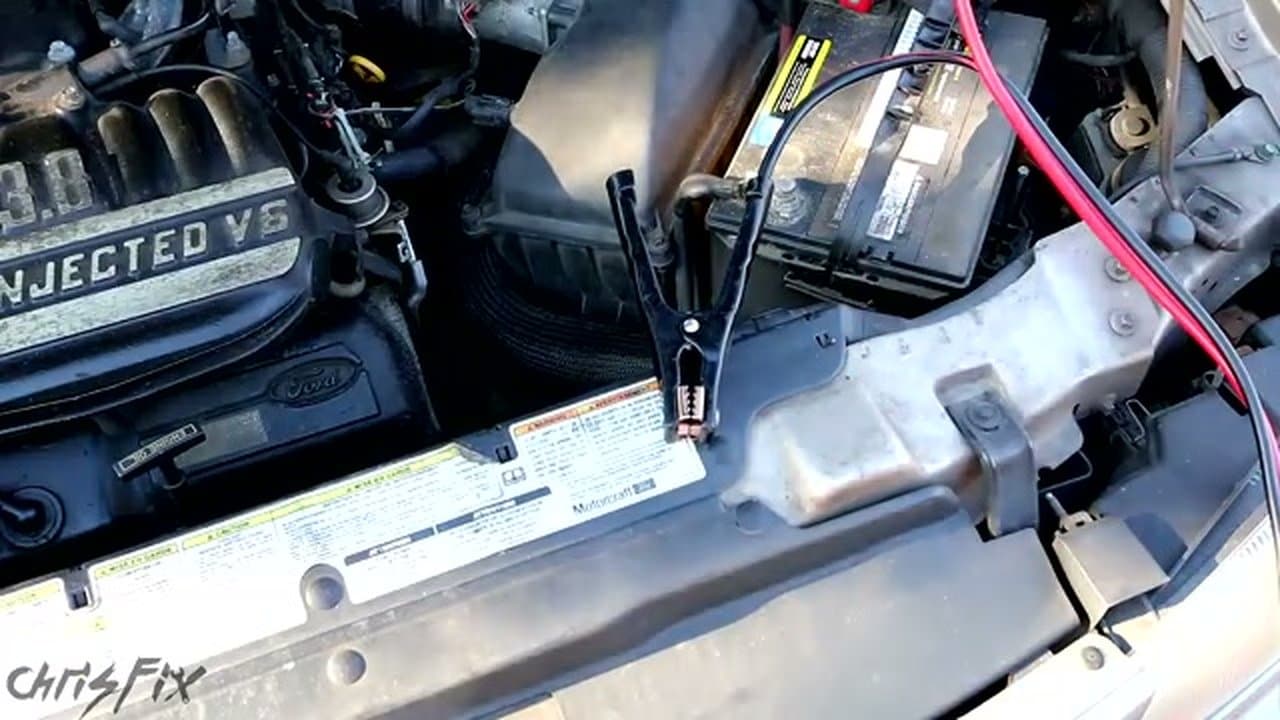
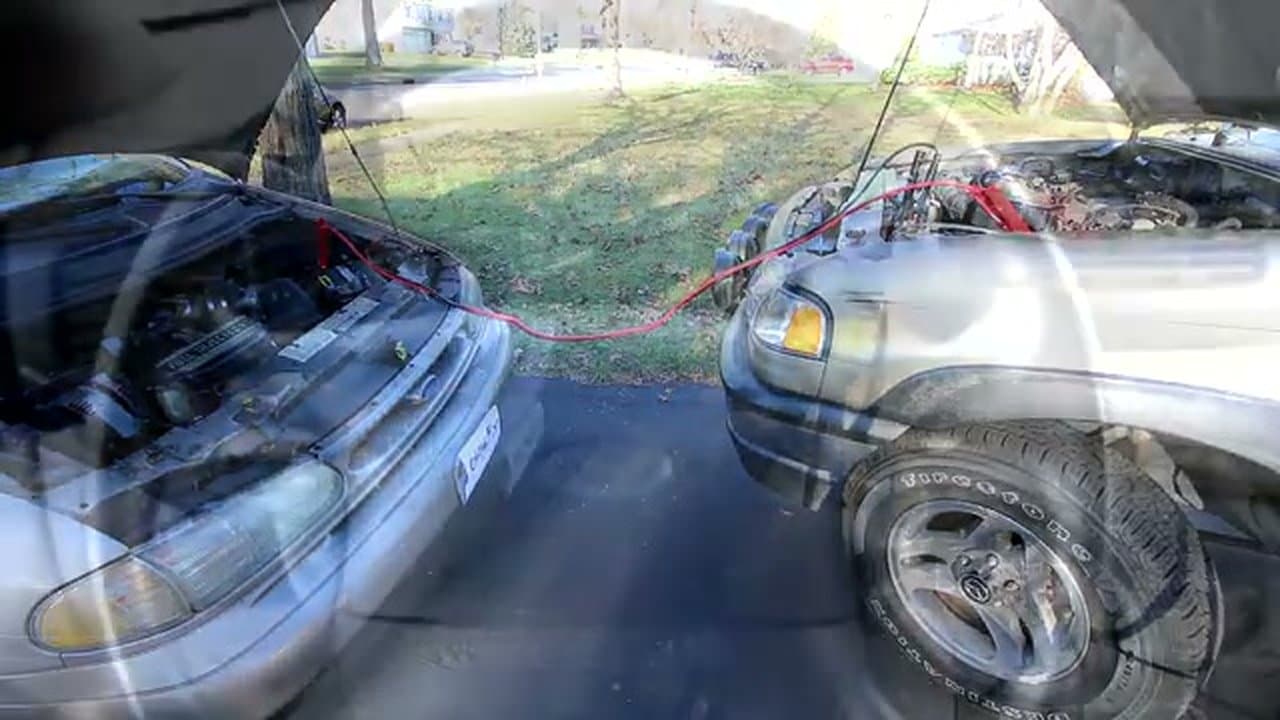
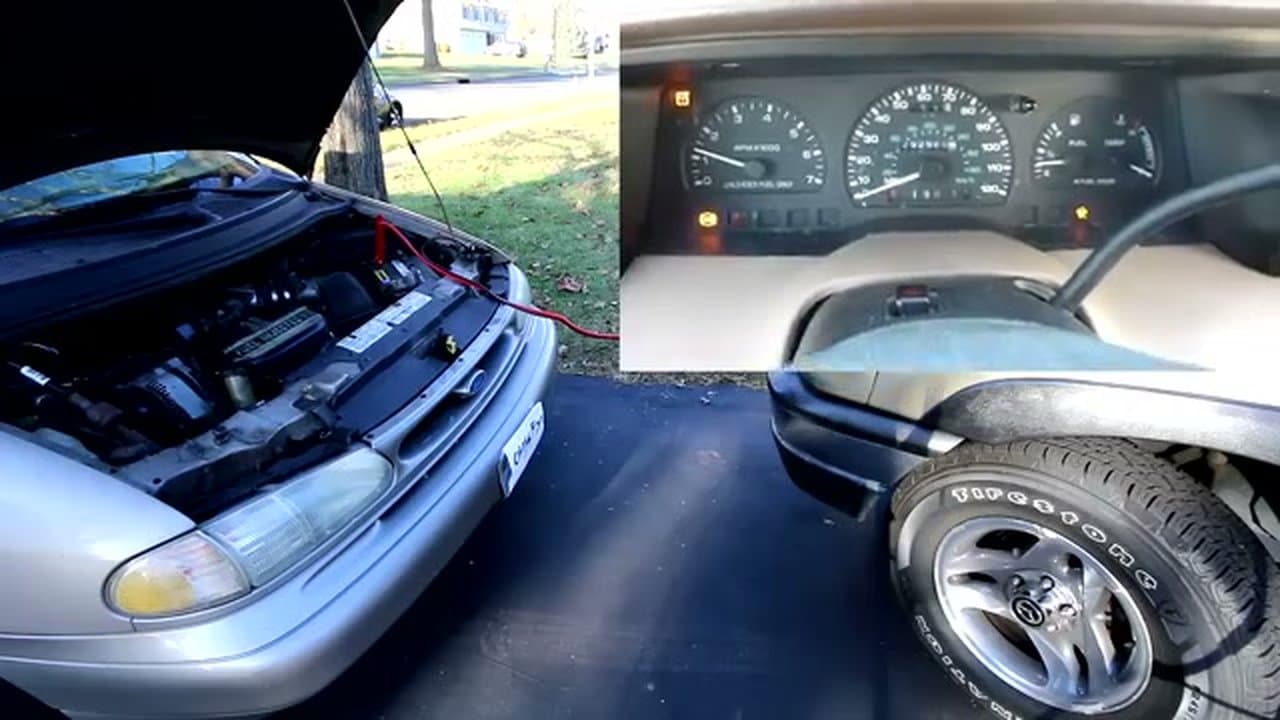
Pull the running car close enough that jumper cables can reach both batteries. The cars should not touch each other. Turn off both engines and take the keys out of both ignitions.

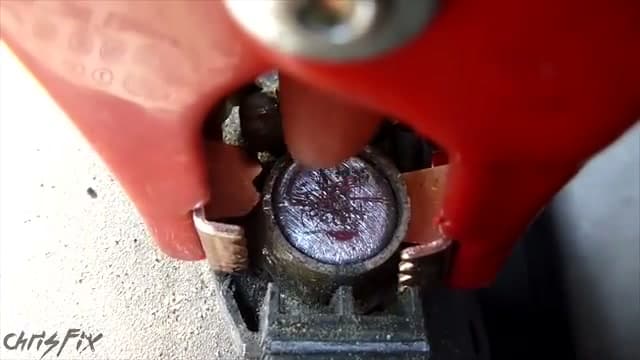
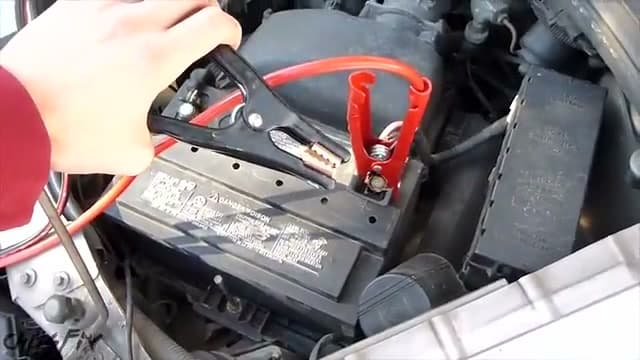
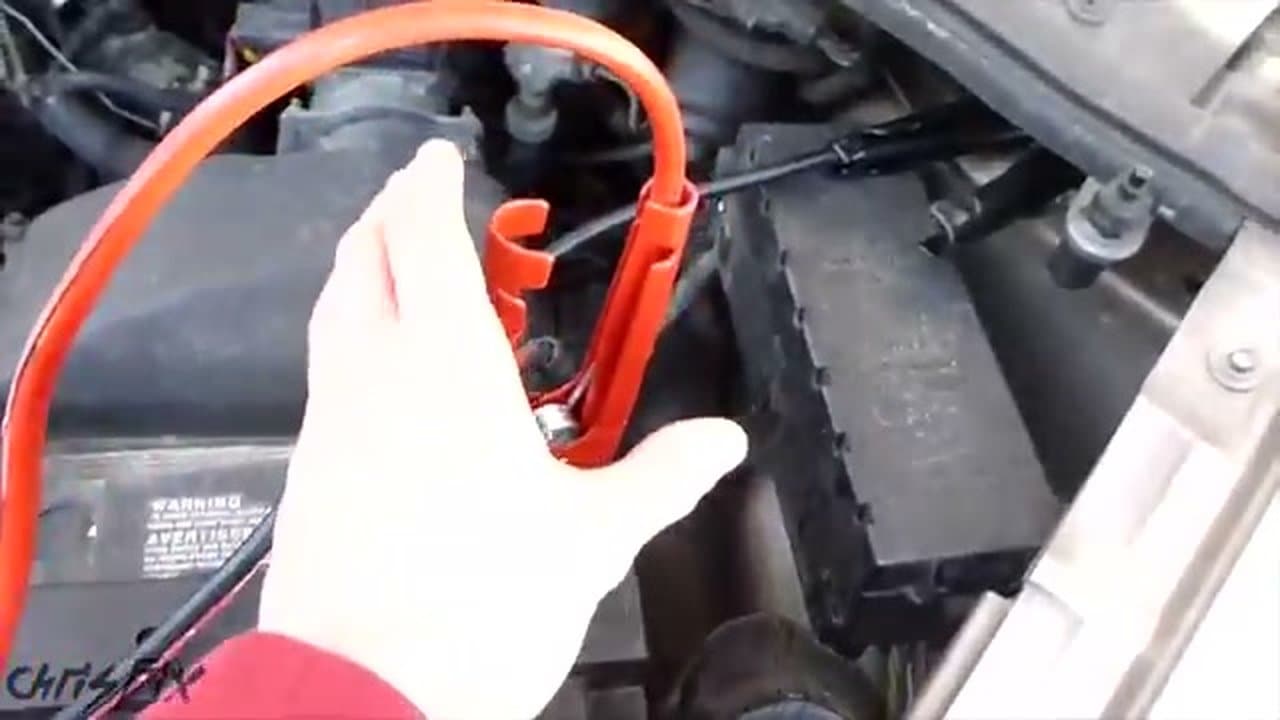
Pop both hoods and locate each battery. Find the positive terminal (marked with a + and usually a red cable) and the negative terminal (marked - with a black cable) on each one.

2

Connect the Red Cable to the Dead Battery

1:12
Step 2: Connect the Red Cable to the Dead Battery

Untangle your jumper cables so you have one red and one black end in each hand. From this point on, do not let the clamp ends touch each other.

Clamp the red (positive) cable onto the positive terminal of the dead battery. Wiggle it to make sure the copper teeth grip the metal post. You start here because the dead battery has less energy, so it's the safest connection to make first.

Tip

Set the loose black clamp on a piece of plastic while you walk to the other car. You don't want it touching any bare metal and accidentally grounding out.

3

Connect Both Cables to the Good Battery

2:04
Step 3: Connect Both Cables to the Good Battery

Walk to the car with the good battery, carrying both loose cable ends. Keep them apart. Clamp the red cable to the positive terminal. Then clamp the black cable to the negative terminal.

Both cables are now attached to the good battery. Only one connection remains.

4

Connect the Black Cable to a Ground Point

2:28
Step 4: Connect the Black Cable to a Ground Point

This is the step most people get wrong. Do NOT connect the last black cable to the negative terminal of the dead battery. Clamping there creates a spark right next to the battery, which can ignite hydrogen gas fumes.

Instead, find a bare metal bolt or bracket on the engine block, away from the battery. A strut tower bolt or engine mount bracket works well. Avoid anything near fuel lines or moving parts. Clamp the black cable firmly to that ground point.

Tip

Some cars have a designated ground point specifically for jumping. Check your owner's manual. It's usually a bare metal stud or bracket marked with a ground symbol.

5

Check the Cables and Start the Good Car

4:00
Step 5: Check the Cables and Start the Good Car

Before starting anything, look at where the cables hang under both hoods. Make sure they're not draped over cooling fans or the serpentine belt. A cable caught in a spinning fan will ruin your day fast.

Once the cables are clear, start the car with the good battery and let it idle for two minutes. The alternator charges the dead battery during this time.

6

Start the Dead Car

4:33
Step 6: Start the Dead Car

After two minutes, try starting the dead car. If it fires up, move on to removing the cables.

If it cranks slowly but won't catch, let it sit five more minutes and try again. You can also have someone in the good car rev the engine to about 2000 RPM while you turn the key. The alternator spins faster at higher RPM, pushing more current to the dead battery.

Tip

If all you get is a single click, the battery might be permanently dead with a shorted cell. Before giving up, double-check that every clamp has a solid connection and try a different ground point.

7

Remove the Cables in the Right Order

4:46
Step 7: Remove the Cables in the Right Order

Removal order is the reverse of connection. Remove the black ground cable from the dead car first. Since it's clamped to the engine (not the battery), any spark happens away from hydrogen fumes.

Then remove the red cable from the dead battery. Walk to the good car and remove the red cable, then the black cable. Keep the clamp ends from touching metal as you go.

Products Used

Your Guide

ChrisFix

As an Amazon Associate we earn from qualifying purchases. Links on this page may be affiliate links - clicking them and buying doesn't change your price, but helps support ShowMeStepByStep.

Tags

Test your knowledge

Did the lesson stick? Find out in 2 minutes.

5 quick questions covering what you just read. No signup, no score saved — just a gut check.

Quick reference

Key takeaways from How to Properly Jump Start a Car

5 questions, answers, and one-line explanations. Tap to expand.

  1. 1.Where do you clamp the FIRST cable end?

    Answer: The red (positive) cable on the dead battery's POSITIVE terminal

    Start at the dead battery's positive terminal - the safest first connection.

  2. 2.Where does the very LAST black cable clamp go?

    Answer: A bare metal bolt or bracket on the dead car's engine block (a ground point)

    Connecting black to the dead battery's negative creates a spark next to hydrogen gas; a ground point is safer.

  3. 3.After all cables are connected, what do you do BEFORE trying the dead car?

    Answer: Start the GOOD car and let it idle for two minutes

    Two minutes of idle from the good car charges the dead battery through the cables.

  4. 4.If the dead car cranks slowly but won't catch, what should you try?

    Answer: Let it sit 5 more minutes, then rev the good car to ~2000 RPM while turning the key

    More RPM means the alternator pushes more current; a few more minutes builds more charge.

  5. 5.What's the right order to REMOVE the cables?

    Answer: Reverse order: black ground first (from dead car engine), then red on dead, then red on good, then black on good

    Reverse-order removal keeps the final spark away from the battery's hydrogen fumes.

What's next

Related collections

Curated theme pages that include this tutorial.

Weekly Digest

Liked this lifestyle tutorial?

Pick the categories you want to hear about. Weekly digest of new step-by-step tutorials. No spam, easy unsubscribe.

Send me tutorials about

We only email about new tutorials. Easy unsubscribe anytime.