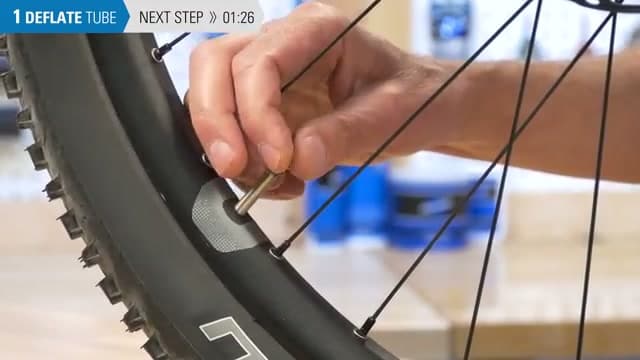
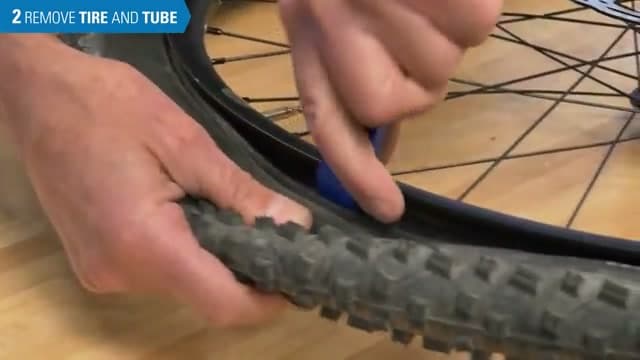
How to change a bike tire tube is the most common roadside repair a cyclist runs into. Knowing the steps turns a ride-ending flat into a 10-minute pit stop. This walkthrough from Park Tool's Calvin Jones covers the full process - how to remove a bike tire, find the puncture, install a fresh tube, and seat the bead so the tire holds pressure. Works the same on a road bike, mountain bike, hybrid, or kids' bike (though the rim sizes and tire widths differ).
If you also drive, see how to change a car tire for the same physics on a larger wheel, and how to check tire pressure to prevent the next flat - under-inflated tires are the single biggest cause of pinch flats on bicycles.
Flat tires happen. Knowing how to swap a tube yourself turns a ride-ending problem into a 10-minute pit stop. This tutorial from Park Tool's Calvin Jones covers the full process from start to finish, including how to figure out what caused the flat so it doesn't happen again.
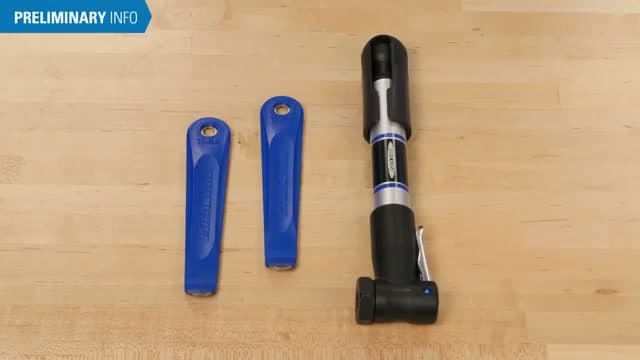
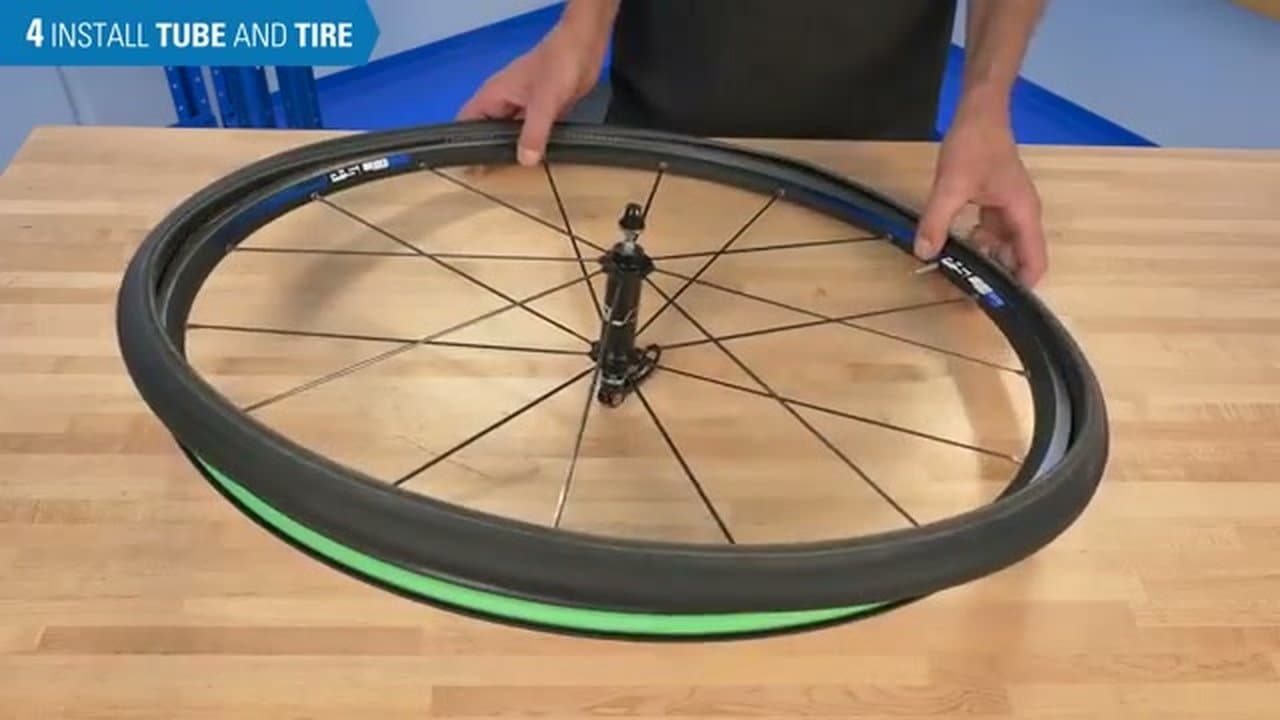
The same technique works on road bikes, mountain bikes, and hybrids. All you need is a set of tire levers, a spare tube, and a pump. If you ride regularly, also keep a portable gauge in your saddle bag - under-inflated tires are the single biggest cause of pinch flats, and the fix is the same five-minute habit we cover in our tire-pressure check guide for cars (same physics, smaller wheels).
Variations
Presta vs. Schrader valves. Schrader valves are the fat ones you see on cars. Presta valves are skinny with a small threaded nut at the top. Both work the same way: press a pump on, inflate, remove the pump. Presta valves require unscrewing the small nut before inflating and tightening it back after. Most road bikes use Presta; most kids' bikes, hybrids, and mountain bikes use Schrader.
Road bike tubes. Road tires are narrow (700 x 23-28 mm typical) and run high pressure (80-130 PSI). The tube has to match the rim diameter (700c on most road bikes) and roughly match the tire width. A 700 x 25 mm tube can stretch to fit a 28 mm tire, but won't sit right in a 32 mm one.
Mountain bike tubes. Mountain tires are fatter (26", 27.5", or 29" rims, with widths from 1.95" to 2.5"+) and run lower pressure (25-50 PSI). Same removal process but the wider tire is easier to get over the rim because the rubber has more give. Tubeless setups skip the tube entirely; check your wheel for a tubeless-ready rim before assuming you need a replacement tube.
Hybrid and kids' bikes. Same general method, smaller rim sizes (20", 24"). Tubes are sized by rim diameter first and width second. Bring the old tube to the bike shop or read the size off the side of your existing tire when you buy a spare.
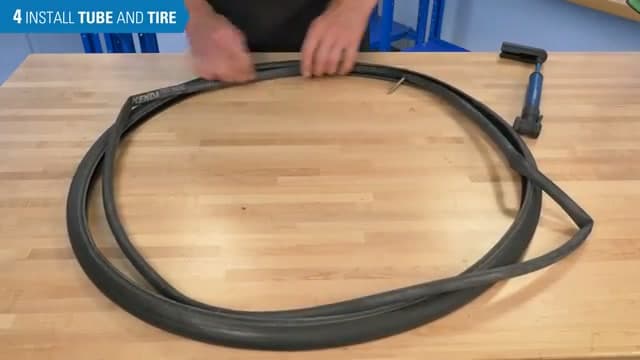
Tube vs. patch. A roadside flat is faster to fix with a fresh tube. Patch kits work great for at-home repairs after the ride: clean the tube, find the leak with water, sand the area, apply glue and patch, wait 5 minutes. Cheaper than a new tube, and a single tube can take 4-5 patches before it's worth retiring.
Common questions about changing a bicycle tire
Five questions we get most often about swapping a tube, finding the cause of the flat, and getting the tire back on without pinching the new tube.
What causes most bike flats?
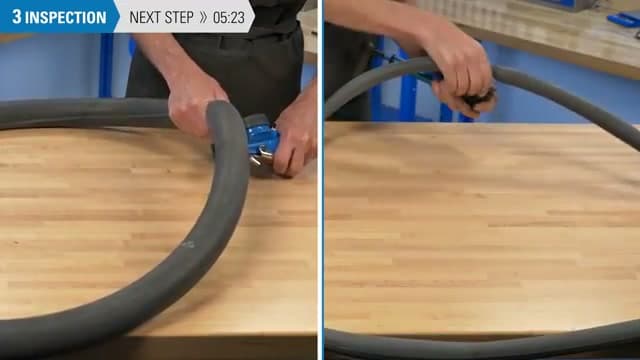
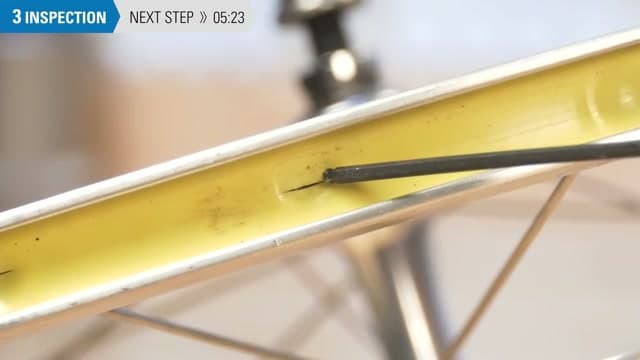
Three things, in order: under-inflation (pinch flats from the rim hitting the tube against the road), road debris (glass, thorns, sharp metal), and worn tires (the rubber goes too thin to protect the tube). Check the inside of the tire carefully before installing the new tube - a thorn that punctured the old one is often still embedded and will pop the new one within a mile if you miss it.
How do I tell if my tube is the right size?
Read the side of your tire. The numbers will look like "700 x 25c" (road) or "26 x 2.0" (mountain). The first number is the rim diameter and has to match exactly. The second number is the tire width, and your tube should be in a range that includes that width. Most tubes have a printed range like "700 x 23-28c" - that tube fits any tire from 23 to 28 mm wide on a 700c rim.
Why does my new tube keep going flat right after I install it?
Almost always one of three things: the puncture cause is still in the tire (re-inspect inside the casing with your finger), the tube got pinched between the bead and the rim during installation (deflate, push the bead aside, re-seat), or the rim strip is misaligned and a spoke is now poking through to puncture the tube.
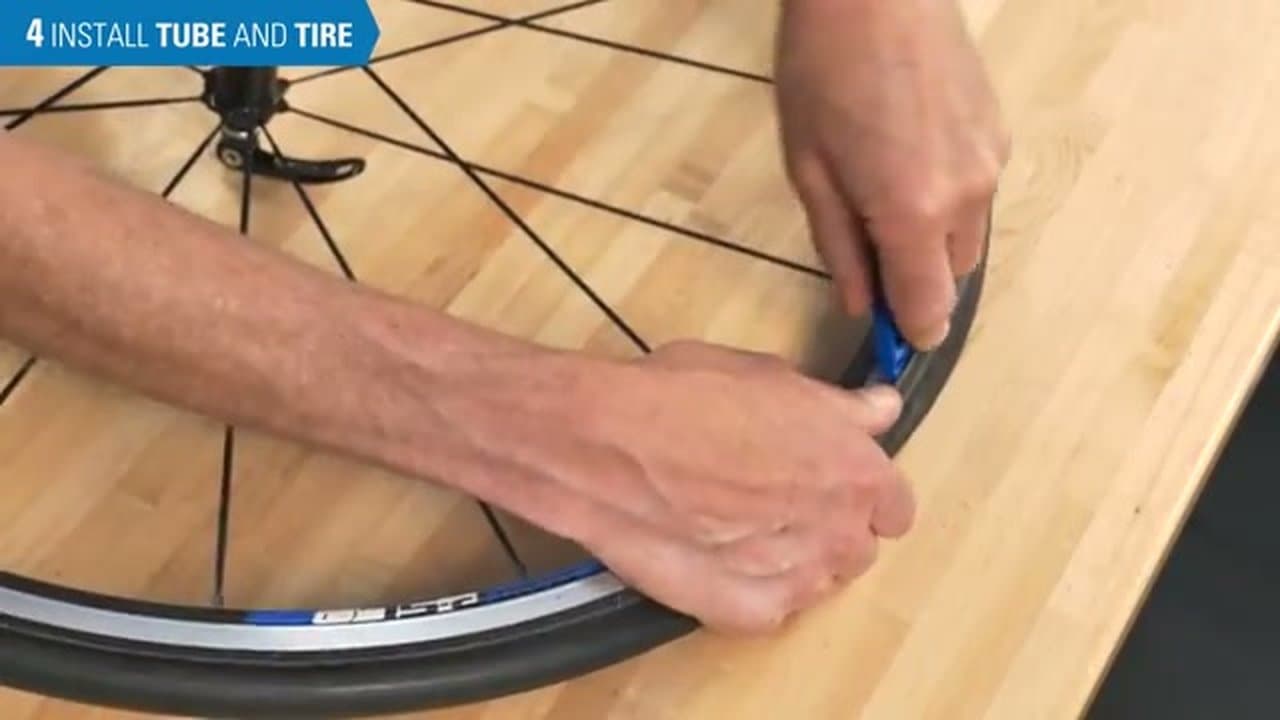
Do I need special tire levers?
No. The basic plastic Park Tool levers are about $5 and work on any rim. Avoid metal levers; they can scratch alloy rims and damage carbon fiber. If you're stranded without levers, the back of a plastic spoon works in a pinch. Two levers is the minimum; three makes it easier.
How much should I inflate my tires?
Look at the recommended PSI range printed on the side of the tire. Road bikes typically run 80-130 PSI, hybrids 50-80, mountain bikes 25-50. Heavier riders go toward the higher end of the range, lighter riders the lower end. Check pressure before every ride if you're a serious rider; once a week is plenty for casual riding. A floor pump with a built-in gauge makes this easy.