1
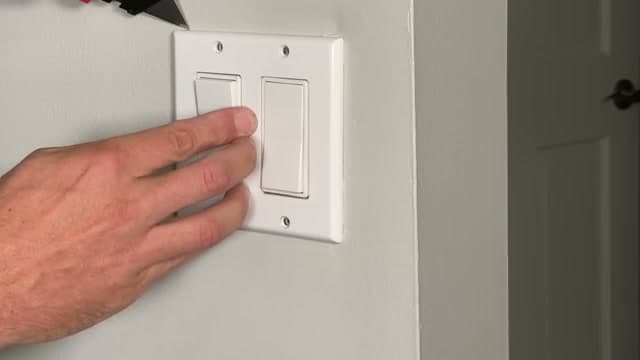
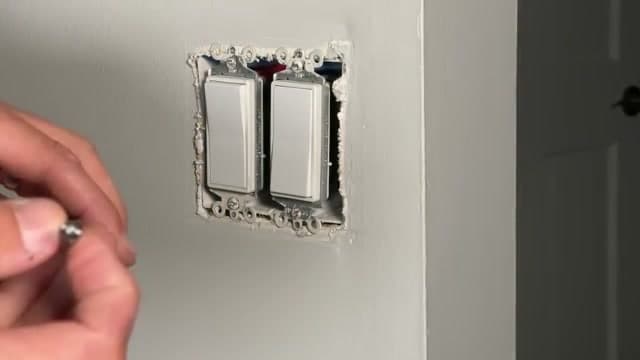
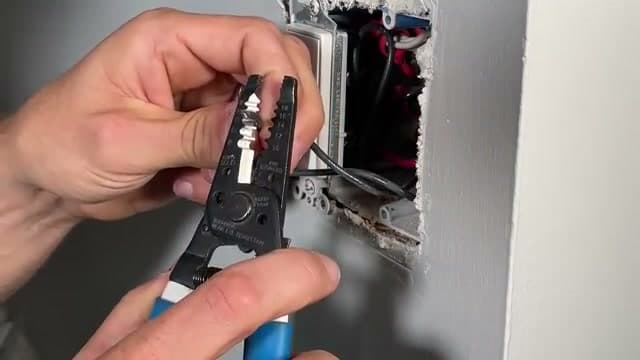
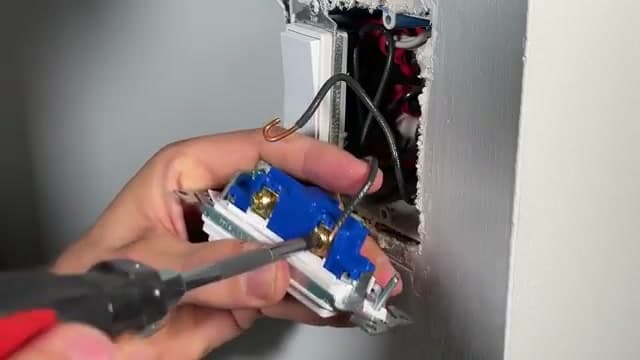
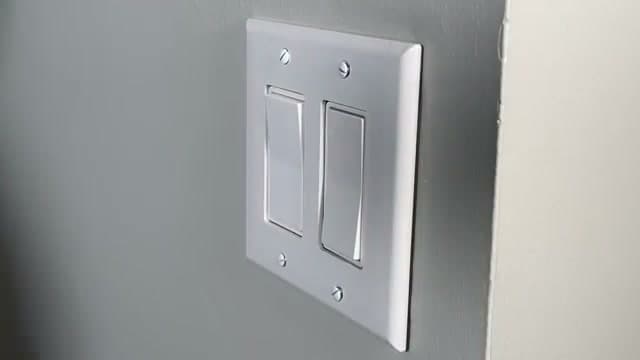
Turn Off the Power and Test
1:19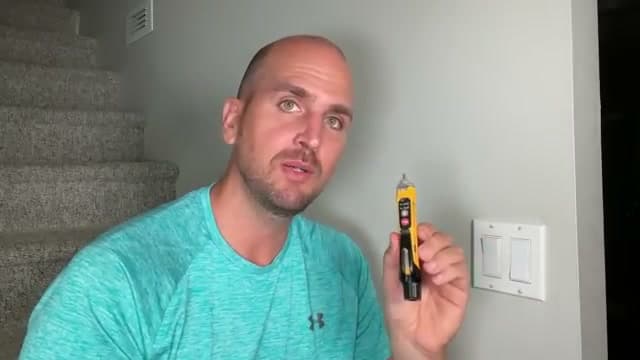
Go to your breaker panel and flip the breaker for the circuit that feeds this switch. Come back with a non-contact voltage tester and confirm there is no power. Test the tester on a known-hot outlet first to make sure it is working.
Do not skip the testing step. The breaker labels in your panel may not match what is actually on that circuit.