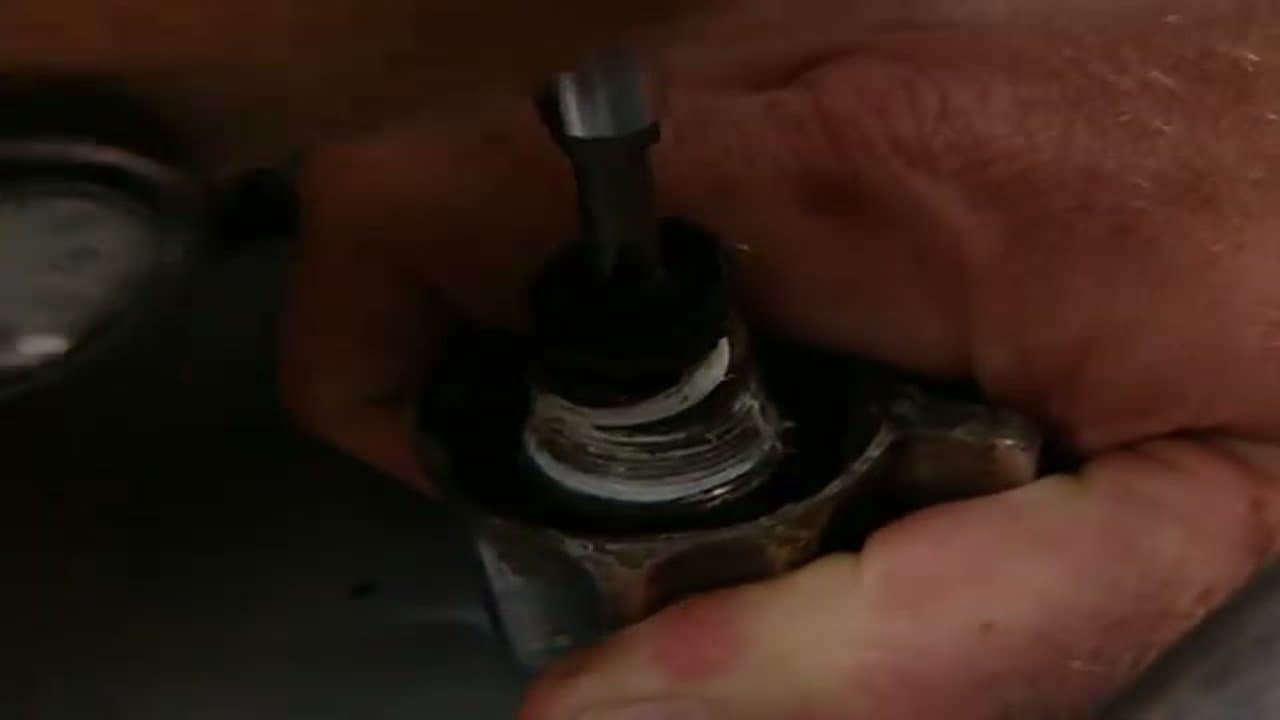
Quick answer: To fix a leaky faucet, shut off the hot and cold supply valves under the sink, pry the cap off the handle, back out the brass screw, pull the handle, loosen the packing nut, and lift out the stem. If the rubber washer at the bottom looks worn, swap it; if you have a cartridge faucet, replace the cartridge as one unit. Reassemble in reverse, turn the water back on, and check for drips. Total time: 20-30 minutes with a screwdriver, adjustable wrench, and a replacement washer or cartridge.
Leaky faucet repair is one of the cheapest plumbing wins you can do yourself. A dripping faucet wastes thousands of gallons a year and the fix usually takes under 30 minutes with a screwdriver, a basin wrench, and a replacement washer or cartridge that costs a few dollars.
This faucet repair walkthrough is from This Old House's plumbing expert Richard Trethewey. It covers both common designs: compression faucets (the older kind with rubber washers) and cartridge faucets (most modern fixtures). The procedure is the same up to the handle removal, then diverges based on what you find inside.
The biggest mistakes to avoid: forgetting to shut off both hot and cold supply valves under the sink, prying at a stuck handle without lubricant (you'll break the cap), and re-tightening the packing nut too hard on reassembly (causes a new leak). This 7-step leaky faucet repair guide flags each one before you make it. For other home plumbing fixes, see how to unclog a sink the right way and how to replace a toilet flapper.
Variations by faucet type
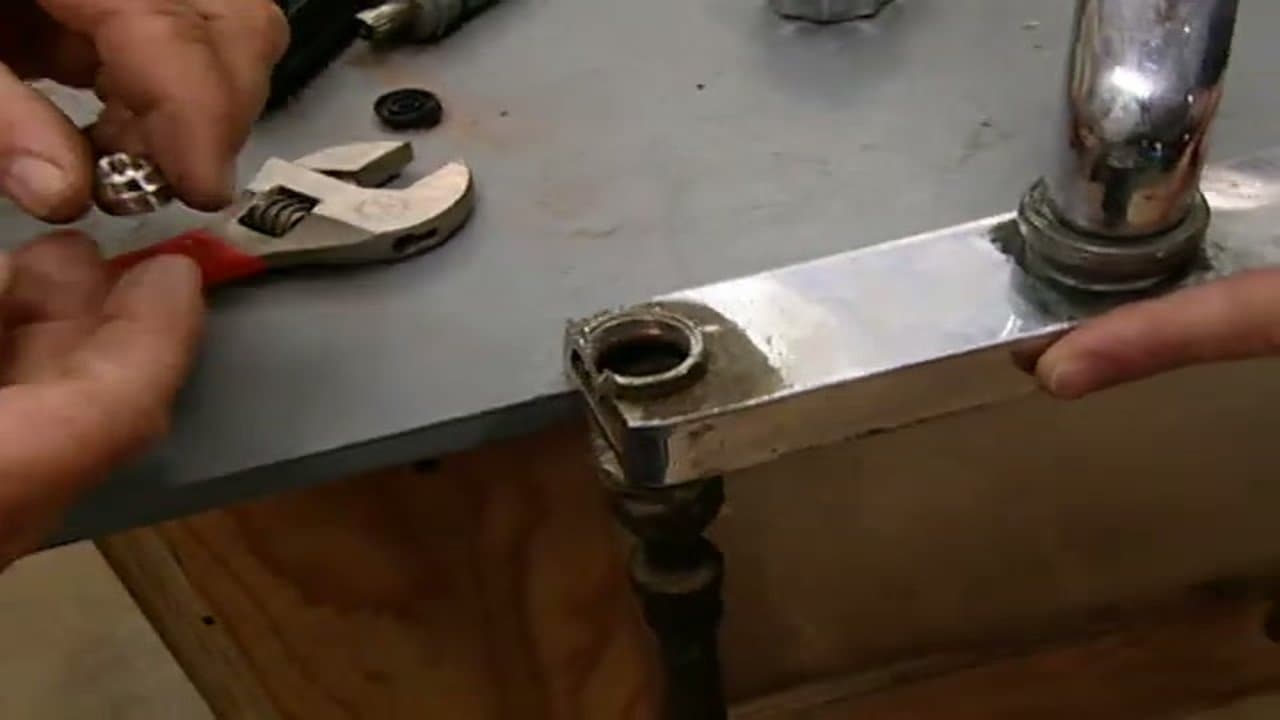
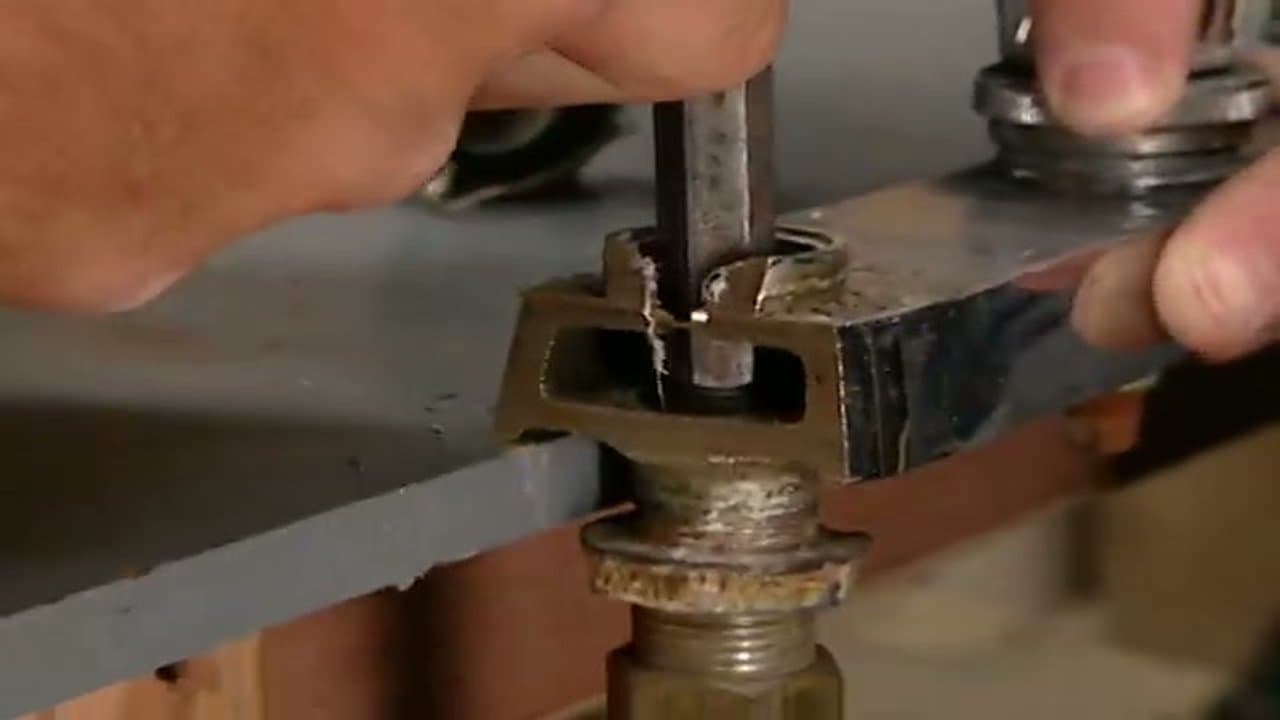
Compression faucet (two handles, older fixtures). Hot and cold each have their own washer-and-stem assembly. The handles tighten down onto rubber washers to stop the flow. Worn washers are the #1 cause of drips in this design. The 7 steps in this guide cover compression faucets head-to-tail; pull the handle, unscrew the packing nut, swap the washer, reassemble. If only one side drips, you only need to do the work on that side - the hot stem is the one closer to the wall on the supply line side, but easier to confirm by feeling which line is warm before you shut the water off.
Cartridge faucet (single handle, common modern design). A removable cartridge sits inside the body and controls hot/cold mix and flow. If it's dripping, the cartridge itself is usually shot - either o-rings inside it have worn or the ceramic disks have cracked. You don't swap a washer; you swap the whole cartridge as one unit. Bring the old one to the hardware store to match it; brands vary (Moen, Delta, Kohler each use their own cartridge spec).
Ball faucet (single handle, often kitchens). A metal ball sits at the top of the body. Inside are springs, rubber seats, and o-rings. A repair kit ($5-10) replaces all of them at once; don't try to diagnose which single piece failed. Same teardown procedure: shut off the supply, pull the handle, lift the ball assembly, swap the kit components in.
Ceramic disc faucet (single handle, premium fixtures). Two ceramic disks slide against each other to control flow. They almost never wear out, but mineral buildup can keep them from sealing. Most ceramic disc leaks fix with a vinegar soak rather than a parts swap - pull the disk assembly, soak overnight, reinstall.
Outdoor / hose-bib faucet (the spigot on the side of the house). Most outdoor faucets are compression-style with a longer stem assembly that extends into the wall. If it drips from the spout, the washer at the inside end of the stem is worn - same fix as an indoor compression faucet, just with a longer stem to unscrew. If water comes from around the handle when you turn it on, the packing nut is loose or the o-ring on the stem itself has dried out. Frost-free hose bibs (long brass body with a slope) need to be repaired with the stem removed all the way - if it drips after being turned off all winter, the inside washer is the culprit, not anything you can see from outside. Replacement stems for common brands (Woodford, Mansfield, Prier) are at most hardware stores for $15-25.
If the shutoff valves under the sink are seized. Common in older houses. Don't force them; you'll snap the valve stem and turn a 30-minute job into a half-day pipe replacement. Shut off the main water valve to the house instead, do the faucet repair, then replace the seized shutoff valves with quarter-turn ball valves while you're already down there.
Common questions about leaky faucets
Nine questions we get most often about diagnosing the drip and getting it fixed without a plumber visit.
Do I need to turn off the water to fix a leaky faucet?
Yes - shut off both the hot and cold supply valves under the sink before you take anything apart. They're the small oval handles attached to the supply lines a few inches under the cabinet. If you forget, the second you loosen the packing nut you'll get a face full of pressurized water. If the under-sink shutoffs are seized, shut off the main water valve to the house instead.
How long does it take to fix a leaky faucet?
Twenty to thirty minutes for a typical compression or cartridge faucet, once you have the right replacement washer or cartridge. The hardware-store trip to match the part is often longer than the repair itself. Budget an hour total for the first time, including driving to the store and back, and 20 minutes the second time when you know what to buy.
What size washer do I need for my faucet?
There's no universal size - faucet washers come in roughly a dozen common diameters (3/8", 1/2", 9/16", and so on). The only reliable way is to pull the old washer out and bring it to the hardware store. Plumbing aisles sell variety packs ($3-5) with 8-10 of the most common sizes if you'd rather have spares on hand. Same for cartridges - bring the old one to match brand and model number stamped on it.
Why is my faucet still dripping after I replaced the washer?
Three usual causes. First: the valve seat (the brass ring the washer presses against) is pitted or corroded. A worn seat will eat through a new washer in days. Reseat it with a seat-grinding tool ($10) or swap the seat itself if your faucet allows. Second: the packing nut is over-tightened, distorting the washer. Loosen it a quarter turn and test. Third: you're on a cartridge faucet and a washer was never the right fix - swap the cartridge.
Why is my new faucet leaking already?
Brand-new faucets that leak at the base of the handle on day one are almost always a missed step at install: either the o-ring under the spout collar isn't seated, or the mounting nut underneath wasn't tightened enough and the body shifts when you turn the handle. Pull the spout collar, check the o-ring is in its groove and lightly greased with plumber's grease, then tighten the mounting nut from underneath. If it's leaking from the spout itself on a brand-new fixture, the cartridge inside is defective - file the warranty claim before doing anything else.
How much does it cost to fix a leaky faucet?
DIY: under $10 in parts for a washer or seat. $15-40 for a cartridge replacement. $5-10 for a ball-faucet repair kit. A plumber's service call typically runs $150-300 for the same fix, mostly labor. The parts cost the same either way; you're paying for the truck roll and the 30 minutes of work.
Does a leaky faucet really waste that much water?
Yes. The EPA estimates a faucet dripping once per second wastes 3,000+ gallons per year. That's about 8 gallons per day going down the drain unused. A constantly running faucet is closer to 30,000 gallons per year. Even if your water bill doesn't make this jump out, the wear on hot water heater elements and the slow drumming on your sink basin add up.
Why does my faucet drip only at night or only sometimes?
Water pressure fluctuates throughout the day. When the neighborhood demand drops at night, your home's pressure rises slightly. A worn washer that just barely seals at daytime pressure starts dripping when overnight pressure climbs. Same fix as a constant drip - the problem is the washer, not the pressure - but it explains the timing.
Can I fix a leaky faucet myself or should I call a plumber?
Almost always yourself. The teardown is straightforward (handle off, nut off, parts out, parts in, reassemble) and the most common failures are washer, cartridge, or seat - all of which are $10 fixes you can do with a screwdriver and a basin wrench. Call a plumber if: the shutoff valves are seized and won't close, the faucet body itself is cracked, or there's a leak coming from below the sink rather than from the faucet head.
Faucet Repair by Type: Compression vs Cartridge vs Ball vs Ceramic Disc
Faucet repair starts with knowing which of the four valve designs you're working on. The seven steps above cover the two most common types, but a full faucet-repair reference needs all four. Pick the wrong replacement part and you'll be back at the hardware store within the hour.
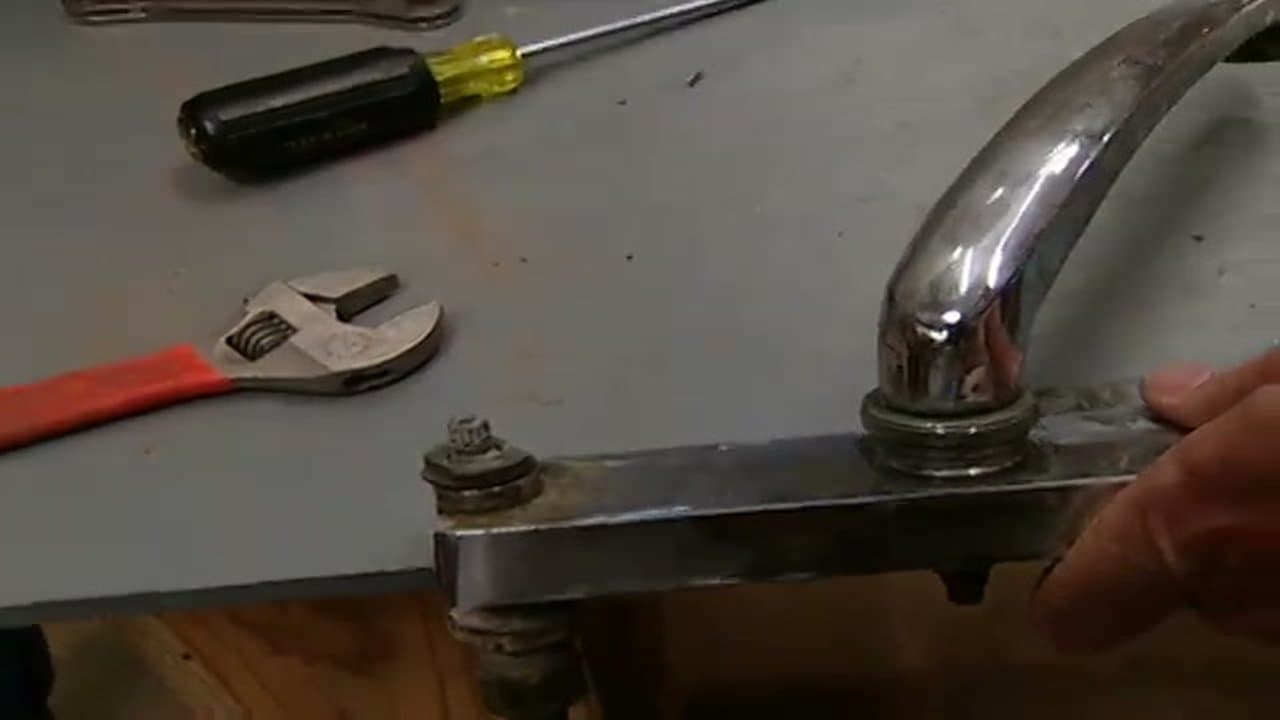
Compression faucets have two handles, one for hot and one for cold, and each handle screws down onto a rubber washer that presses against a metal valve seat. These are the oldest design and the easiest to fix. If your faucet has two separate handles and you can feel them tighten when you turn them off, it's compression. The fix is almost always a worn washer or a pitted seat.
Cartridge faucets can have one handle or two, but the handle lifts and rotates rather than screwing down. Inside the body sits a removable cartridge - a plastic or brass cylinder with O-rings around it. When the handle gets loose, drippy, or hard to turn, the cartridge is the part to swap. Moen, Price Pfister, and most modern Delta single-handles are cartridge-based.
Ball-valve faucets are the classic single-handle kitchen faucet with a domed cap and a metal ball inside. Delta invented the design and it's still the most common single-handle kitchen fixture in older homes. The ball rotates on rubber seals and springs. A leak almost always means worn seals - you replace the springs and seats together, never one without the other.
Ceramic-disc faucets are the newest design, found on most Kohler and high-end fixtures. A single handle slides over a sealed cartridge containing two ceramic plates with precision-cut openings. They almost never wear out, but if one does drip, the entire ceramic-disc cartridge gets replaced as a unit. Don't try to take the cartridge apart.
Quick decision tree: Two separate hot/cold handles that screw down = compression. One handle, domed metal cap on top = ball-valve. One handle, sleek modern body, no visible cap = cartridge or ceramic disc (check the brand - Kohler is usually ceramic, Moen is usually cartridge). Once you know the type, head back to step 4 above and pick the matching replacement part.
How to Fix a Dripping Faucet: 60-Second Diagnostic
A dripping faucet repair starts with figuring out where the drip is actually coming from. Run the faucet for 30 seconds, shut it off completely, then watch for one minute. Where the water appears tells you which part failed.
Drip from the spout, hot side only: The hot-side washer (compression) or hot-side O-ring (cartridge) is worn. Hot water degrades rubber faster than cold, so this is the most common single-side failure.
Drip from the spout, cold side only: Same parts, cold side. Less common but the fix is identical. If you're already in there, replace both sides while the faucet is apart.
Drip from the spout, both temperatures: On a ball-valve, the seats and springs have worn unevenly. On a ceramic-disc, the cartridge has a hairline crack and needs full replacement. On a cartridge faucet, both O-rings or the entire cartridge.
Leak around the handle base: The packing nut underneath the handle has loosened, or the O-ring around the cartridge stem has failed. See the handle-leak section below - tightening the packing nut a quarter-turn fixes it half the time.
Leak from the spout swivel joint: The spout O-rings at the base of the swiveling spout have dried out. Pull the spout up and off, slide the old O-rings off, lubricate new ones with plumber's silicone grease, and slide the spout back on.
Leak under the sink, not from the faucet itself: Stop. This is a supply line or a sink drain issue, not a faucet repair. Check the supply-line connections and the P-trap before you touch the faucet body.
A leak at the handle - water seeping out around the base where the handle meets the faucet body - is a different fix from a spout drip. The water is escaping past the packing nut or the stem O-ring, not through the valve. The repair is usually faster than a full cartridge swap.
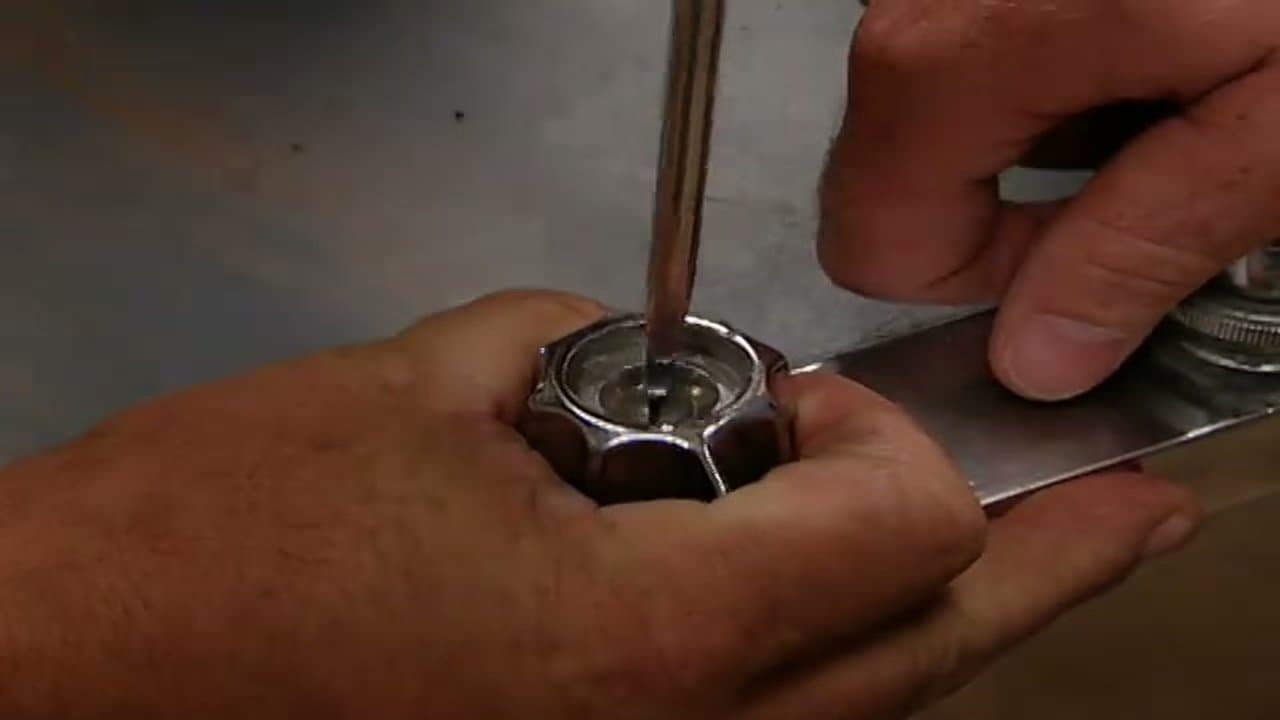
Shut off the supply valves first (step 1 above). Pop off the decorative handle cap with a thin flathead - on most faucets it's a press-fit plastic button with the hot/cold indicator on it. Underneath sits a Phillips or Allen screw that holds the handle on the stem. Remove the screw and lift the handle straight up. If it's stuck, wiggle gently or apply penetrating oil and wait five minutes - don't pry sideways or you'll crack the stem.
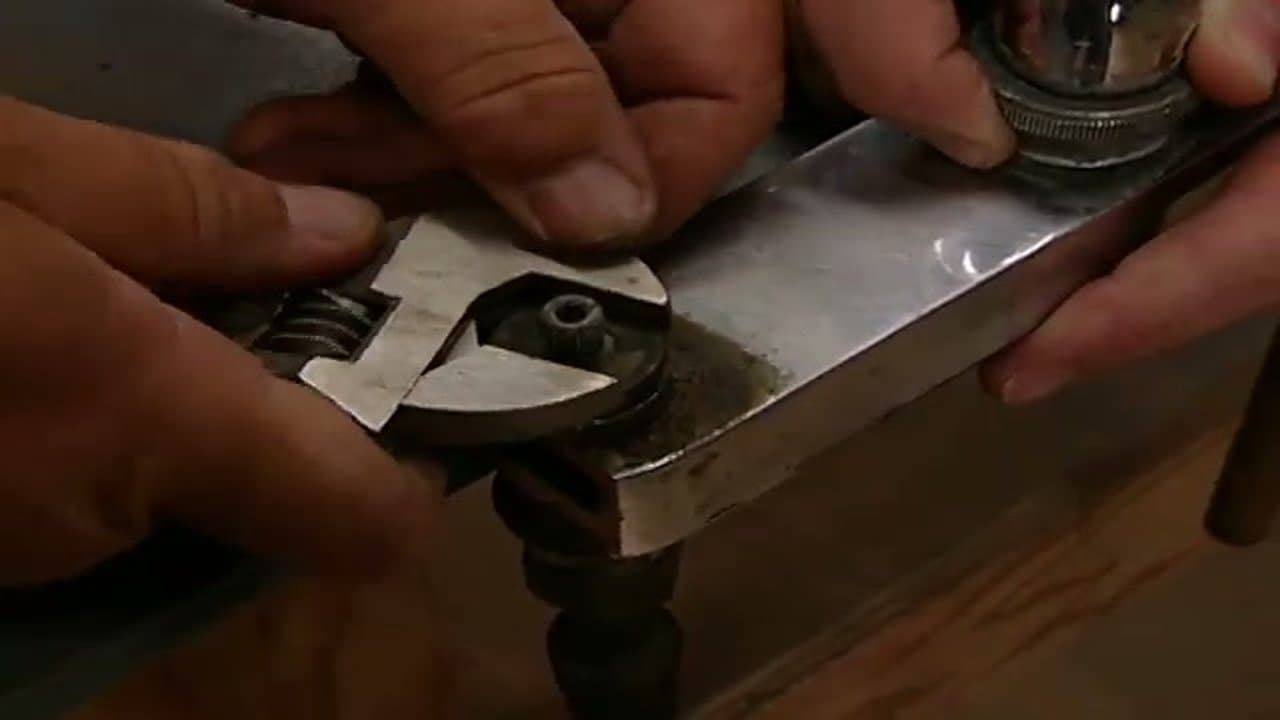
Below the handle you'll see the packing nut - a hex nut that compresses a packing washer or O-ring around the valve stem. Tighten it a quarter-turn clockwise with a deep-socket wrench. Turn the supply back on and check. Half the time this stops the leak.
If it still drips at the handle, the packing washer has gone hard. Shut the supply back off, unscrew the packing nut all the way, slide the old washer or O-ring off the stem, and slip a new one on. Most hardware stores sell faucet-stem packing kits with assorted sizes - the McMaster-Carr 9452K42 kit is the plumber's standard. Reassemble and test.
Don't over-tighten the packing nut on reassembly. Snug-plus-a-quarter-turn is the right feel. Crank it hard and you'll deform the packing washer, which creates a new leak inside of a week and makes the handle feel stiff or notchy when you turn it.
If the leak is coming from a decorative escutcheon plate (the chrome ring around the base of the faucet), it's not actually the handle leaking - water is getting underneath the plate from above. Lift the plate, clean the deck, and re-seat with a thin bead of plumber's putty or silicone caulk.
Faucet Repair Brand Guide: Moen, Delta, Kohler, Pfister
Most faucet-repair calls fail because someone bought the wrong cartridge. Single-handle cartridges look similar across brands but the spline count, length, and O-ring placement are different on each one. Buying OEM (Original Equipment Manufacturer) parts rather than generic aftermarket parts costs $3 more and lasts five times longer.
Moen. The Moen 1225 is the standard single-handle replacement cartridge - it fits most kitchen and bathroom faucets made between 1996 and present. Moen also makes the 1224 for two-handle widespread faucets and the 1255 for posi-temp shower valves. Find the Moen model number stamped on the underside of the spout or on a sticker inside the cabinet. Moen offers a lifetime warranty and will send you a free 1225 cartridge if you call their support line with your model number - even on faucets you bought used.
Delta. Delta two-handle compression faucets use the RP4993 stem unit. Delta single-handle ball-valve faucets use the RP4 ball plus the RP4993 seats-and-springs kit (the two are sold separately, buy both at once). The newer Delta MultiChoice cartridges are the 1700-series. The model number is engraved on the back of the faucet body or stamped under the spout.
Kohler. Kohler runs mostly ceramic-disc cartridges. The GP1037021 is the universal ceramic-disc cartridge for Forte, Coralais, and most single-handle bathroom Kohlers. Two-handle Kohler valves use the GP500520 stem assembly. Kohler model numbers start with a "K-" prefix and are stamped on a metal tag wired to the supply lines under the sink.
Pfister (Price Pfister). Single-handle kitchen Pfisters use the 974-024 cartridge. Two-handle Pfisters use the 910-031 stem. Pfister also has a lifetime warranty on most cartridges - call 1-800-PFAUCET with the model number stamped on the underside of the spout.
If you can't find the model number, take the old cartridge to the plumbing-supply counter (not the big-box store - the parts counter at a real plumbing supply). They'll match it from the shelf in two minutes. Or pair this fix with related projects: see how to install a kitchen faucet when the body itself is cracked rather than the cartridge worn.