How to Replace a Showerhead

Home ImprovementEasy5:276 steps
Also in:Adulting

By ShowMeStepByStepPublished Updated

Based on a video by Pros DIY.

Swapping out a tired old showerhead is one of the highest-impact, lowest-effort upgrades you can make to a bathroom. The whole job takes about five minutes, and the only thing you'll spend money on is the new fixture itself.

This walkthrough follows a clean install from Pros DIY. The trick that separates a leaky swap from a tight one is plumber's tape: a few clockwise wraps around the threads of the shower arm before you screw the new head on. Skip it, and you'll be back in there with a wrench tomorrow.

You'll need an adjustable wrench (or slip-joint pliers if your showerhead has no flats), a rag to protect the chrome, and a roll of PTFE plumber's tape. That's it.

Step-by-Step Guide

1

Step 1: Lay down a towel and gather your tools

0:12
Step 1: Step 1: Lay down a towel and gather your tools

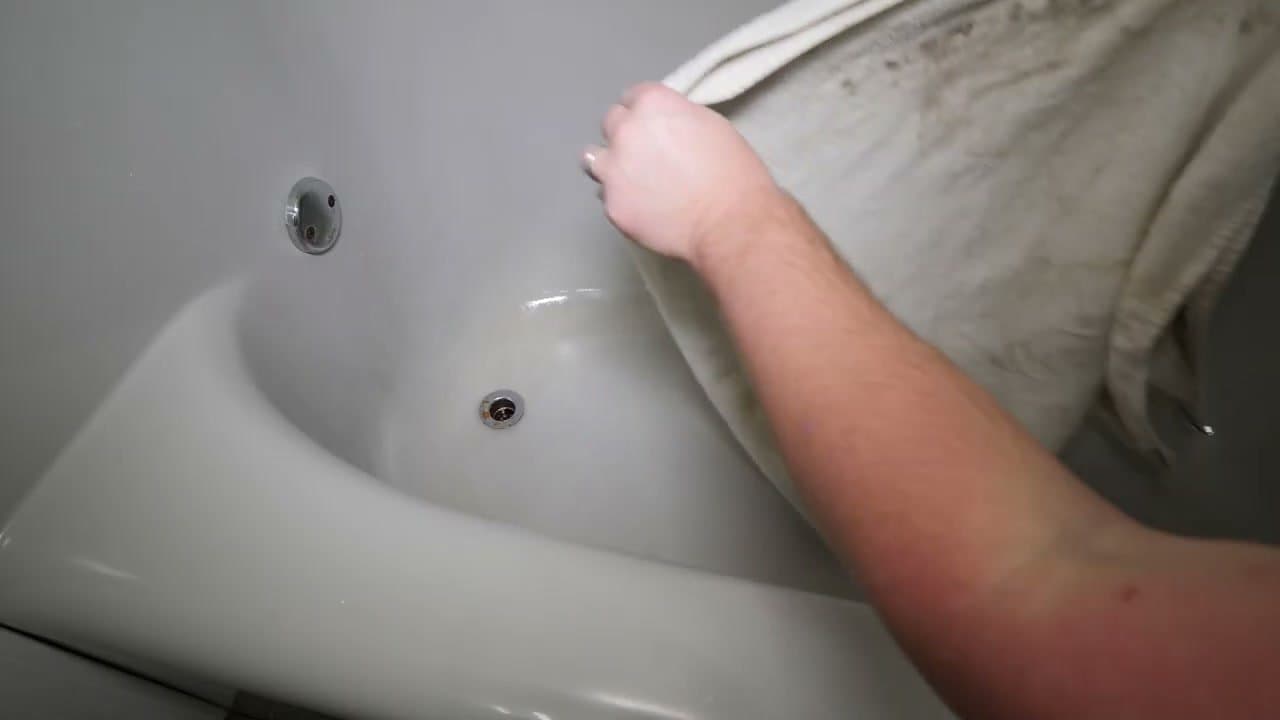
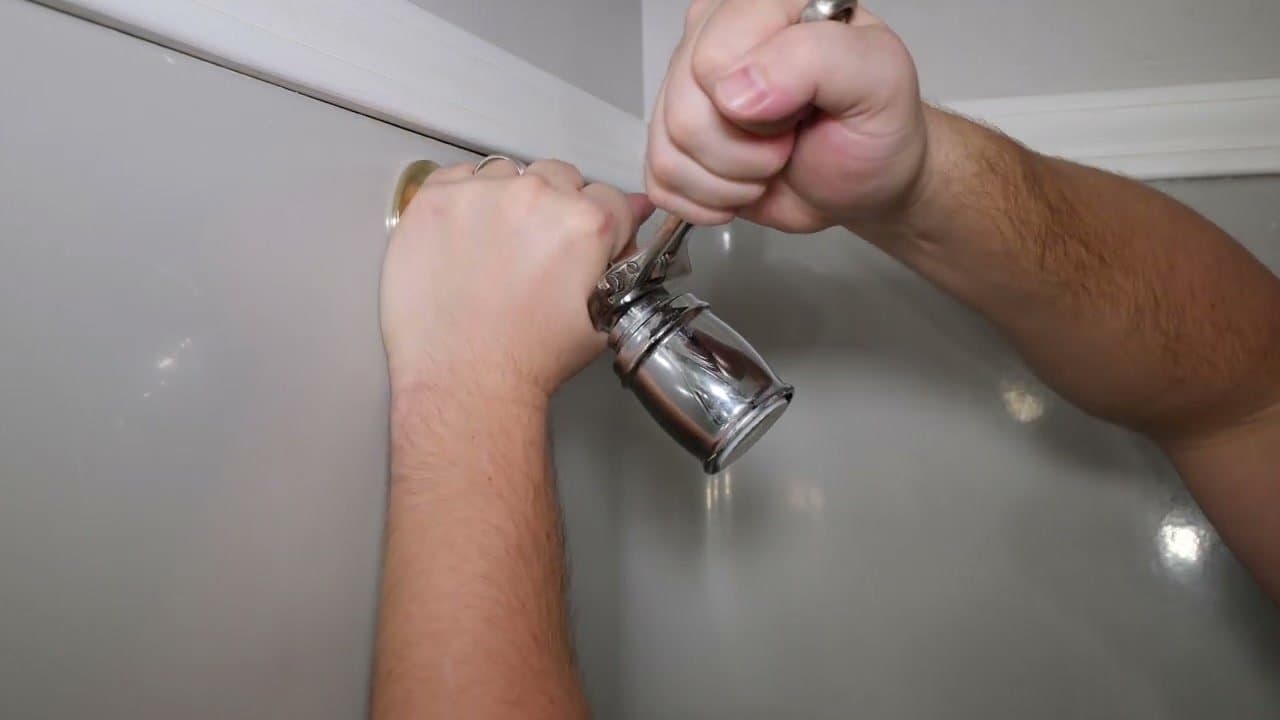
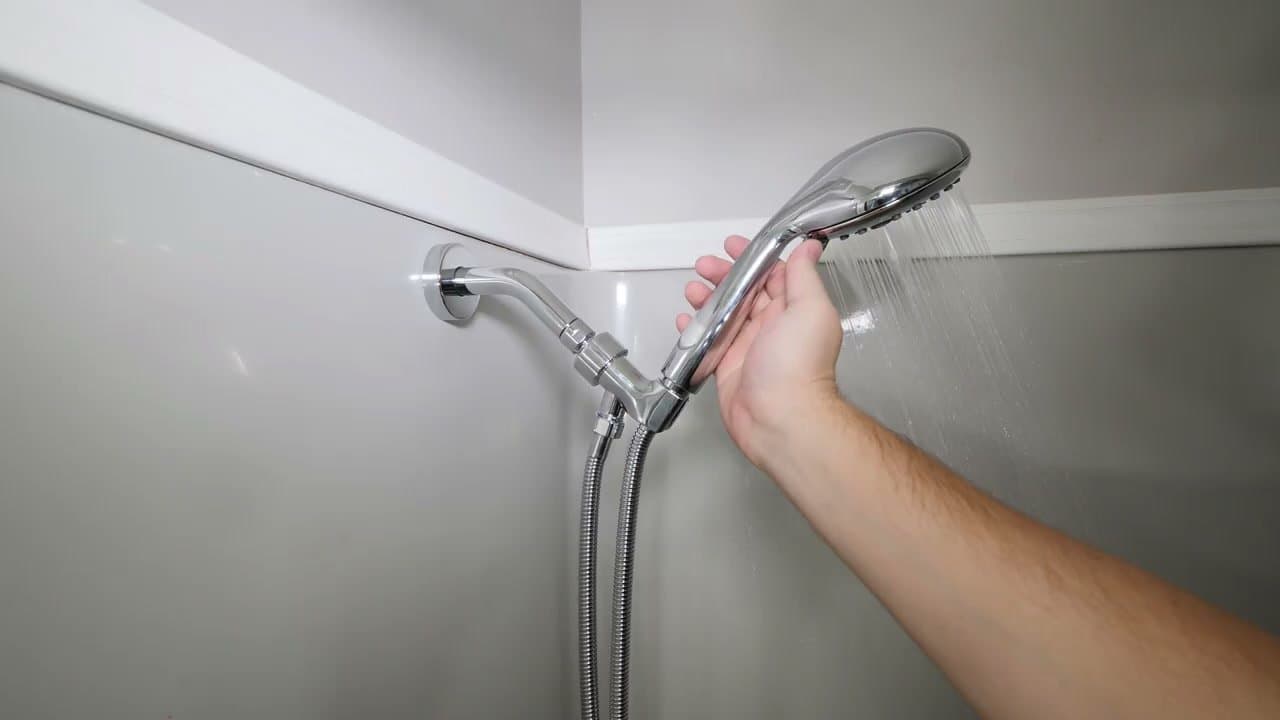
Drop an old towel into the bottom of the tub before you do anything else. If a small part skitters out of your hand it'll land on cloth instead of vanishing down the drain, and a dropped wrench won't crack the porcelain.

Grab an adjustable wrench, slip-joint pliers as backup, a clean rag, and your new showerhead with a roll of plumber's tape. Lay everything within arm's reach so you're not climbing in and out.

Tip

If your existing showerhead has a rounded base with no flat section for a wrench to grip, you'll need pliers instead. Wrap the jaws in a rag first so they don't bite the chrome.

2

Step 2: Unscrew the old showerhead counter-clockwise

0:28
Step 2: Step 2: Unscrew the old showerhead counter-clockwise

Fit the wrench around the flat hex section at the base of the old showerhead. Turn counter-clockwise to loosen.

Use your other hand to brace the shower arm where it comes out of the wall. The arm is just threaded into a fitting inside the wall, and if you don't support it you can twist it loose. That's a bigger fix than what you signed up for.

Tip

Stuck tight? Wrap a rag around the connection and use slip-joint pliers for extra leverage. The rag protects the chrome from tooth marks.

3

Step 3: Clean old plumber's tape off the threads

2:45
Step 3: Step 3: Clean old plumber's tape off the threads

Look at the threads on the shower arm. There's almost certainly leftover plumber's tape, dried thread sealant, or both wedged in the grooves.

Pick all of it off. A dental pick, the tip of a flathead screwdriver, or a stiff brush all work. Clean threads are what let your fresh tape seal properly. Old gunk on top means a leak from day one.

4

Step 4: Wrap fresh plumber's tape clockwise on the threads

2:55
Step 4: Step 4: Wrap fresh plumber's tape clockwise on the threads

Point the threaded end of the shower arm toward you and start wrapping PTFE tape clockwise around it. Three or four wraps is enough.

Direction matters. Clockwise (when looking at the threads end-on) means the tape tightens into the threads as you screw the showerhead on, instead of bunching up and tearing. Press the tape into the threads with your thumb as you go so it conforms to the grooves.

Tip

White PTFE tape is the standard. Yellow gas-rated tape works too but isn't necessary for a water connection. Don't use electrical tape or duct tape - they won't seal pressure.

Products used in this step

5

Step 5: Thread on the new showerhead and snug it up

3:50
Step 5: Step 5: Thread on the new showerhead and snug it up

Start the new showerhead onto the arm by hand, turning clockwise. Spin it on as far as you can without forcing it - this catches any cross-threading early when it's easy to fix.

Once it's hand-tight, give it one final snug with the wrench. A quarter turn past hand-tight is usually plenty. Wrap a rag around the wrench jaws so they don't scratch the chrome finish on the new fixture.

Tip

Don't crank it down hard. Plumber's tape does the sealing work; brute force just damages the threads or the rubber washer inside.

6

Step 6: Turn on the water and check for leaks

4:18
Step 6: Step 6: Turn on the water and check for leaks

Turn the shower on and watch the connection where the head meets the arm. A few drips at first are normal as the seal seats - give it ten seconds.

If water keeps weeping out, snug the wrench another eighth of a turn. Still leaking? Shut the water off, unscrew the head, and inspect the rubber washer (if your model uses one) for damage. If the washer looks fine, add another wrap of plumber's tape and try again.

Tip

Run hot and cold separately when you test. A leak that only shows up on hot is usually a sign the connection needs another half-wrap of tape.

Products Used

☐ The Checklist

How to Replace a Showerhead

Tools
3
Materials
2
Steps
6
Video
5 min

Your Guide

Pros DIY

As an Amazon Associate we earn from qualifying purchases. Links on this page may be affiliate links - clicking them and buying doesn't change your price, but helps support ShowMeStepByStep.

Tags

Related Tutorials