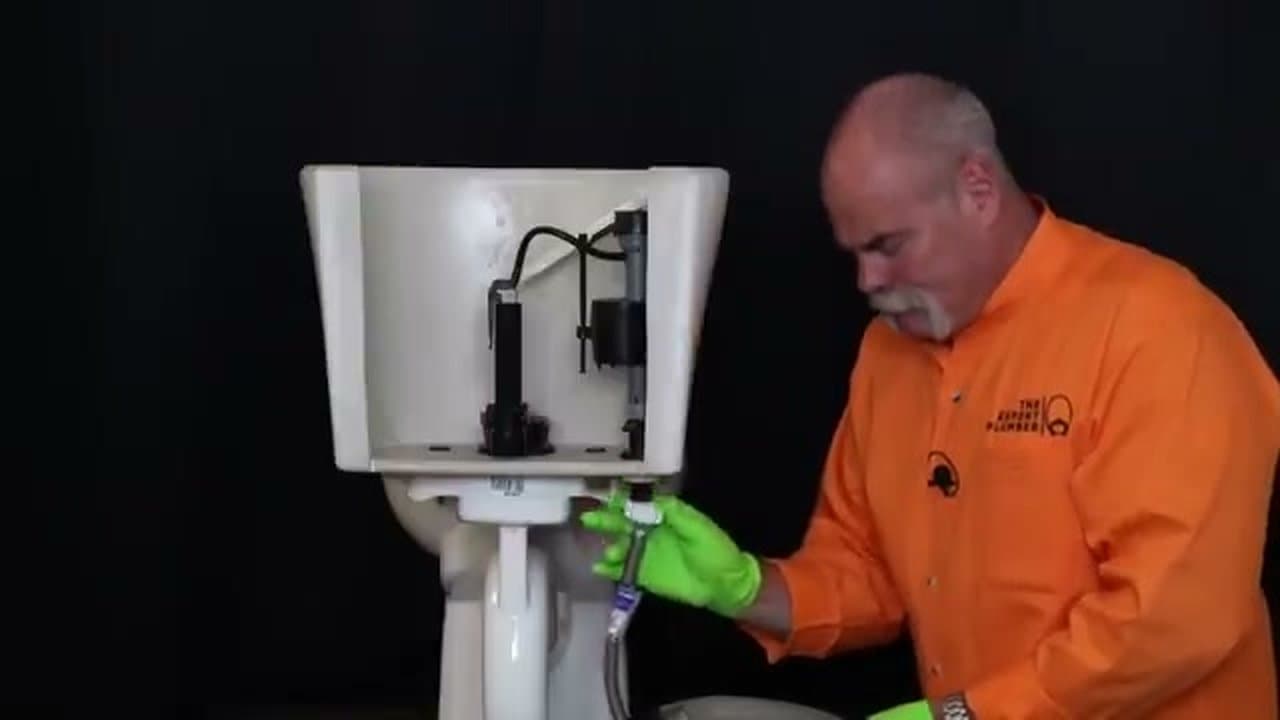
How to Fix a Running Toilet

Home ImprovementEasy7:257 steps

A running toilet usually comes down to one of two things: a bad flapper or a fill valve that won't shut off. Roger Wakefield, a master plumber with 38 years of experience, walks through both fixes on a cutaway toilet so you can actually see what's going on inside the tank. You'll need a pair of channel locks and maybe 20 minutes.

Step-by-Step Guide

1

Shut Off the Water

0:43
Step 1: Shut Off the Water

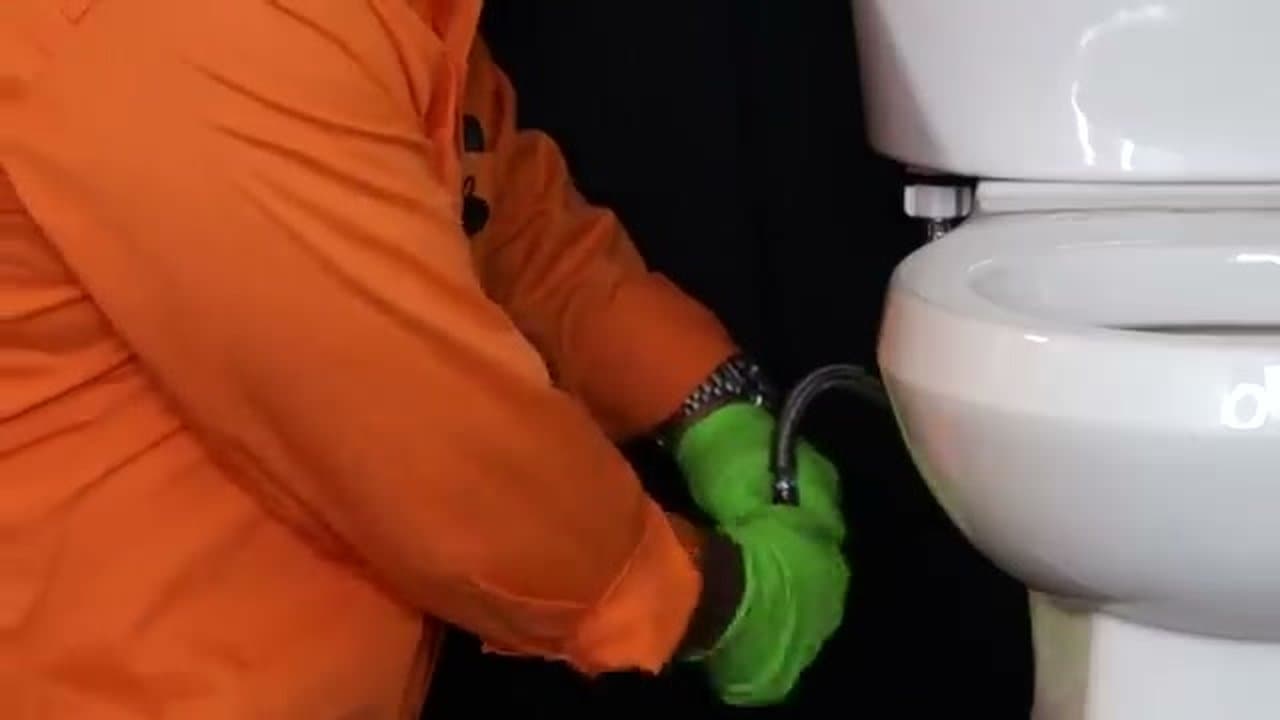
Find the angle stop valve under your toilet. It's the little valve where the hose connects to the wall. Turn it a quarter turn if it's a newer style, or screw it clockwise if it's older. Then flush the toilet to drain the tank. Make sure the water actually stops before you disconnect anything.

Tip

Always confirm the water is off before disconnecting the supply line. If the valve doesn't fully shut off, you'll have water spraying everywhere.

Products used in this step

Channel Locks
2

Remove the Lid and Disconnect the Supply

1:37
Step 2: Remove the Lid and Disconnect the Supply

Take the tank lid off and set it somewhere safe - porcelain cracks easily if you drop it. Put a towel under the supply line connection, then loosen the nut where the hose meets the bottom of the tank. A little water will drip out from what's left in the fill valve. Pull the hose out of the way.

Products used in this step

Towel
3

Check the Flapper

2:58
Step 3: Check the Flapper

The flapper is the rubber piece at the bottom of the tank that seals the water in. Unhook it from the flush valve and check the rim for cracks, nicks, or warping. If it looks worn or doesn't sit flat anymore, that's your problem. Replacement flappers are cheap and just snap right back into place. Make sure to get one designed for your specific toilet.

Tip

When you snap the new flapper in, pull it up to make sure it reaches the top of the flush valve. If it doesn't, it won't seal right when the tank is full.

Products used in this step

Replacement Flapper
4

Inspect the Fill Valve Diaphragm

3:40
Step 4: Inspect the Fill Valve Diaphragm

If the flapper looked fine, the fill valve is probably the issue. Unscrew the top cap, then lift and turn to remove the upper section. Inside you'll find a small diaphragm with a pin and a seal. Pull it apart and look for debris or buildup. Rinse everything off with clean water - soapy water if it's really gunked up.

5

Flush Out Any Debris

4:22
Step 5: Flush Out Any Debris

Look down inside the fill valve body for any trash or sediment. If you see anything, hook the supply line back up, crack the angle stop on just barely, and let the water pressure flush it out. You might want to put a rag over the top so water doesn't spray. Sometimes just clearing the debris is all you need to fix it.

6

Reassemble or Replace the Fill Valve

5:55
Step 6: Reassemble or Replace the Fill Valve

Put the diaphragm back together the same way it came apart. Set it back in, lift and turn to lock it. If cleaning didn't fix it, you'll need to replace the whole fill valve. Remove the nut on the bottom, pull the old one out, and slide the new one in at the same height. Make sure the rubber washer is on the bottom. Tighten the nut and reconnect the fill tube.

Tip

Set the new fill valve to the same height as the old one. The water level should hit about half an inch to an inch below the overflow tube.

Products used in this step

Replacement Fill Valve
7

Reconnect and Test

6:40
Step 7: Reconnect and Test

Hook the supply line back up and snug the connection so it doesn't leak. Turn the angle stop back on. Water will start filling from the bottom and slowly rise to the proper level, then stop. If it stops on its own, you're good. Put the tank lid back on carefully and you're done.

Products Used

Channel LocksTowelReplacement FlapperReplacement Fill Valve

Your Guide

Roger Wakefield

Tags

Related Tutorials