How to Replace a Toilet Flapper

By ShowMeStepByStepPublished Updated

Based on a video by jeffostroff.

Step 4 of 5 inHome Survival Basics

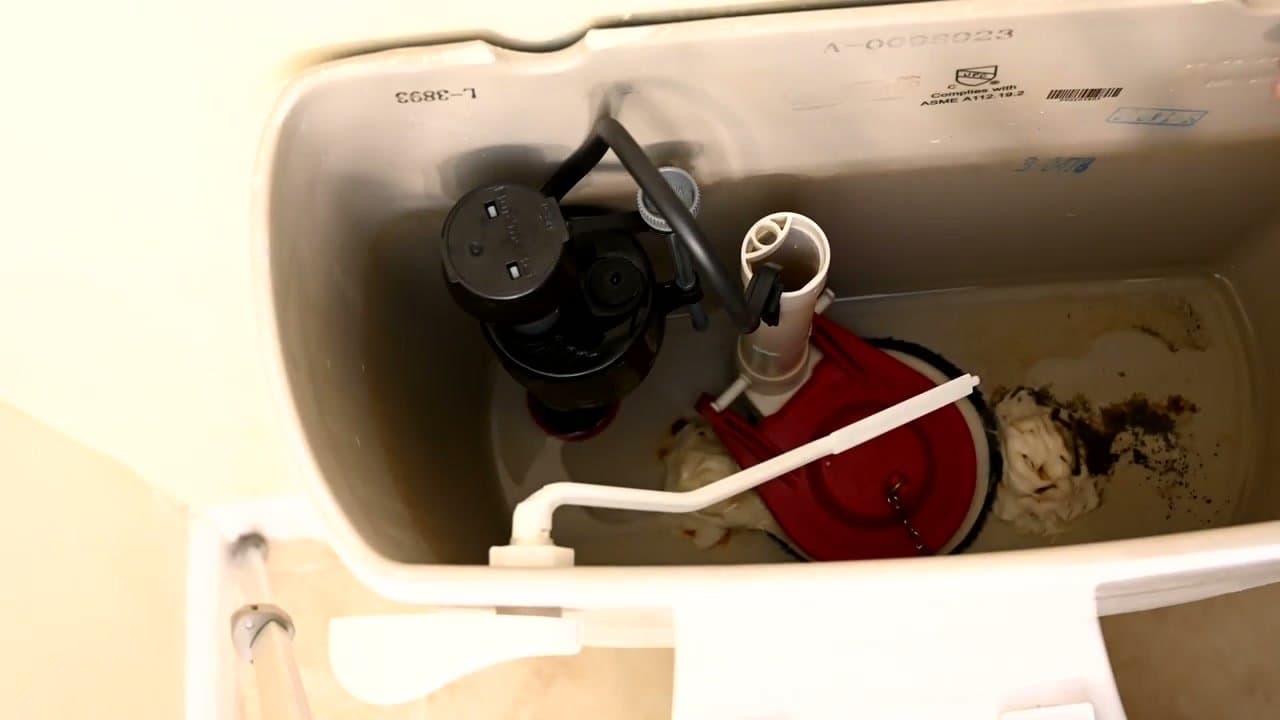
A running toilet almost always traces back to a worn-out toilet flapper. Replace the toilet flapper and the constant trickle stops, the fill valve goes quiet, and your water bill drops back to normal. The replacement part costs around $5 at any hardware store and the whole job takes about ten minutes. This walkthrough covers how to replace a toilet flapper from water shut-off to the final flush test.

The same procedure works for the flush-valve flapper in almost every modern toilet. Whether the old flapper is cracked, warped, mineral-coated, or just plain stiff with age, the swap is identical. Plumbing fixes pair well together - if you're tackling the flapper today, see also how to install a kitchen faucet, how to fix a leaky faucet, how to install a toilet, how to install a thermostat, and how to install an interior door.

Why does my toilet keep running after flushing?

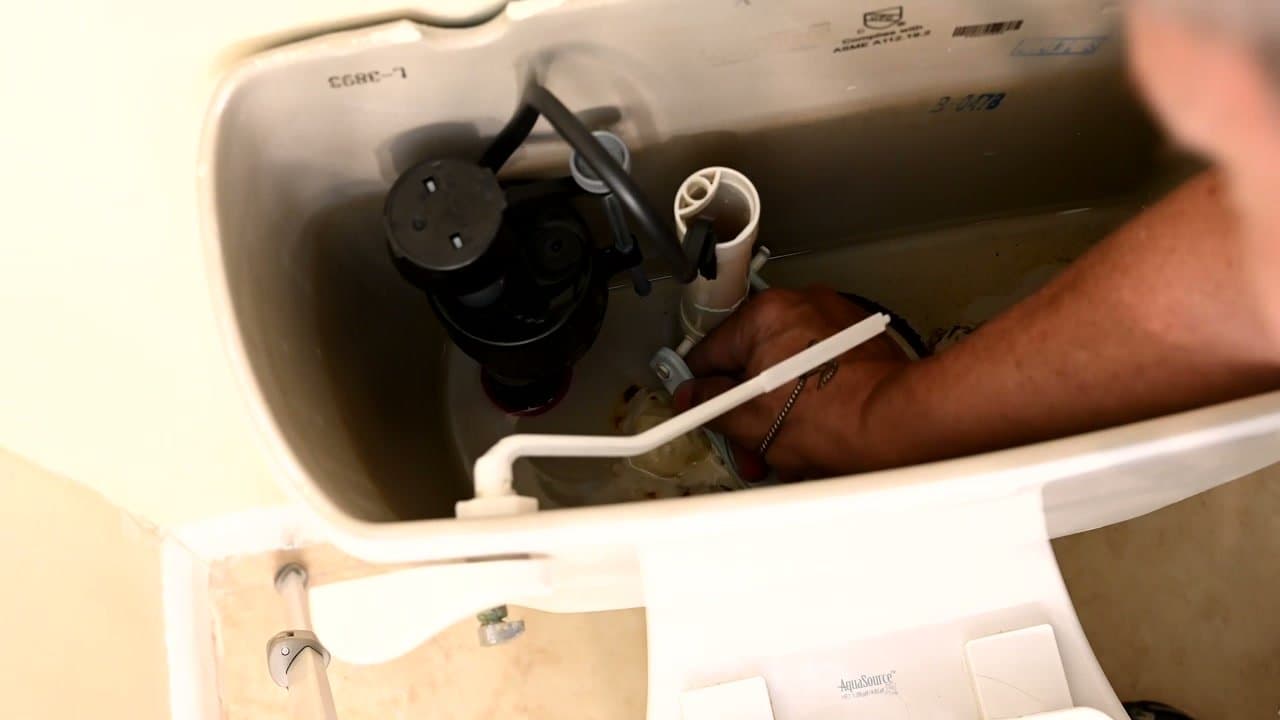
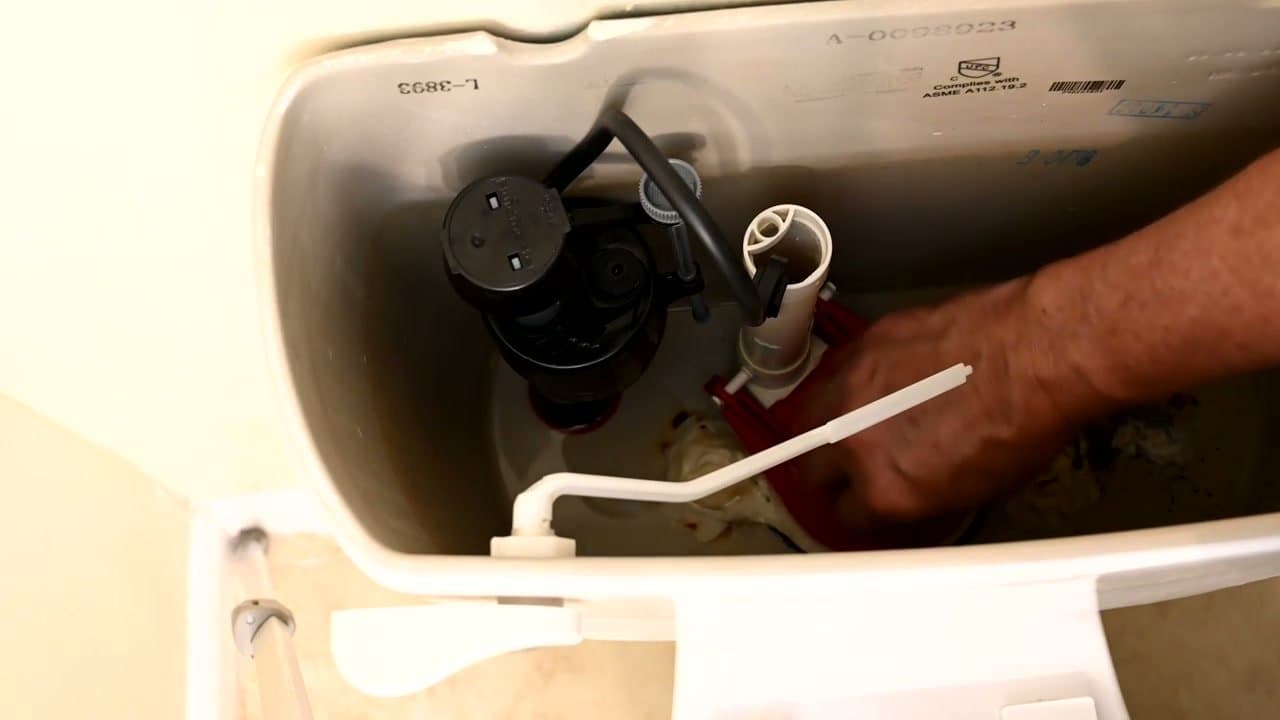
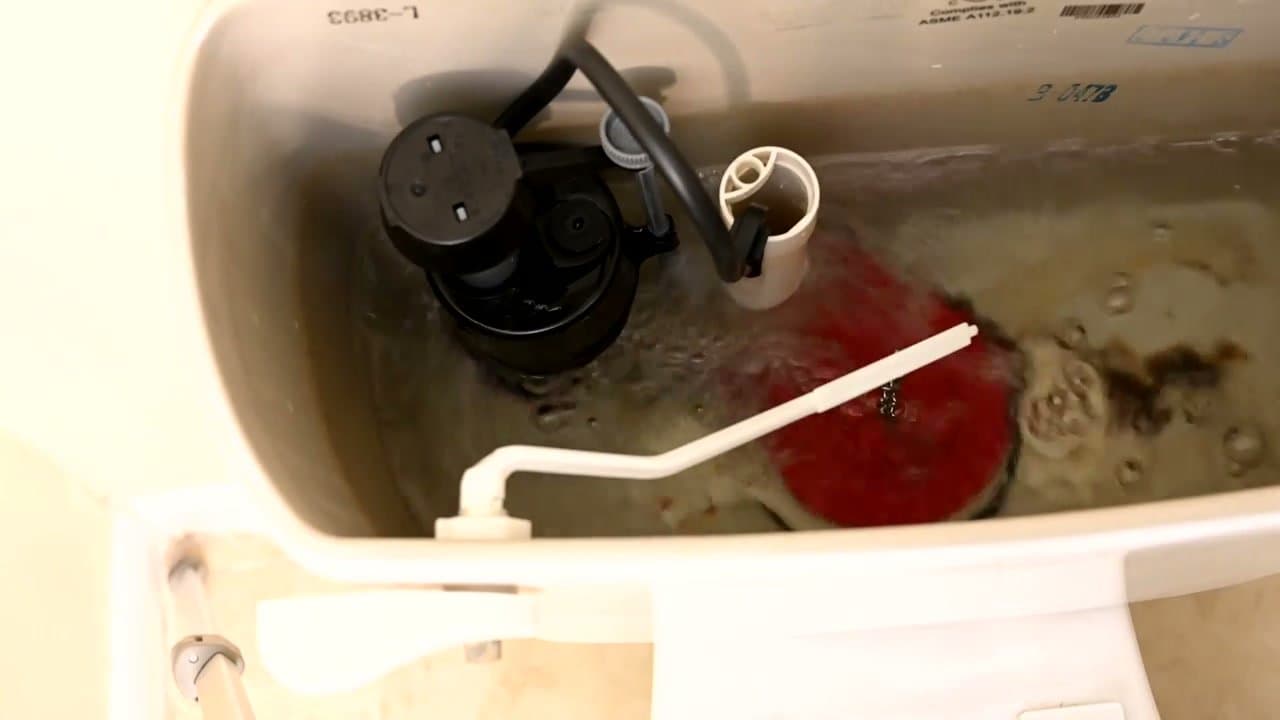
A toilet that keeps running after the flush is almost always a flapper problem. The flapper isn't sealing the flush valve, so tank water keeps draining into the bowl - the fill valve hears the water level drop and tops it back up, on a loop. Lift the tank lid, watch the flapper after a flush, and you'll see it either fail to fully drop or sit crooked on the valve seat. Replace it and the cycle stops.

How often should you replace a toilet flapper?

Plan on a new flapper every 4 to 5 years. Chlorine, hard-water minerals, and tank cleaning tablets all break down the rubber faster. If you drop drop-in bleach tablets in the tank, expect to replace the flapper closer to every 2 years - or stop using the tablets and let the flapper last longer.

Are toilet flappers universal?

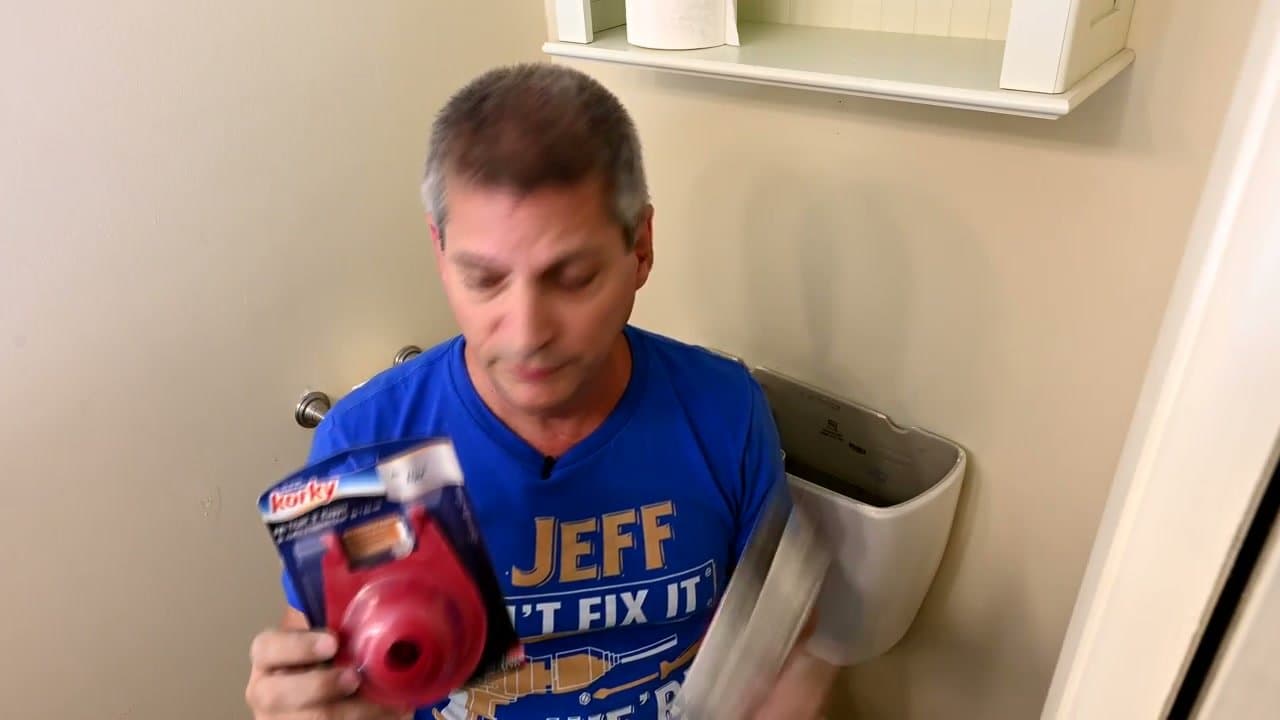
Most flappers are close to universal but not identical. The two common sizes are 2-inch (standard, in almost every toilet built before 2005) and 3-inch (high-efficiency toilets and most newer models). Bring the old flapper to the hardware store, match the diameter to the new one, and you're set. Some brands - American Standard, Kohler, Glacier Bay - sell brand-specific flappers that fit better, but a universal flapper of the right diameter will work in a pinch.

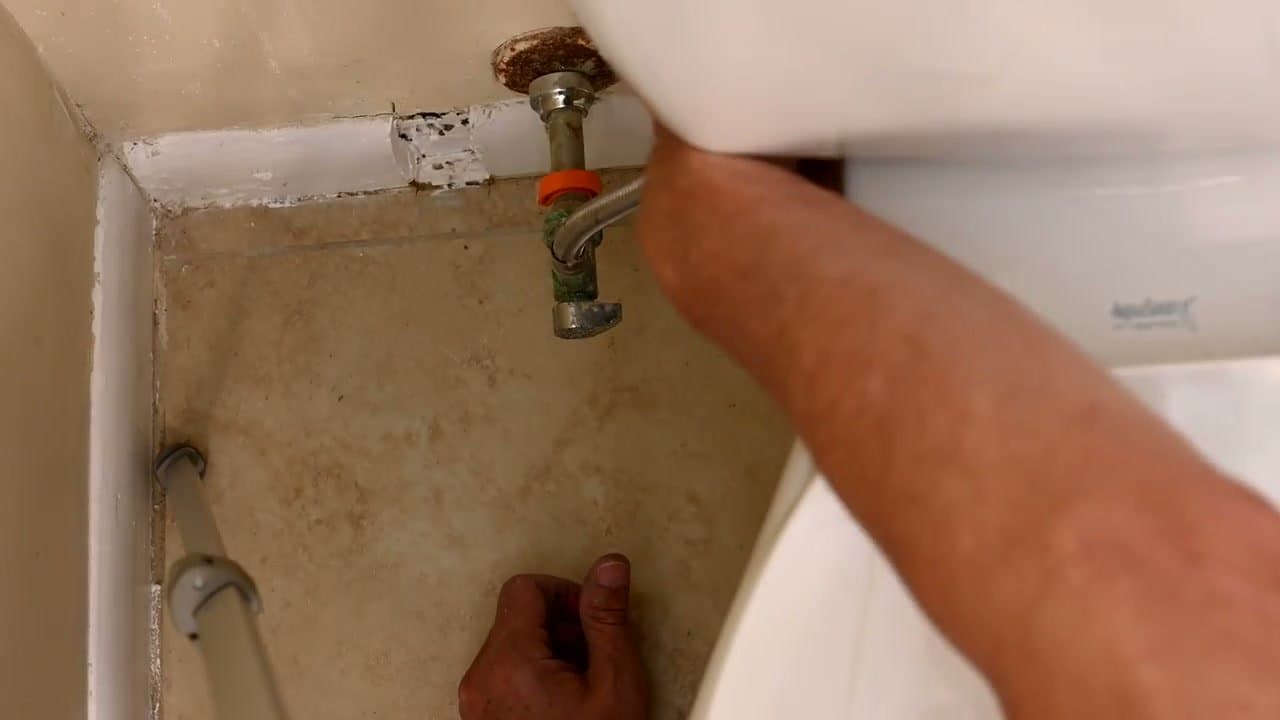
Can I replace a toilet flapper without turning off the water?

You can, but you shouldn't. Shut the supply valve behind the toilet first - it's a quarter turn and takes five seconds. Working in a tank that's still filling means water leaks past your hands the whole time, the flapper chain is harder to clip, and you risk overflowing the tank if the fill valve sticks. Shut the water, flush to empty the tank, sponge out the last inch, then swap the flapper.

Step-by-Step Guide

1

Step 1: Shut off the water supply at the wall valve

4:52
Step 1: Step 1: Shut off the water supply at the wall valve

Reach behind the toilet to the small valve where the supply line meets the wall. Turn the handle clockwise until it stops. That cuts off the water flowing into the tank.

If the valve is corroded or won't budge, don't force it. You can shut off water at the house main instead - just remember to turn it back on later.

Tip

This is also a good moment to lay an old towel on the floor around the base. Tank water tends to drip when you pull the flapper.

Products used in this step

2

Step 2: Flush the toilet to drain the tank

1:04
Step 2: Step 2: Flush the toilet to drain the tank

With the supply off, push the handle and let the tank empty out as much as it will. The flapper opens, water rushes to the bowl, and because no fresh water is coming in, the tank stays low.

If a little water is left at the bottom, sponge it out so you can work without splashing. The flush valve area should be visible and reasonably dry.

Tip

You don't need a perfectly empty tank - just enough that you can see the flush valve and reach the flapper without dunking your sleeve.

Products used in this step

3

Step 3: Unhook the old flapper and chain

3:25
Step 3: Step 3: Unhook the old flapper and chain

The flapper has two side arms that loop around small pegs on either side of the overflow tube. Lift each arm up and over its peg to free the flapper.

Then unclip the chain from the flush lever arm. The old flapper will probably feel slimy or look warped - that's exactly why the toilet has been running.

Tip

Take a quick photo before you remove anything. It's a great reference if you forget which side the chain clipped to.

4

Step 4: Take the old flapper to the store to match the size

2:52
Step 4: Step 4: Take the old flapper to the store to match the size

Most flappers are 2-inch or 3-inch, sized to the round opening at the bottom of the flush valve. Packs are labeled "universal" but the smaller universal won't seal a 3-inch valve, so don't guess.

Bring the old flapper with you and hold it up against the new one. If you want to skip the trip, measure the flush valve opening with a tape measure first - then match it to a 2-inch or 3-inch replacement.

Tip

Common toilet brands tend to follow patterns: most American Standard Cadet 3 toilets take a 3-inch flapper, most Kohler and older toilets take a 2-inch. The old one in your hand beats brand guessing every time.

5

Step 5: Hook the new flapper onto the flush valve pegs

4:40
Step 5: Step 5: Hook the new flapper onto the flush valve pegs

Slide the side arms of the new flapper over the same pegs you pulled the old one off of. They should snap into place with a small click and the flapper should sit flat over the valve opening.

Press down lightly. If it rocks or sits crooked, lift it back off and reseat - a flapper that doesn't lay flat won't seal, and you'll be back here in a week.

Tip

Some replacement flappers come with a foam float around the body. Leave it on for the first install. If your tank empties too quickly or refills too slowly, you can adjust or remove it later.

6

Step 6: Clip the chain to the flush lever with the right slack

4:47
Step 6: Step 6: Clip the chain to the flush lever with the right slack

Hook the new chain onto the flush lever arm. The slack matters more than people realize. Aim for about half an inch of give when the lever is at rest.

Too tight and the chain holds the flapper open even slightly, so water leaks down and the toilet runs nonstop. Too loose and the lever can't pull the flapper high enough to dump a full flush.

Tip

Test it dry: lift the handle and watch the flapper. It should rise straight up, hold open for a moment, then drop back flat without the chain catching under it.

7

Step 7: Turn the water back on and test the flush

5:10
Step 7: Step 7: Turn the water back on and test the flush

Open the supply valve at the wall (counter-clockwise) and let the tank refill. You'll hear the fill valve click off when it hits the right level.

Now flush. Watch the new flapper lift, the tank empty, and the flapper drop back into place. Listen for thirty seconds - if the toilet goes silent and stays silent, you're done. No more phantom flushes, no more wasted water.

Tip

Drop a few drops of food coloring in the tank and wait ten minutes without flushing. If color shows up in the bowl, the flapper still isn't sealing and you may need to reseat it or check the chain slack.

Products Used

Your Guide

jeffostroff

As an Amazon Associate we earn from qualifying purchases. Links on this page may be affiliate links - clicking them and buying doesn't change your price, but helps support ShowMeStepByStep.

Tags

Test your knowledge

Did the lesson stick? Find out in 2 minutes.

5 quick questions covering what you just read. No signup, no score saved — just a gut check.

Quick reference

Key takeaways from How to Replace a Toilet Flapper

5 questions, answers, and one-line explanations. Tap to expand.

  1. 1.Two most common flapper sizes?

    Answer: 2-inch and 3-inch

    Measure the round opening in the flush valve. Smaller universal flappers will not seal a 3-inch valve.

  2. 2.First step before opening the tank?

    Answer: Shut wall valve

    Wall valve first. Then lift the handle, drain the tank, and sponge any leftover water.

  3. 3.How much chain slack at rest?

    Answer: About half an inch

    Half an inch is the sweet spot. Tight = leaks; loose = weak flush.

  4. 4.Wall shutoff won't budge. Fallback?

    Answer: Cut house main

    Forcing a corroded valve breaks the seat. House main is the safe fallback while you replace the valve later.

  5. 5.How to confirm new flapper is sealing?

    Answer: 30 sec silence test

    A leaking flapper triggers the fill valve to cycle on. Thirty seconds of silence is the smoke test.

What's next

Related collections

Curated theme pages that include this tutorial.

Weekly Digest

Liked this home improvement tutorial?

Pick the categories you want to hear about. Weekly digest of new step-by-step tutorials. No spam, easy unsubscribe.

Send me tutorials about

We only email about new tutorials. Easy unsubscribe anytime.